How to Draw Naruto: Easy 20-Step Anime Guide for Beginners
Bring the legendary ninja to life with this step-by-step guide designed for young anime fans. Whether you're a beginner or looking to refine your manga style, this tutorial breaks down Naruto's iconic features into manageable shapes. Grab your pencil, a clean eraser, and some paper to start sketching your own Hidden Leaf hero.
🎯 Final Result

Step-by-Step Instructions
Step 1: Sketching the Base Circle
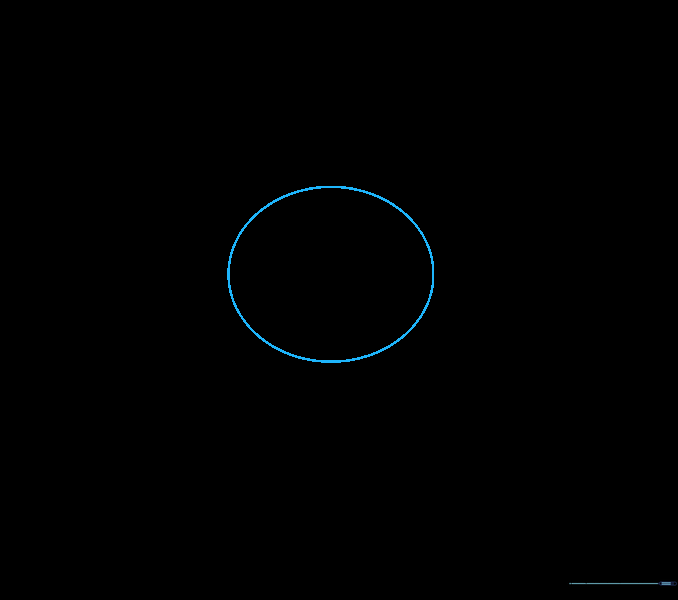
Draw a light circle to serve as the foundation for the head. Teacher's Tip: Keep your pencil pressure very light so you can easily erase these guide lines later.
Step 2: Defining the Jawline
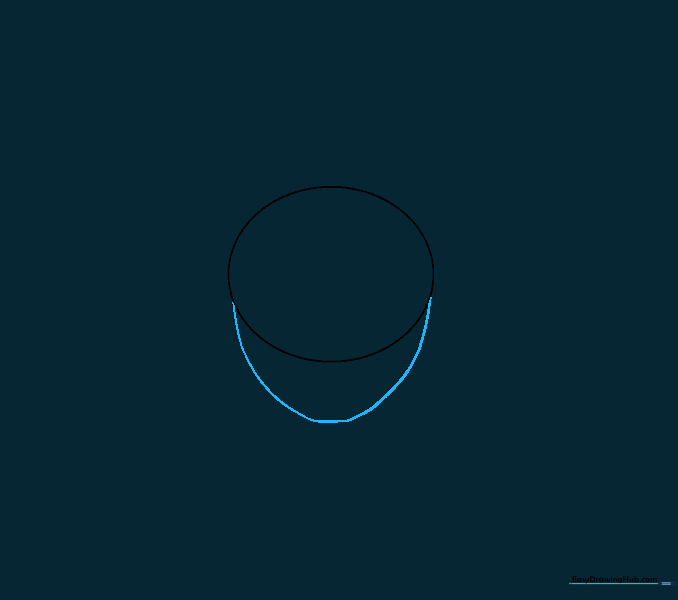
Extend a curved line from the bottom of your circle to form the chin. Teacher's Tip: Aim for a slightly pointed chin to give Naruto that classic anime look.
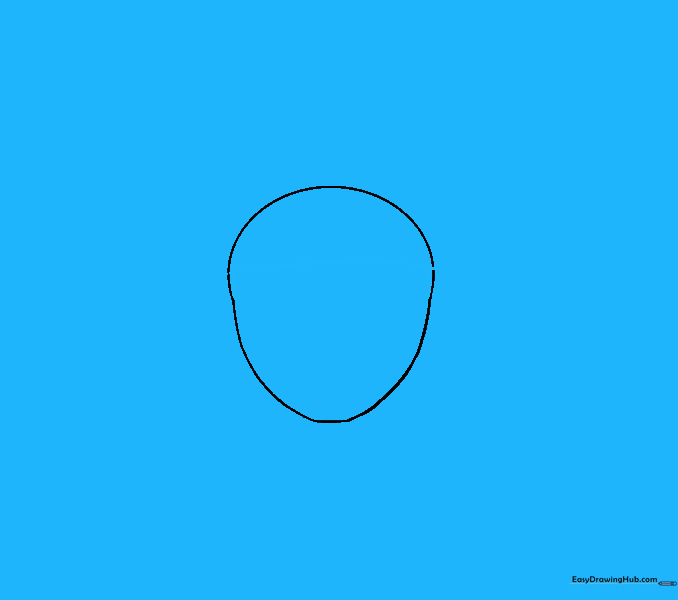
Step 3: Cleaning the Guides

Carefully erase the horizontal guide lines inside the circle. Teacher's Tip: Use a kneaded eraser if you have one; it’s gentler on the paper surface.
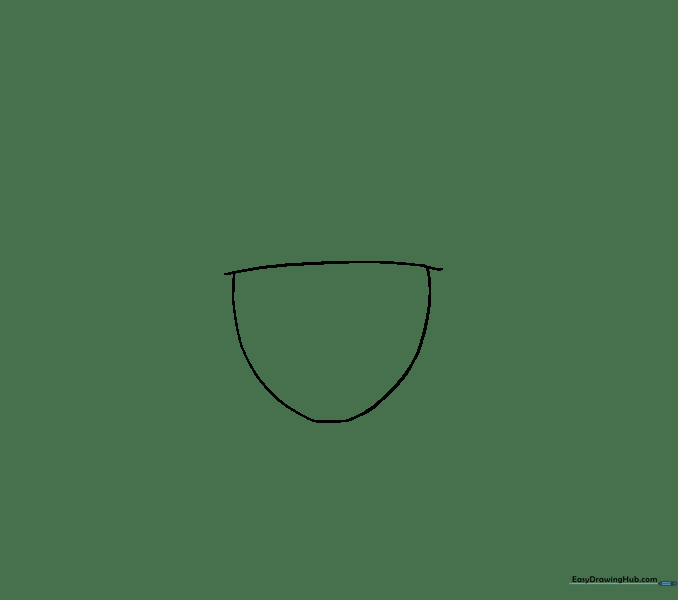
Step 4: Establishing the Forehead
Draw a horizontal curved line across the upper portion of the face. Connect it to the sides with two short vertical lines. Teacher's Tip: This creates the space where the headband will sit.
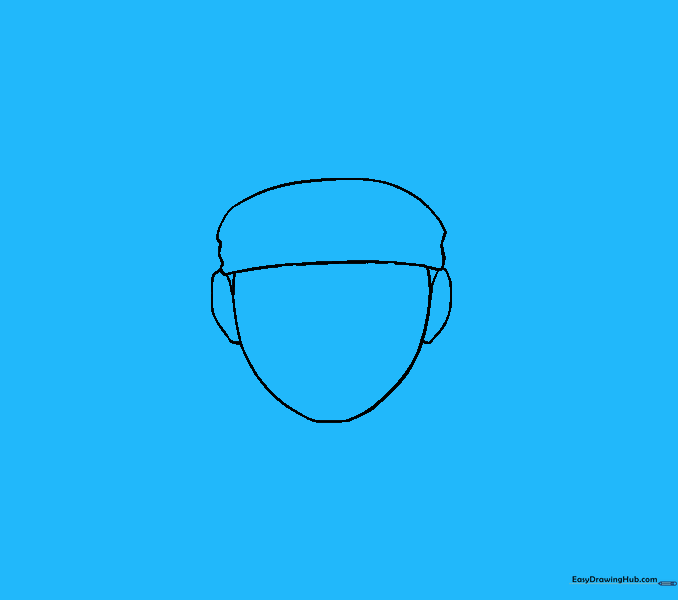
Step 5: Refining the Silhouette
Erase any remaining overlapping guide lines from the top of the head. Teacher's Tip: Keep your strokes clean so the final outline looks sharp.
Step 6: Drawing the Headband

Outline the headband using a long, wavy line. Teacher's Tip: Make the edges slightly uneven to mimic the look of fabric ripples.
Step 7: Adding the Ears
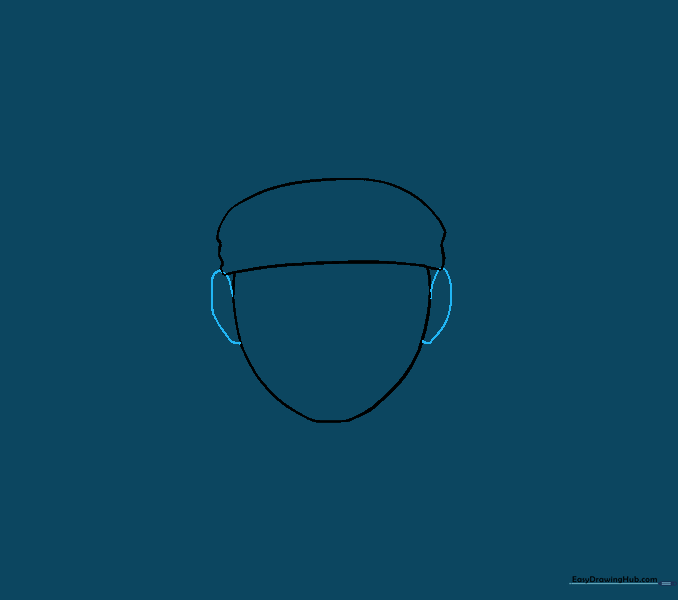
Sketch two elongated ovals on the sides of the head. Teacher's Tip: Position them roughly halfway down the face for correct proportions.
Step 8: Eyebrows and Ear Detail
Add inner curves to the ears and draw two sharp, angled eyebrows below the headband. Teacher's Tip: Make the eyebrows thick to show Naruto's determined expression.
Step 9: The First Eye
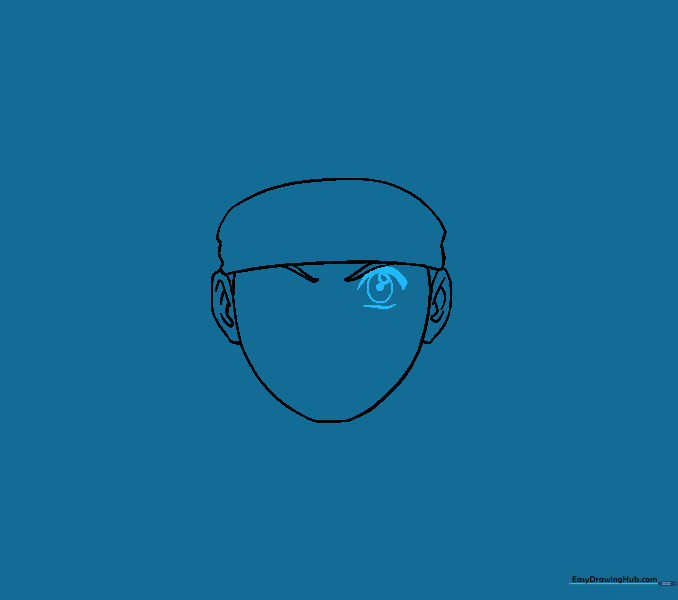
Draw the eye with a sharp upper lid and a circular pupil. Shade the center. Teacher's Tip: Leave a tiny white dot in the pupil to create a 'sparkle' effect.
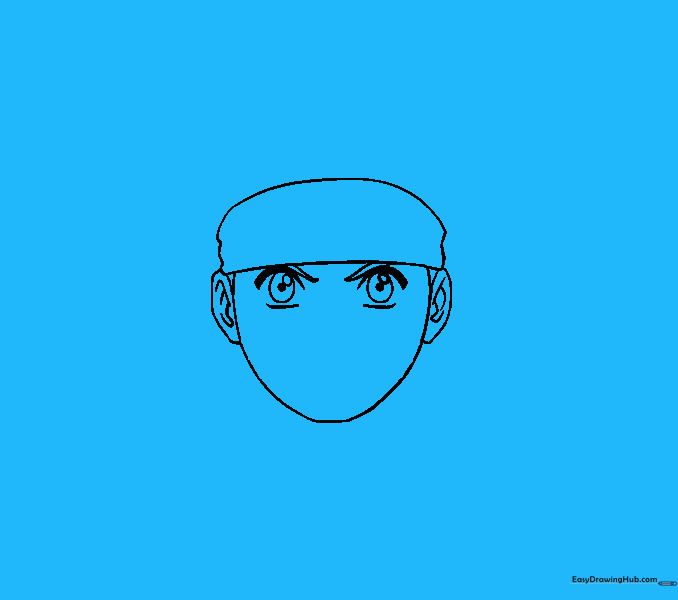
Step 10: The Second Eye

Mirror the first eye on the other side of the face. Teacher's Tip: Take your time to ensure they are level with each other.
Step 11: Facial Features
Add the signature whisker marks on the cheeks, two dots for the nose, and a simple line for the mouth. Teacher's Tip: Keep the mouth line small to maintain a focused expression.
Step 12: Headband Plate
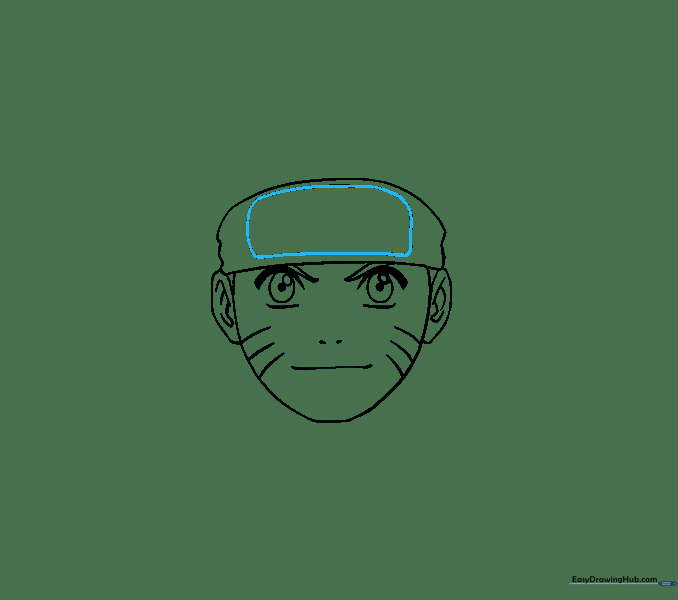
Draw a rounded rectangle in the center of the headband. Teacher's Tip: Use a ruler if you struggle with straight lines, but freehand is great for practice!
Step 13: Leaf Village Symbol
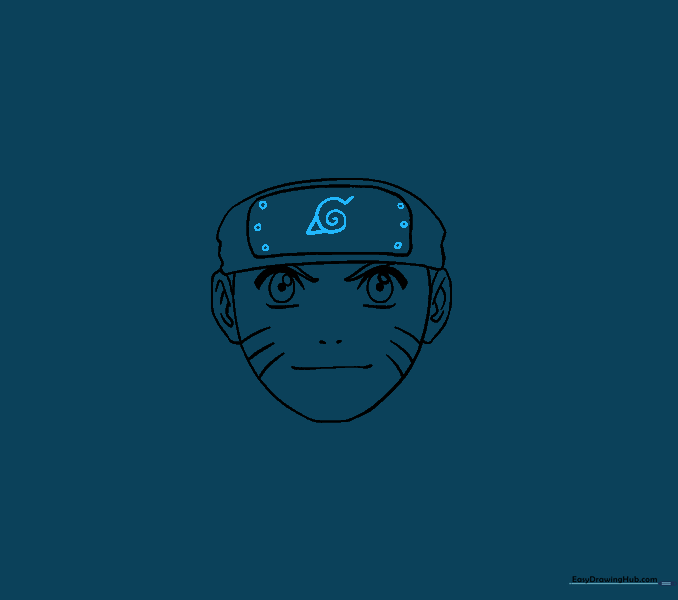
Draw the spiral symbol inside the rectangle. Add three small circles on each side of the plate. Teacher's Tip: The spiral should look like a small '6' with a triangle tail.
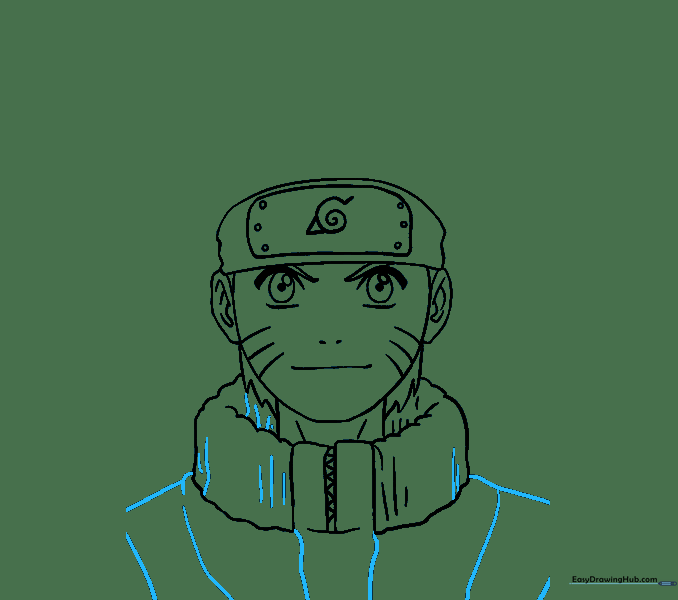
Step 14: The Neck
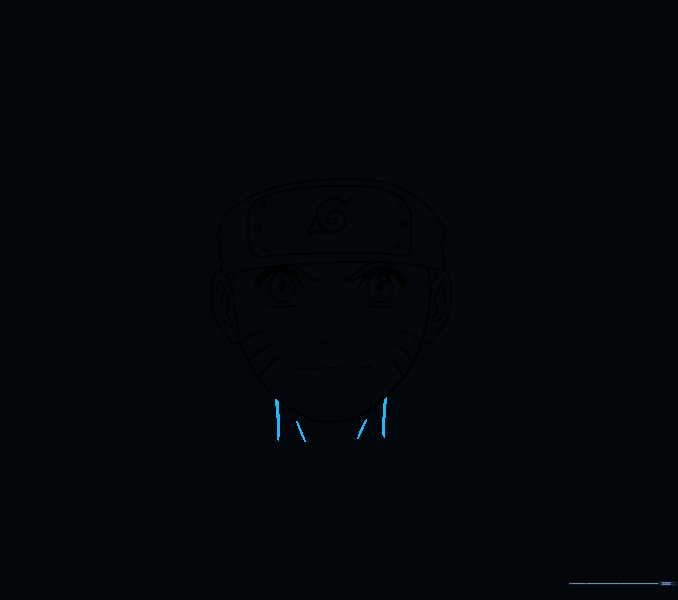
Draw two lines extending down from the chin to form the neck. Add small diagonal lines for collarbone detail. Teacher's Tip: Keep these lines relatively short.
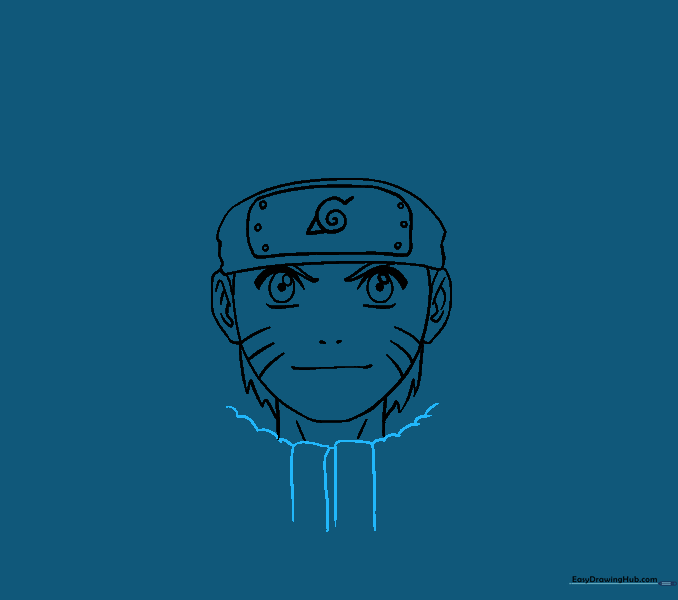
Step 15: Lower Hair

Add spiky hair strands below the ears. Teacher's Tip: Use quick, flicking motions with your pencil to get that sharp, anime-style point.
Step 16: Clothing Base
Draw two rounded rectangles for the shoulders of the jacket. Teacher's Tip: Make them look sturdy to represent the fabric of the ninja uniform.
Step 17: Jacket Collar
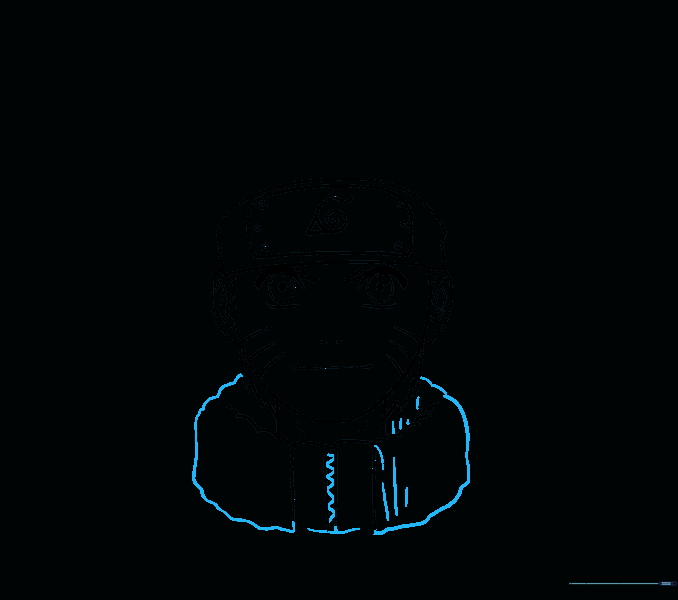
Add a wavy collar and a zigzag line between the shoulder pieces. Teacher's Tip: The zigzag helps show the zipper or seam of the jacket.
Step 18: Clothing Texture
Add vertical lines to the jacket to create folds and texture. Teacher's Tip: Vary the length of your lines to make the fabric look natural.
Step 19: Spiky Hair
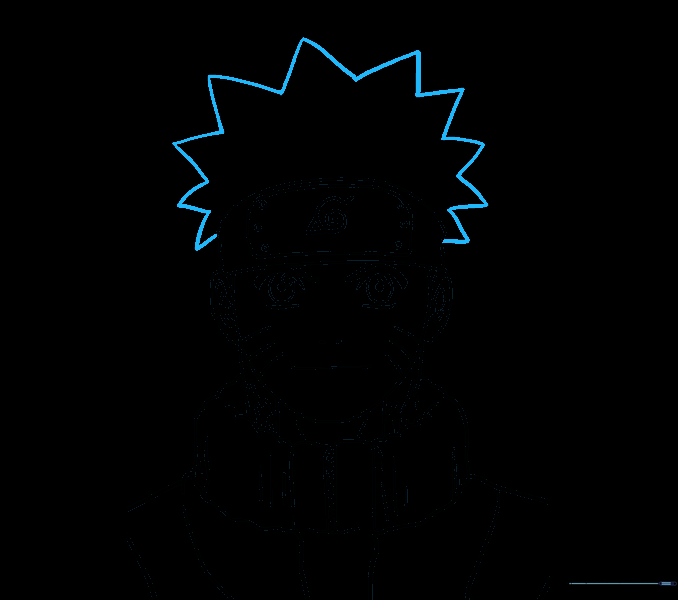
Draw the iconic spiky hair on top of the head. Teacher's Tip: Don't worry about making them perfect; Naruto's hair is naturally messy and wild!
Step 20: Adding Color
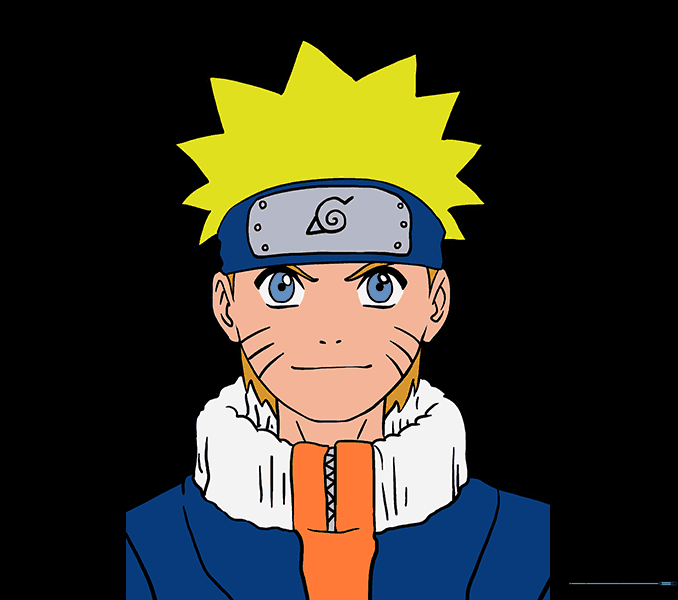
Time to color! Use bright yellow for the hair, blue for the eyes, and orange for the jacket. Teacher's Tip: Use light pressure for base colors and add darker shades in the folds for depth.
More Tutorials


