How to Draw Rainbow Dash: Easy 20-Step Pony Tutorial
Ready to bring Equestria's fastest flyer to life? This tutorial is perfect for young artists ages 6+ looking to master cartoon proportions. You'll only need a pencil, an eraser, and some colored pencils to capture Rainbow Dash's iconic look.
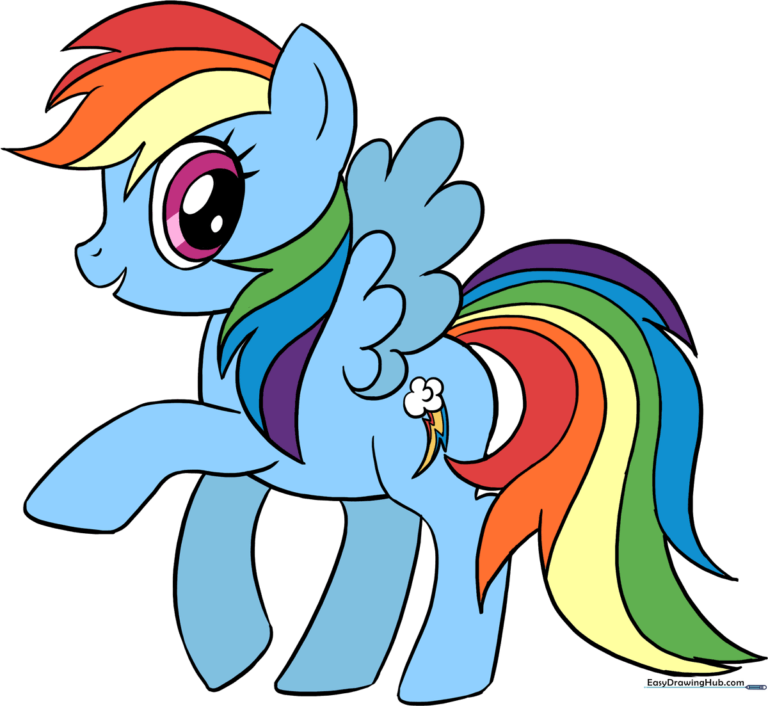
🎯 Final Result
Step-by-Step Instructions
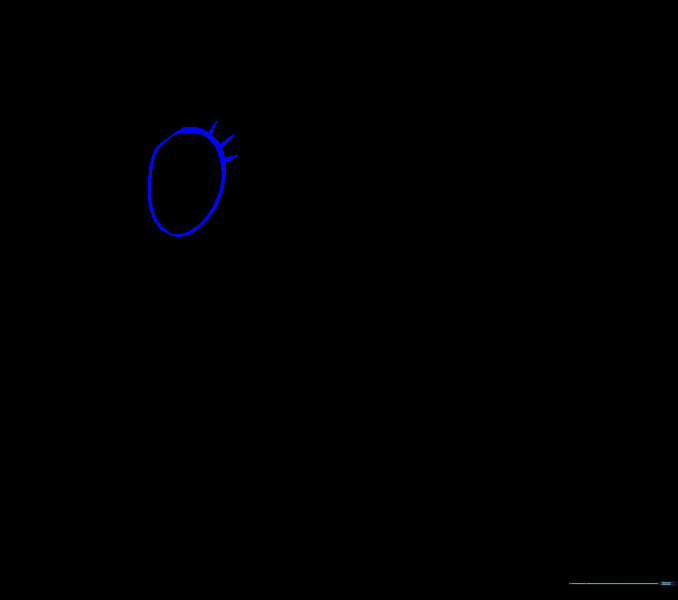
Step 1: Sketching the Head
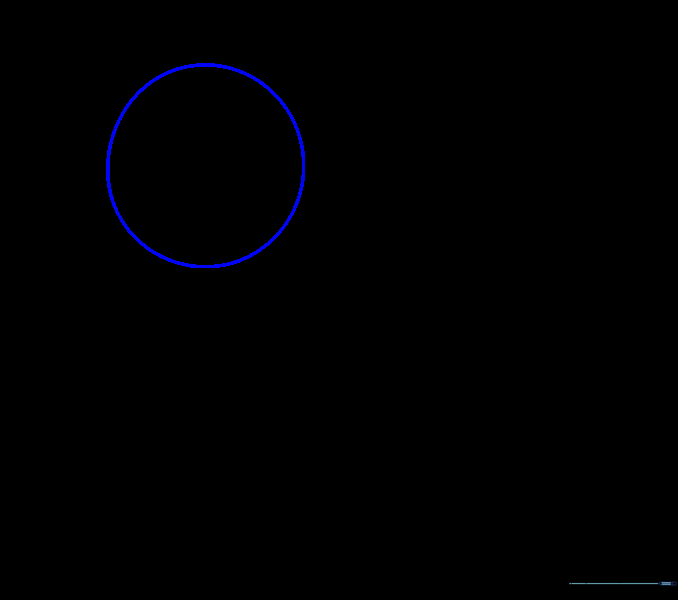
Draw a light circle for the head. Teacher's Tip: Keep your pencil strokes very faint so you can easily erase the construction lines later!
Step 2: Defining the Body
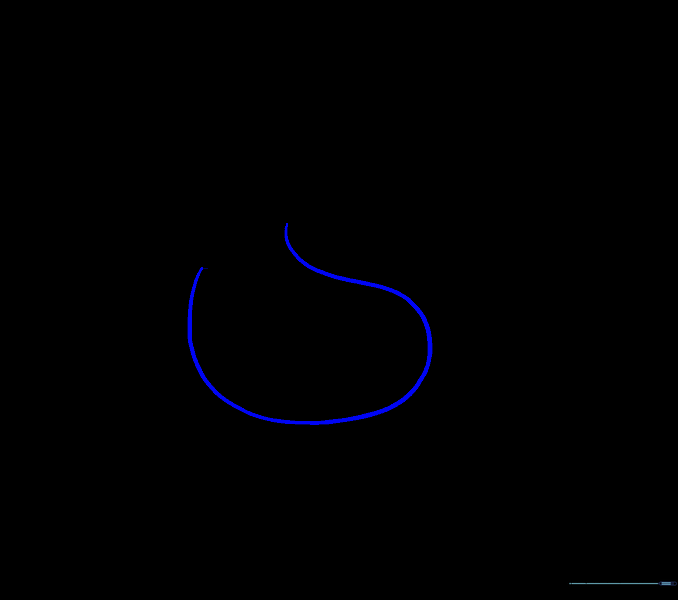
Draw an irregular bean shape below the head. Curve the lines upward to connect to the circle, creating the neck. Tip: Think of this as the pony's torso—keep it rounded and soft.
Step 3: Shaping the Snout
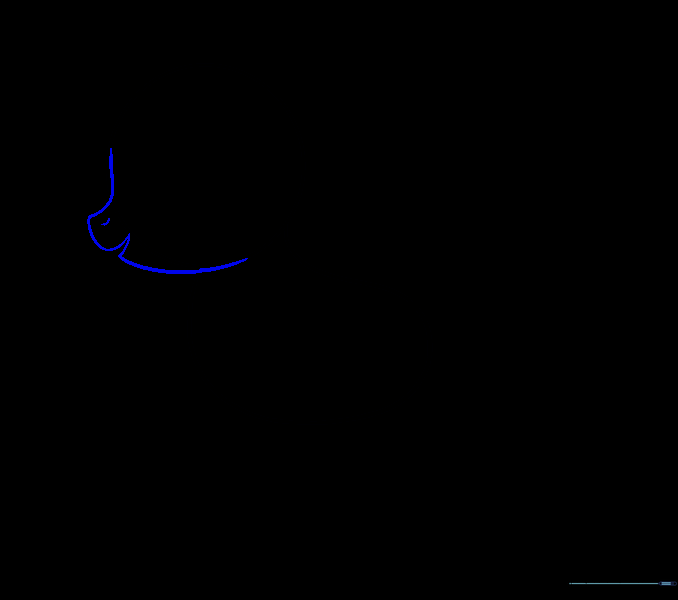
Extend a curved line from the left side of the head circle to create the snout. Use a 'V' shape to connect it back to the face. Tip: Keep the snout small to maintain that cute cartoon style.
Step 4: Cleaning the Outline

Carefully erase the overlapping guide lines where the snout meets the head. Tip: Use a kneaded eraser if you have one—it’s gentler on the paper!
Step 5: Adding the Ear
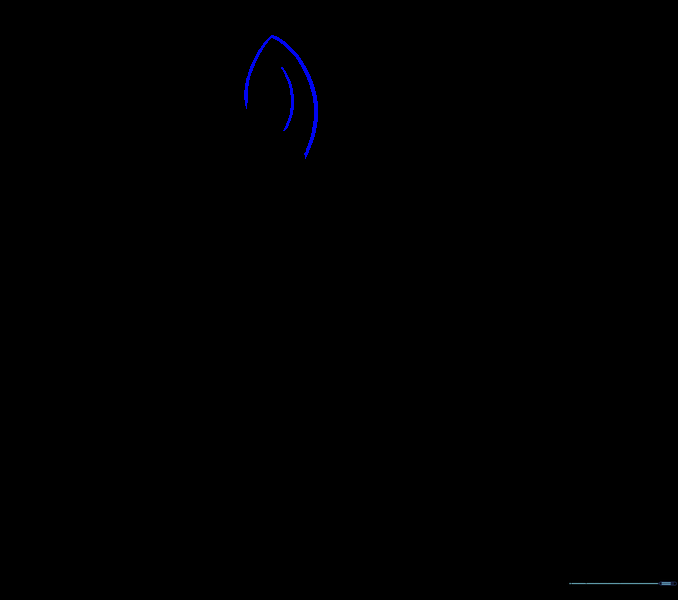
Draw two curved lines on the upper right of the head to form a pointed ear. Add a small line inside for depth. Tip: Keep the ear shape triangular and perky.
Step 6: Refining the Ear

Erase any extra lines inside the ear to make it look smooth. Tip: A clean drawing makes coloring much easier later on.
Step 7: Front Mane
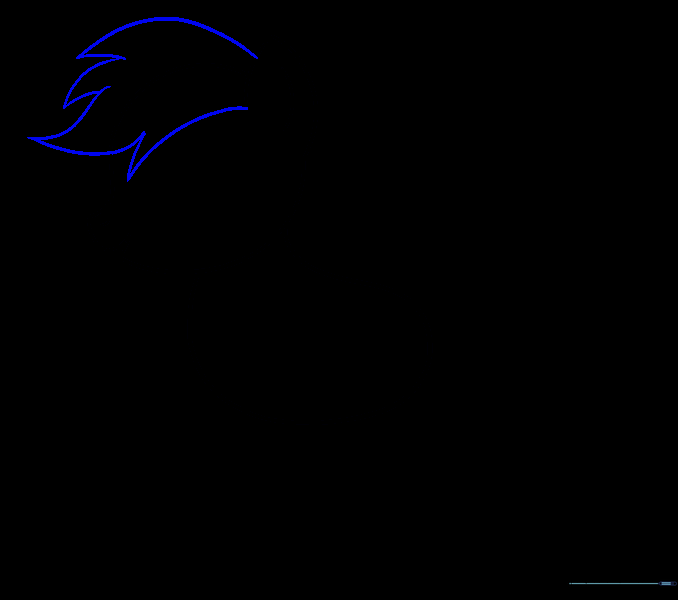
Draw the front of the mane using jagged, curved lines. Tip: Rainbow Dash’s hair is spiky and energetic, so don't worry about making the lines perfectly smooth.
Step 8: Back Mane
Add the back section of the mane flowing over the body. Tip: Make these lines long and sweeping to show movement.
Step 9: Cleaning the Mane

Erase the guide lines inside the mane sections. Tip: Keep your eraser strokes light to avoid smudging your pencil work.
Step 10: Adding Hair Detail
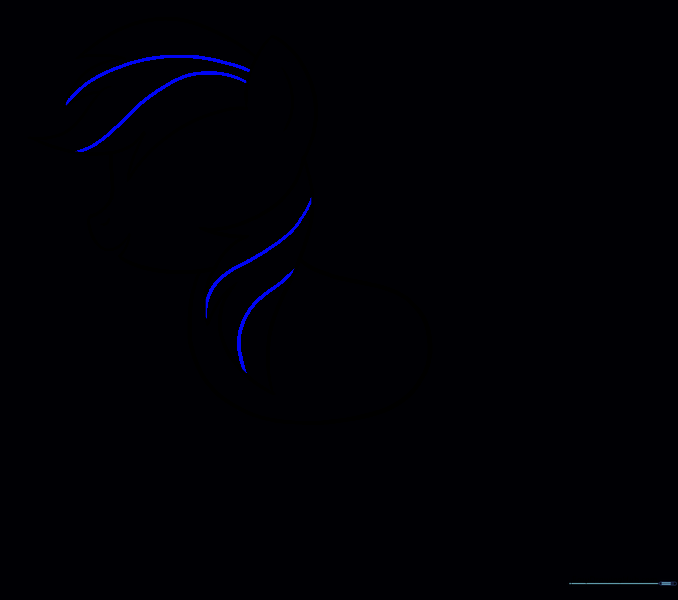
Draw curved lines through the mane sections to show hair volume. Tip: These lines will help you separate the colors when you start shading.
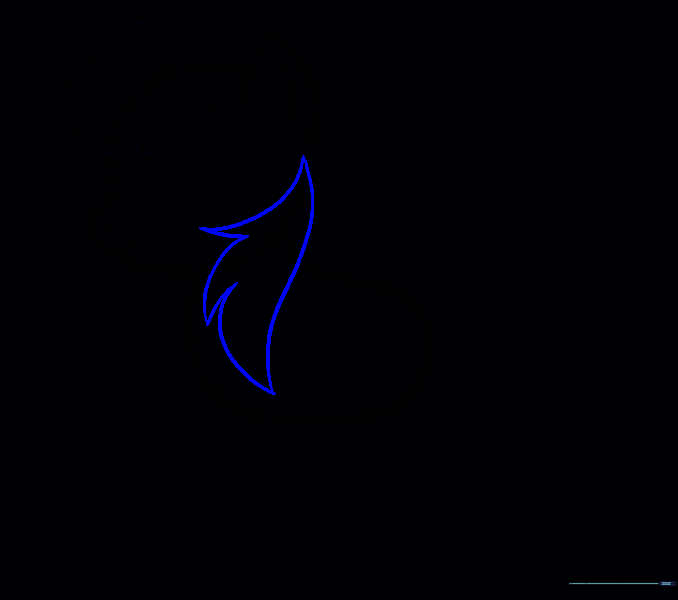
Step 11: Drawing Wings
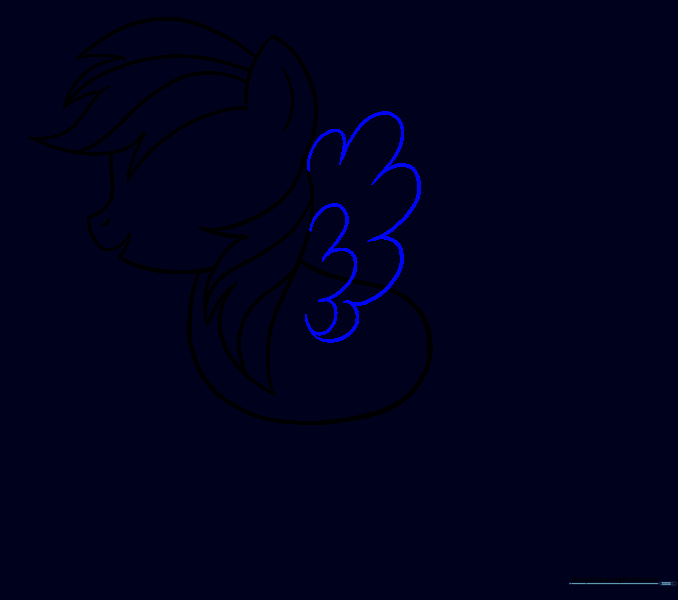
Sketch the pegasus wings using scalloped lines. Tip: Start with a smaller scallop and build the larger wing shape around it.
Step 12: Cleaning the Wings

Erase any overlapping lines within the wing structure. Tip: Keep the edges crisp for a professional cartoon look.
Step 13: The Cutie Mark

Draw the cloud and lightning bolt cutie mark on the flank. Tip: Keep the lightning bolt sharp and jagged for contrast against the soft cloud.
Step 14: The Tail
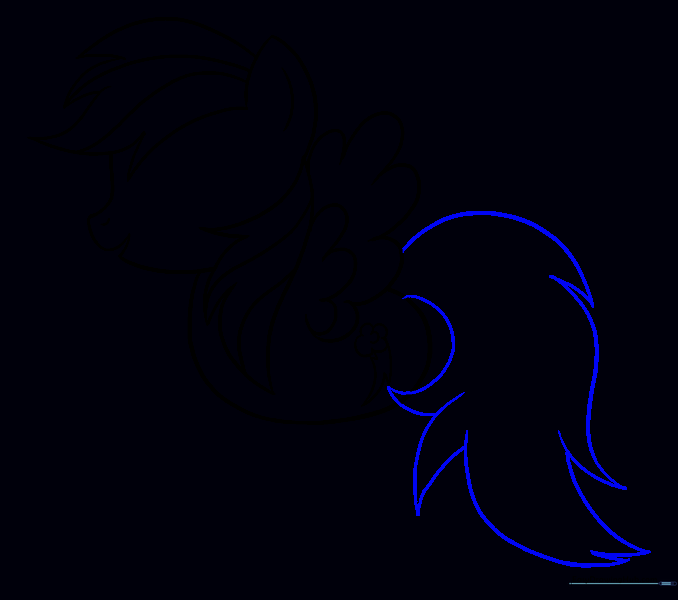
Draw the tail with long, jagged points. Tip: Let the tail flow behind the body to suggest speed.
Step 15: Tail Detail
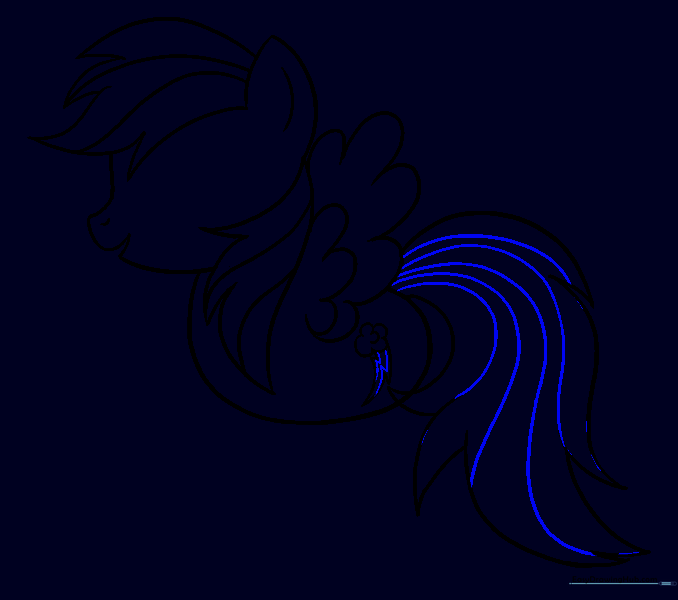
Add lines within the tail to define the different color sections. Tip: Ensure the lines follow the curve of the tail.
Step 16: Drawing Legs
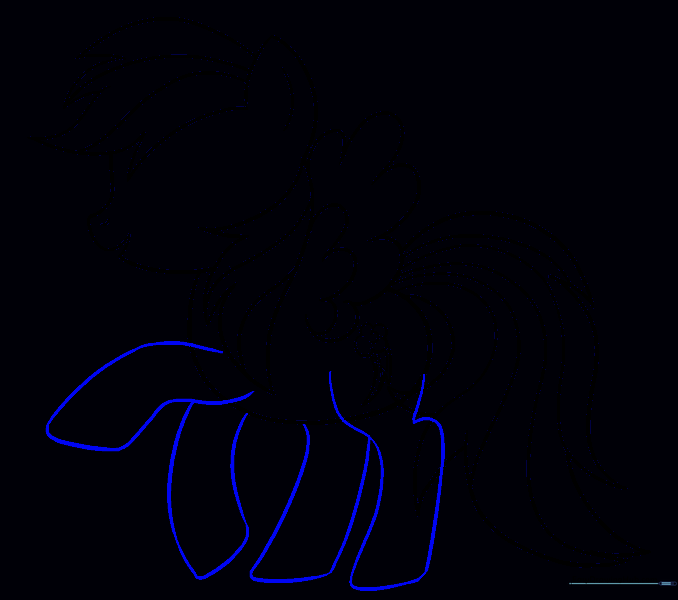
Draw the legs using slightly curved, parallel lines. Tip: Make the hooves slightly wider than the legs for a sturdy look.
Step 17: Cleaning the Legs

Erase the guide lines where the legs meet the body. Tip: A clean connection point makes the drawing look much more professional.
Step 18: The Eye
Draw a large oval for the eye and add three small lashes. Tip: The eye is the most expressive part—take your time to get the placement right!
Step 19: Eye Detail
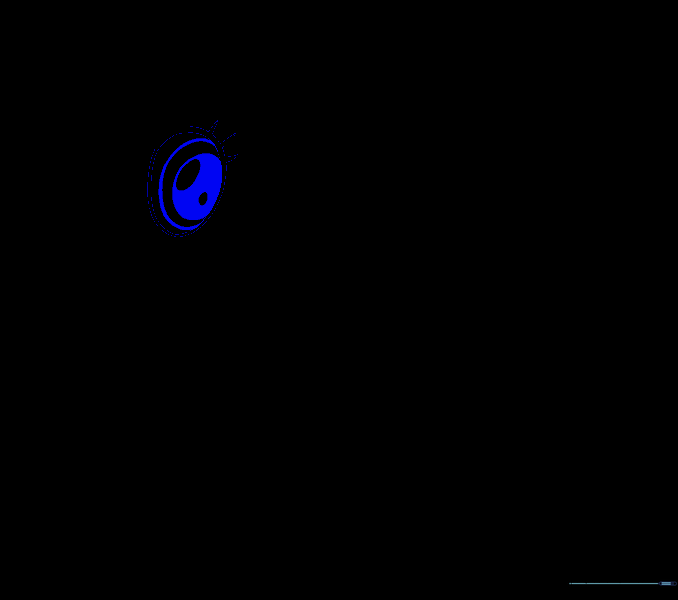
Draw the pupil and iris inside the eye. Leave two small white circles unshaded to create a 'glint' or sparkle. Tip: This sparkle makes the character look alive!
Step 20: Final Coloring
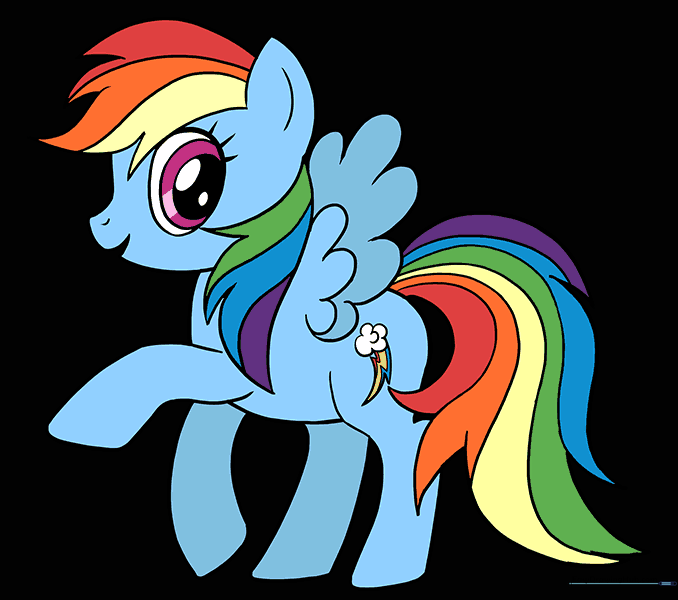
Color your Rainbow Dash! Use the classic rainbow order: red, orange, yellow, green, blue, and purple. Tip: Use light pressure for a smooth, even finish.
More Tutorials


