How to Draw Muscles: Simple Anatomy Guide for Beginners
Ready to bring your action heroes to life? This tutorial breaks down the complex human form into simple, manageable shapes, making it perfect for young artists and beginners. Grab your pencil and paper, and let’s master the basics of drawing a strong, athletic figure together.
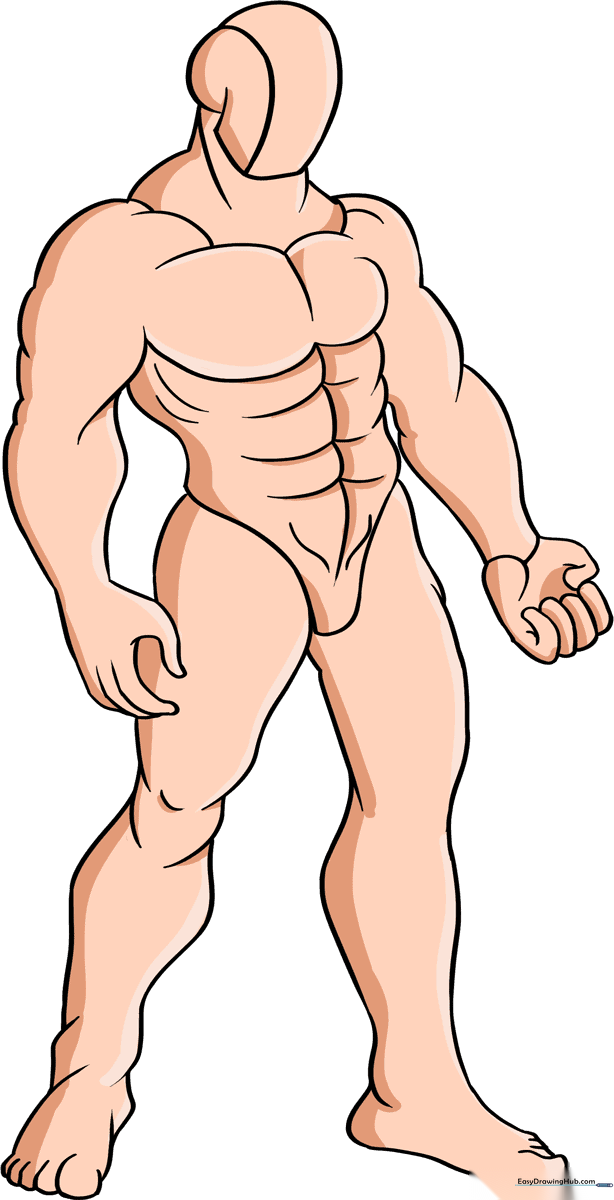
🎯 Final Result
Step-by-Step Instructions
Step 1: Sketching the Head

Start by drawing two overlapping curved lines to form an irregular shape for the head. Tip: Keep your pencil pressure light so you can easily refine the jawline later.
Step 2: Defining the Neck and Shoulders
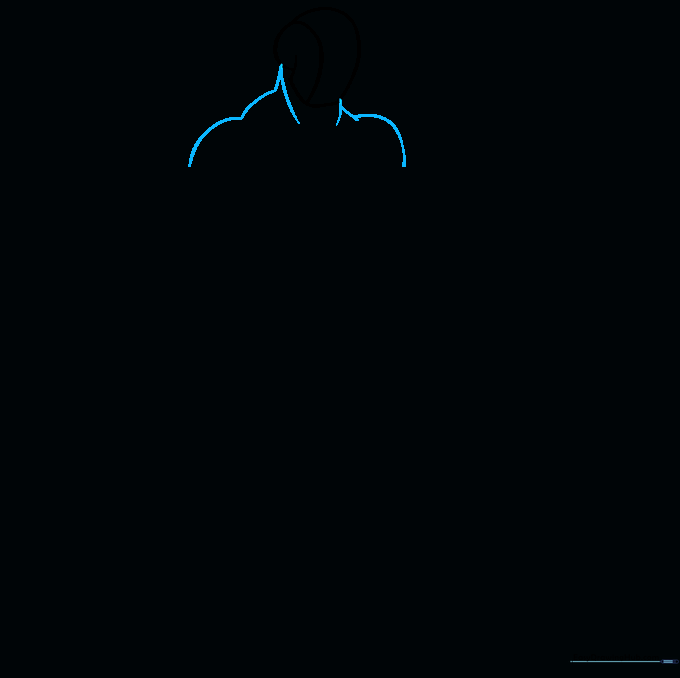
Use smooth, curved lines to outline the neck and the slope of the shoulders. Tip: Think of the shoulders as a gentle 'V' shape to give your character a sturdy, athletic stance.
Step 3: Shaping the Upper Arms
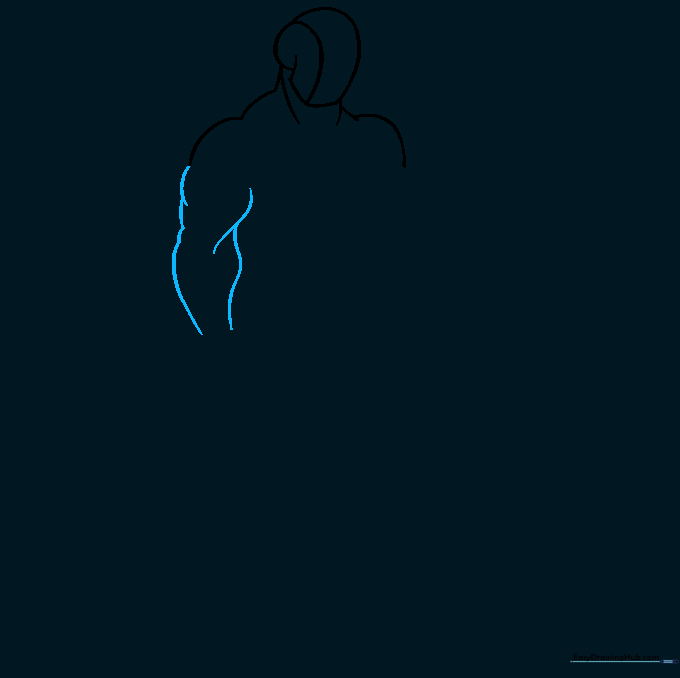
Draw overlapping curved lines to define the biceps and triceps. Tip: Keep the lines rounded to suggest volume; muscles are soft, not sharp, so avoid straight lines.
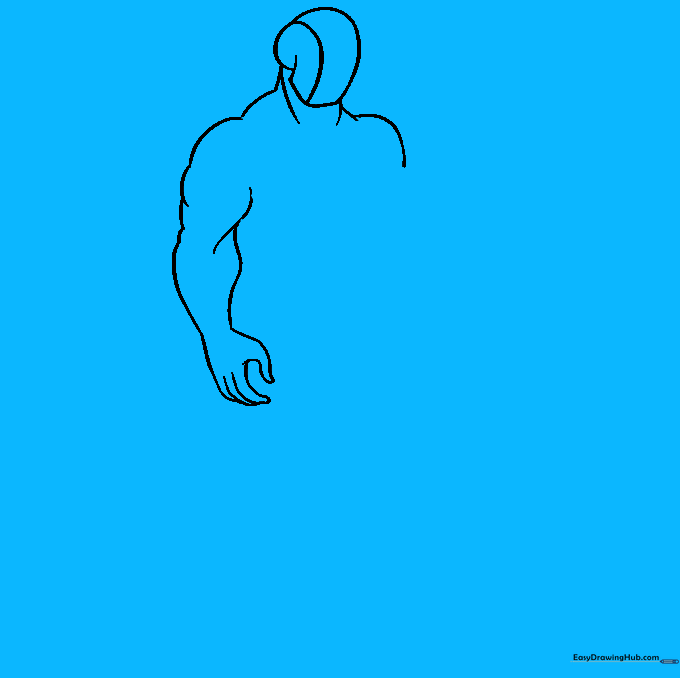
Step 4: Sketching the Hands

Sketch the sides of the hand and fingers using simple, fluid curves. Tip: Don't worry about individual knuckles yet; focus on the overall shape of a clenched fist.
Step 5: Adding the Chest and Torso
Add 'C' shaped lines to define the pectoral muscles and a long curve for the torso. Tip: The chest muscles should look like two rounded shields sitting on the ribcage.
Step 6: Refining the Arms and Fists
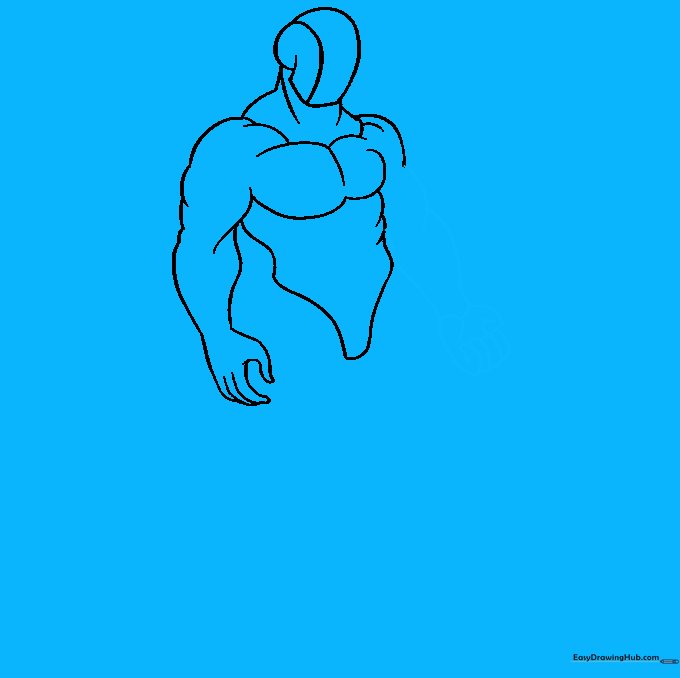
Complete the arm details and finalize the clenched fist. Tip: Use shorter, tighter curves for the fingers to show they are curled into the palm.
Step 7: Drawing the Legs
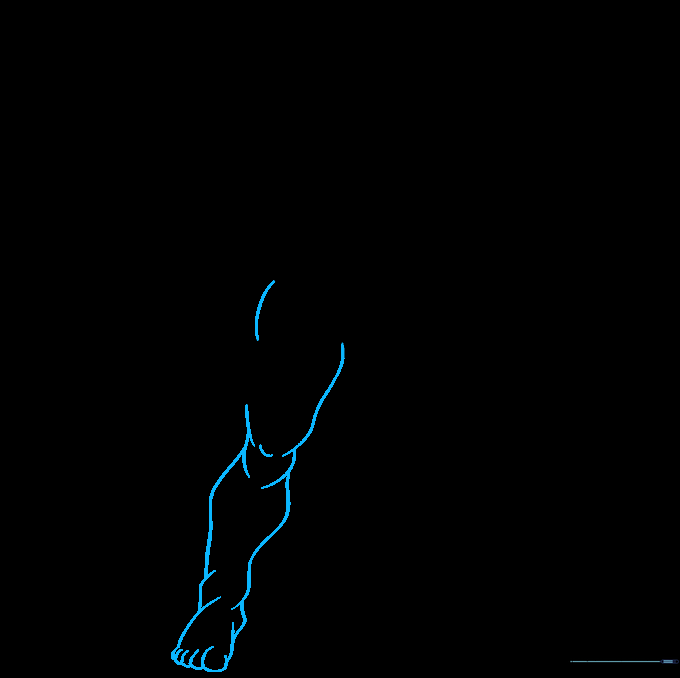
Use overlapping curves to build the thigh and calf muscles. Tip: The knee is a small, rounded shape—don't make it too pointy!
Step 8: Balancing the Figure
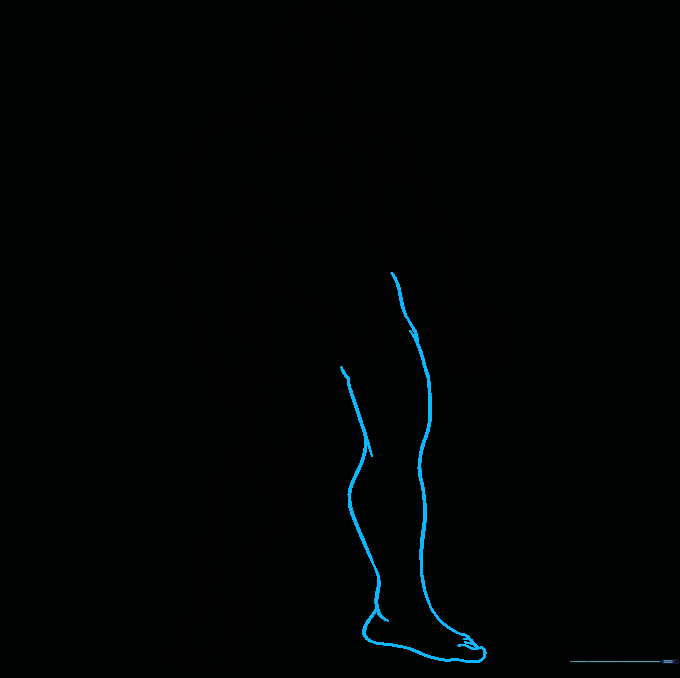
Repeat the leg and foot process for the other side. Tip: Ensure the legs are roughly the same length to keep your character looking balanced.
Step 9: Adding Abdominal Detail
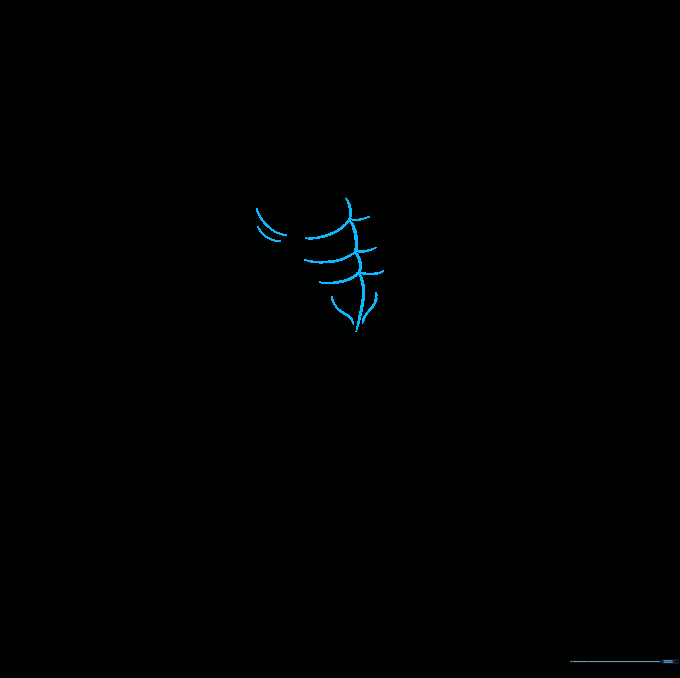
Draw a vertical line down the center of the torso and add horizontal curves for the abs. Tip: Keep these lines subtle; you don't need to draw every single muscle to show strength.
Step 10: Final Touches and Coloring
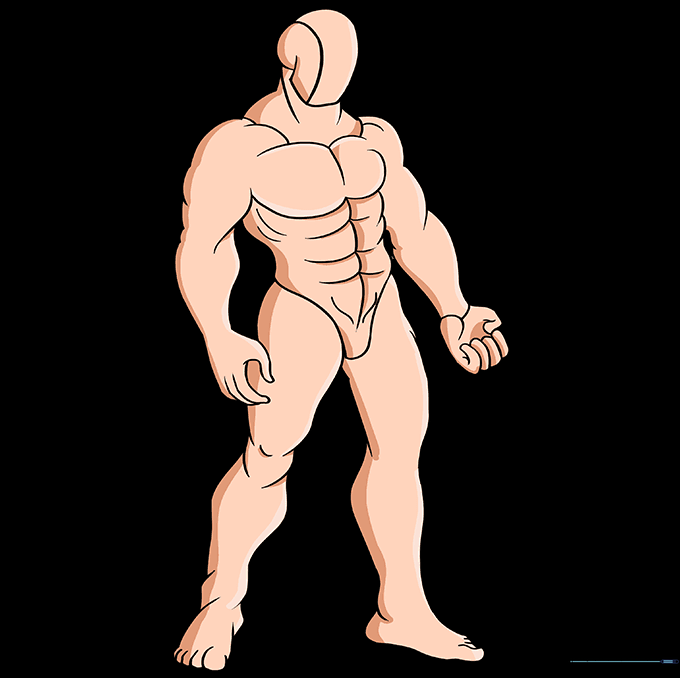
Erase your guide lines and add color! Tip: Use darker shades of your base color along the edges of the muscles to create a 3D shading effect.
More Tutorials


