How to Draw Mountains: Easy 10-Step Landscape Guide
Bring the great outdoors to your sketchbook with this beginner-friendly mountain landscape tutorial. Designed for artists ages 5 and up, this activity uses basic shapes to build a complex scene, helping children develop spatial awareness and fine motor control. All you need is a pencil, an eraser, and a piece of paper to get started.
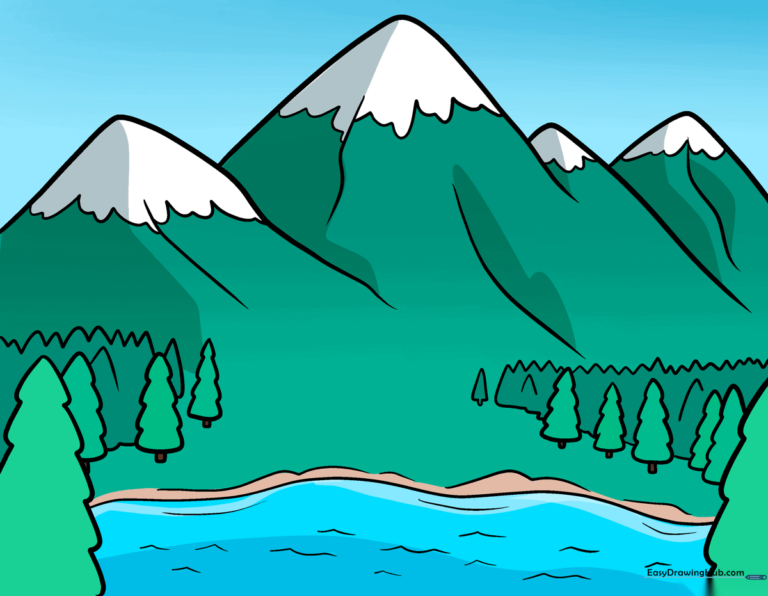
🎯 Final Result
Step-by-Step Instructions
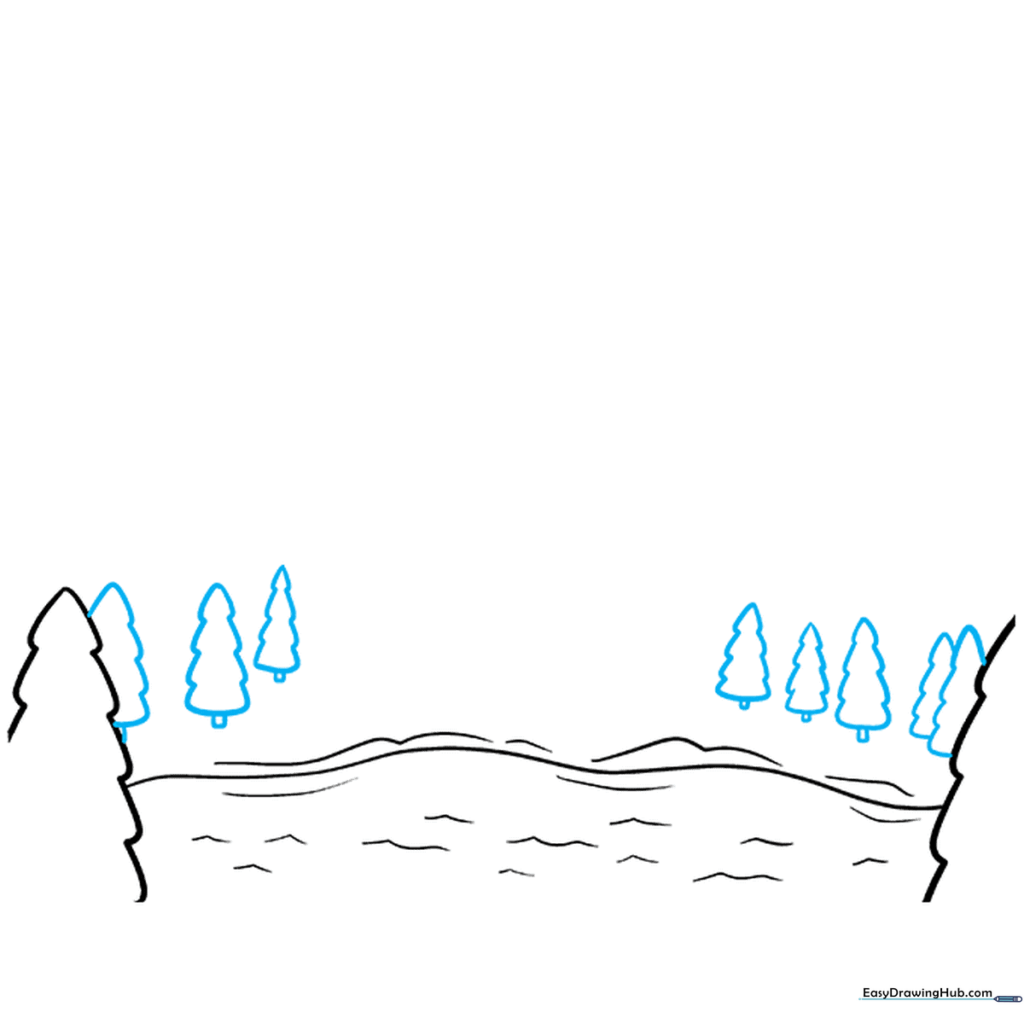
Step 1: Sketching the Foreground Trees
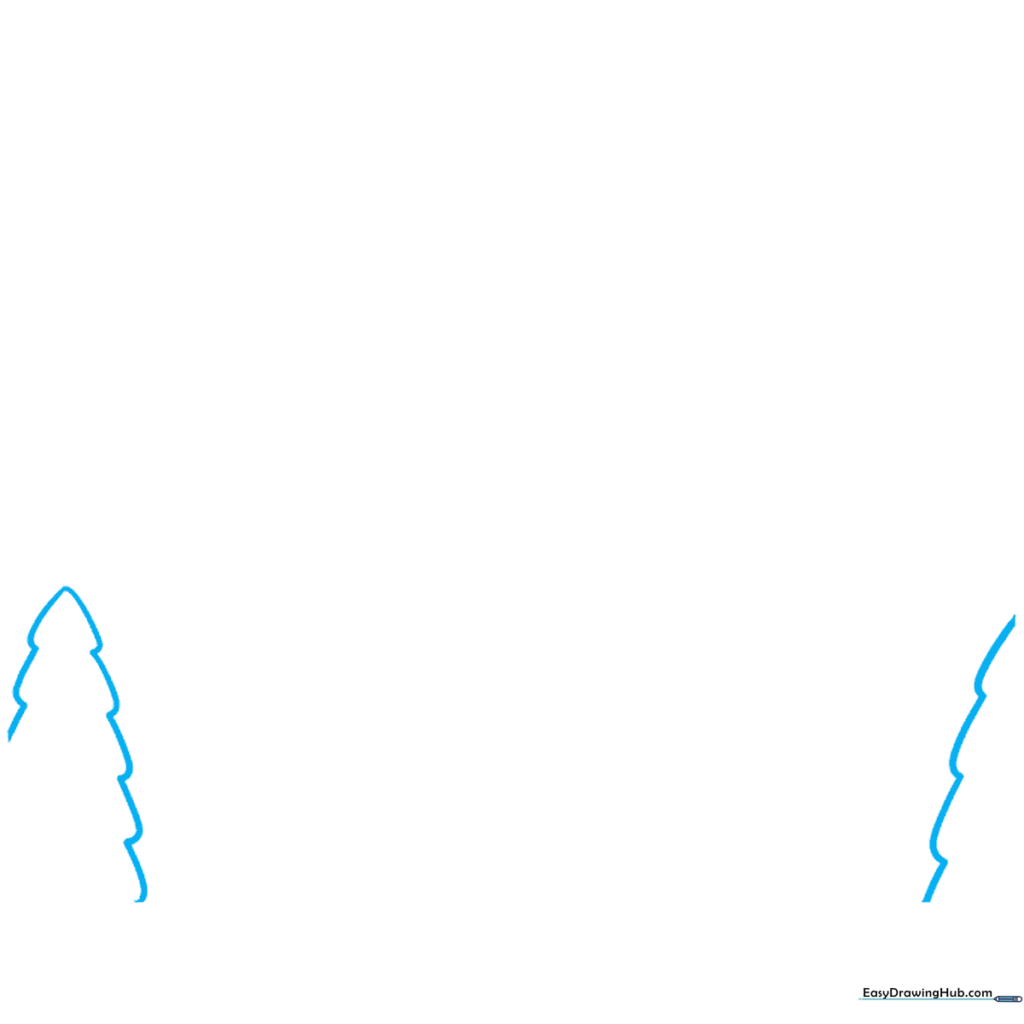
Start by drawing evergreen trees in the foreground using connected, jagged curved lines to form a triangle. Teacher's Tip: Keep the trees slightly different heights to make your forest look natural and organic.
Step 2: Defining the Shoreline
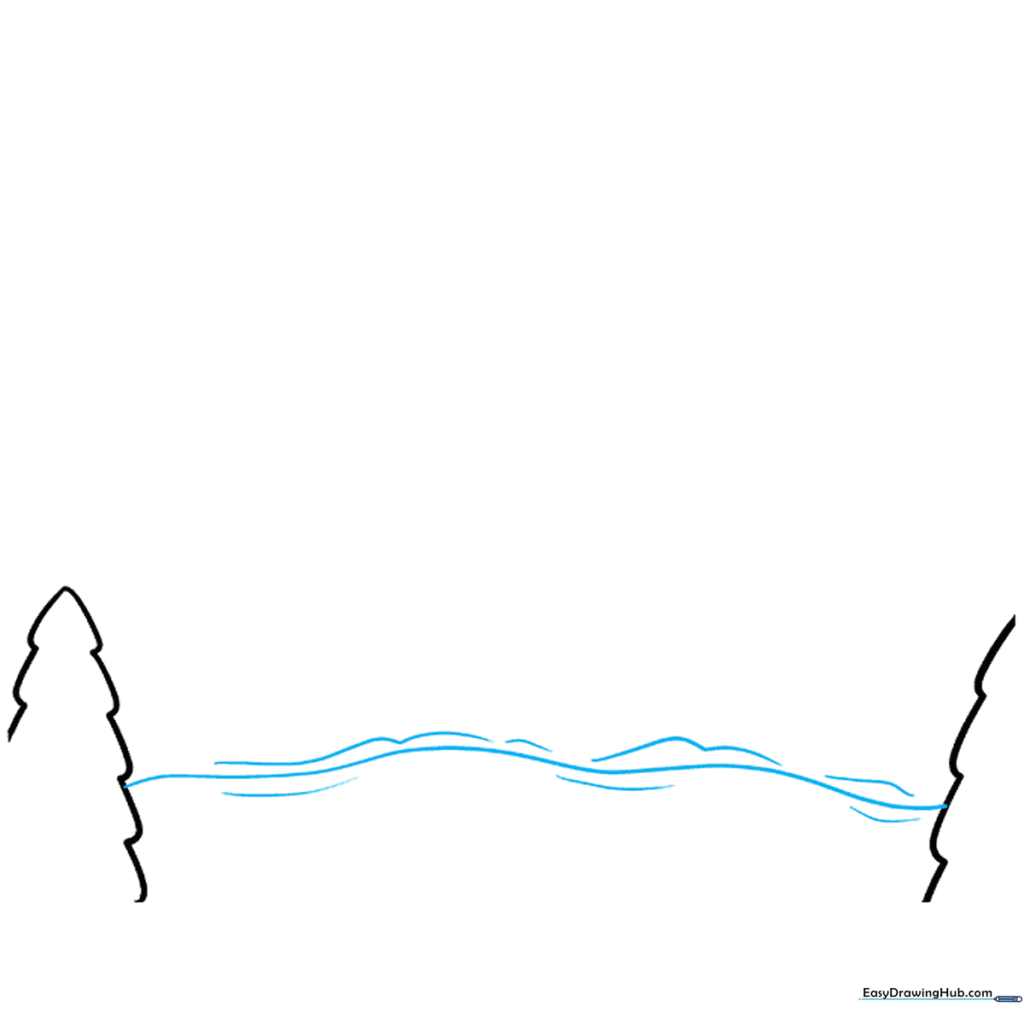
Draw a long, gentle wavy line between your trees to represent the edge of a lake. Tip: Use a light touch; water lines should look smooth, not sharp.
Step 3: Adding Water Texture
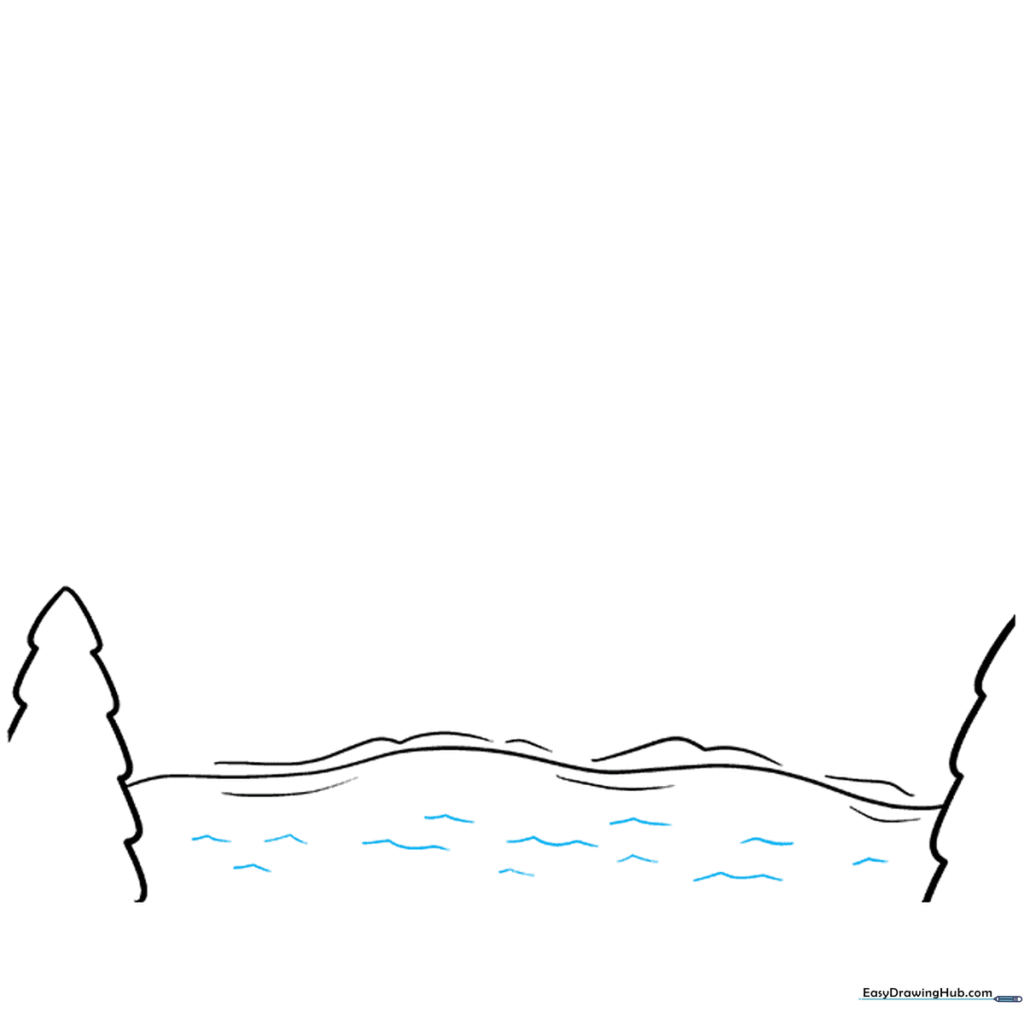
Add small, rhythmic wavy lines across the lake area to simulate ripples. Tip: Vary the length of your waves to make the water look like it's gently moving.
Step 4: Creating the Opposite Bank
Sketch more pine trees on the far side of the lake using the same triangle method, adding small rectangles at the base for trunks. Tip: Make these trees slightly smaller to create the illusion of distance.
Step 5: Filling the Forest
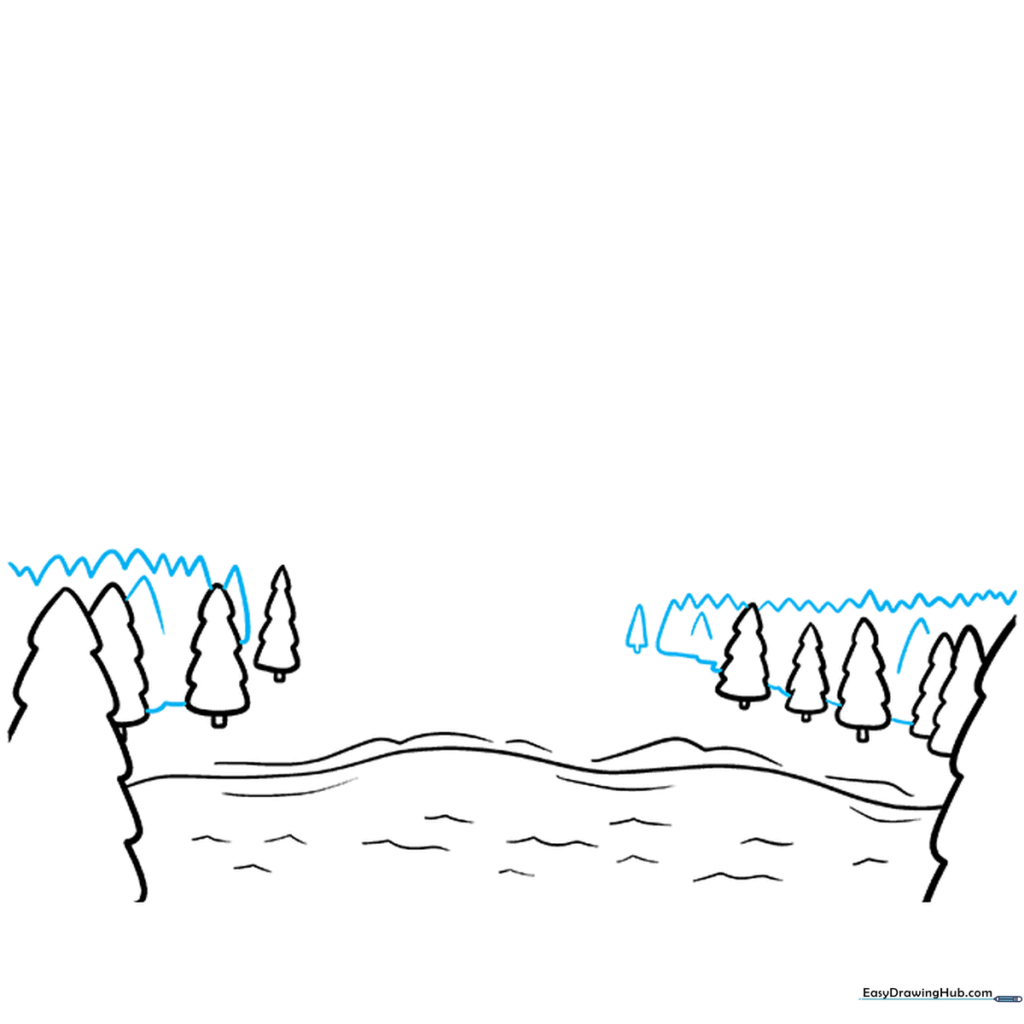
Use zigzag lines to create dense clumps of trees on both sides of your paper. Add a few inverted 'V' shapes for texture. Tip: Don't worry about making every tree perfect; forests are naturally messy!
Step 6: The First Mountain Peak
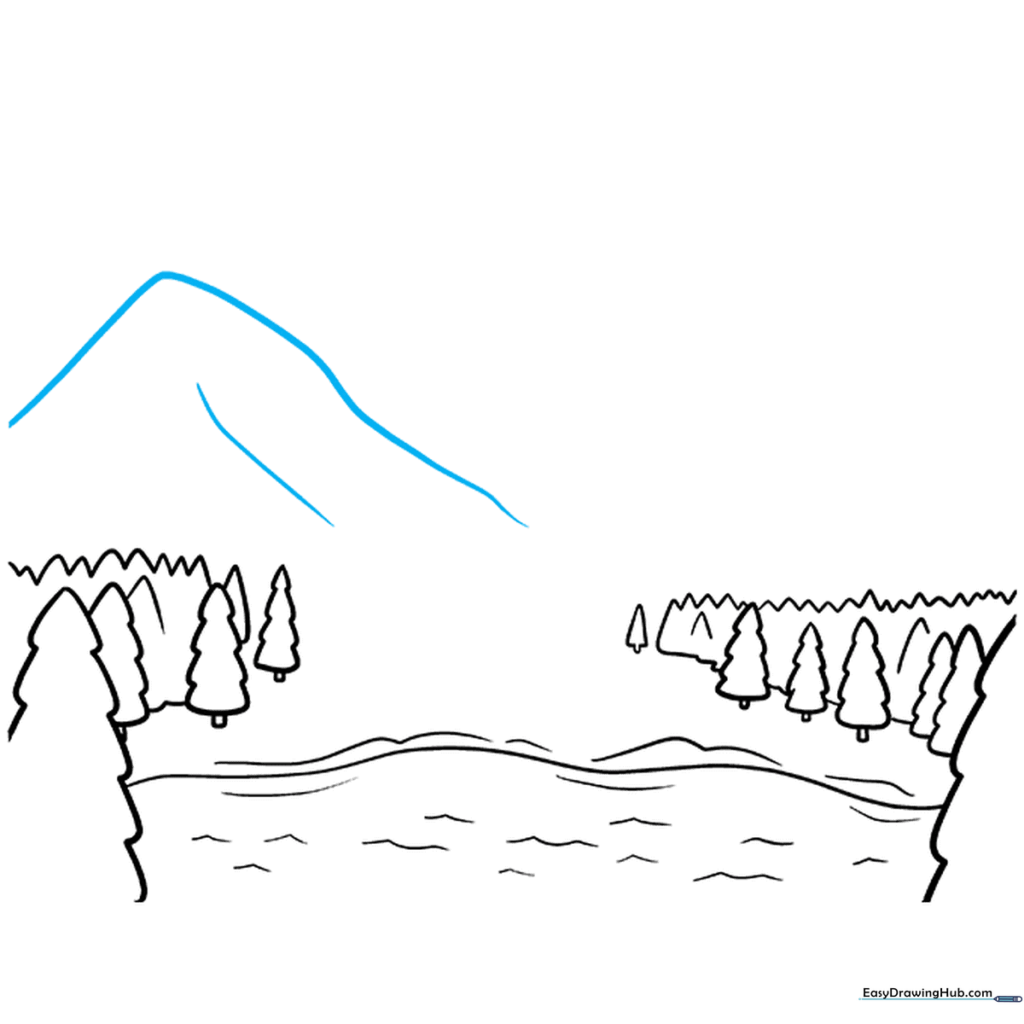
Draw a large, curved peak in the center of the background. Add a curved line down the side to show the mountain's slope. Tip: Think of this as a giant, lopsided triangle.
Step 7: Adding Height
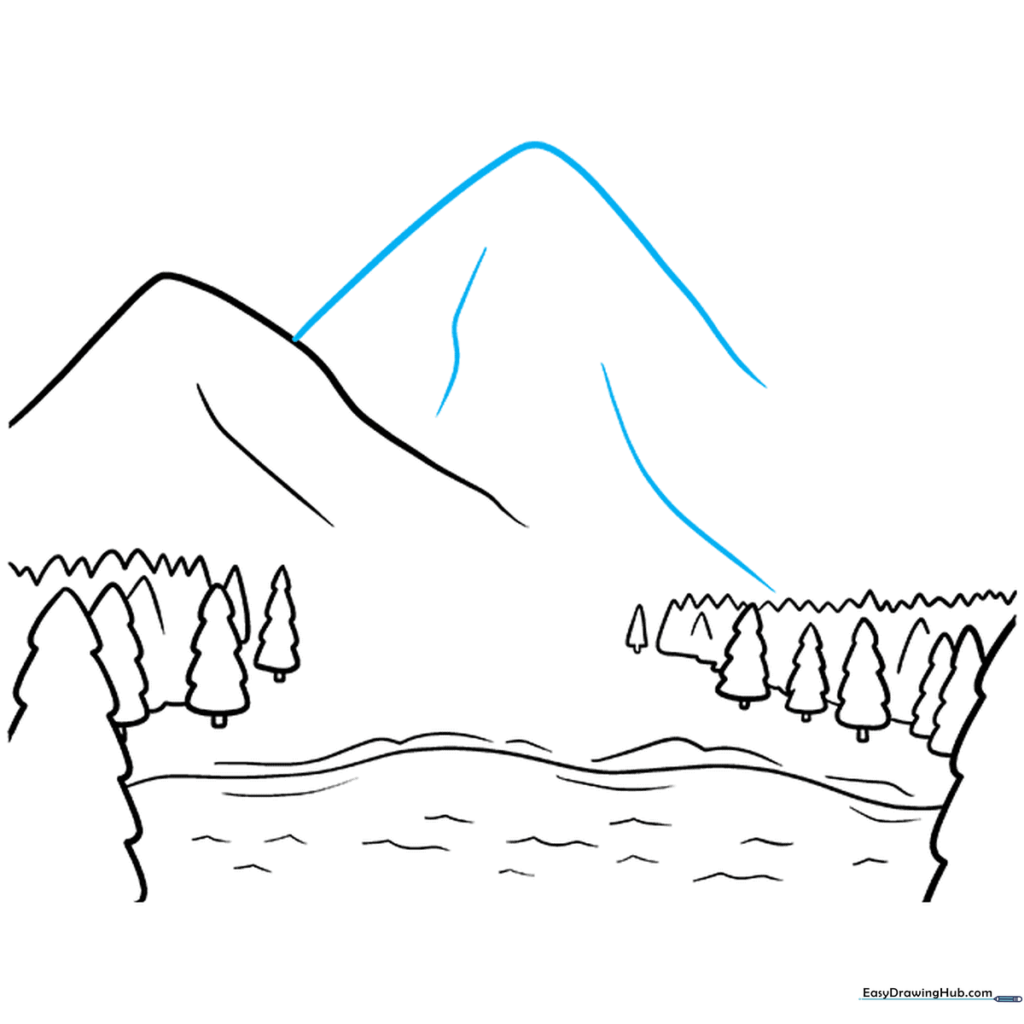
Draw a taller, blunted 'V' shape next to your first mountain. Contour the sides with long, sweeping lines. Tip: Overlapping your mountains creates a sense of depth.
Step 8: Completing the Range
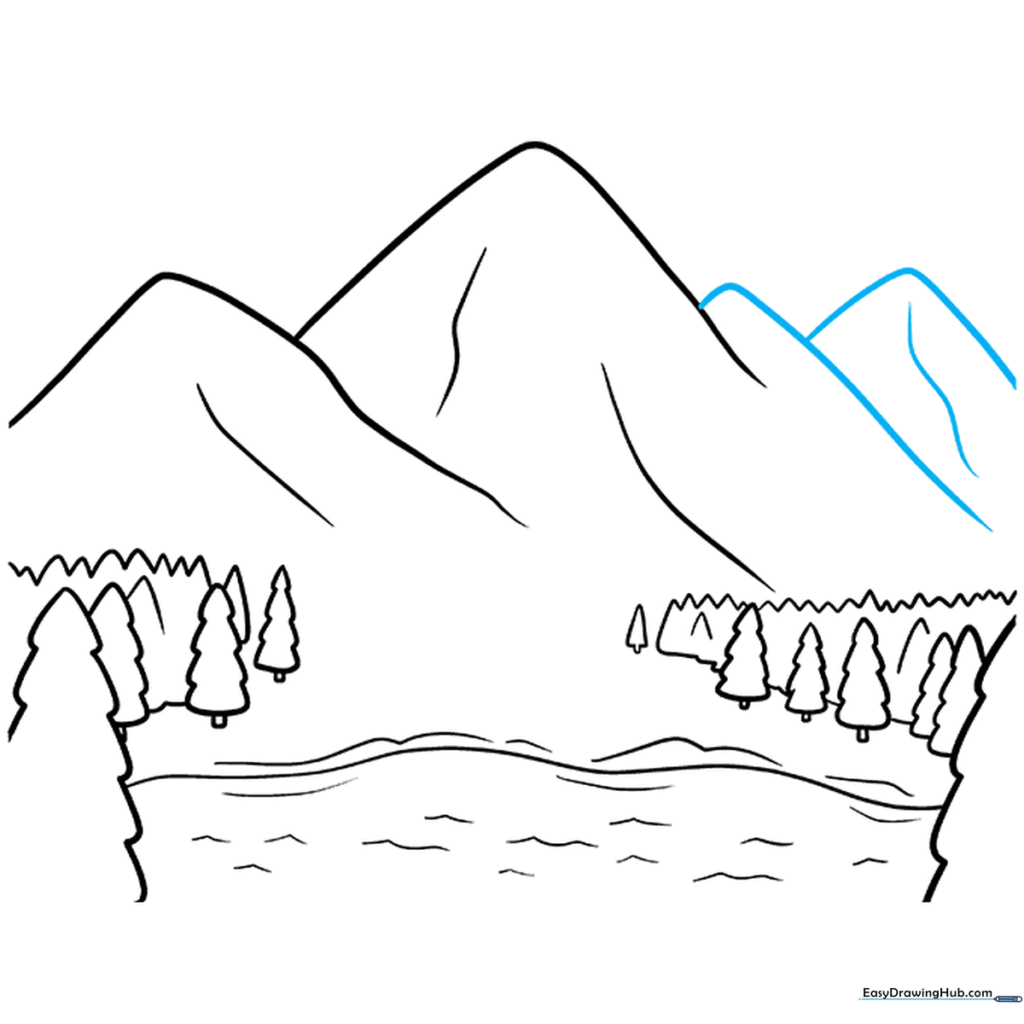
Sketch two more mountains to fill out your range, using curved lines for the slopes. Tip: Vary the angles of your peaks so they don't look like identical copies.
Step 9: Adding Snowcaps
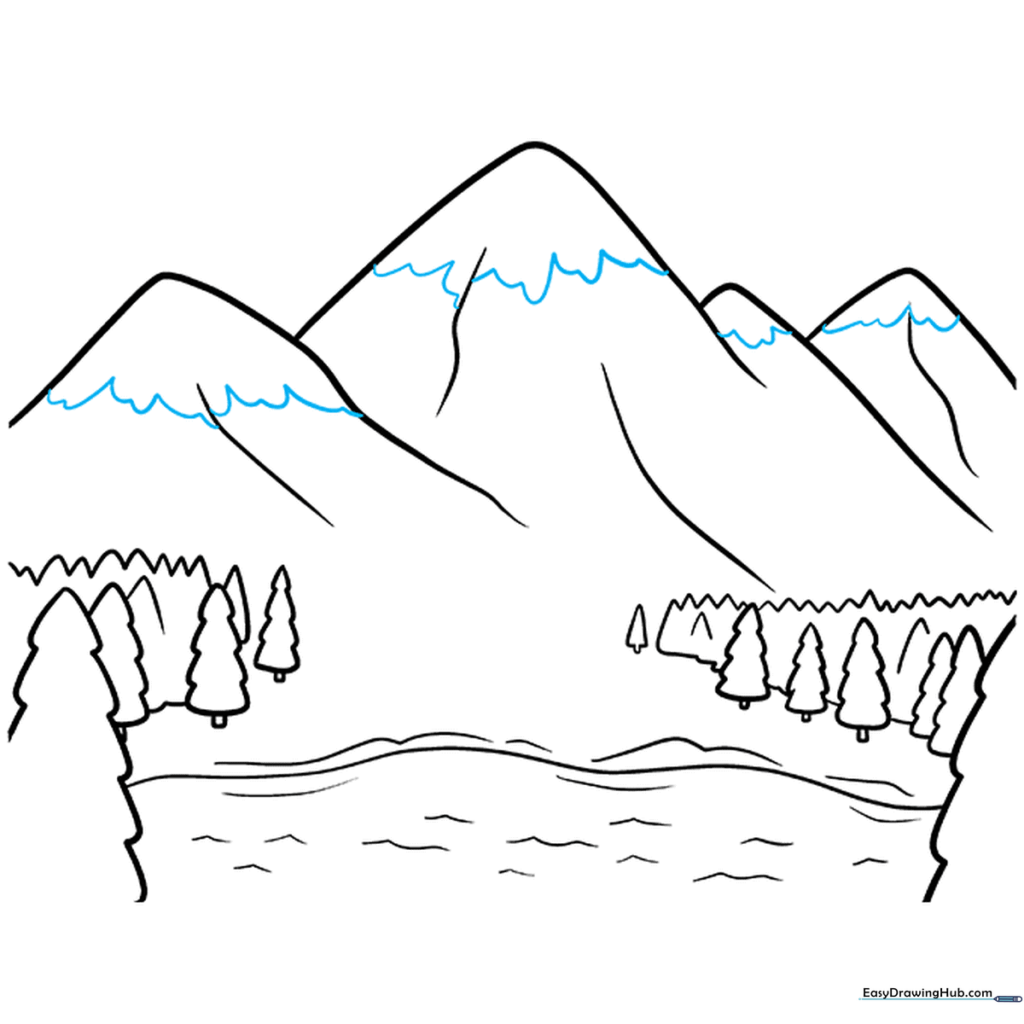
Draw 'U' shaped lines across the tops of your mountains to represent snowy icecaps. Tip: Keep these lines irregular to make the snow look like it's melting down the slopes.
Step 10: Final Coloring
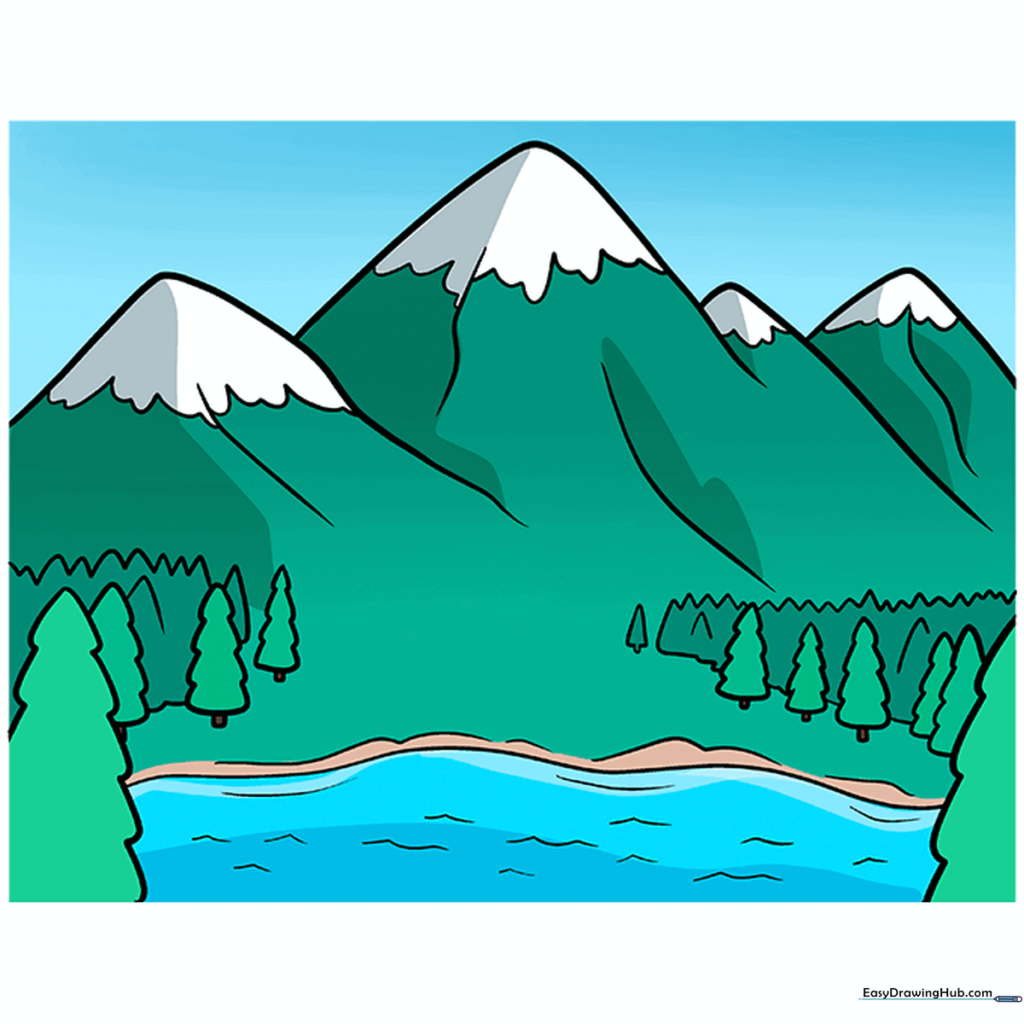
Bring your drawing to life with color! Use deep greens for the forest, browns for the rocky slopes, and cool blues or whites for the snow. Tip: Press harder with your pencil at the base of the mountains to add a shadow effect.
More Tutorials


