How to Draw Mount Everest: Easy 10-Step Landscape Guide
Capture the majesty of the world's highest peak with this beginner-friendly landscape tutorial. Designed for young artists ages 6+, this activity uses basic shapes to build confidence in sketching natural forms. All you need is a pencil, an eraser, and a sheet of paper to begin your mountain adventure.
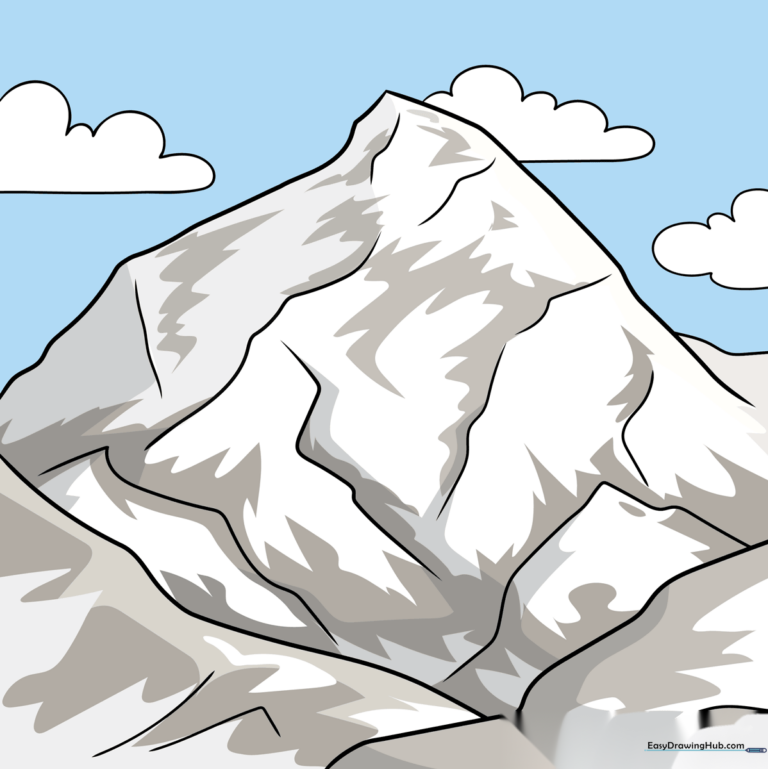
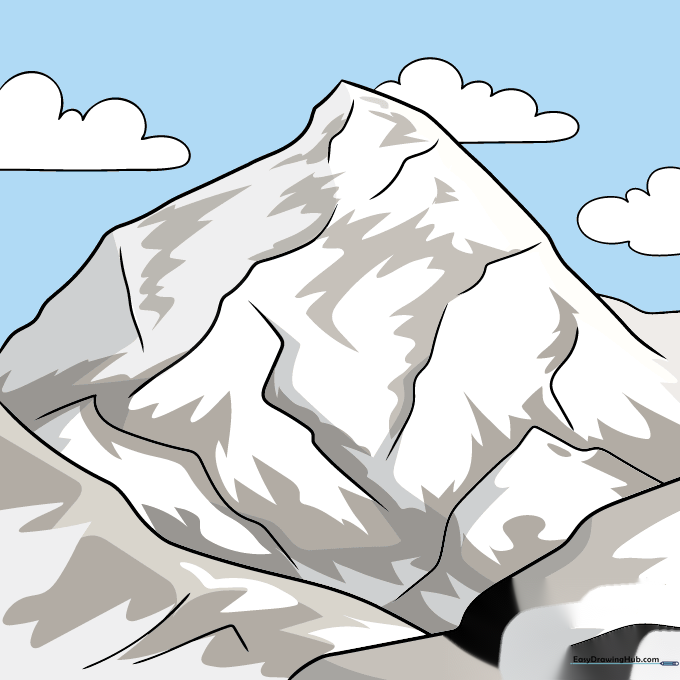
🎯 Final Result
Step-by-Step Instructions
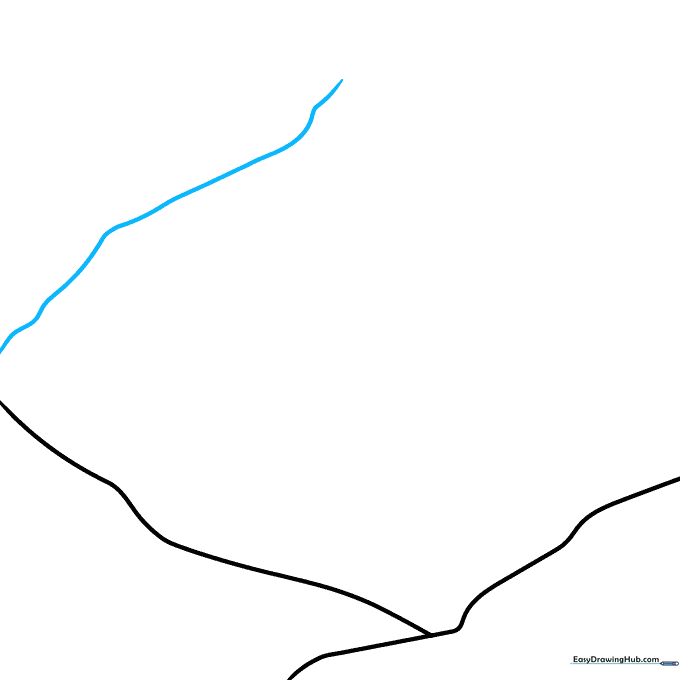
Step 1: Sketching the First Slope

Start your mountain by drawing a long, wavy diagonal line. Teacher's Tip: Keep your pencil grip loose; a light touch makes it much easier to adjust the shape later.
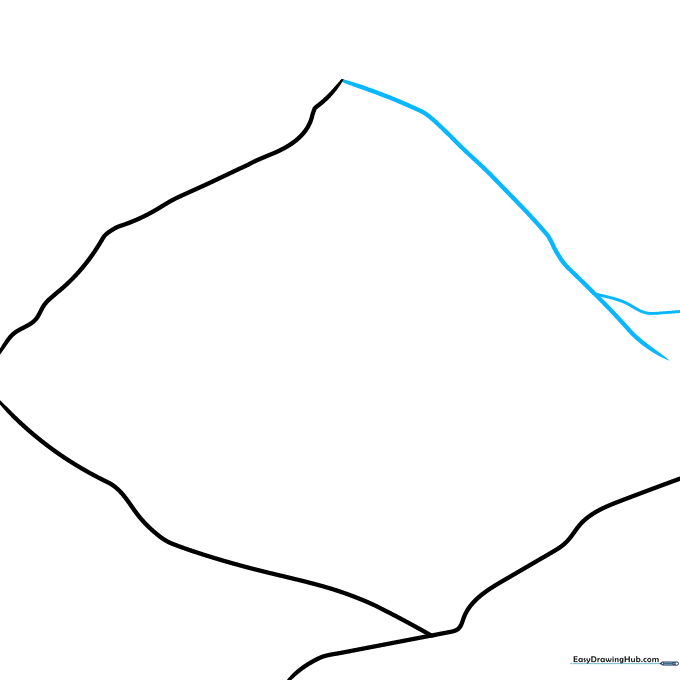
Step 2: Creating the Peak

Draw a second wavy line at an opposite angle so that it intersects the first, forming a triangular peak. Tip: Make sure the lines meet at a sharp point to represent the summit.
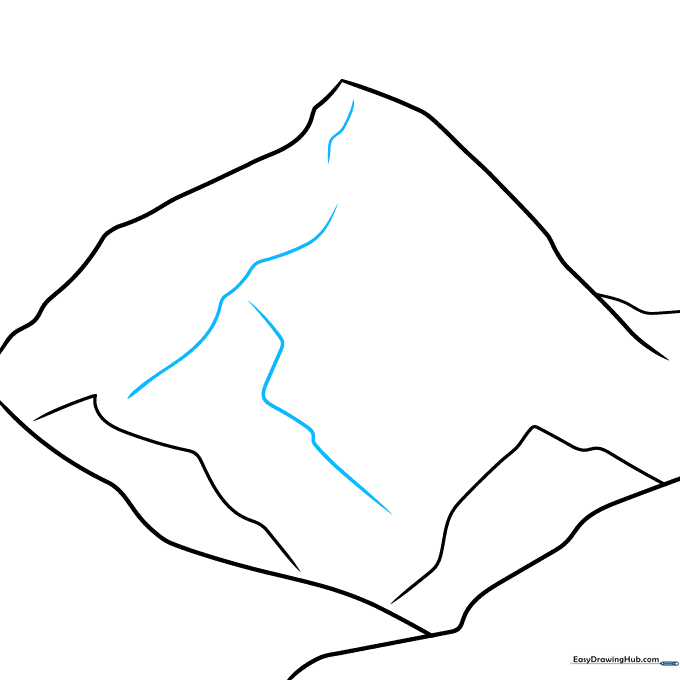
Step 3: Adding Contour Lines
Add another wavy diagonal line to the side. Focus on the rhythm of the line—steep, then leveling out, then steep again. This mimics the natural, uneven terrain of a real mountain.
Step 4: Defining the Base
Extend a line from the previous section to create the lower slope, and add a small 'Y' fork at the end. This fork helps ground the mountain visually.
Step 5: Adding Front Ridges
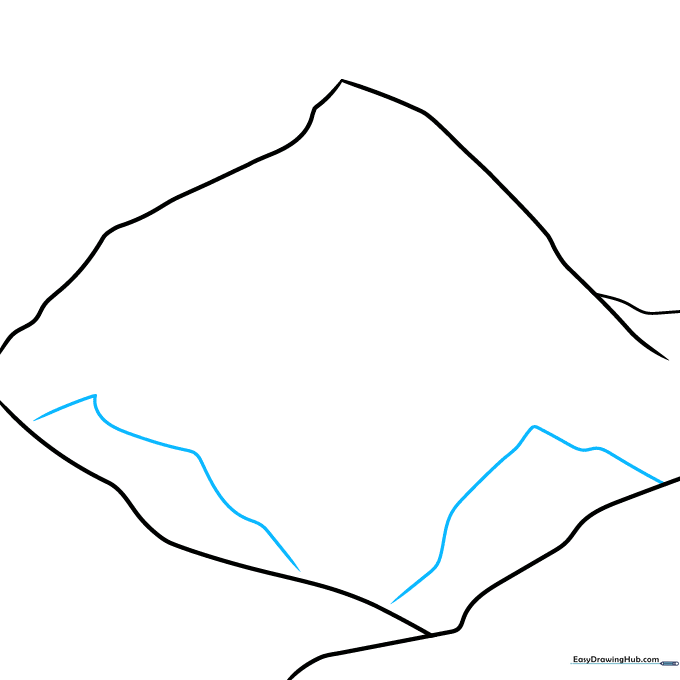
Draw two wavy lines across the front face of the mountain. Tip: Use jagged, short strokes to suggest rocky ridges rather than smooth, round lines.
Step 6: Detailing the Side Faces
Add three wavy lines on the side in an upside-down 'Y' formation. This creates the illusion of different rock faces catching the light.
Step 7: Refining the Contours
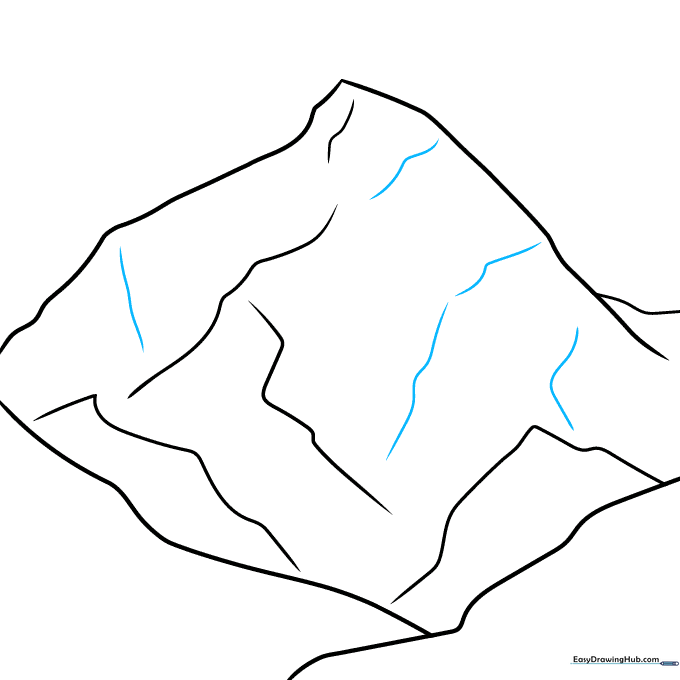
Add more wavy lines across the faces. Think of these as the 'wrinkles' of the mountain—they help show the steepness of the terrain.
Step 8: Adding Clouds and Base Texture
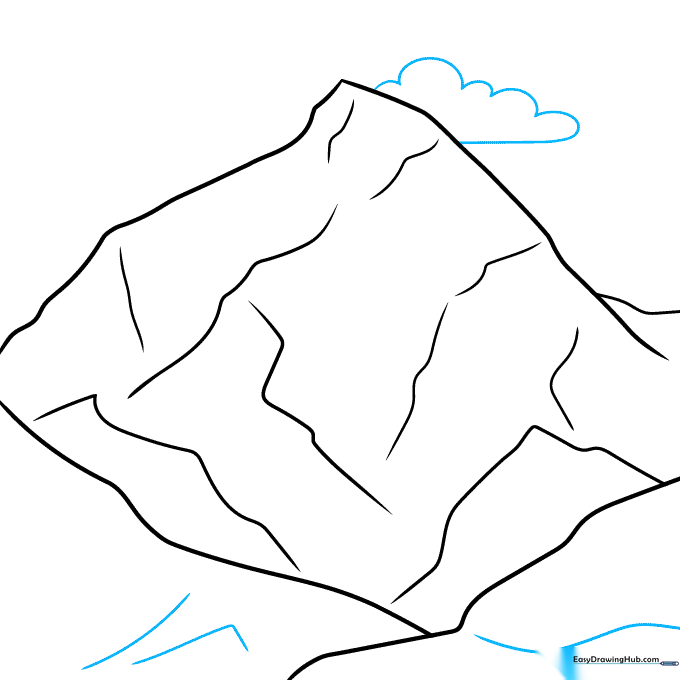
Texture the base with small curved lines, then draw a fluffy cloud behind the peak. Tip: Use 'U' shapes for the top of the cloud to make it look soft and puffy.
Step 9: Completing the Sky
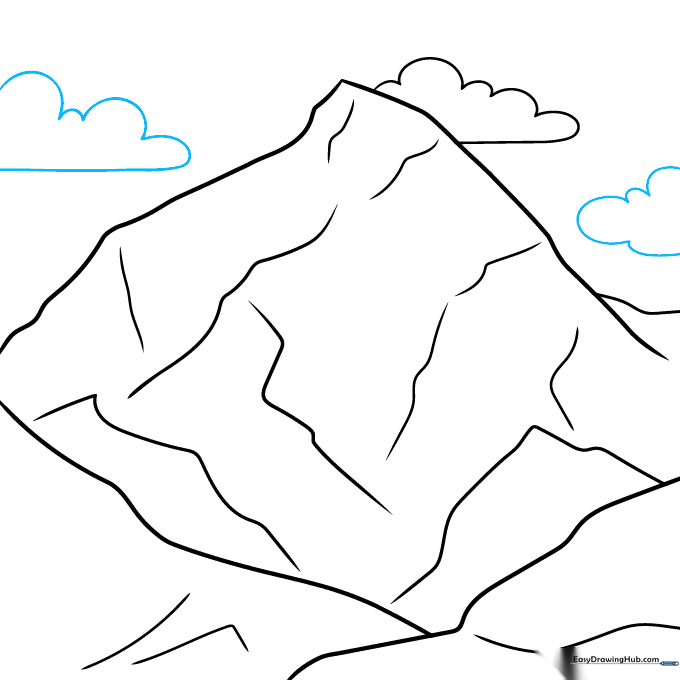
Add a few more clouds around the peak. Vary the sizes of the clouds to create a sense of scale and distance.
Step 10: Bringing it to Life with Color
Your outline is finished! Now, bring it to life. Use earthy browns and greys for the rock, and leave some white space for the snow-capped summit.
More Tutorials


