How to Draw Luffy from One Piece: Easy 10-Step Guide
Bring the captain of the Straw Hat Pirates to life with this beginner-friendly drawing tutorial. Designed for aspiring artists ages 7 and up, this guide requires only a pencil, eraser, and paper to recreate Luffy's iconic look. Follow these steps to practice essential anime proportions and character detailing.
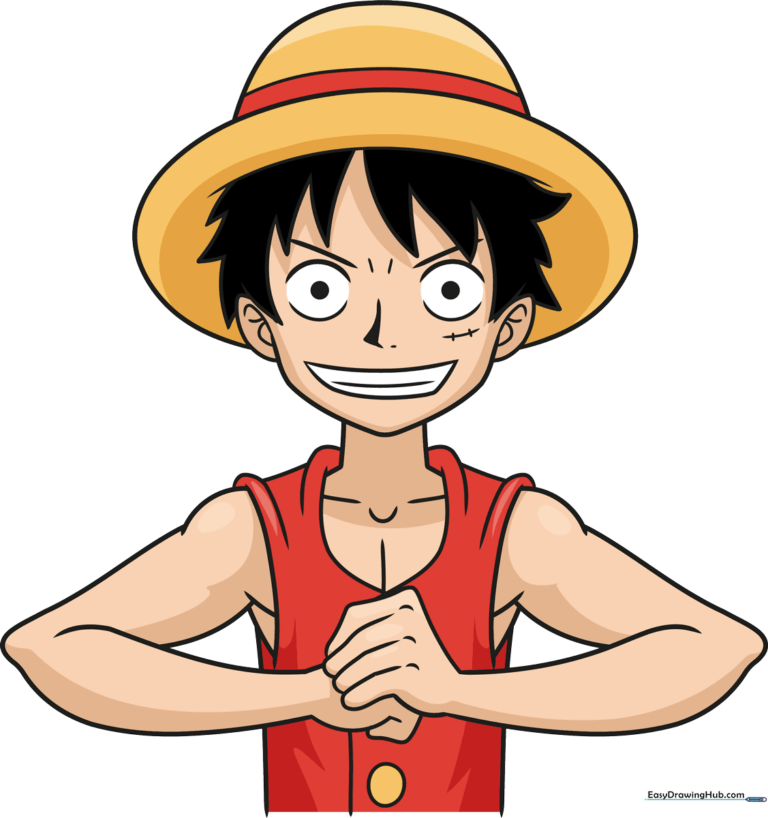
🎯 Final Result
Step-by-Step Instructions
Step 1: Sketching the Eyes and Scar

Start by drawing two circular pupils, then frame them with curved lines to create Luffy's signature wide-eyed look. Add thick horizontal lines for the eyebrows and a small triangle for the nose. Teacher's Tip: Use a light touch with your pencil here—if the eyes aren't perfectly symmetrical, you'll want to erase and adjust before moving on to the face shape.
Step 2: Defining the Face and Mouth

Draw a long, smooth curve to form the chin and cheeks, adding small loops on the sides for ears. Sketch a trapezoid shape for the mouth, adding a horizontal line to show his teeth. Teacher's Tip: Keep the chin slightly rounded rather than pointed to capture Luffy's youthful, energetic expression.
Step 3: Adding the Spiky Hair
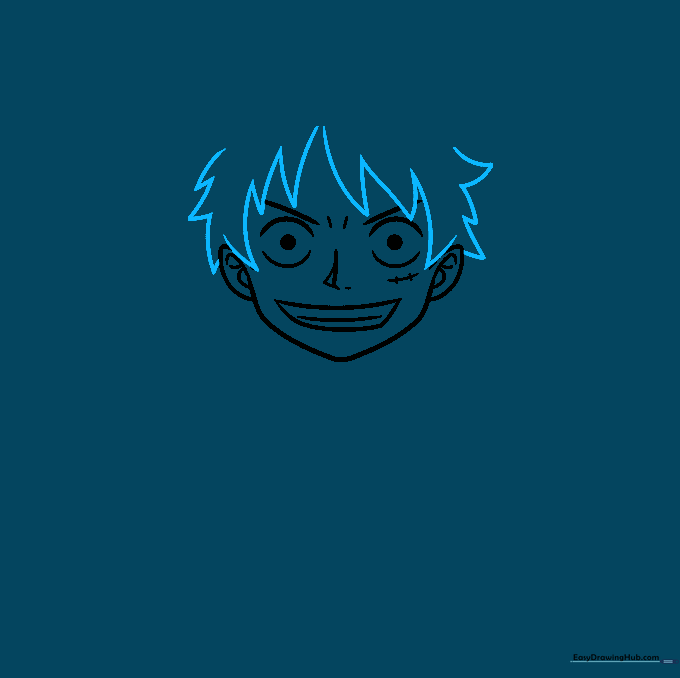
Luffy's hair is all about movement. Use jagged, curved lines that meet at sharp points to create his messy, iconic hairstyle. Teacher's Tip: Don't worry about making every spike identical; the more varied the sizes, the more natural and 'anime-style' the hair will look.
Step 4: Drawing the Straw Hat

Draw the neck and shoulders first, then place a large oval over the top of his head to form the brim of his hat. Add a curved line for the crown and a band across the middle. Teacher's Tip: Draw the hat brim as one continuous, smooth oval to ensure it looks balanced on his head.
Step 5: Sketching the Shoulders
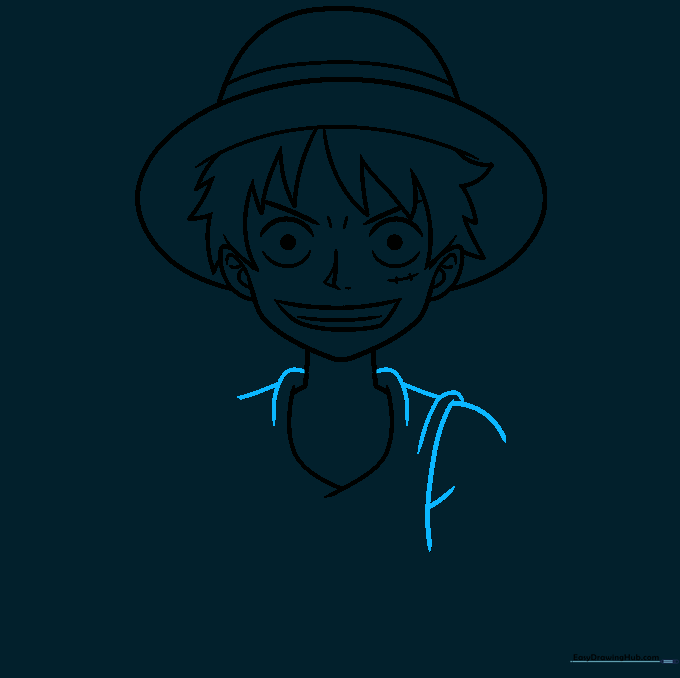
Use overlapping curved lines to define the shoulders and the top of his shirt. Teacher's Tip: Think of these lines as 'folds' in fabric; keeping them slightly curved helps the clothing look realistic rather than stiff.
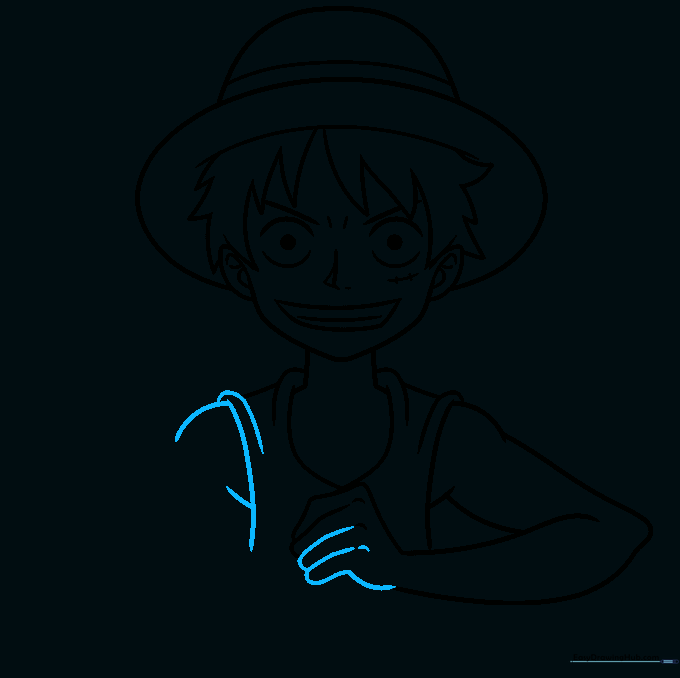
Step 6: Drawing the First Arm
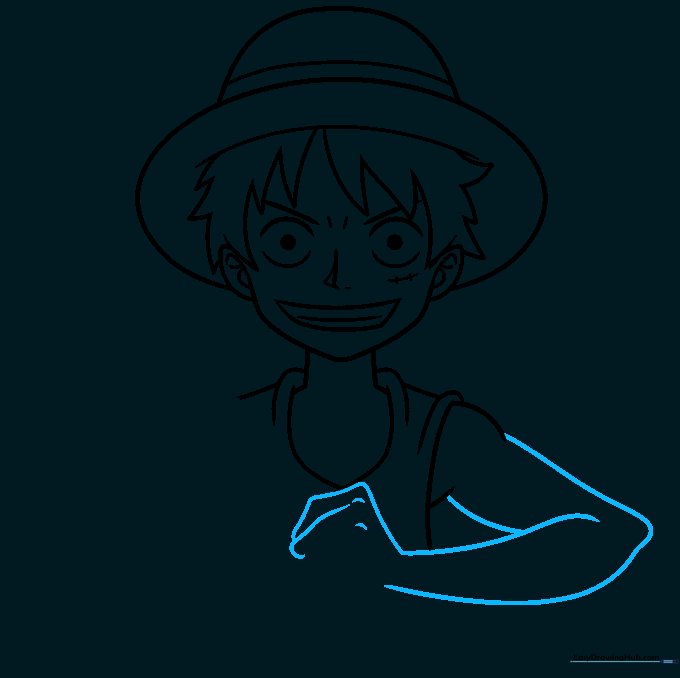
Use pairs of curved lines to sketch the arm, ending with the hand. Add small curved lines for the knuckles. Teacher's Tip: Hands are tricky! Focus on the overall shape of the fist first before adding the small details of the fingers.
Step 7: Adding the Second Arm
Repeat the process for the other arm, using overlapping curves to show the sleeve and the hand. Teacher's Tip: Ensure the arms look proportional to the head size you established in Step 1.
Step 8: Refining the Arms
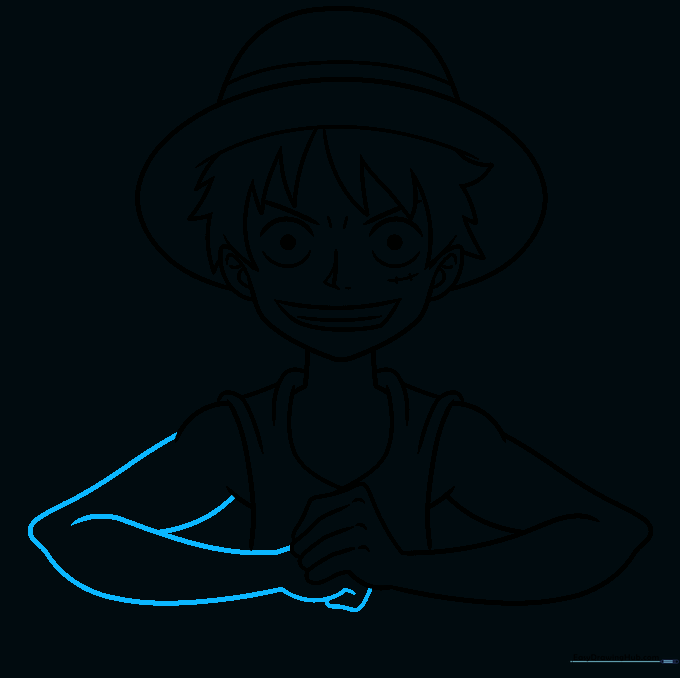
Use curved lines to finalize the shape of the arms and hands. Teacher's Tip: If your lines look too 'hairy,' try to use one long, confident stroke instead of many short ones.
Step 9: Detailing the Torso
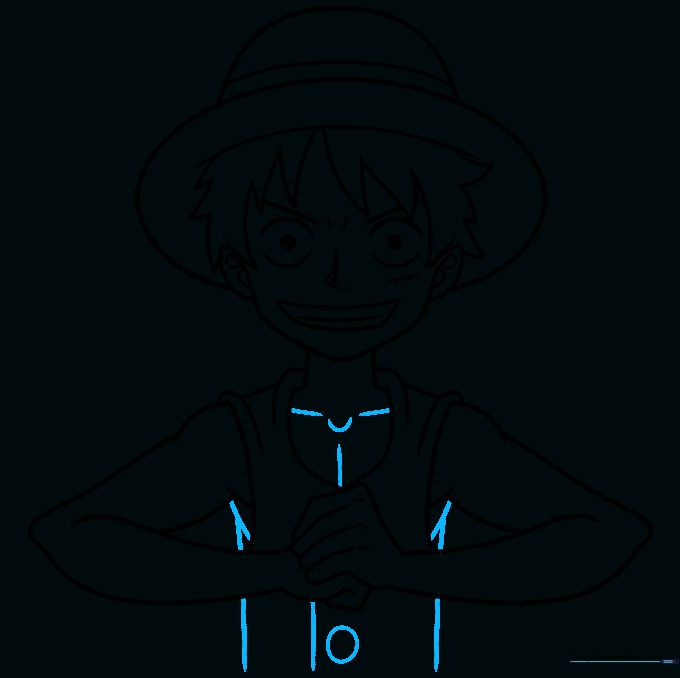
Add the collarbone and pectoral muscles using a 'C' shaped line and light strokes. Draw the shirt opening and the large button. Teacher's Tip: Keep these lines very light; they are meant to be subtle muscle definitions, not heavy outlines.
Step 10: Adding Color
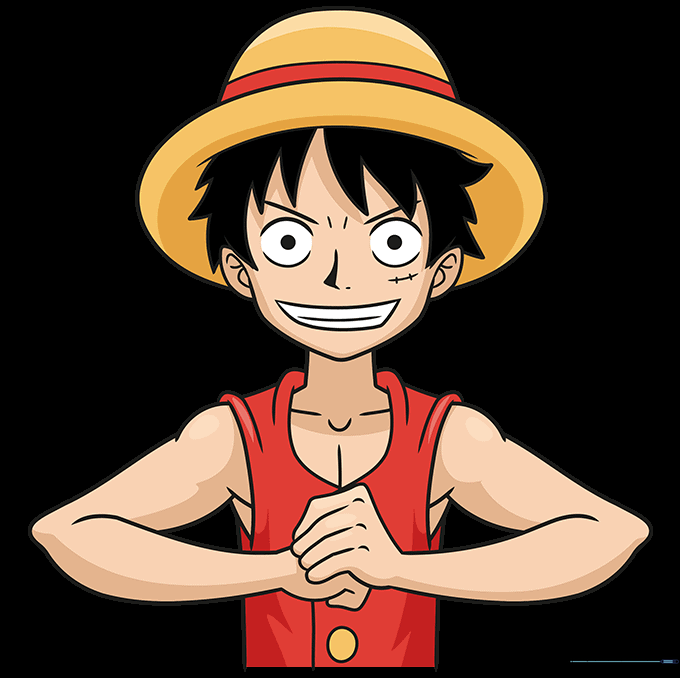
Bring your drawing to life with color! Use a vibrant red for his shirt and the hat band. Teacher's Tip: Use light, circular motions when coloring to keep the pigment smooth and even across the paper.
More Tutorials


