How to Draw Moana: Easy 10-Step Guide for Kids
Bring the brave voyager to life with this easy-to-follow drawing guide, perfect for young artists ages 7 and up. You will only need a pencil, an eraser, and your favorite coloring supplies to complete this character portrait. Follow these steps to build confidence and master the proportions of this iconic adventurer.
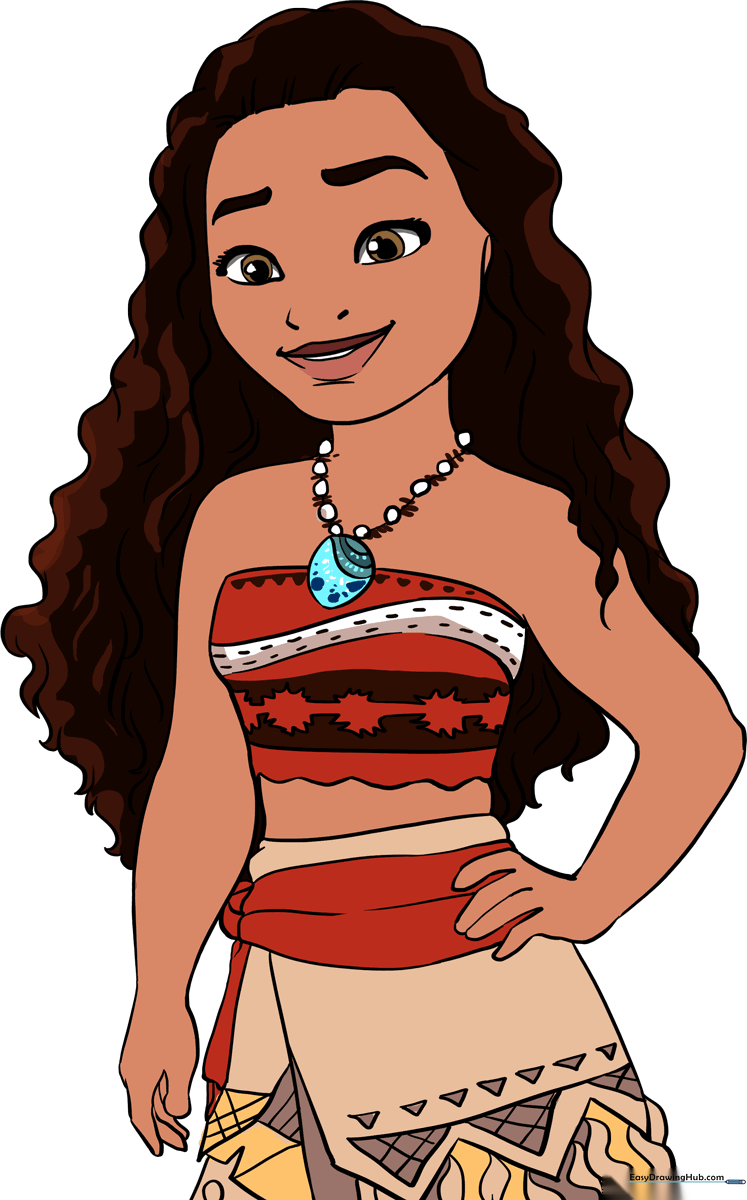
🎯 Final Result
Step-by-Step Instructions
Step 1: Sketching the Head and Neck
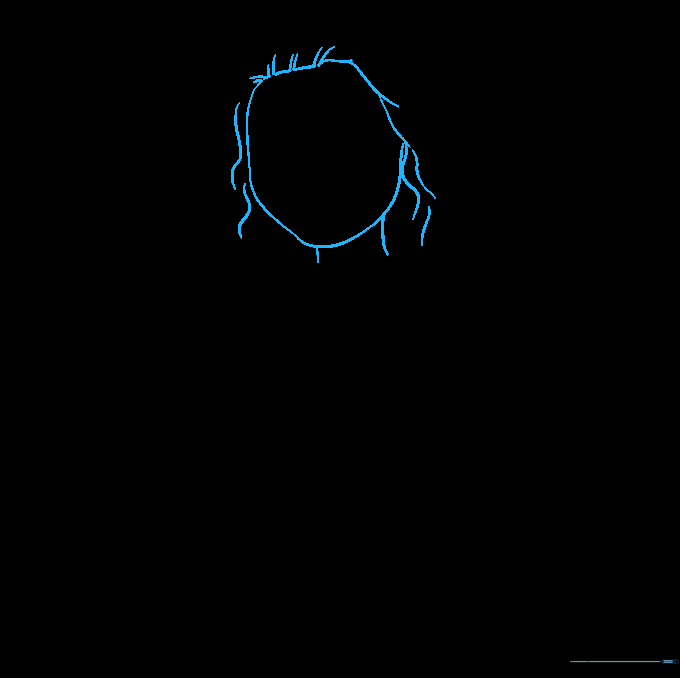
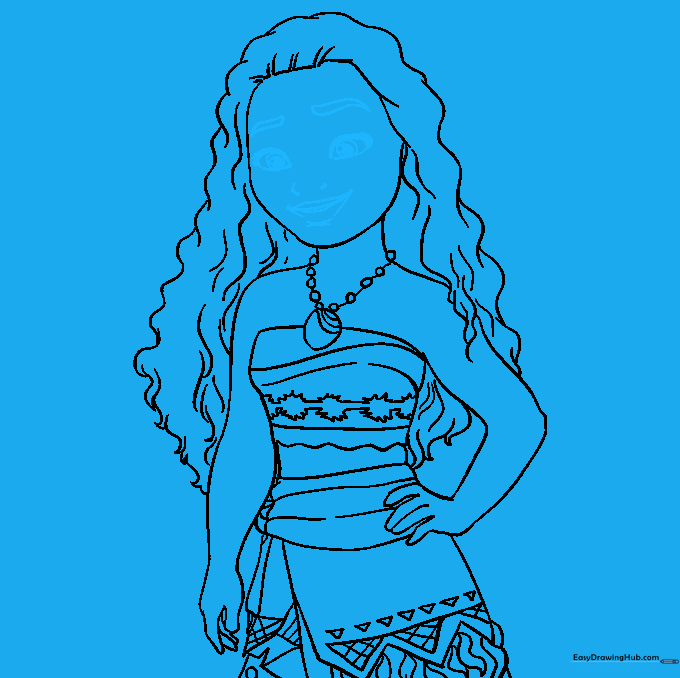
Start by lightly sketching the outline of Moana's face, chin, and neck. Add short, curved strokes at the top to map out her hairline. Teacher's Tip: Keep your pencil pressure very light here so you can easily erase your guide lines once the hair is finished.
Step 2: Adding the Necklace and Blouse
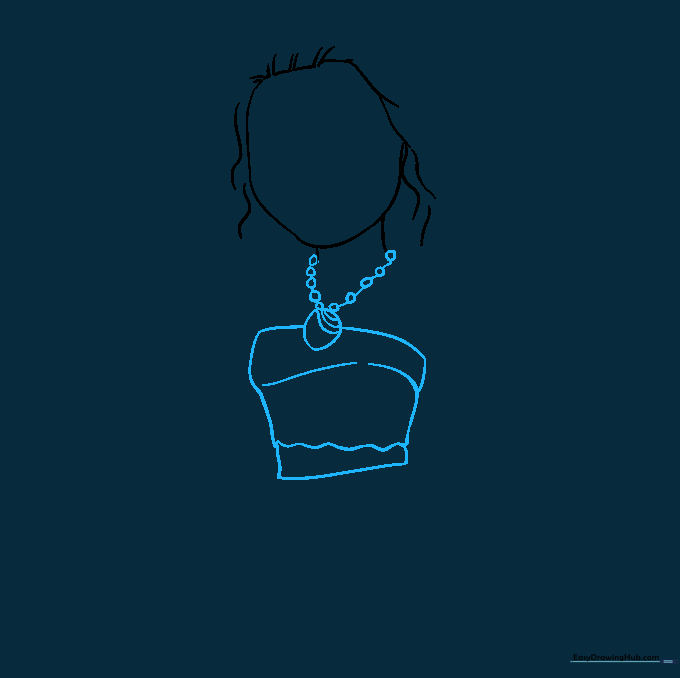
Draw a series of small circles for her iconic necklace beads, connecting them with short lines. Below this, sketch the shape of her blouse using a slightly curved, four-sided shape. Tip: Make sure the blouse lines follow the curve of the body to give the drawing a more realistic, 3D feel.
Step 3: Drawing the First Arm

Extend two long, curved lines from the neck and blouse to form the arm. Use simple 'U' shapes at the end to represent her fingers. Tip: Don't worry about perfect fingers yet; focus on the smooth, flowing curve of the arm to show movement.
Step 4: Sketching the Second Arm
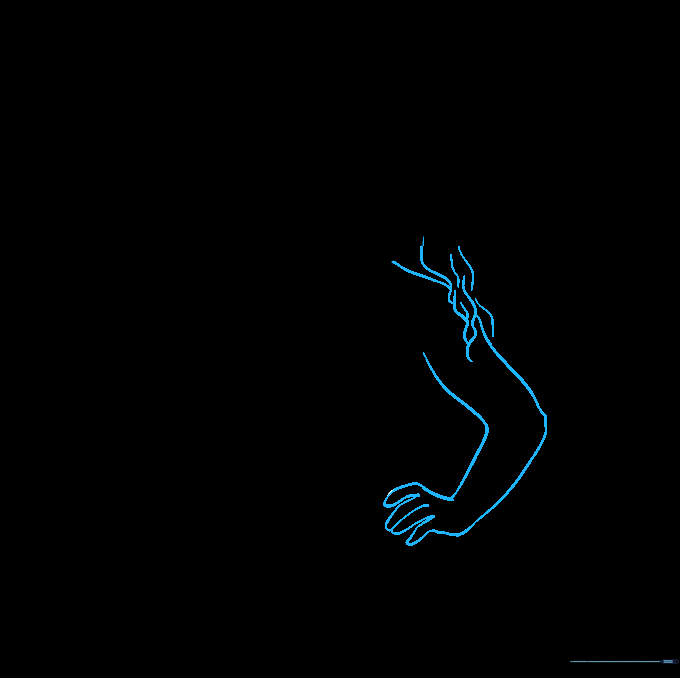
Draw the second arm bent at the elbow with her hand resting on her hip. Use a rounded 'V' shape for the elbow bend. Add a few wavy lines over the shoulder to represent her flowing hair. Tip: Imagine where your own elbow is when your hand is on your hip to help visualize the angle.
Step 5: Defining the Skirt Waistline
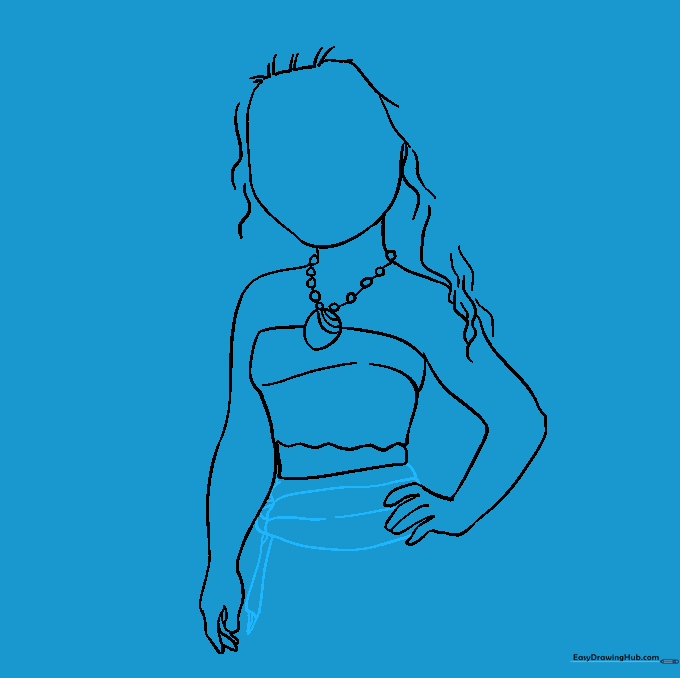
Connect the hand and the blouse with a short line, then draw curved lines extending toward the opposite arm to create the waistband. Add two vertical lines descending from the waist. Tip: Keep these lines soft and rounded to show the fabric of her skirt.
Step 6: Adding Skirt Patterns
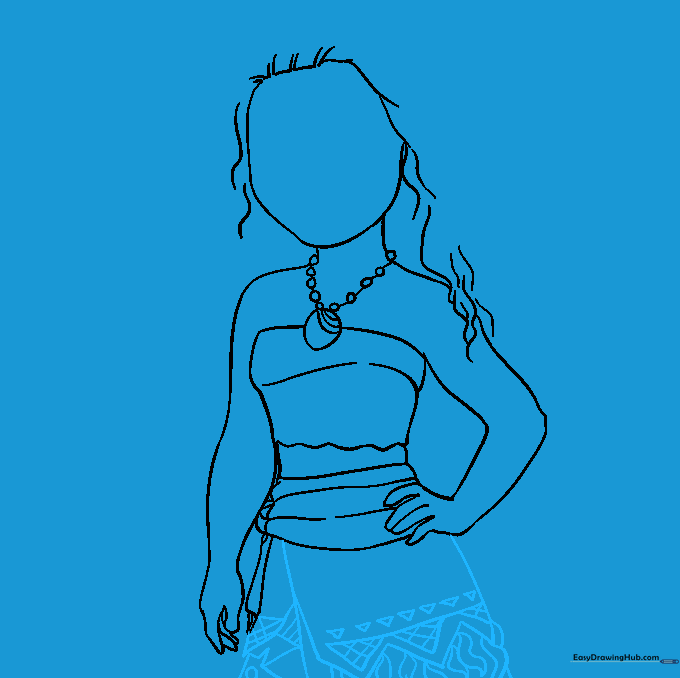
Complete the skirt by drawing lines that form triangular shapes. Add a cross-hatching pattern inside the triangles and wavy lines at the bottom hem. Tip: Cross-hatching is a great way to add texture—just draw diagonal lines in one direction, then cross them with lines in the other direction.
Step 7: Shaping the Hair
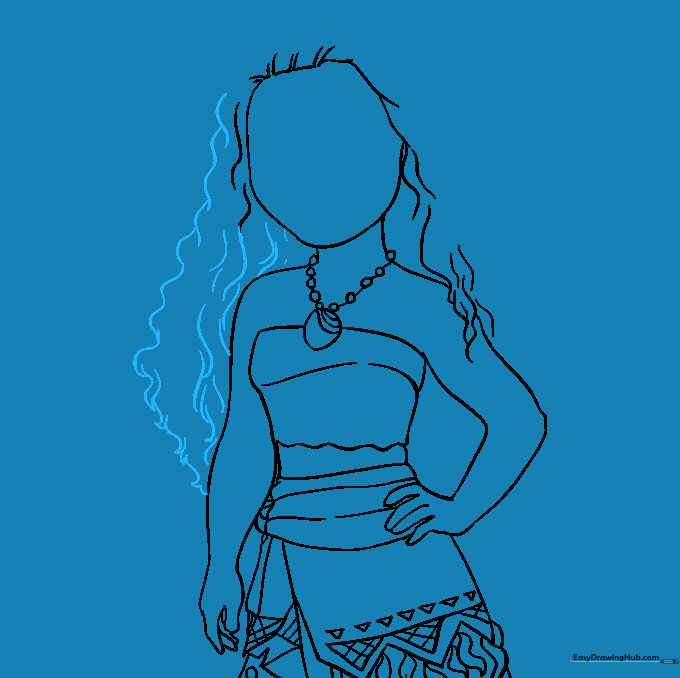
Use long, sweeping, wavy lines to build out the volume of her hair. Don't worry about making it perfectly symmetrical; natural hair has lots of movement! Tip: Vary the length of your wavy lines to make the hair look fuller and more realistic.
Step 8: Finalizing Hair and Blouse Details
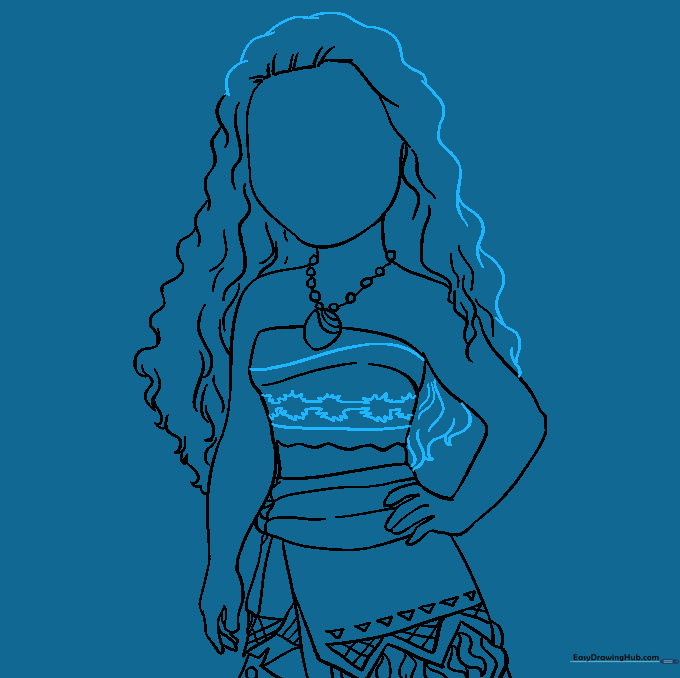
Close the hair shape with a final wavy line. Add a starburst pattern and extra bands to her blouse to match her outfit. Tip: Use a slightly darker pencil stroke for these decorative details to make them pop against the base sketch.
Step 9: Drawing the Face
Draw the eyebrows with a sharp point, and sketch the eyes using curved lines. For the pupils, draw three circles inside each other and shade the middle one. Finish with a simple nose and mouth. Tip: Take your time with the eyes—they are the 'window' to the character's expression!
Step 10: Adding Color
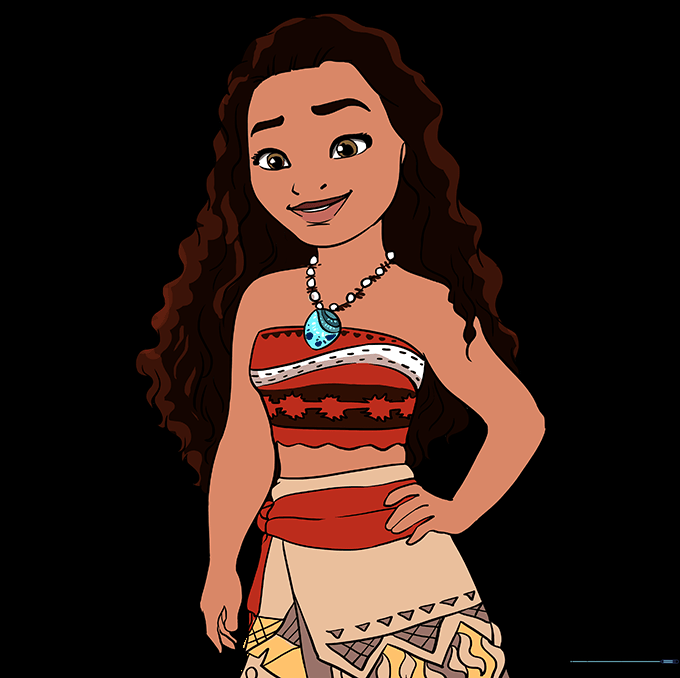
Bring your drawing to life with color! Use tan for her skin, brown for her eyes and hair, and vibrant reds and oranges for her outfit. Tip: Use light, circular motions with your colored pencils to get an even, smooth look on her skin.
More Tutorials


