How to Draw Mistletoe: Easy 10-Step Holiday Art Guide
Bring some holiday cheer to your sketchbook with this simple mistletoe tutorial, perfect for artists ages 5 and up. You will only need a pencil, an eraser, and your favorite markers or colored pencils. Follow these steps to master organic leaf shapes and festive berry clusters while building your confidence in holiday illustration.
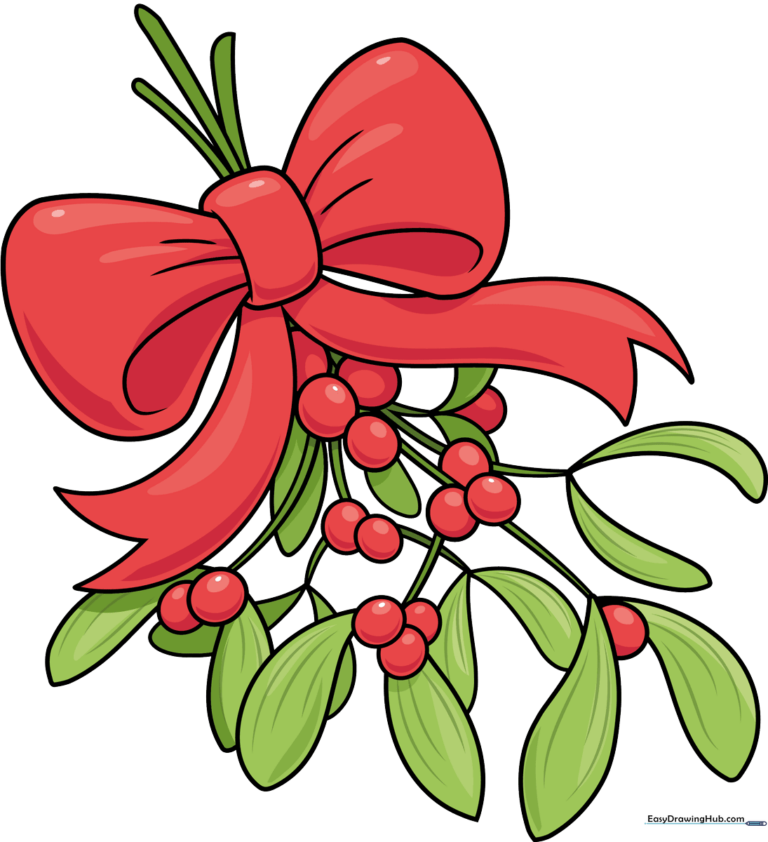
🎯 Final Result
Step-by-Step Instructions
Step 1: Sketching the Decorative Bow

Start by drawing the center of the bow using a small rectangle, then add large, rounded loops on either side. Teacher's Tip: Keep your pencil pressure light so you can easily adjust the symmetry of the loops before finalizing the lines.
Step 2: Adding the Ribbon Tails
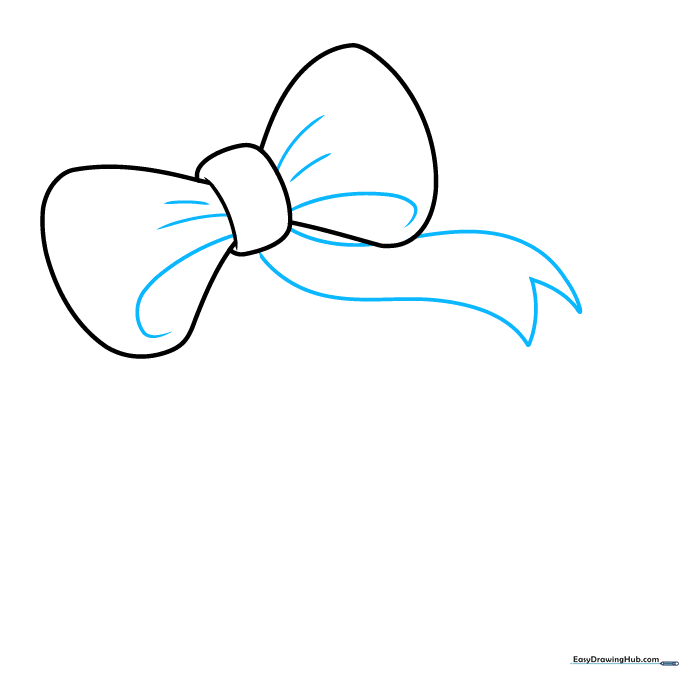
Extend two curved lines downward from the bow to create the ribbon tails, finishing each with a 'V' shape at the bottom. Tip: Make the tails look flowy by giving them a slight 'S' curve rather than drawing them perfectly straight.
Step 3: Establishing the Stems
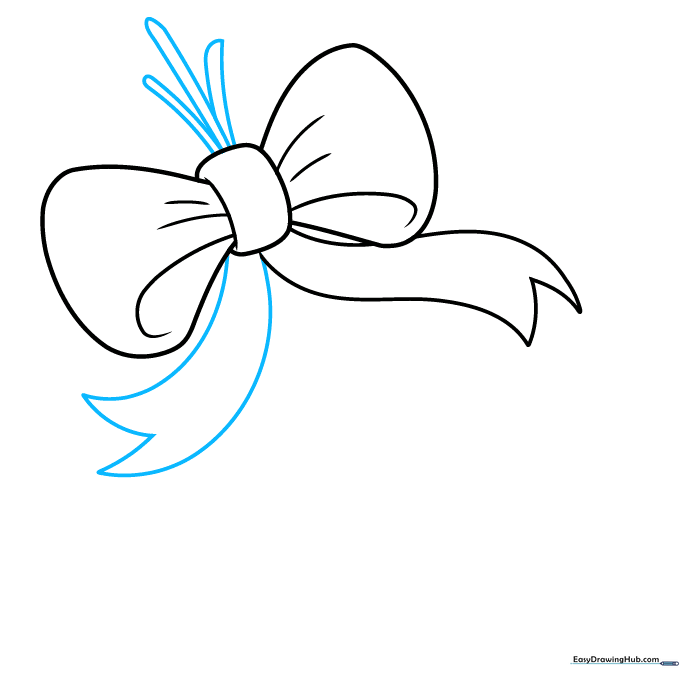
Add a second ribbon tail, then draw three pairs of lines extending upward from the center of the bow to form the main stems. Tip: Vary the height of these stems to make your mistletoe look more natural and less like a rigid grid.
Step 4: Drawing the First Berry Cluster
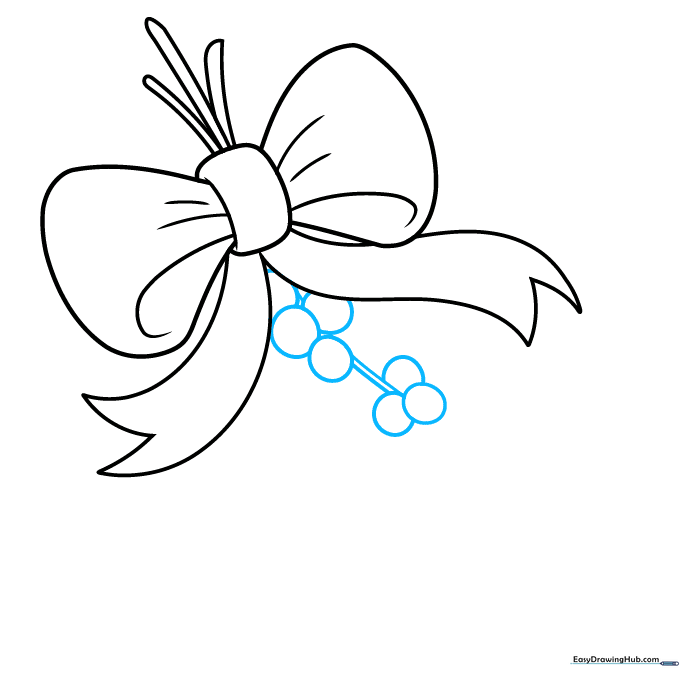
Draw several overlapping circles along the stems to represent the berries. Connect them with short, parallel lines. Tip: Don't worry if the circles aren't perfect; berries in nature are often slightly irregular, which adds charm to your drawing.
Step 5: Adding Initial Leaves
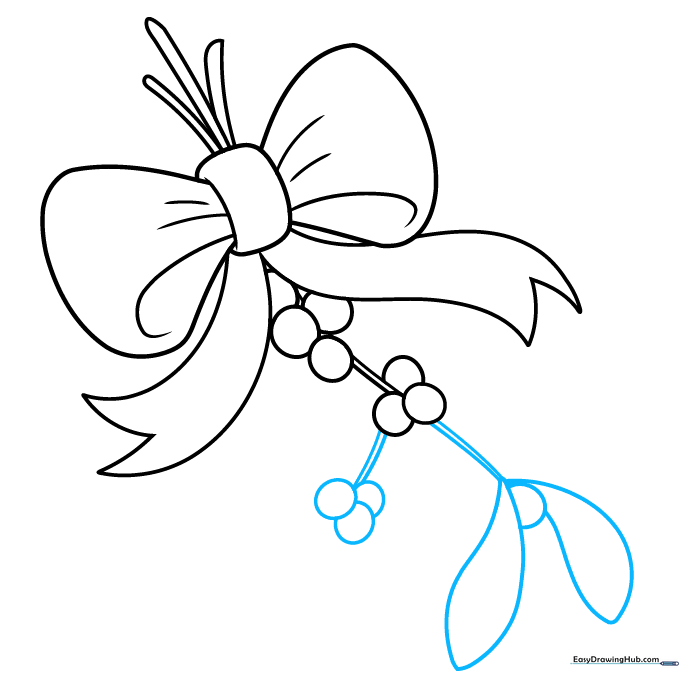
Add more berry clusters and begin drawing your first leaves by creating long, teardrop-shaped loops. Tip: To make the leaves look realistic, ensure they taper to a point at the end.
Step 6: Expanding the Foliage
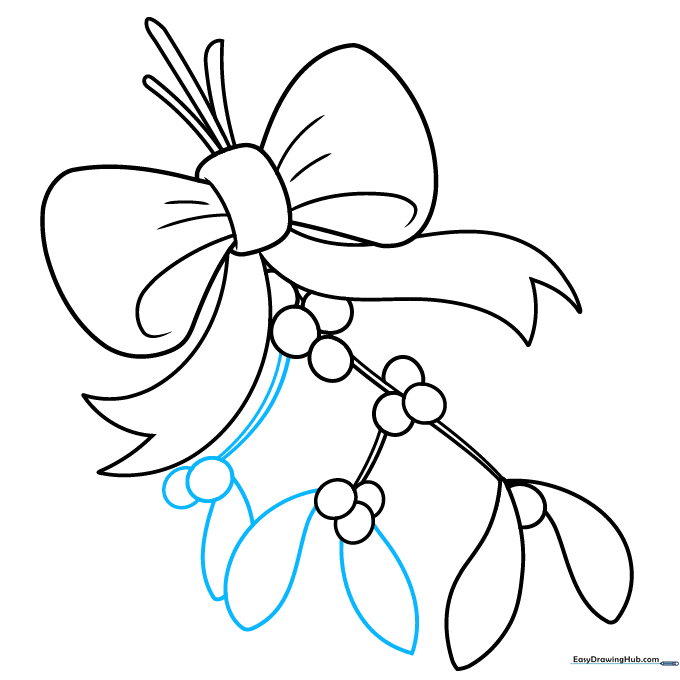
Continue adding leaves to the stems using the same teardrop technique, and add another small cluster of berries. Tip: Try to overlap some leaves behind the berries to create a sense of depth in your drawing.
Step 7: Adding Volume
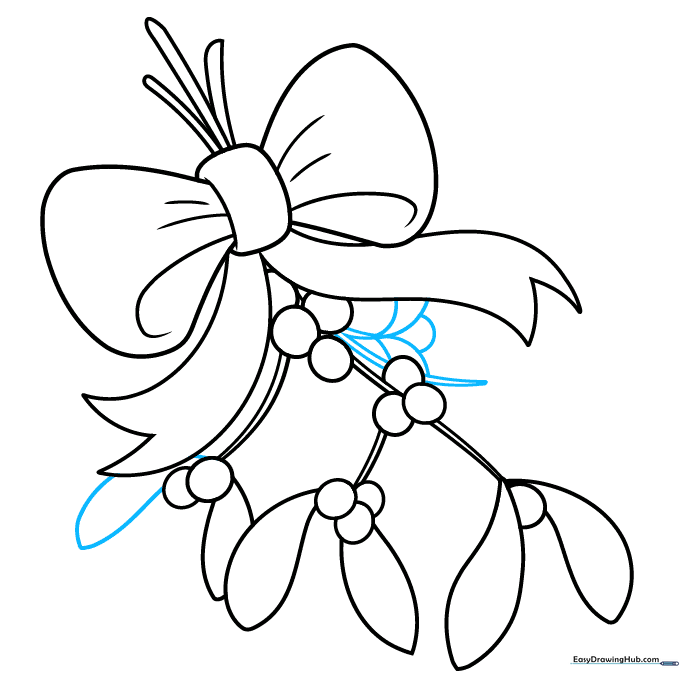
Fill in empty spaces with additional curved lines for stems and more leaves. Tip: Use this step to balance your composition—if one side looks too empty, add a small leaf or berry there.
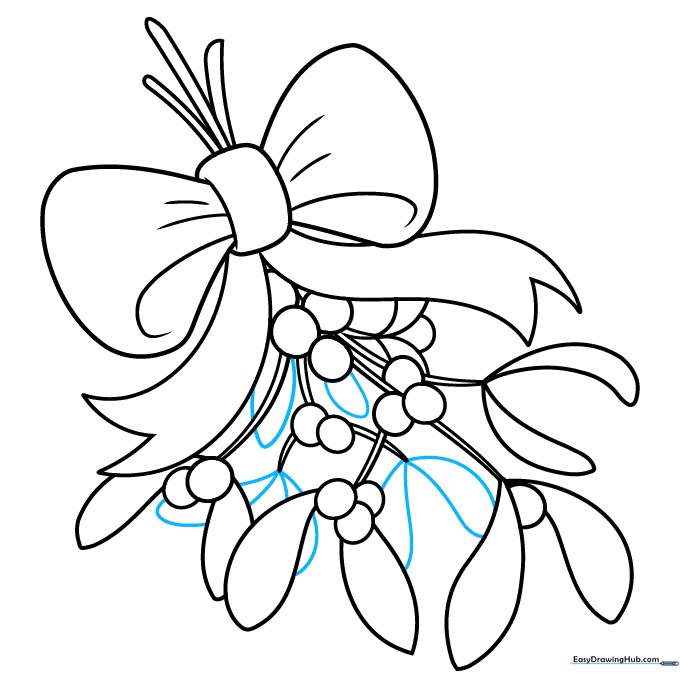
Step 8: Finalizing Details

Add final berries and leaves to ensure the mistletoe looks lush and full. Tip: Check your lines—if any overlap, erase the inner lines to make the berries look like they are sitting on top of the stems.
Step 9: Completing the Outline
Add any final teardrop leaves to the remaining stems. Tip: Once you are happy with the shape, use a fine-liner or dark pencil to go over your final lines, then erase your initial light construction marks.
Step 10: Adding Color
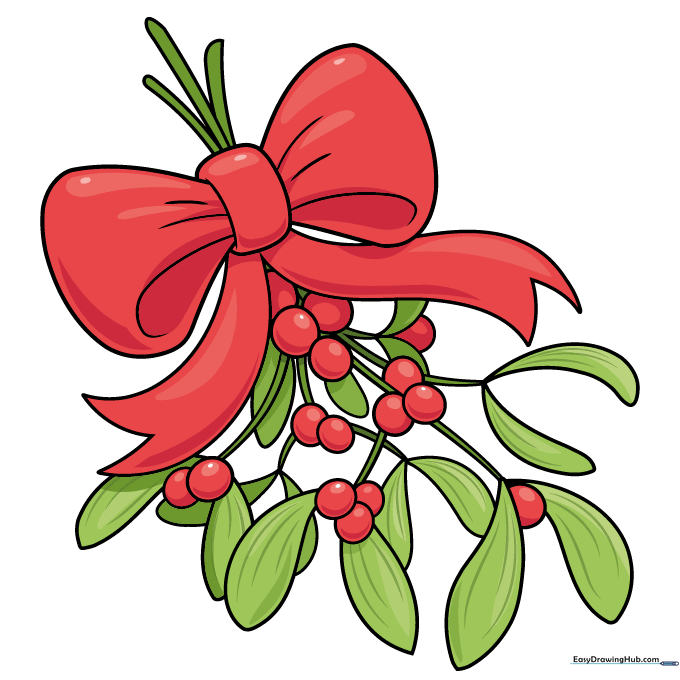
Bring your mistletoe to life! Use vibrant greens for the leaves and soft white or light cream for the berries. Tip: Add a tiny bit of shading on one side of the berries to make them look round and 3D.
More Tutorials


