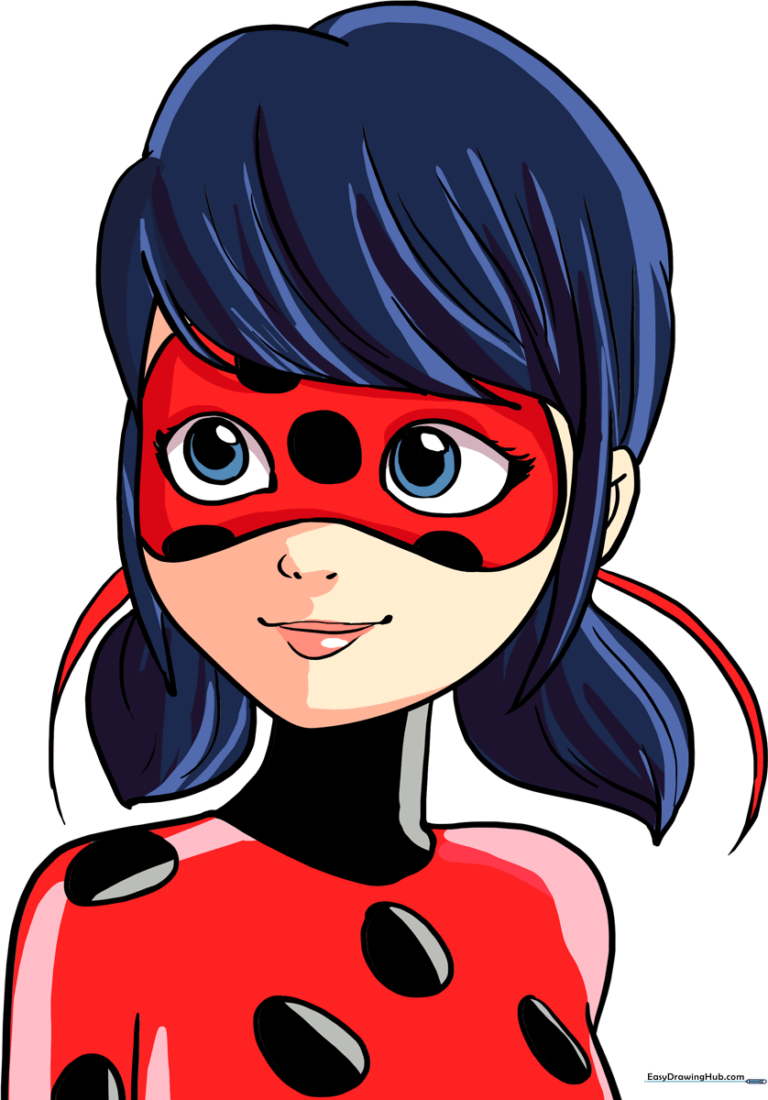
How to Draw Miraculous Ladybug: Easy 10-Step Guide
Ready to bring Marinette to life? This tutorial is perfect for young artists ages 6+ who love the show. Grab a pencil, an eraser, and some paper to practice your character design skills with this easy-to-follow, guided drawing lesson.
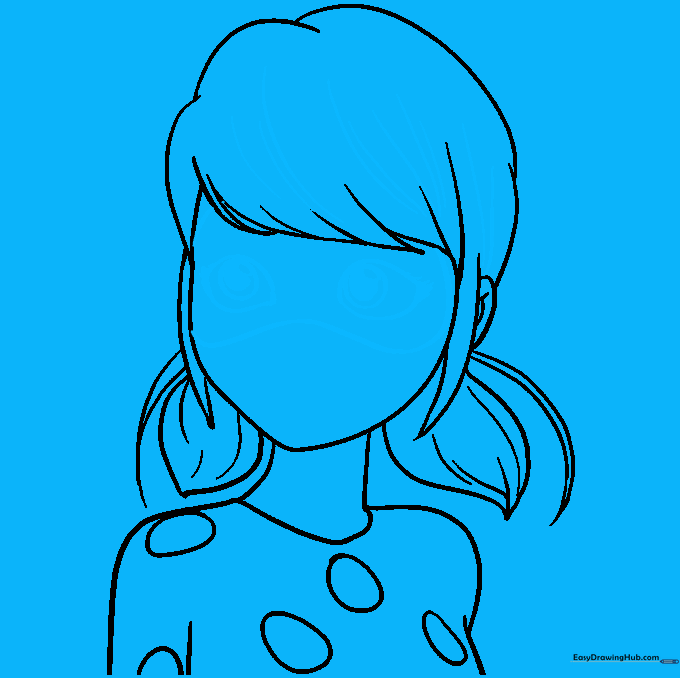
🎯 Final Result
Step-by-Step Instructions
Step 1: Sketching the Face Shape
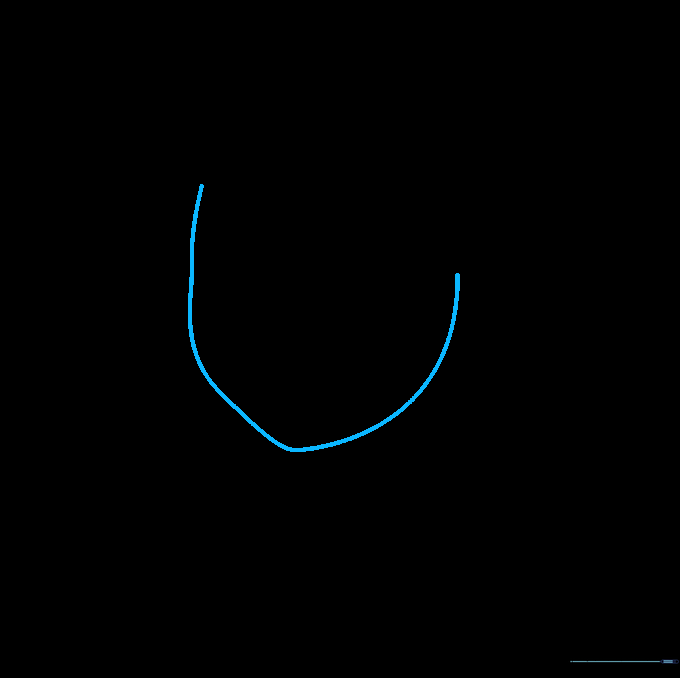
Start by sketching the Ladybug's face. Use a long, curved line to create the jawline, noting the gentle point of the chin. Teacher's Tip: Keep this shape light and rounded; it acts as the foundation for all your facial features.
Step 2: Outlining the Hairline
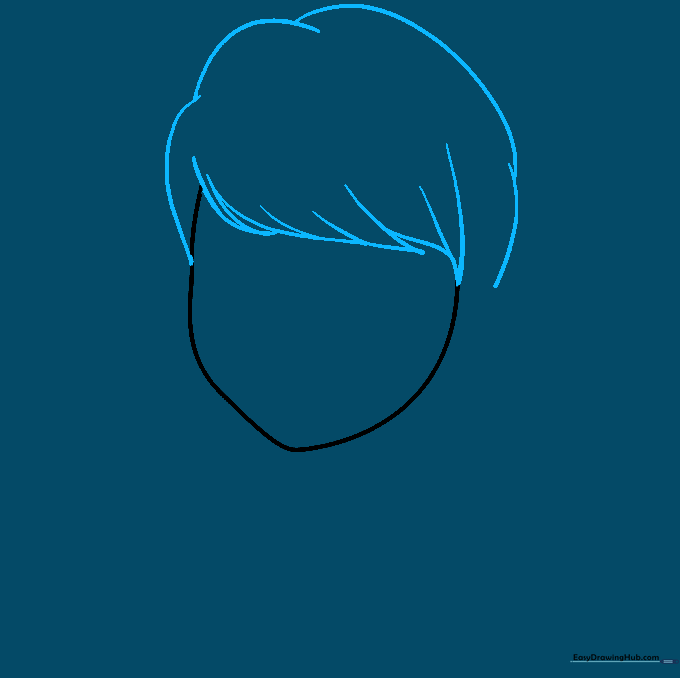
Sketch the top of the hair using overlapping curved lines. Add the bangs by drawing pairs of lines that meet at sharp points. Teacher's Tip: Think of the bangs as small triangles—this helps keep the hair looking stylized and consistent.
Step 3: Adding Side Hair Strands
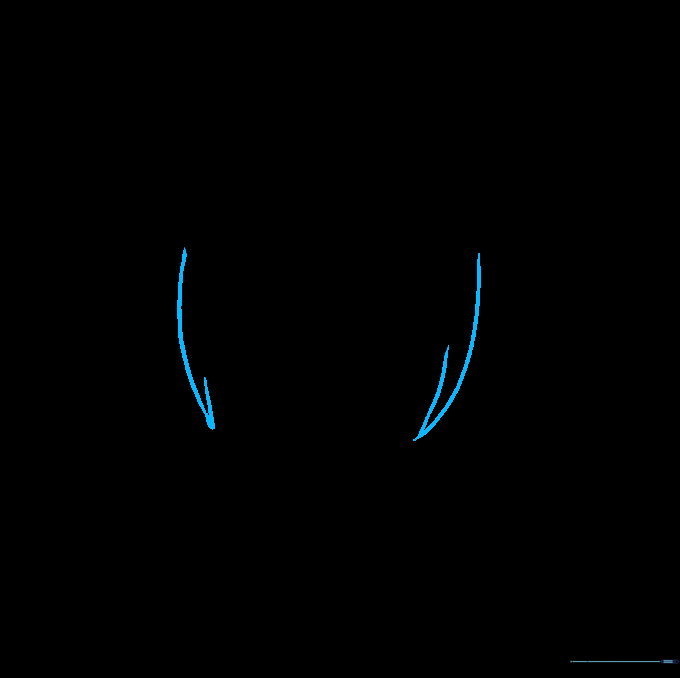
Draw strands of hair hanging in front of the ears using pairs of curved lines that meet at points. Teacher's Tip: Make these strands slightly longer on one side to give your character a dynamic, natural look.
Step 4: Drawing the Mask Ribbons
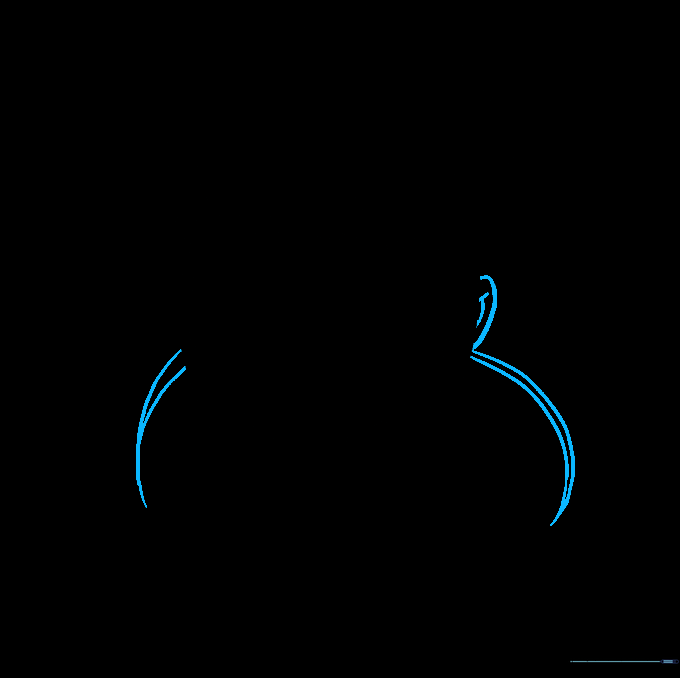
Draw the ear, then extend narrow pairs of lines outward from the face to create the mask ribbons. Teacher's Tip: Ensure the ribbons look like they are flowing backward to give the drawing a sense of movement.
Step 5: Sketching the Neck
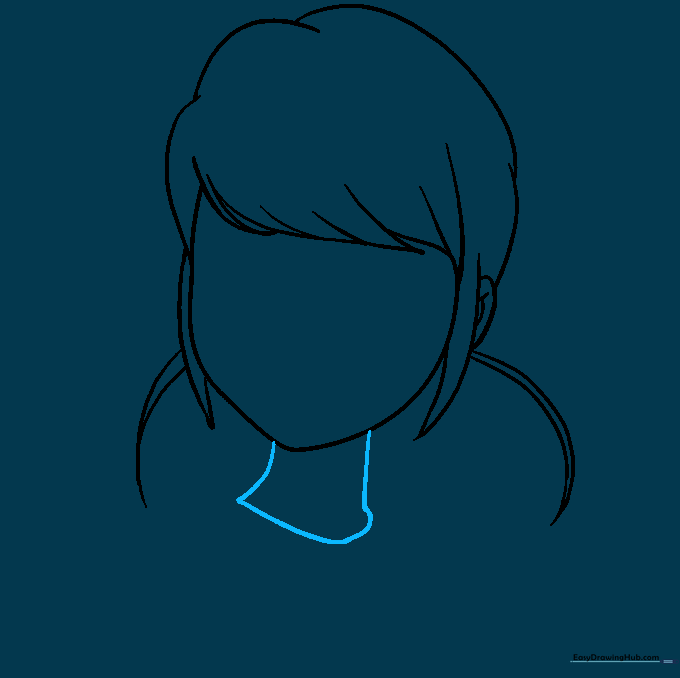
Extend two curved lines downward from the chin to form the neck, connecting them at the base. Teacher's Tip: Keep the neck narrow to maintain the character's proportions.
Step 6: Shoulders and Costume Details
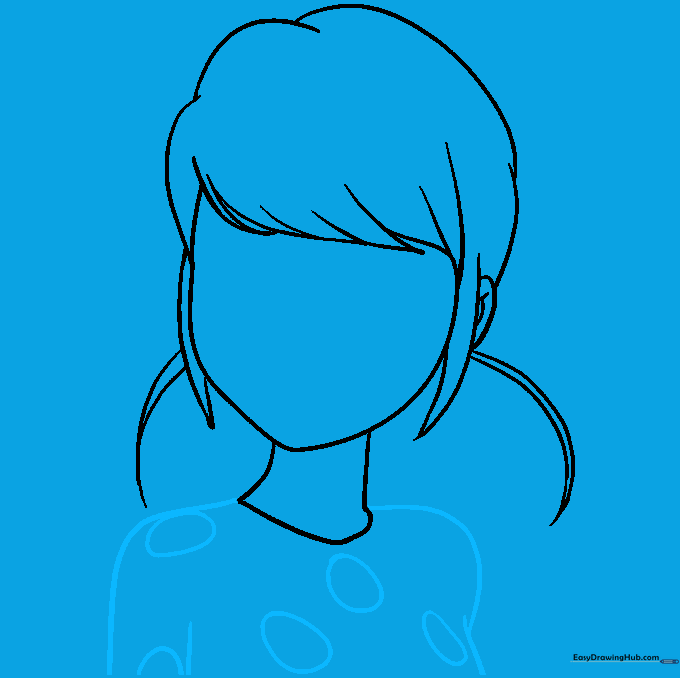
Extend curved lines for the shoulders and outline the torso. Add round spots across the chest. Teacher's Tip: Vary the size of the spots slightly to make the costume look more realistic.
Step 7: Adding the Ponytails
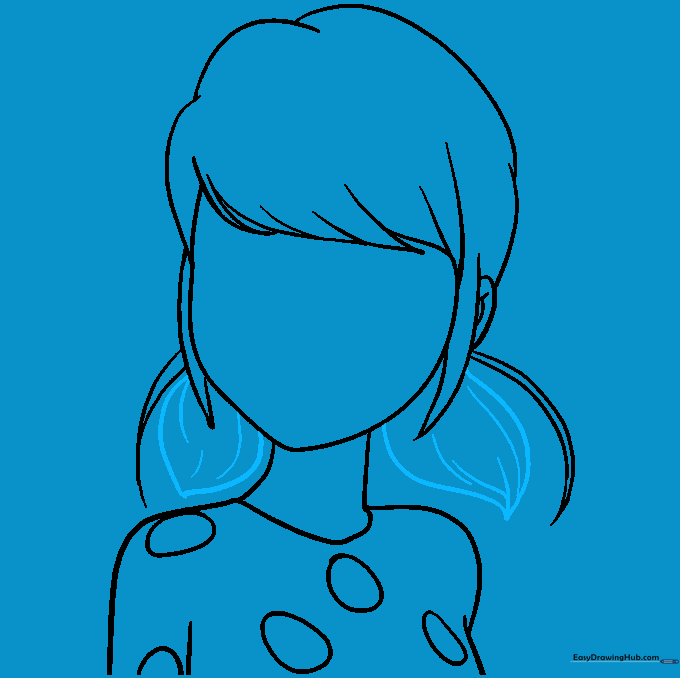
Draw the ponytails on each side of the neck using curved lines that meet at a point. Add texture lines to show the hair flow. Teacher's Tip: Use long, sweeping strokes to make the hair look smooth and shiny.
Step 8: Facial Features and Mask
Outline the mask, eyes, and eyelashes. Add three circles for the eyes, shading the smallest one for the pupil. Teacher's Tip: Take your time on the eyes—they are the most expressive part of the drawing!
Step 9: Finalizing the Mask Details
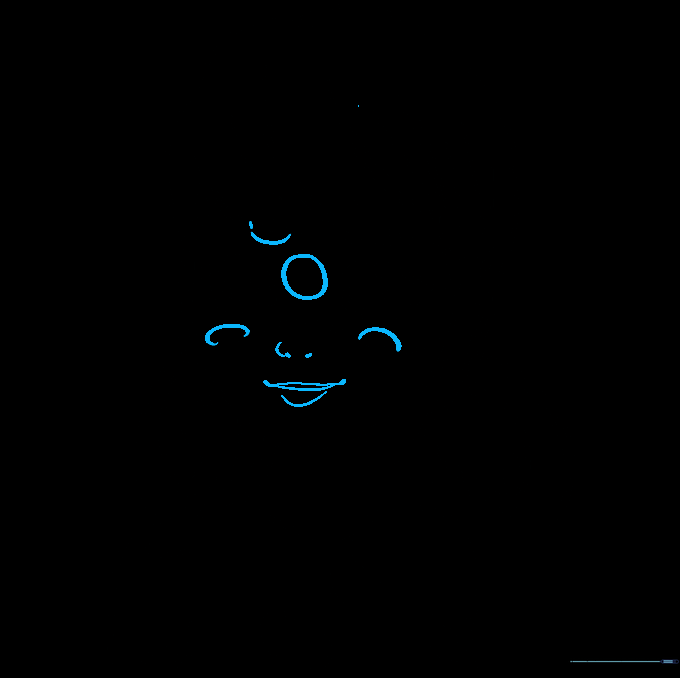
Add the final circles and partial circles within the mask to complete the design. Teacher's Tip: Use a steady hand to keep these circles uniform.
Step 10: Adding Color

Bring your drawing to life! Use deep blue-black for the hair and vibrant red with black spots for the costume. Teacher's Tip: Use light pressure with your red pencil to avoid streaking.
More Tutorials


