How to Draw Mermaid Ariel: Easy 20-Step Guide for Kids
Bring your favorite underwater princess to life with this easy-to-follow drawing guide, perfect for artists ages 7 and up. You will need a pencil, an eraser, and your favorite coloring markers or pencils to complete this character portrait. Follow along to master the proportions of a classic cartoon mermaid while building your confidence in character design.
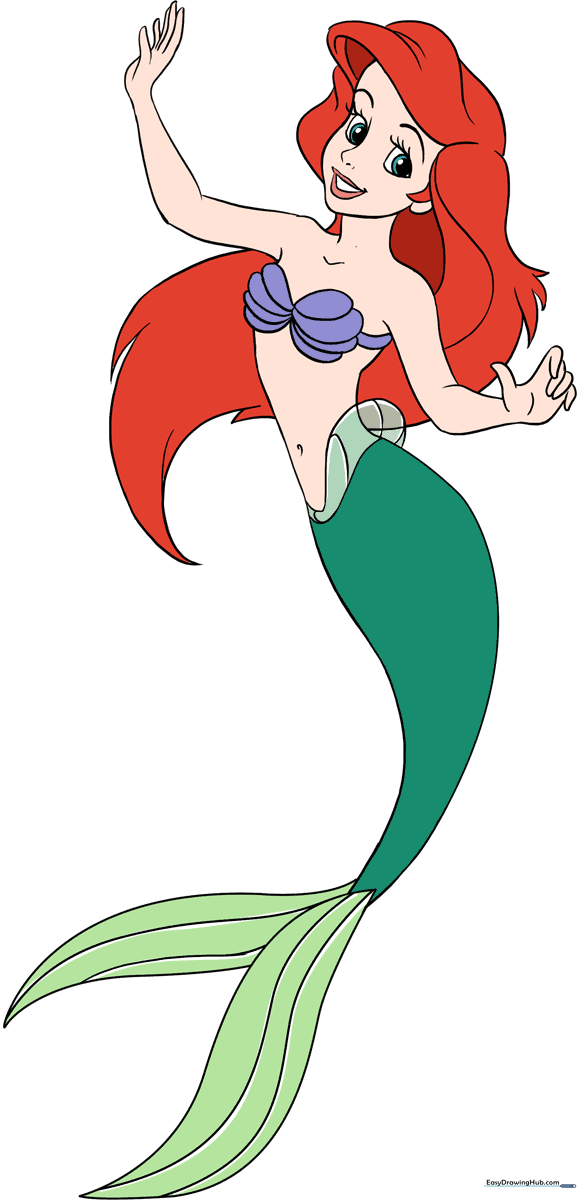
🎯 Final Result
Step-by-Step Instructions
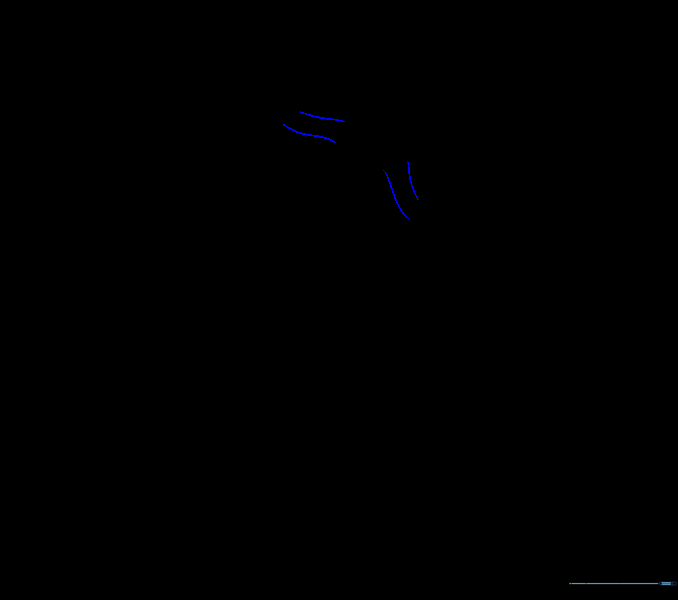
Step 1: Sketching the Head

Draw a light circle to serve as the base for Ariel's face. Teacher's Tip: Keep your pencil pressure very light here; this is just a guide that we will erase later, so don't press too hard!
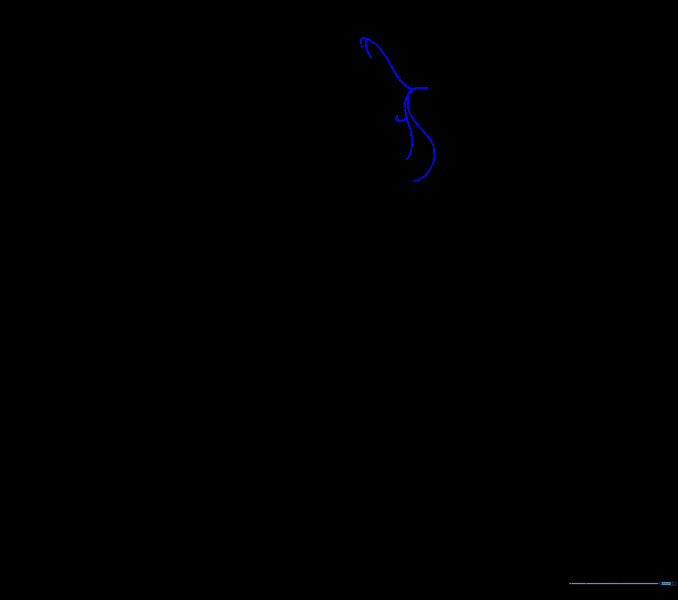
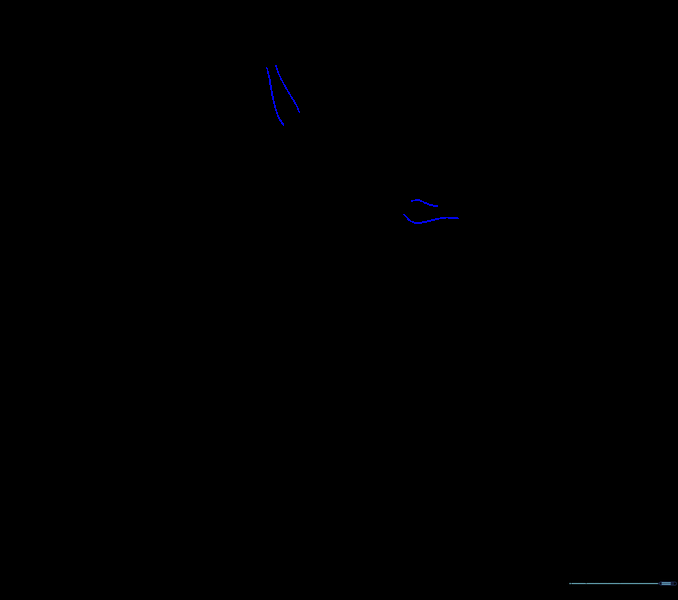
Step 2: Defining the Jawline

Extend a smooth, curved line from the circle to form the chin. Teacher's Tip: Think of this shape like a rounded 'V'. It gives Ariel her signature youthful look.
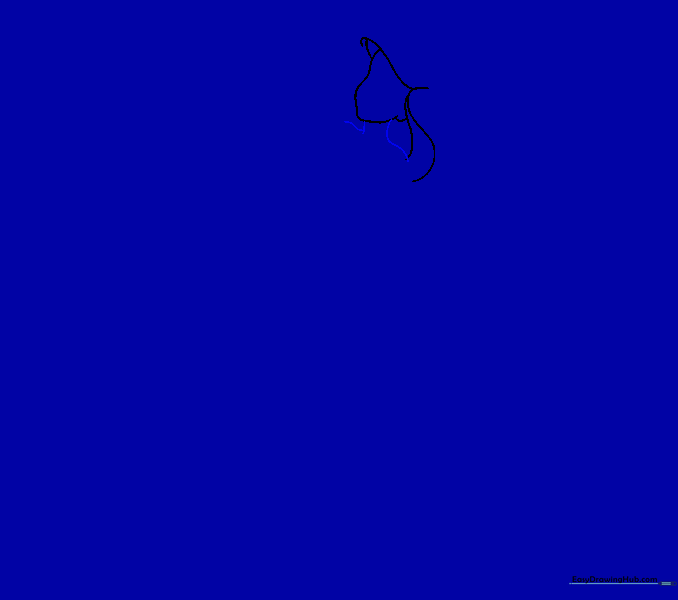
Step 3: Adding Hairline Guides
Draw curved lines intersecting the circle to map out her bangs. Teacher's Tip: Keep these lines flowing; hair is organic and soft, not rigid or straight.
Step 4: Cleaning the Canvas

Carefully erase the internal guide lines from the head circle. Teacher's Tip: Use a kneaded eraser if you have one; it’s gentler on the paper and won't leave messy crumbs.
Step 5: Drawing the Neck and Shoulders
Extend two curved lines downward from the head to create the neck and shoulders. Teacher's Tip: Make sure the shoulders are symmetrical to keep her posture balanced.
Step 6: Defining the Upper Body

Connect the shoulders with a gentle, curved line to form the chest area. Teacher's Tip: A slight curve makes the drawing look more natural and less like a stiff box.
Step 7: Shaping the Torso

Add a rectangular shape below the chest to represent the stomach. Teacher's Tip: Keep the corners rounded to maintain the cartoon style.
Step 8: Drawing the Tail
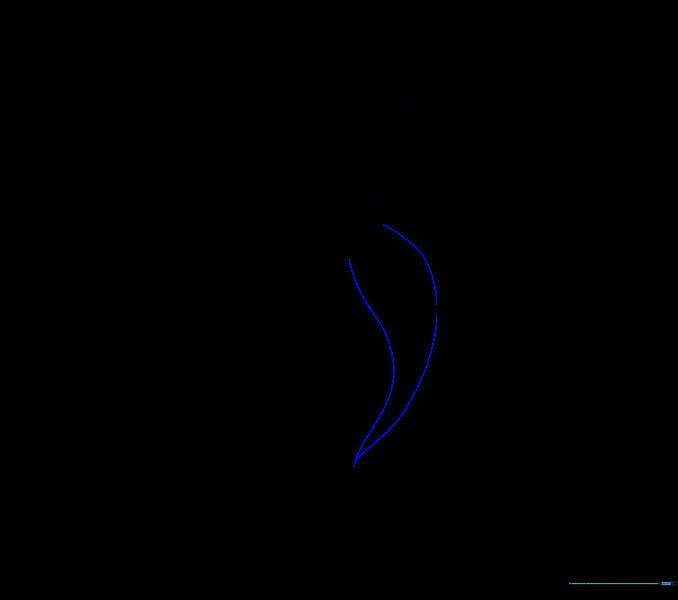
Extend two long, graceful lines from the stomach that meet at a point. Teacher's Tip: The longer you make these lines, the more elegant the tail will look!
Step 9: Adding the Fins
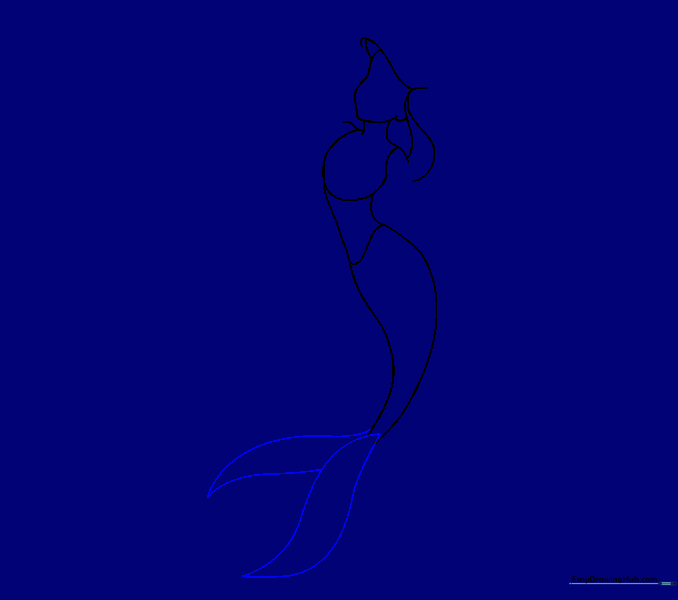
Draw two sets of curved lines at the end of the tail to form the fins. Teacher's Tip: Make them look like petals of a flower to give them a soft, underwater feel.
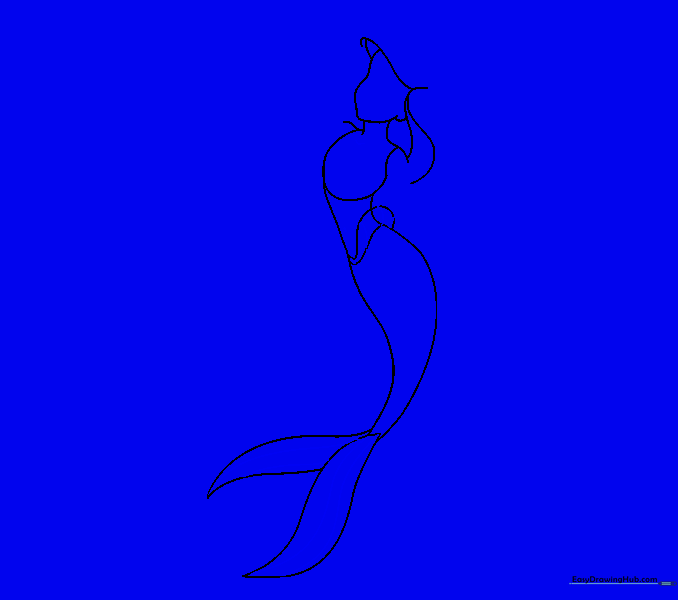
Step 10: Tail Detailing

Add a curved line where the tail meets the stomach to show the transition. Teacher's Tip: This small detail helps define the anatomy of the mermaid.
Step 11: Adding Body Details
Add a collarbone, belly button, and fin lines. Teacher's Tip: Use very light strokes for the belly button—it’s a small detail that adds a lot of realism.
Step 12: Sketching the Arms
Draw two curved lines from each shoulder to outline the arms. Teacher's Tip: Keep the arms relaxed at her sides for a natural pose.
Step 13: Adding Elbows
Add a slight bend in the arm lines to indicate elbows. Teacher's Tip: A small angle makes the arms look like they have joints, not just straight sticks.
Step 14: Drawing Hands
Use small 'U' shapes to sketch the fingers. Teacher's Tip: Don't worry about perfect fingers; simple rounded shapes look great in this cartoon style.
Step 15: Seashell Top

Draw two teardrop shapes on the chest to create the seashell top. Teacher's Tip: Make them slightly overlapping to show they are connected.
Step 16: Final Cleanup

Erase any remaining guide lines on the torso. Teacher's Tip: A clean drawing makes coloring much easier later on!
Step 17: Adding Hair
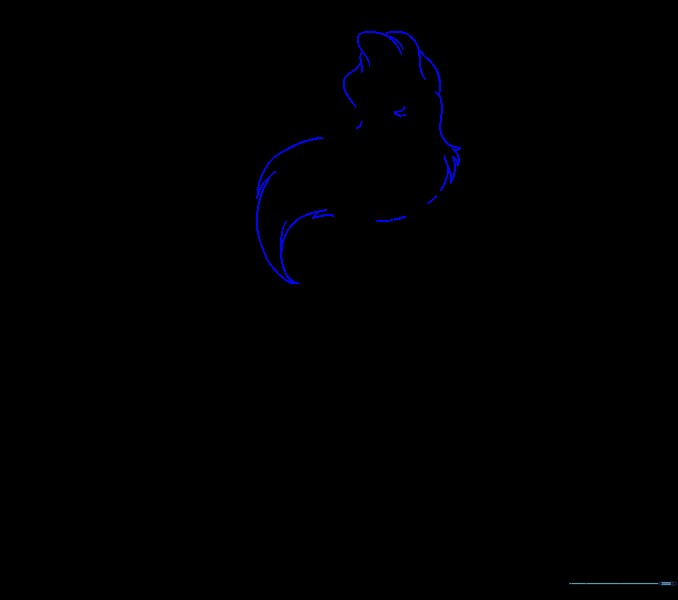
Draw long, flowing lines to create Ariel's iconic hair. Teacher's Tip: Let the hair overlap the shoulders to give it volume and movement.
Step 18: Facial Features

Add eyes, nose, and eyebrows. Teacher's Tip: Draw the eyes slightly large to give her that sweet, expressive cartoon look.
Step 19: Final Details

Add the mouth, pupils, and irises. Teacher's Tip: A small circle inside the pupil acts as a 'highlight' to make her eyes sparkle!
Step 20: Bring Her to Life with Color
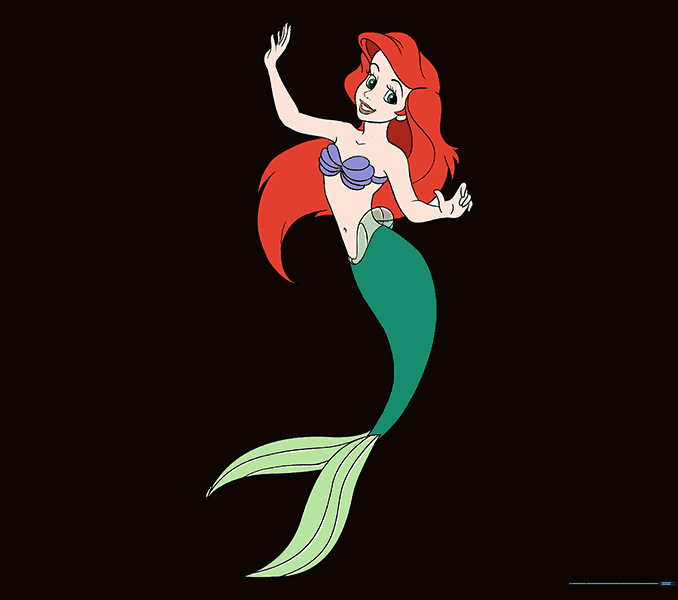
Color your mermaid! Use bright red for her hair and vibrant green for her tail. Teacher's Tip: Use light pressure with your colored pencils to layer colors for a professional look.
More Tutorials


