How to Draw Merida: Easy 10-Step Disney Princess Guide
Ready to capture the spirit of the Scottish Highlands? This tutorial is perfect for young artists ages 7+ who want to draw the brave Princess Merida. You will need a pencil, an eraser, and your favorite coloring markers to bring her iconic look to life.
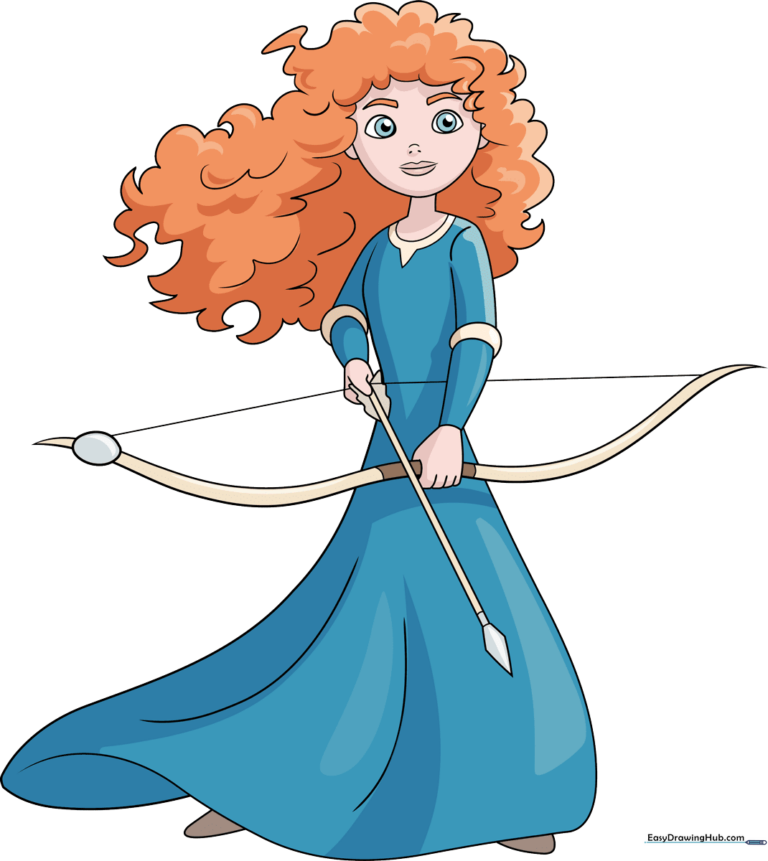
🎯 Final Result
Step-by-Step Instructions
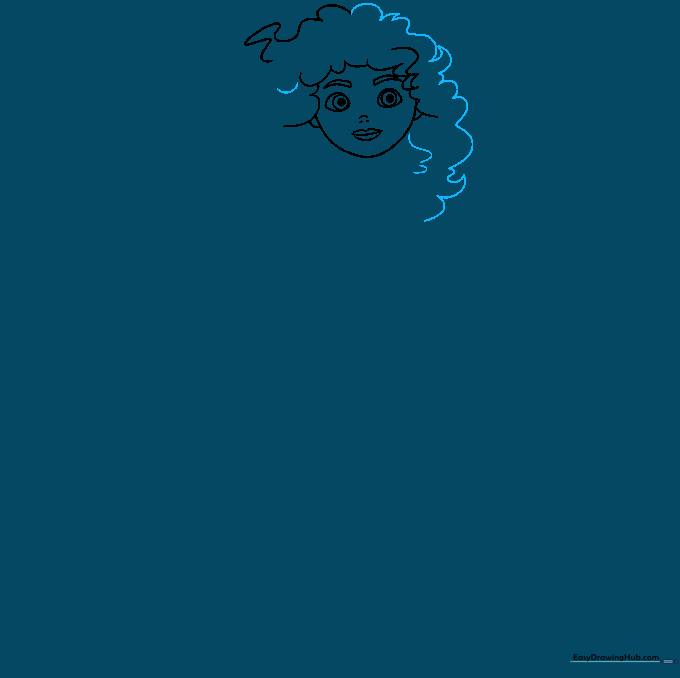
Step 1: Sketching the Face and Features

Start by drawing a soft 'U' shape for the jawline. For the eyes, sketch two almond shapes and add pupils inside. Tip: Keep your pencil pressure light here so you can easily erase and adjust the symmetry of her expression.
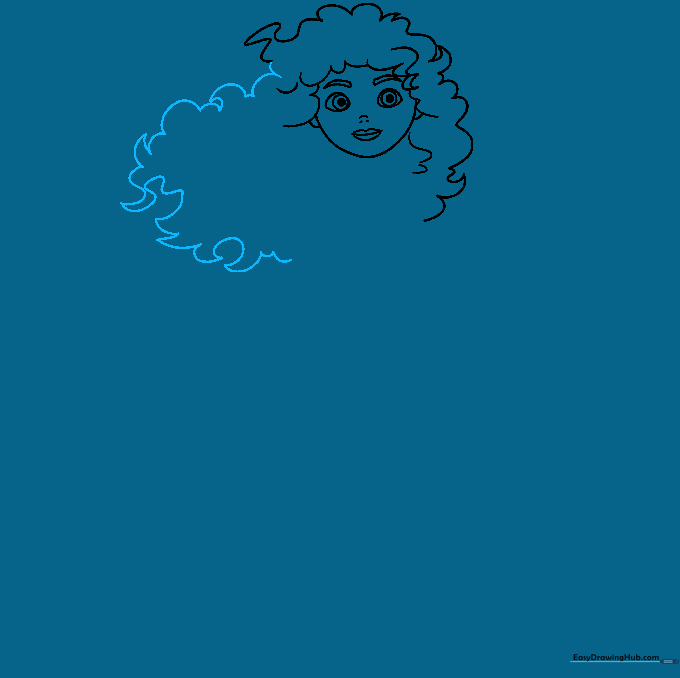
Step 2: Starting the Iconic Curls

Begin framing her face with large, swirling 'U' shapes to represent her wild hair. Tip: Don't worry about making the curls perfect; Merida’s hair is naturally messy and voluminous, so organic, uneven shapes look best.
Step 3: Expanding the Hair Volume
Continue adding more layers of curls around the head. Use sharp, pointed ends where the hair strands meet. Tip: Vary the size of your 'U' shapes to give her hair a more realistic, textured look.
Step 4: Defining the Hair Silhouette
Fill in the outer edges of the hair. Keep the lines flowing and bouncy. Tip: Imagine the hair is moving in the wind—this helps you decide where to place the curves.
Step 5: Drawing the Neck and Shoulders
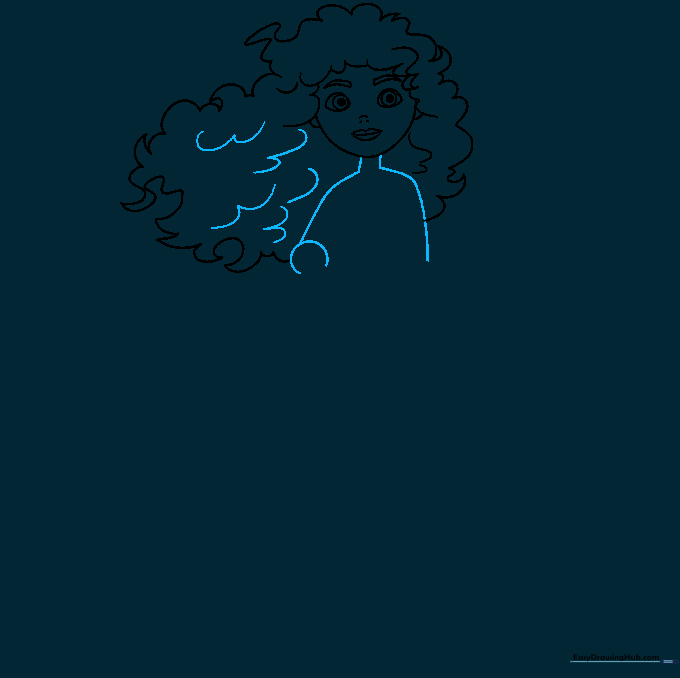
Draw two vertical lines for the neck, then curve them outward to form the shoulders. Tip: Make sure the neck isn't too thin; it needs to support that big, beautiful hair!
Step 6: Sketching the Dress and Sleeves
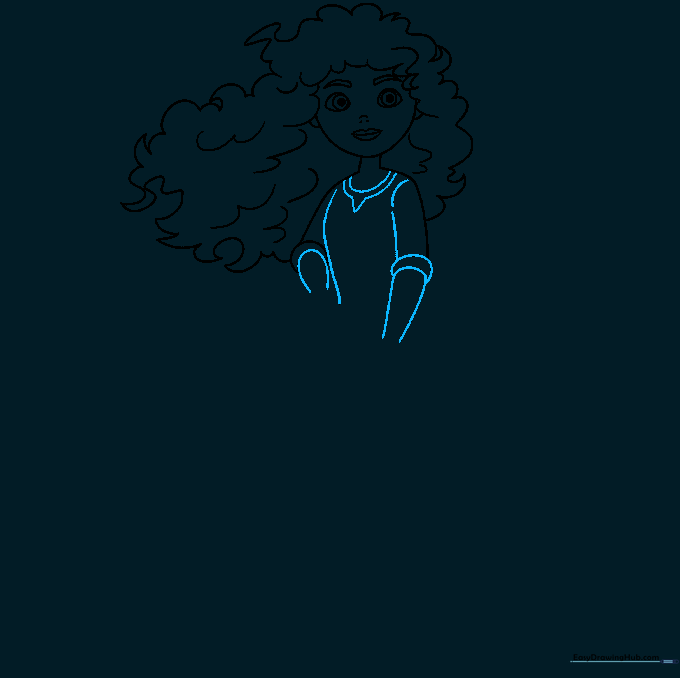
Add the neckline of her dress with a 'U' and 'V' shape. Draw the arms with crescent shapes to show her rolled-up sleeves. Tip: Use slightly curved lines for the arms to make them look natural rather than stiff.
Step 7: Adding the Arrow
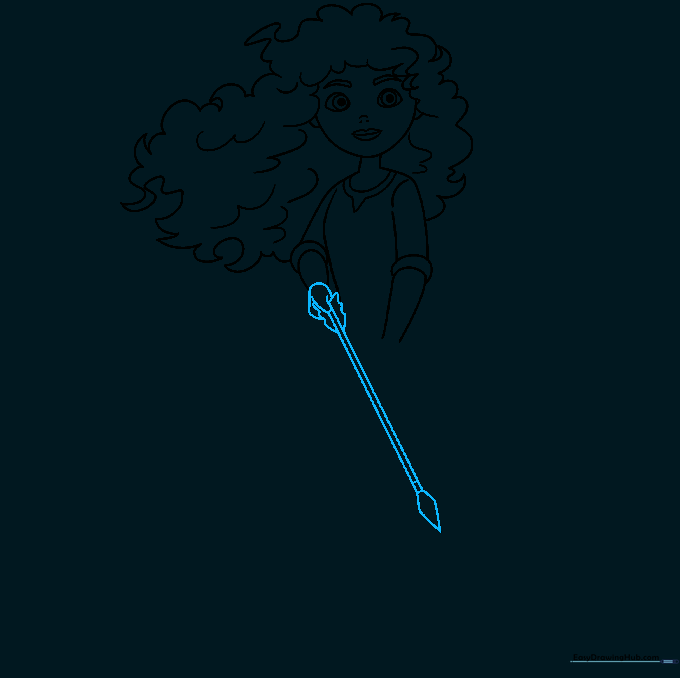
Draw Merida’s hand holding an arrow. Use parallel lines for the shaft and a diamond shape for the arrowhead. Tip: Keep the arrow straight to show she is a skilled archer!
Step 8: Drawing the Bow
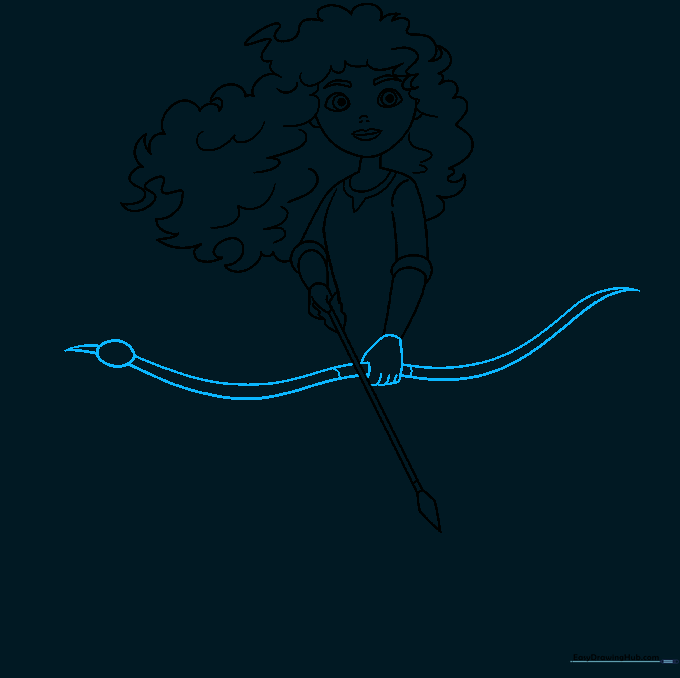
Draw the bow using a wide 'W' shape that passes through her hand. Tip: Make sure the bow looks sturdy by adding a few extra lines to show thickness.
Step 9: Completing the Dress
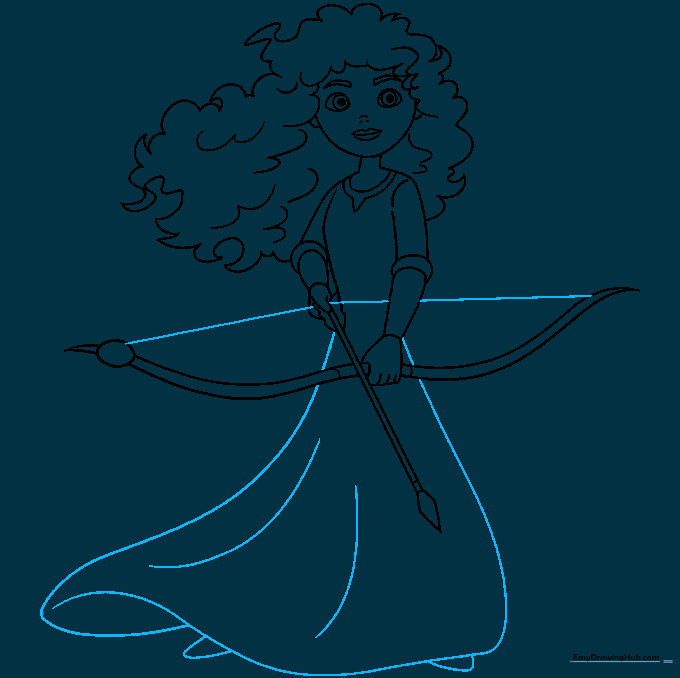
Draw the bowstring and the long, flowing skirt of her dress. Add a few vertical lines to suggest fabric folds. Tip: Folds in the fabric make your drawing look much more professional and dynamic.
Step 10: Bringing Merida to Life with Color
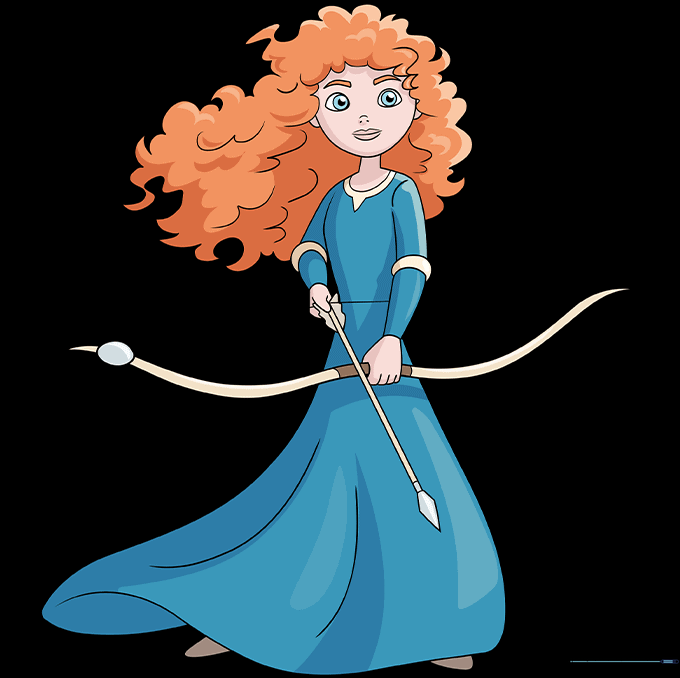
Time to color! Use a vibrant orange-red for her hair and a deep royal blue for her dress. Tip: Use light pressure with your pencils to blend colors, or press harder for bold, solid blocks of color.
More Tutorials


