How to Draw Max from The Grinch: Easy 10-Step Guide
Bring the loyal pup from Whoville to life with this simple drawing tutorial, perfect for artists ages 5 and up. All you need is a pencil, an eraser, and some paper to capture Max’s adorable reindeer disguise. Follow along to build confidence in your character sketching skills while creating a festive holiday masterpiece.
🎯 Final Result
Step-by-Step Instructions
Step 1: Sketching the Expressive Eyes
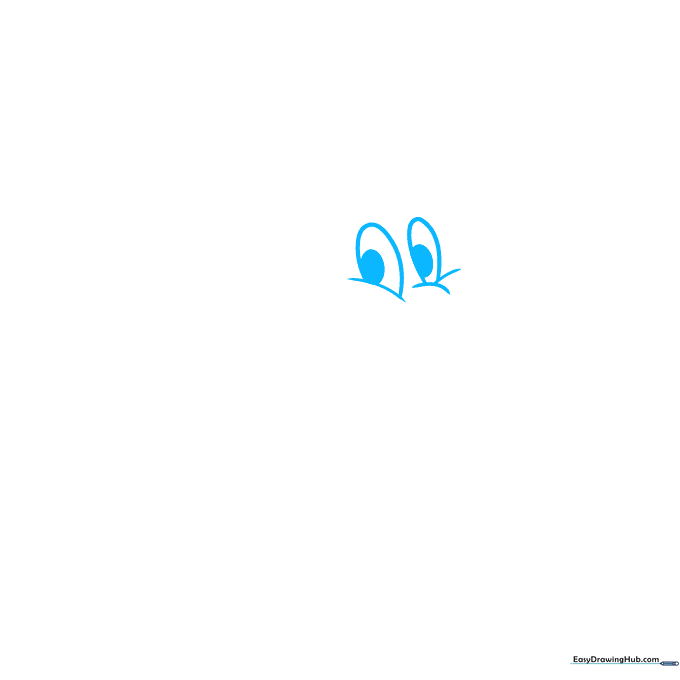
Start by drawing two small, rounded shapes for the eyes. Tip: Keep them close together to give Max that sweet, curious look. Add a small, dark oval inside each for the pupils.
Step 2: Defining the Snout and Brows
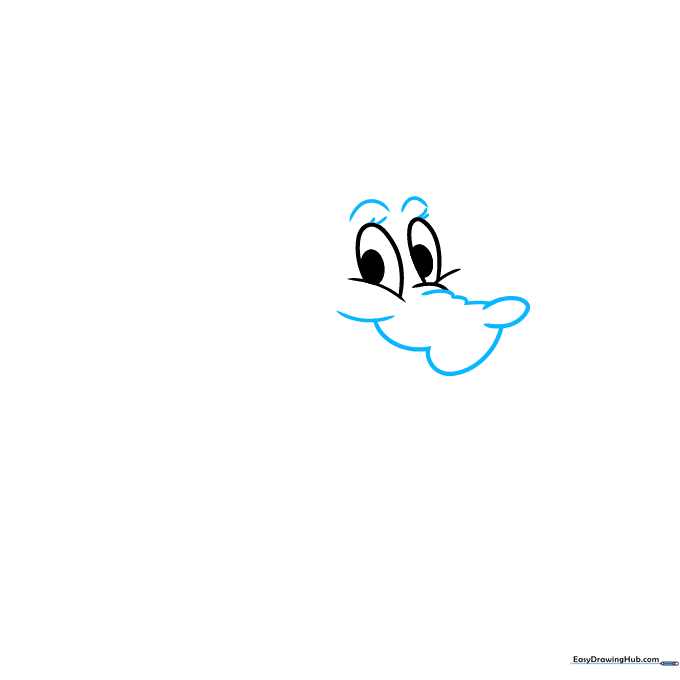
Draw a small, rounded snout between the eyes. Tip: Use gentle, overlapping curves to suggest the soft texture of his fur. Add two arched lines above the eyes to give him a friendly, inquisitive expression.
Step 3: Shaping the Face and Tongue
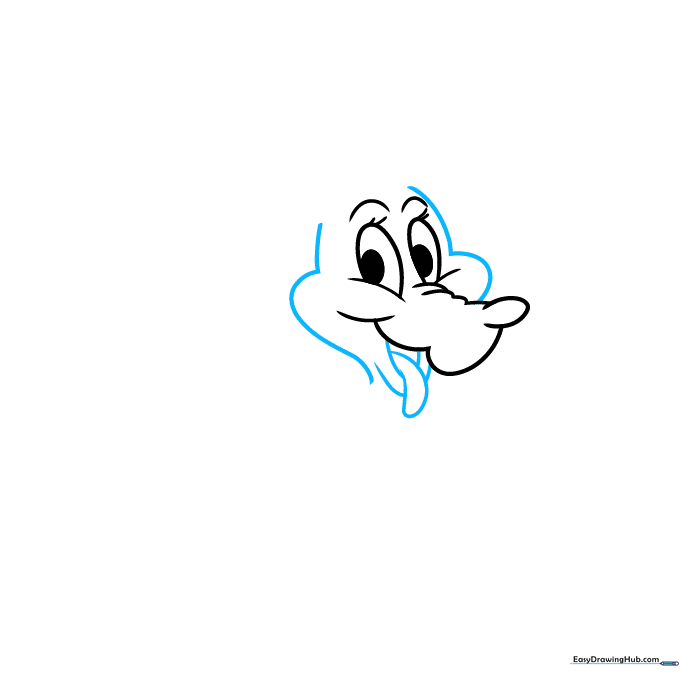
Outline the sides of his face with long, flowing curves. Draw an open mouth using two 'U' shapes, and tuck a small tongue inside. Tip: Keep the tongue shape rounded to make him look happy and excited.
Step 4: Adding Floppy Ears
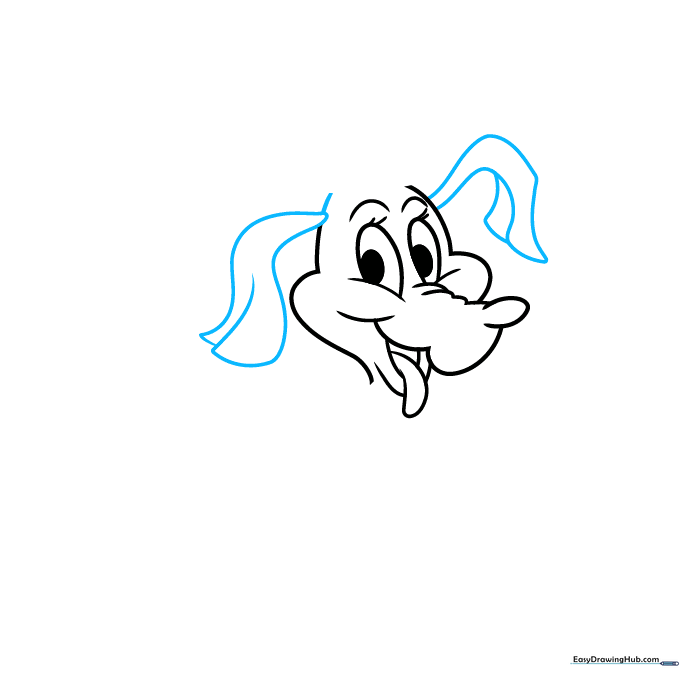
Extend two long, curved lines from the top of the head to create his signature floppy ears. Tip: Let the lines overlap at the tips to give them a natural, weighted look.
Step 5: The Reindeer Disguise
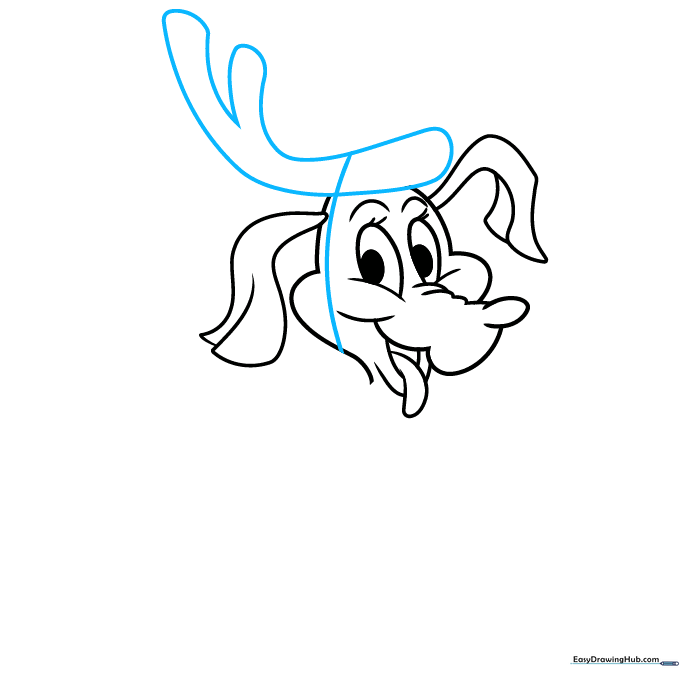
Draw a large 'Y' shape on top of his head to represent the stick for his reindeer antlers. Add a small curved line across the forehead to show the string holding it in place. Tip: Keep the lines for the stick straight and firm to contrast with the soft fur.
Step 6: Sketching the Furry Chest
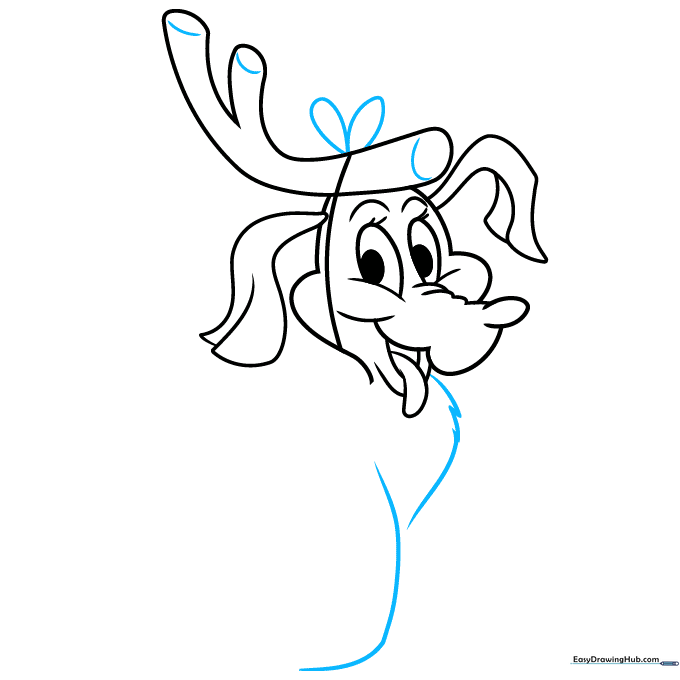
Use short, jagged lines to create the texture of his chest fur. Add a long curve for the front leg. Tip: Use quick, flicking motions with your pencil to make the fur look fluffy rather than smooth.
Step 7: Drawing the Paws
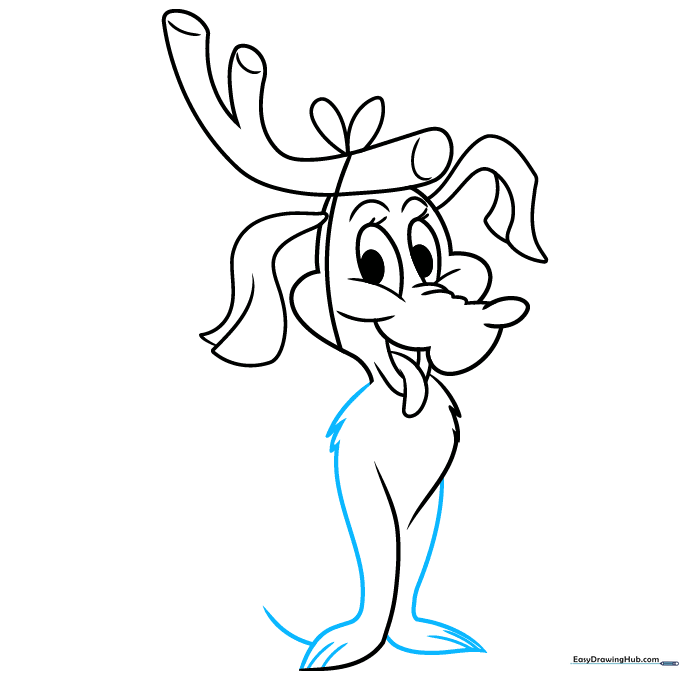
Continue the legs downward using jagged lines. Add small horizontal marks at the bottom to define the toes. Tip: Keep the paws small to maintain Max's cute, puppy-like proportions.
Step 8: Adding the Back and Tail
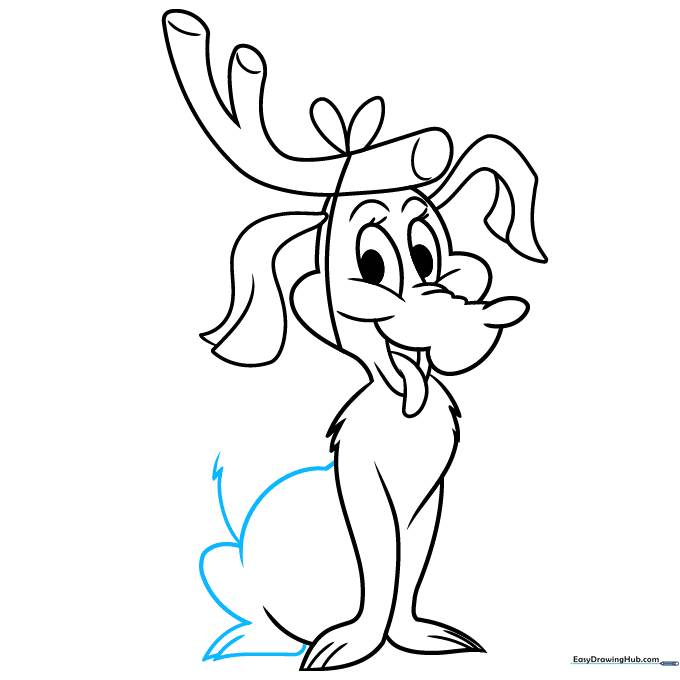
Sketch the curve of his back and the rear leg using soft, overlapping lines. Start the tail with a gentle curve. Tip: Imagine the shape of a small dog sitting down to help guide your pencil.
Step 9: Finalizing the Outline
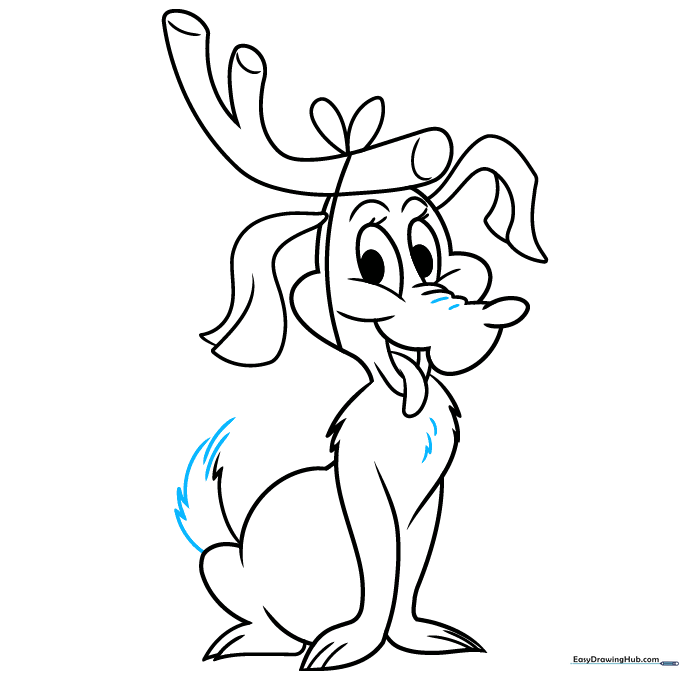
Finish the tail with more jagged lines to match the rest of his fur. Add a few final contour lines to the chest and nose to add depth. Tip: Erase any overlapping construction lines now to clean up your drawing.
Step 10: Bringing Max to Life with Color
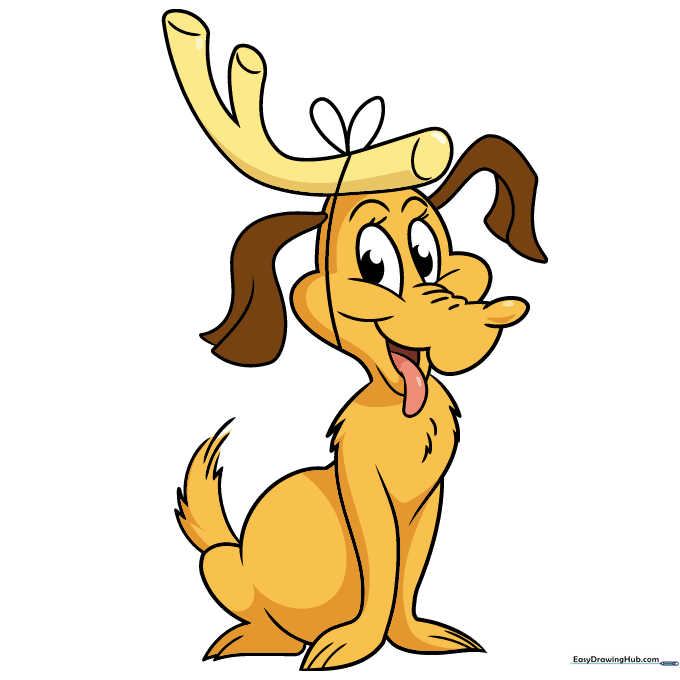
Time to color! Use golden yellow for his fur, brown for his ears, and a bright red for the bow on his head. Tip: Use light pressure with your pencils to create a soft, blended look for his fur.
More Tutorials


