How to Draw Matilda: Easy Step-by-Step Guide for Kids
Bring the beloved bookworm to life with this simple drawing tutorial, perfect for young artists ages 6 and up. You will only need a pencil, an eraser, and a sheet of paper to capture Matilda’s curious spirit. Follow these steps to build confidence in your character sketching and storytelling skills.
🎯 Final Result

Step-by-Step Instructions
Step 1: Sketching the Face

Start by drawing a gentle curve for the side of Matilda's face. Add small 'V' shapes for her nose and mouth, then shade two small ovals for her eyes. Teacher's Tip: Keep your pencil pressure light here so you can easily adjust the expression if needed.
Step 2: Adding Hair and Neck
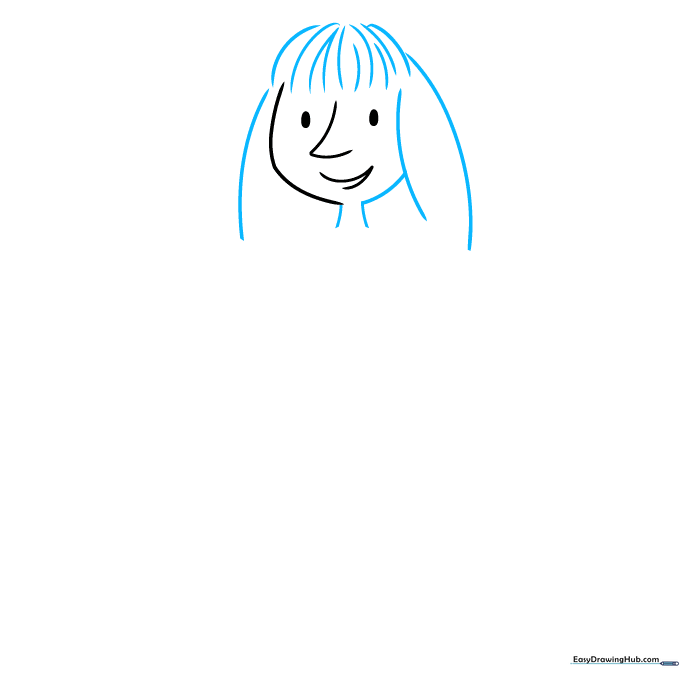
Use loose, curved lines to create her signature bangs, letting them fall naturally over her forehead. Outline the rest of her hair and define her neck. Teacher's Tip: Don't worry about making the hair lines perfectly symmetrical; hair has movement and texture!
Step 3: Drawing the Open Book
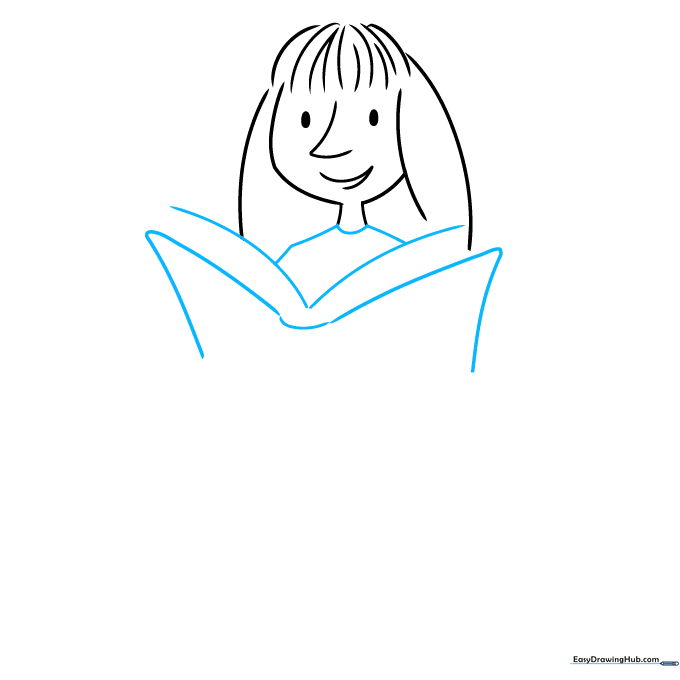
Draw a wide 'V' shape below her chin to represent the open pages of a book. Sketch her shoulders and add two more 'V' shapes to form the book cover. Teacher's Tip: Use a ruler if you struggle with straight lines, but freehand curves make the book look more realistic.
Step 4: Detailing the Book and Hands

Connect the pages to the cover with small curved lines. Add texture to the pages with light, long strokes. Draw her hands resting at the bottom of the book. Teacher's Tip: Keep the hands simple—just small curved shapes—to avoid over-complicating the drawing.
Step 5: Sketching the Dress and Legs

Use a wavy line to draw the hem of her dress. Sketch her legs and feet using curved lines, ensuring one leg appears slightly behind the other for depth. Teacher's Tip: Add a small curved line at the ankle to suggest socks.
Step 6: Adding the Seat

Draw a large book underneath Matilda for her to sit on. Add teardrop shapes on her shoes to indicate laces. Teacher's Tip: Think of the book as a rectangular block; keep the corners rounded to make it look like a soft, well-loved book.
Step 7: Building the Stack

Draw more books beneath the first one to create a stack. Use long, consistent curved lines for the covers and shorter lines for the pages. Teacher's Tip: Vary the thickness of the books to make the stack look more interesting.
Step 8: Refining Details

Finish the bottom book in the stack. Add extra curved lines to Matilda's hair to show volume and texture. Teacher's Tip: Use a darker pencil stroke for the final outline to make your character pop off the page.
Step 9: Final Touches

Add final details to the book spines and pages. Ensure all lines are clean and connected. Teacher's Tip: Erase any stray pencil marks from your initial sketch to give your drawing a professional, clean look.
Step 10: Bring Matilda to Life with Color

Now for the fun part! Color your Matilda. Use a warm brown for her hair and a classic blue for her dress. Teacher's Tip: Try using colored pencils and layering light and dark shades of blue to add depth to her dress folds.
More Tutorials


