How to Draw Marshmello’s Face: Easy 9-Step Guide
Ready to draw the world's most famous DJ mask? This tutorial is perfect for young artists and fans of electronic music who want to practice drawing geometric shapes. All you need is a pencil, an eraser, and a black marker to bring this iconic character to life.
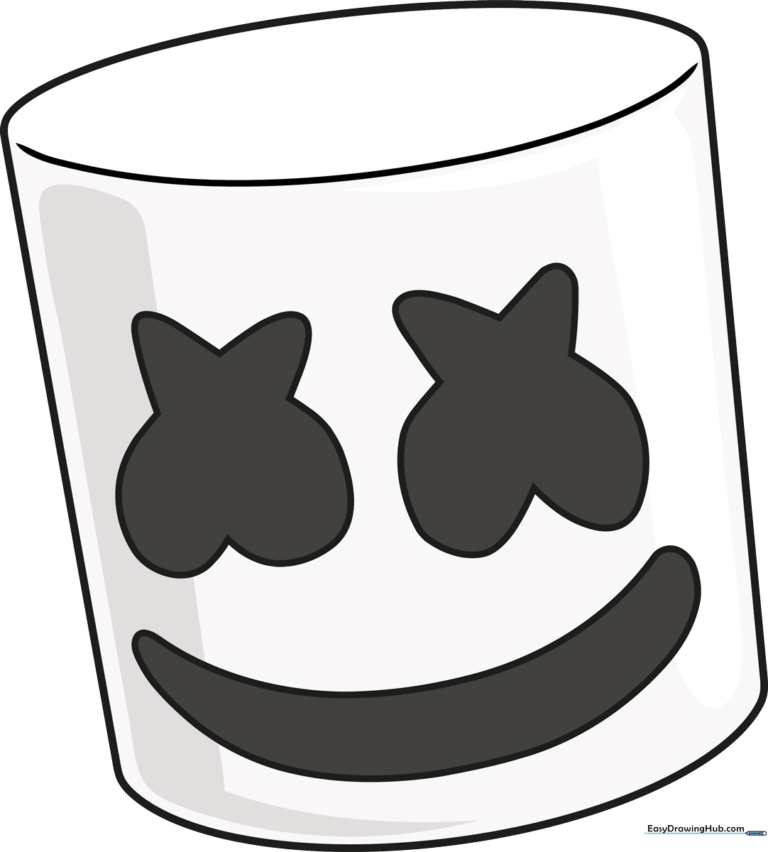
🎯 Final Result
Step-by-Step Instructions
Step 1: Sketching the Top Curve
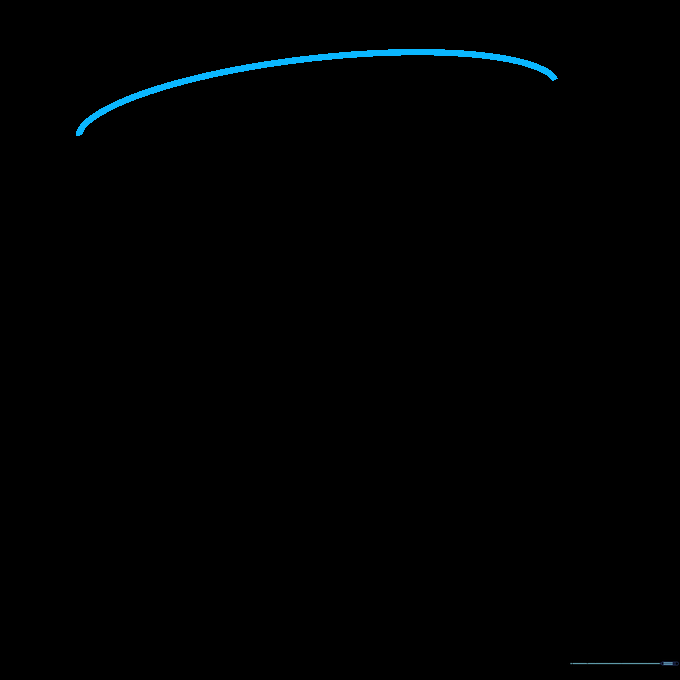
Start by drawing a gentle curved line on a slight diagonal. Teacher's Tip: Keep your pencil pressure light so you can easily adjust the shape if it looks a bit lopsided.
Step 2: Defining the Sides
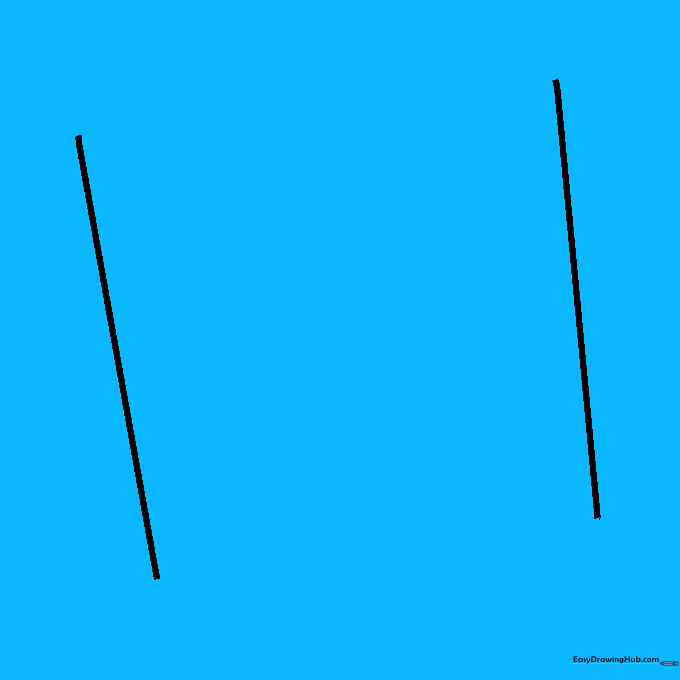
Draw two straight vertical lines extending down from the ends of your top curve. Tip: Use a ruler if you struggle with straight lines, but freehand is great for building steady hands!
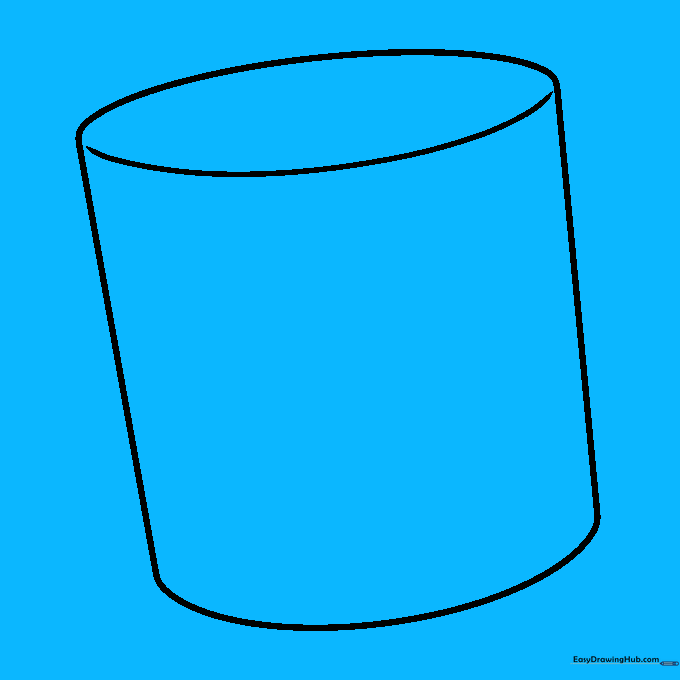
Step 3: Closing the Cylinder
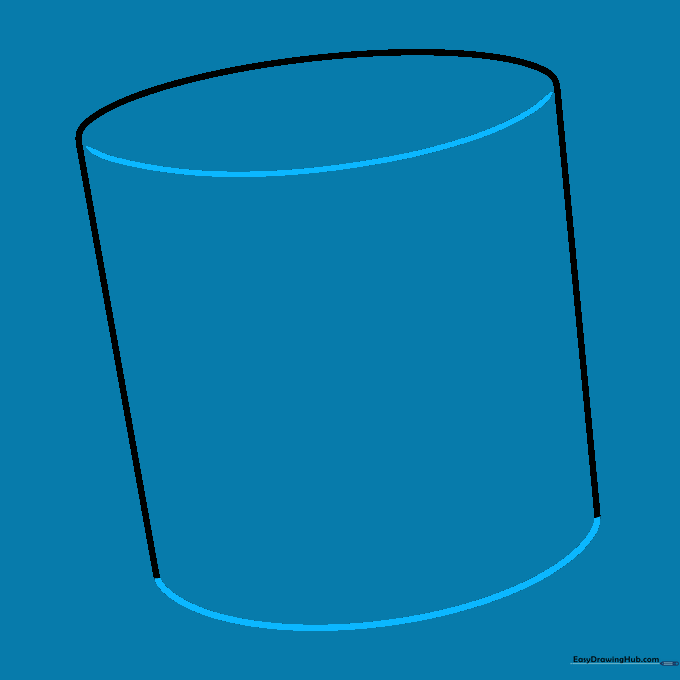
Connect the bottom of your vertical lines with a curved line. Add a second curve across the top to create a 3D cylindrical effect. Tip: Imagine you are drawing a soup can to get the perspective right.
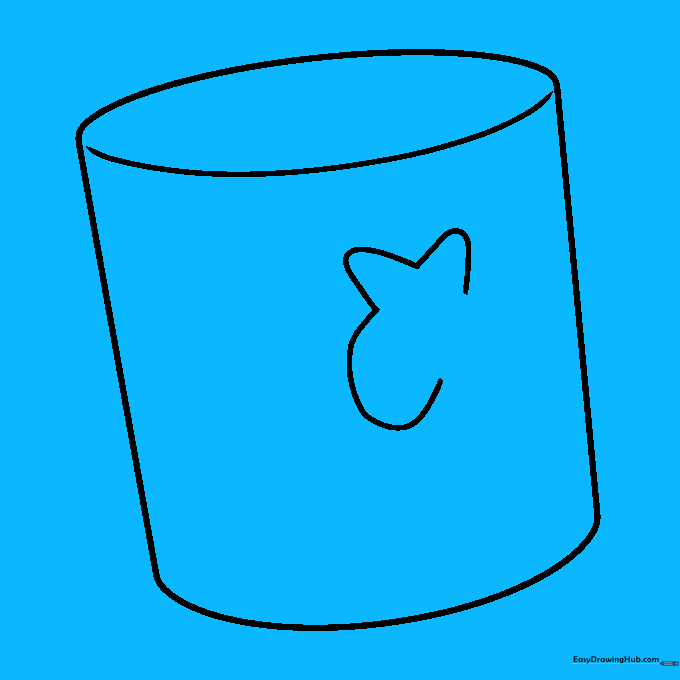
Step 4: Starting the First Eye
Draw a rounded 'M' shape in the center of the mask. This is the top part of the first 'X' eye. Tip: Keep the 'M' centered so the face looks balanced.
Step 5: Defining the Eye Leg

Add a curved line beneath the 'M' to form one of the legs of the 'X'. Tip: Think of this as drawing a thick, bold letter X with rounded corners.
Step 6: Completing the First Eye
Close the 'X' shape with another curved line. Then, start the second eye by drawing a rounded 'V' shape. Tip: Make sure the eyes are roughly the same size.
Step 7: Shaping the Second Eye
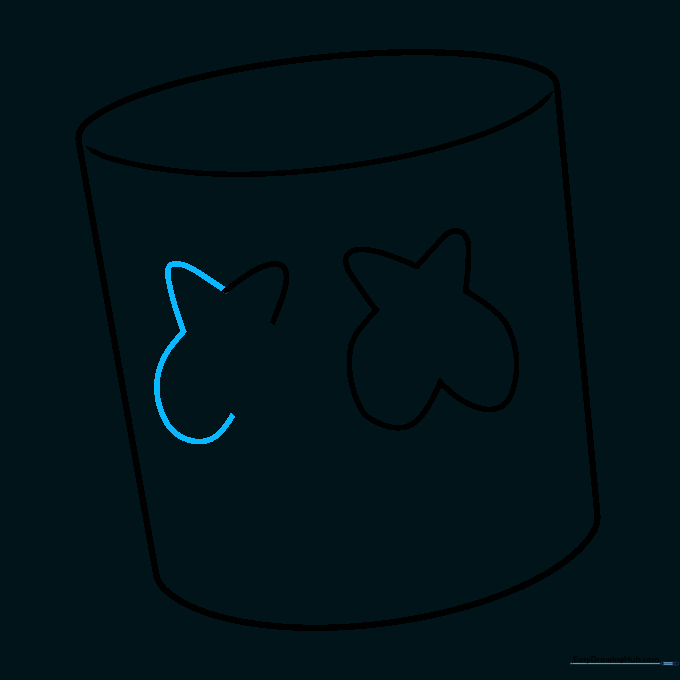
Continue the second 'X' eye using curved lines. Tip: If your lines are shaky, try drawing them in one quick, confident motion rather than small, choppy strokes.
Step 8: Adding the Smile
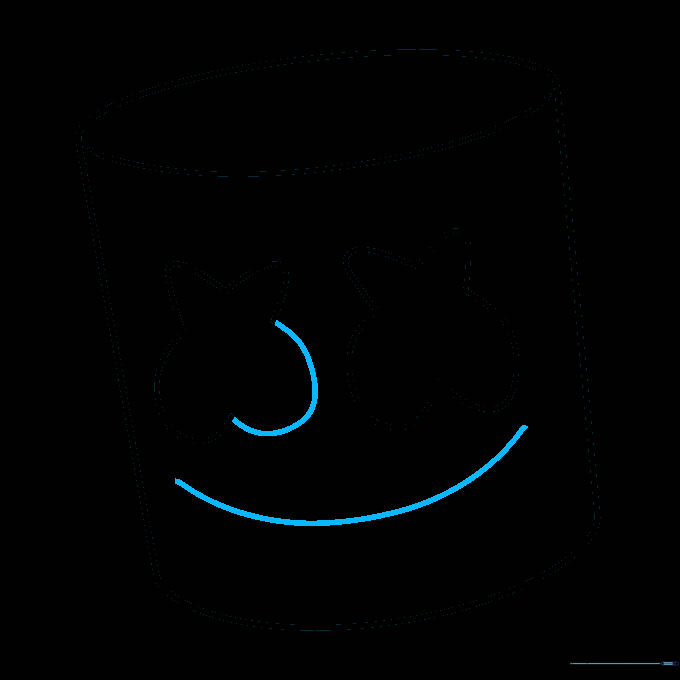
Close the second eye and draw a long, wide curved line for the mouth. Tip: The smile should be quite wide, stretching across most of the lower face.
Step 9: Finalizing the Smile

Draw a second curved line under the first to thicken the smile. Tip: This creates a bold, cartoonish look that really pops when colored in.
Coloring Your Masterpiece

Fill in the eyes and mouth with black. Keep the rest of the mask white, but add a small 'L' shaped shadow on the side to give it a 3D feel. Tip: Use a black marker for the eyes to get a nice, solid color.
More Tutorials


