How to Draw Mars: Easy 10-Step Space Art Guide
Ready to explore the Red Planet? This tutorial is perfect for young space enthusiasts ages 5 and up. You will only need a pencil, an eraser, and some red or orange crayons to bring Mars to life while practicing your circular shading and texture techniques.
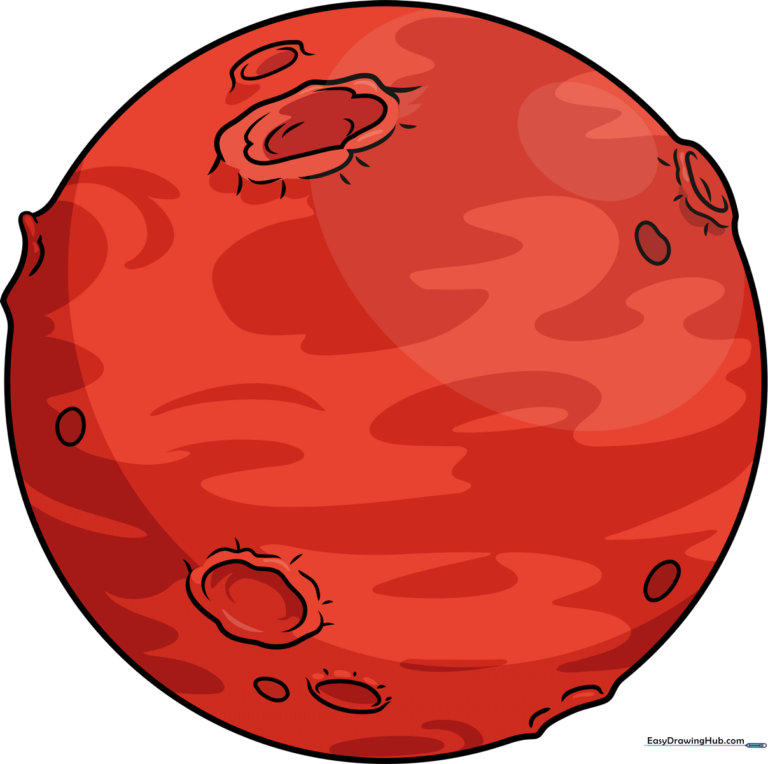
🎯 Final Result
Step-by-Step Instructions
Step 1: Sketching the Planetary Base
Draw a light circle to form the planet. Tip: Use a circular object like a cup to trace if you struggle with freehand, but keep your pencil pressure light so you can easily erase sections for craters later.
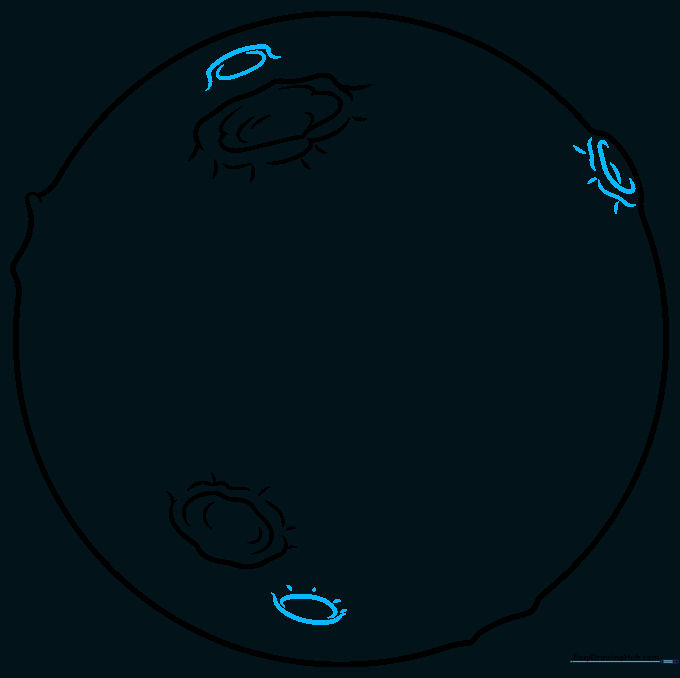
Step 2: Defining the First Crater
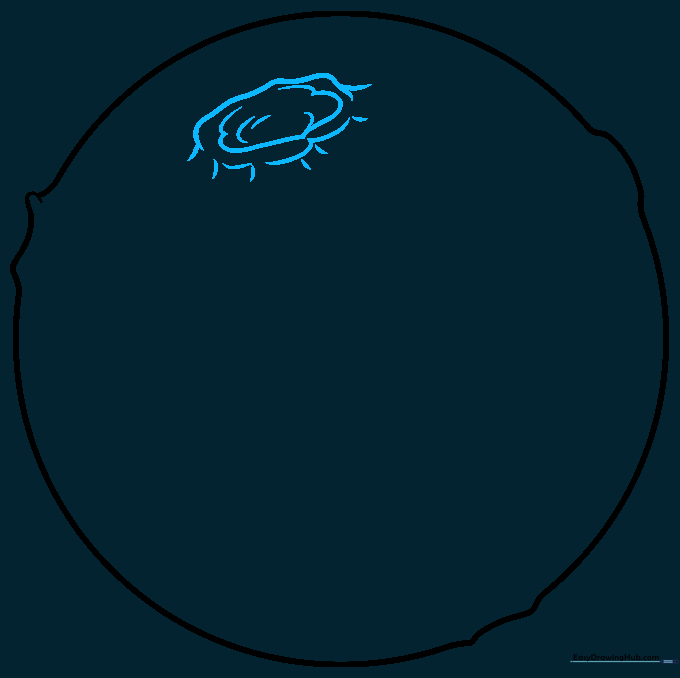
Sketch an overlapping curved line to create a crater rim. Tip: Think of this like drawing a small 'C' shape that connects back to the planet's edge to give it a 3D crater effect.
Step 3: Adding Depth to Craters
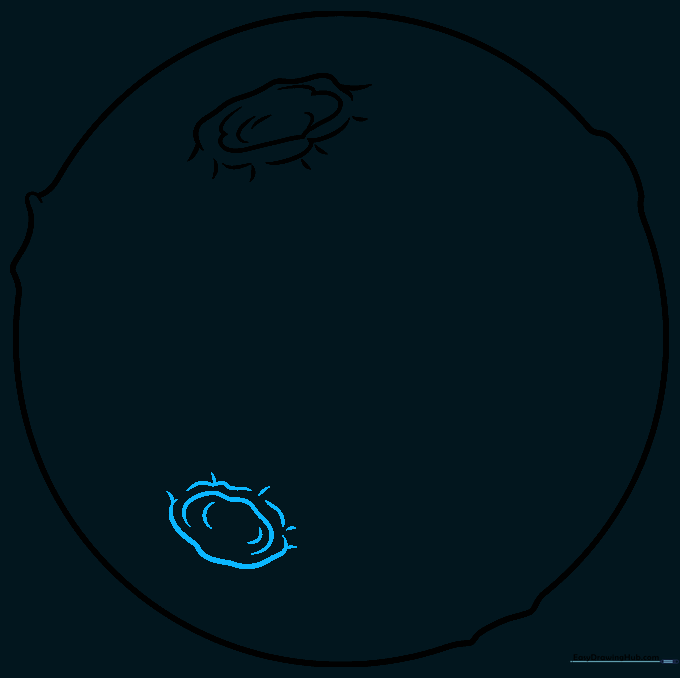
Draw a second crater on the opposite side. Tip: Vary the size of your craters; smaller ones look further away, while larger ones appear closer to the viewer.
Step 4: Creating Surface Texture
Add smaller, simple craters using two curved lines. Tip: Add short 'hatching' lines descending from the rims to simulate shadows and depth.
Step 5: Adding Rocky Details
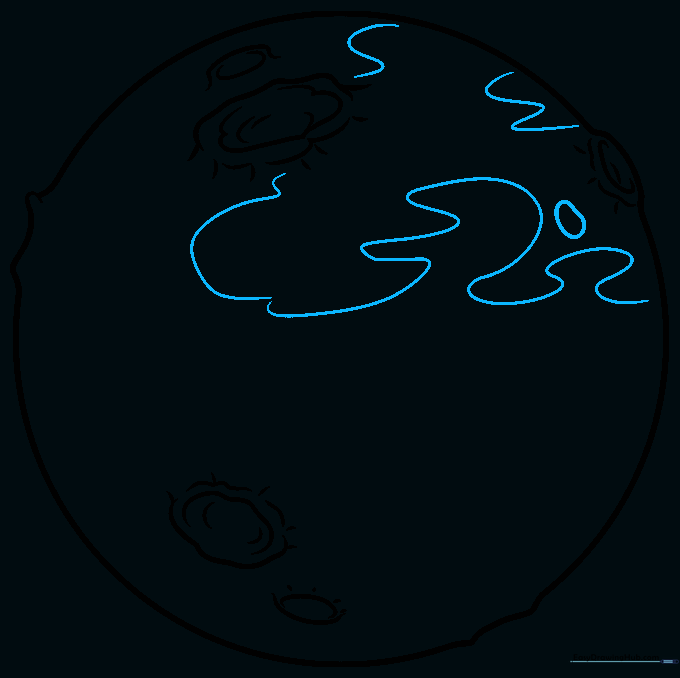
Draw irregular shapes and wavy lines across the surface. Tip: Don't make these too uniform; nature is messy, and Mars is a rocky, rugged planet!
Step 6: Filling the Surface
Continue adding round shapes and curved lines. Tip: Keep your lines loose and flowing to avoid making the planet look too rigid.
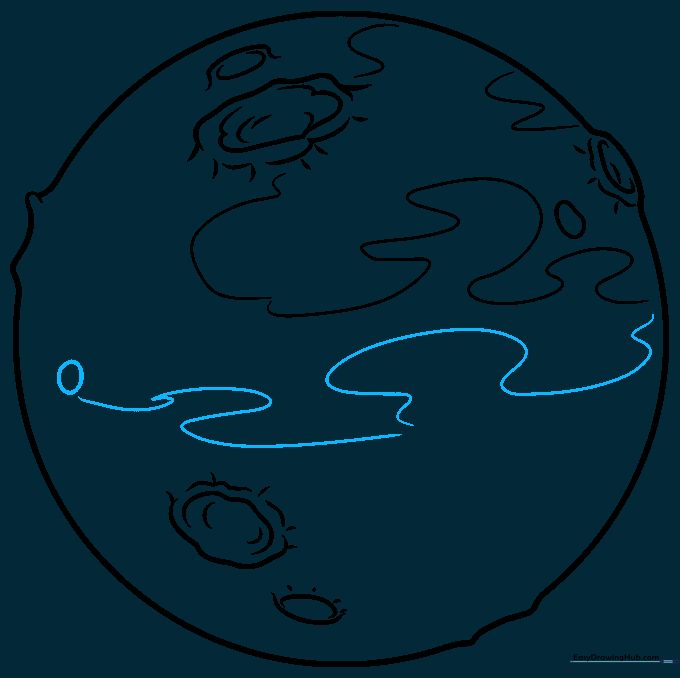
Step 7: Refining Crater Edges
Detail one of the main craters by adding extra wavy lines around it. Tip: This creates a 'crater wall' effect, making it look like a depression in the ground.
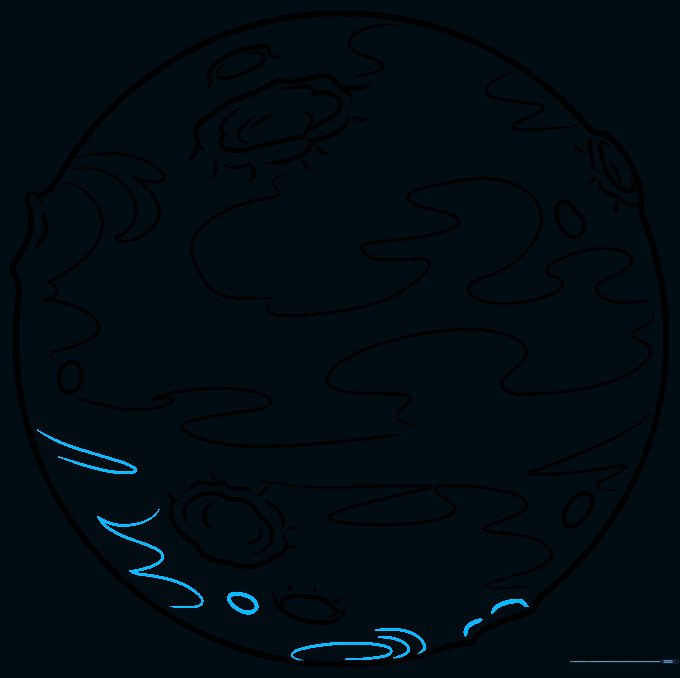
Step 8: Final Surface Texturing
Add more wavy lines and small dots to texture the surface. Tip: Use a light touch to make these look like distant rocks or dust storms.
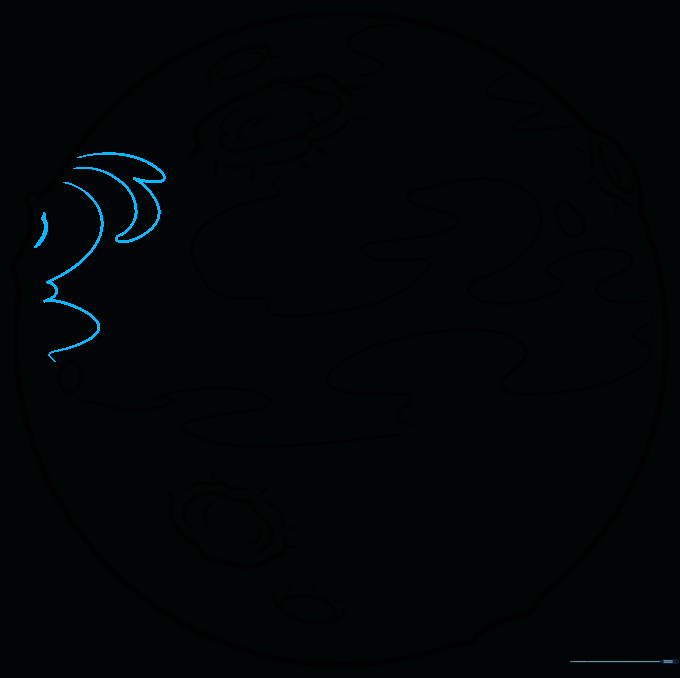
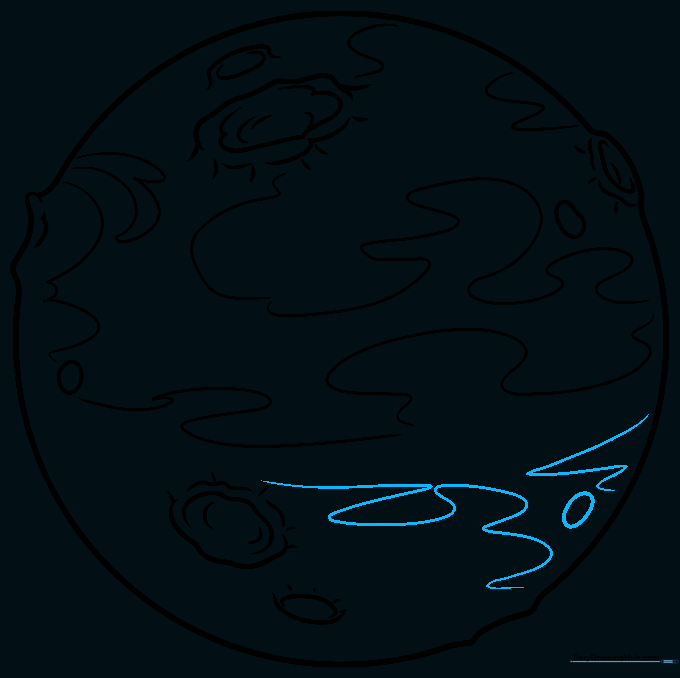
Step 9: Finalizing the Outline
Fill in any remaining empty spaces with small ovals or lines. Tip: Ensure your final outline is dark and clear before you start coloring.
Step 10: Bringing Mars to Life with Color
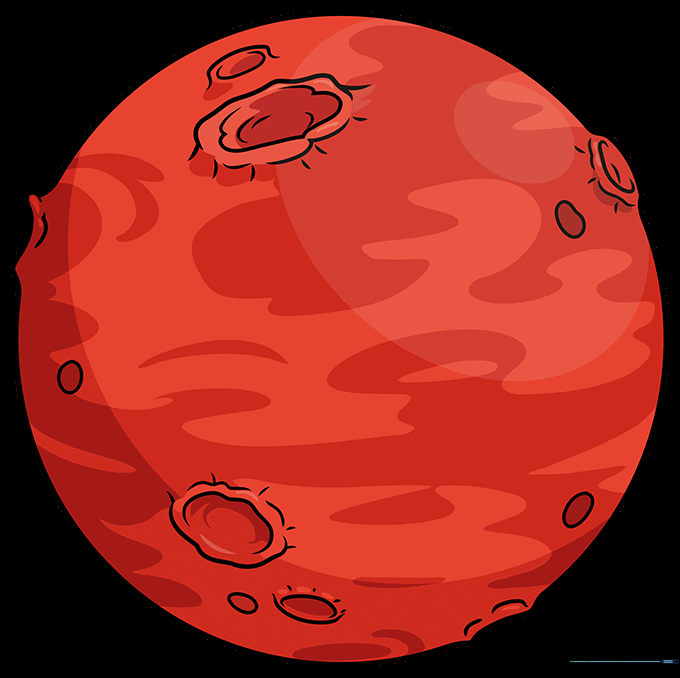
Color your planet using shades of red, orange, and rust. Tip: Use a circular coloring motion to keep the planet looking round and three-dimensional.
More Tutorials


