How to Draw Marge Simpson: Easy 10-Step Guide
Bring Springfield’s most iconic matriarch to life with this simple drawing guide, perfect for artists ages 6 and up. You’ll only need a pencil, an eraser, and a piece of paper to master Marge’s famous beehive hair and classic look. Follow along to build your character-drawing confidence one line at a time.
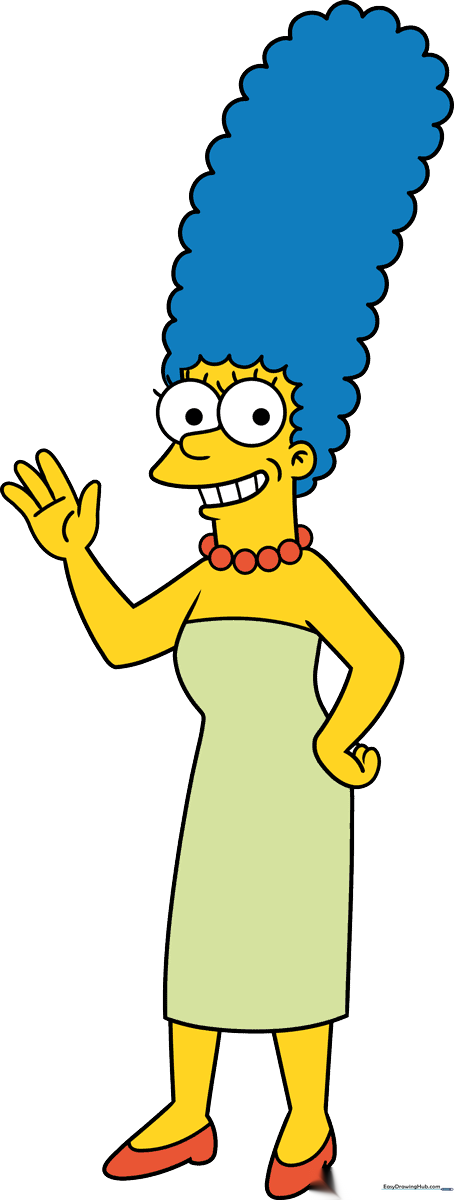
🎯 Final Result
Step-by-Step Instructions
Step 1: Sketching the Eyes and Nose

Start by drawing two circles for the eyes and a small curved line for the nose. Teacher's Tip: Keep your pencil pressure light so you can easily erase any overlapping lines later. Make sure the eyes are close together to capture Marge's signature look!
Step 2: Defining the Face and Mouth

Outline the face and neck using smooth, curved lines. Add a 'C' shape for the ear and detail the mouth with small lines to represent her teeth. Tip: Use a steady hand to ensure the mouth line flows naturally into the jawline.
Step 3: Starting the Beehive Hair

Now for the fun part—the hair! Use a series of small, connected 'U' shaped lines to build the base of her tall, iconic hairstyle. Tip: Don't worry about making the 'U' shapes perfect; the repetition creates the texture of her hair.
Step 4: Completing the Hair and Adding Pearls

Finish the rectangular shape of the hair with more 'U' lines, then draw a string of small circles at the base of the neck for her pearl necklace. Tip: Vary the size of the circles slightly to make the pearls look more realistic.
Step 5: Sketching the Arm and Hand
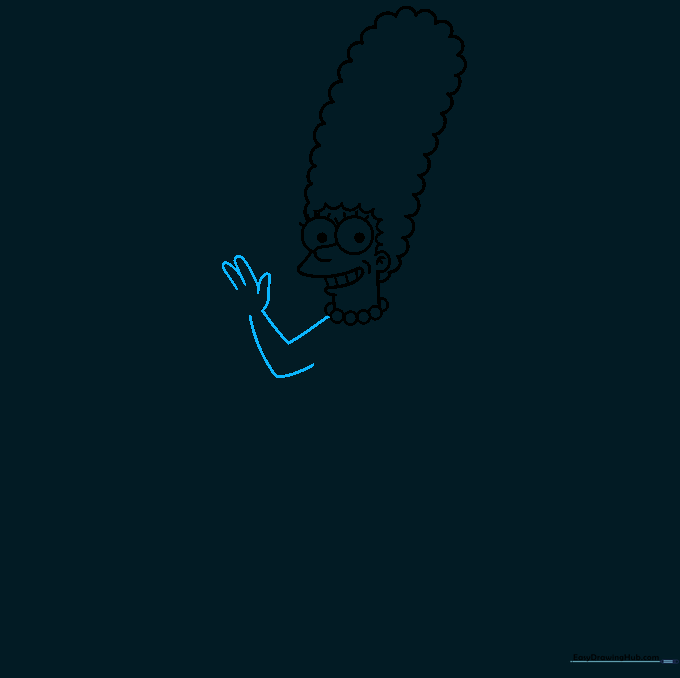
Use two 'V' shaped lines to outline the arm, then use overlapping 'U' shapes to form the fingers. Tip: Keep the fingers rounded at the tips to maintain the cartoon style.
Step 6: Refining the Hands
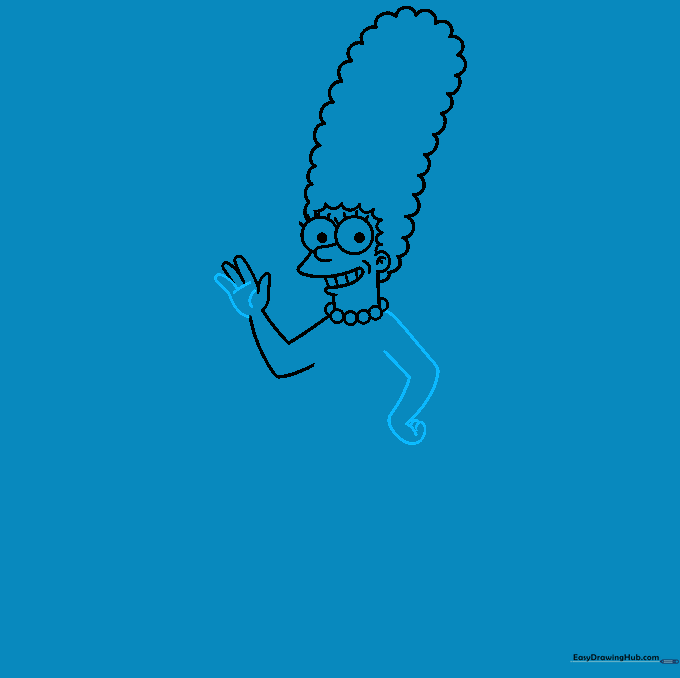
Add detail to the palm with a few curved lines, then sketch the second arm and hand. Tip: Use your own hand as a reference for the placement of the fingers if you get stuck!
Step 7: Drawing the Dress
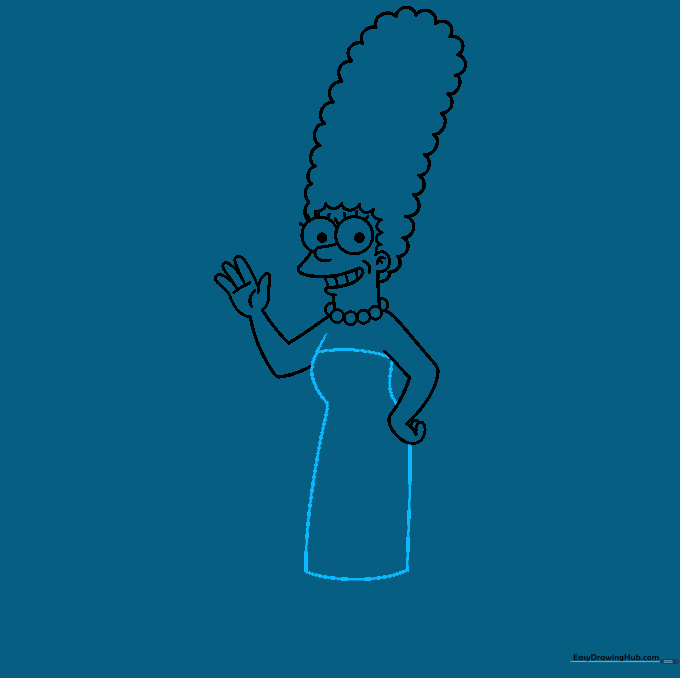
Outline the dress using long, sweeping curved lines. Connect them at the top and bottom to create the tube shape. Tip: Make sure the dress lines align with the arms you drew earlier.
Step 8: Sketching the Legs
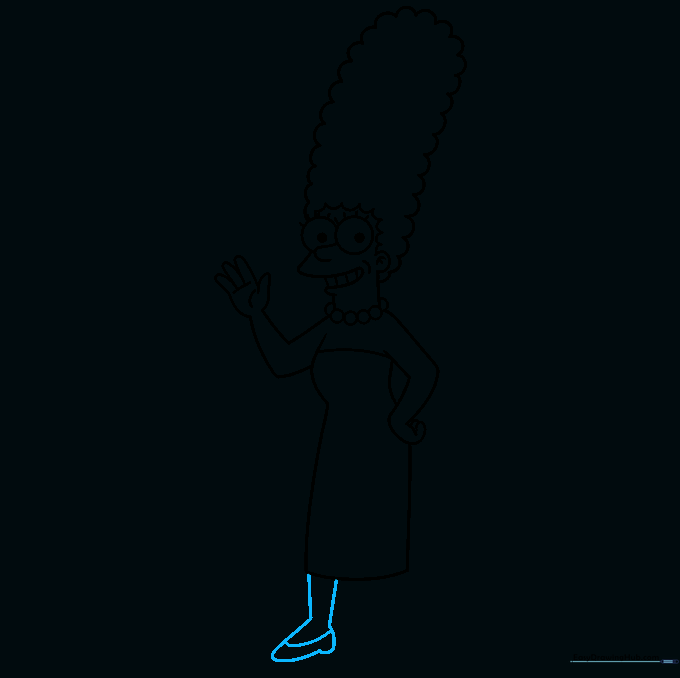
Use curved lines to draw the first leg and foot. Add a horizontal line across the foot to mark the top of her shoe. Tip: Keep the leg slightly tapered to give it a natural look.
Step 9: Finishing the Legs
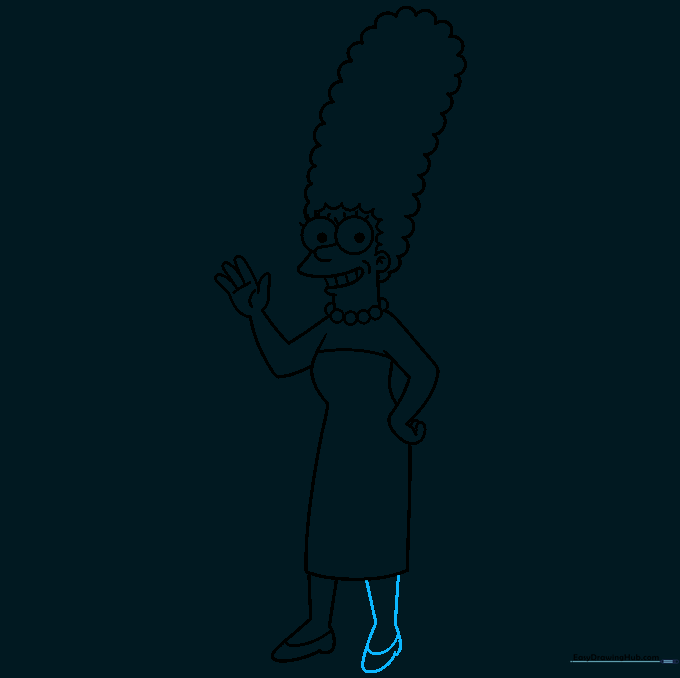
Draw the second leg and foot using the same curved technique. Ensure the shoes look balanced. Tip: Check that your lines are clean before you start the final coloring phase.
Step 10: Adding Color

Time to bring her to life! Use bright yellow for her skin and a vibrant blue for her hair. Tip: Use light, even strokes with your colored pencils to avoid streaks.
More Tutorials


