How to Draw Manga Hair: Simple Step-by-Step Guide
Ready to bring your anime characters to life? This tutorial is perfect for artists ages 7+ looking to master the signature spiky look of manga hair. Grab a pencil, an eraser, and a sheet of paper to begin building your character's unique style.
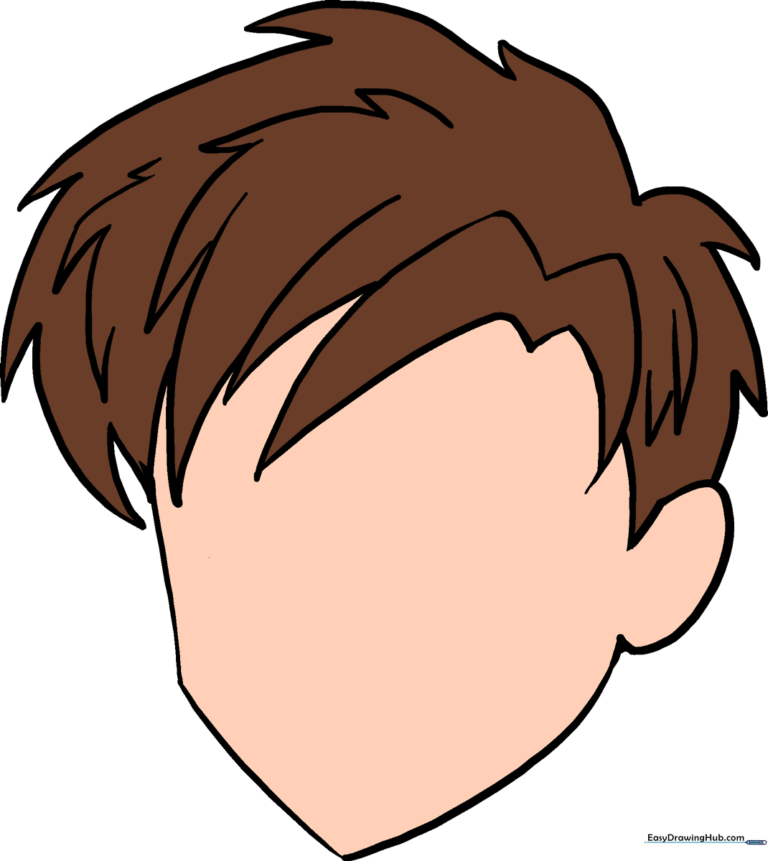
🎯 Final Result
Step-by-Step Instructions
Step 1: Sketching the Head Shape
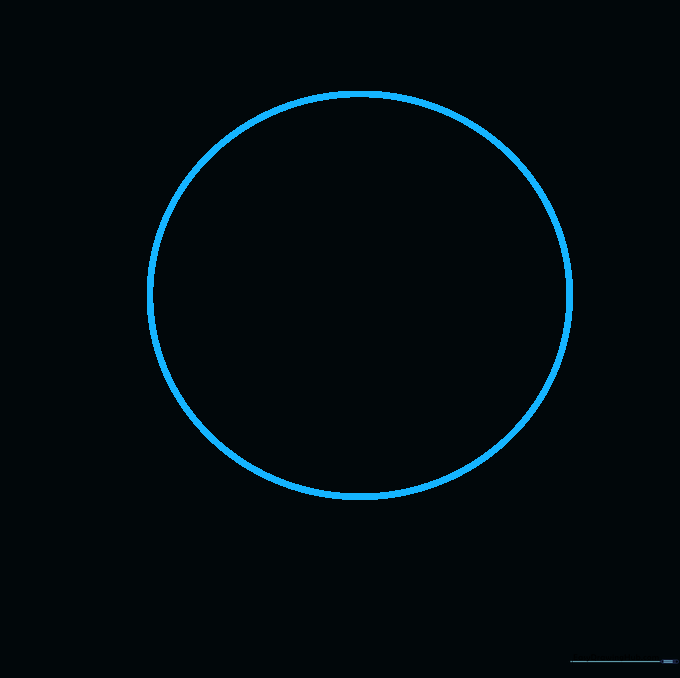
Draw a light circle to serve as the base for your character's head. Teacher's Tip: Keep this circle light and loose; it’s just a guide, and you’ll be erasing it later!
Step 2: Defining the Jawline
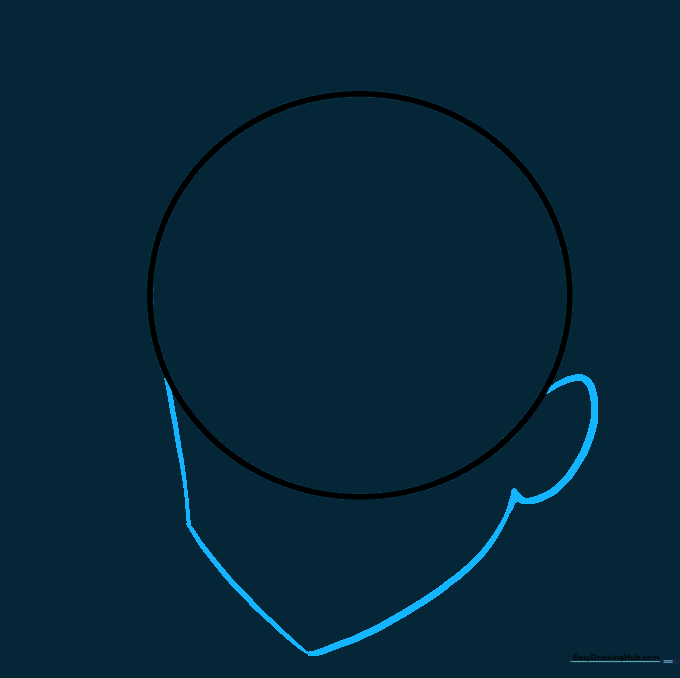
Outline the face by drawing straight lines that meet at a defined chin. Add a small curve for the ear. Teacher's Tip: Manga faces are often angular, so don't be afraid to make the jawline sharp.
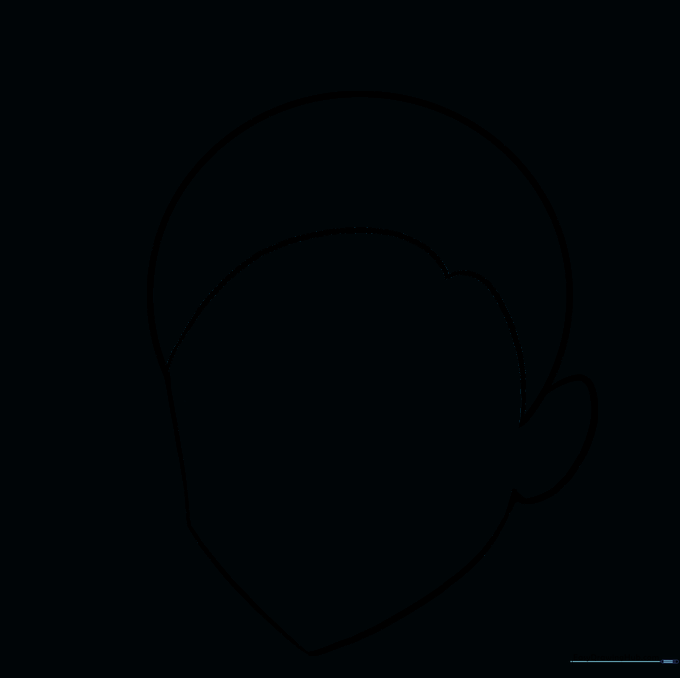
Step 3: Establishing the Hairline

Draw two curved lines meeting at a point on the forehead to create the hairline. Teacher's Tip: Off-centering this point makes the hair look more natural and less robotic.
Step 4: Cleaning the Canvas
Gently erase the circular guide lines inside the face. Teacher's Tip: Use a kneaded eraser if you have one; it’s gentler on the paper and won't leave messy crumbs.
Step 5: Adding the First Spikes
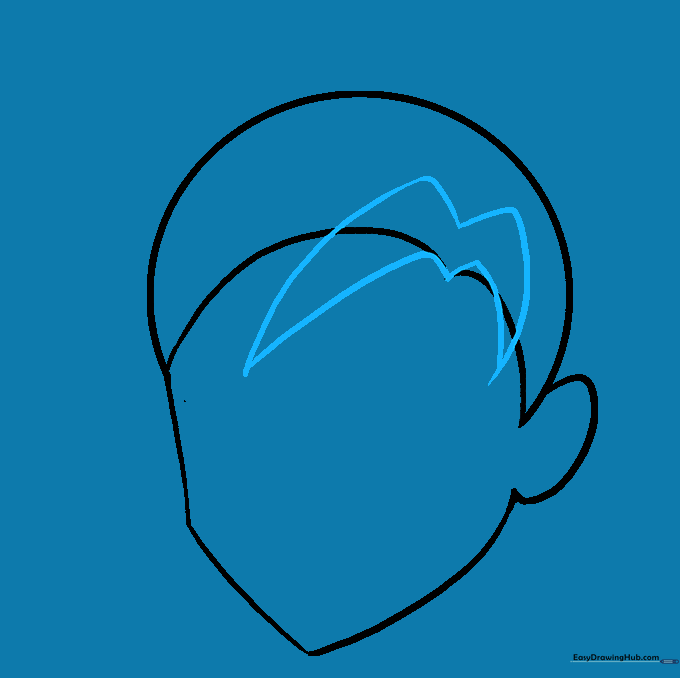
Draw an 'M' shape on the forehead to start the bangs. Teacher's Tip: Ensure the center of the 'M' aligns with the hairline point you drew in Step 3.
Step 6: Drawing the Main Hair Volume
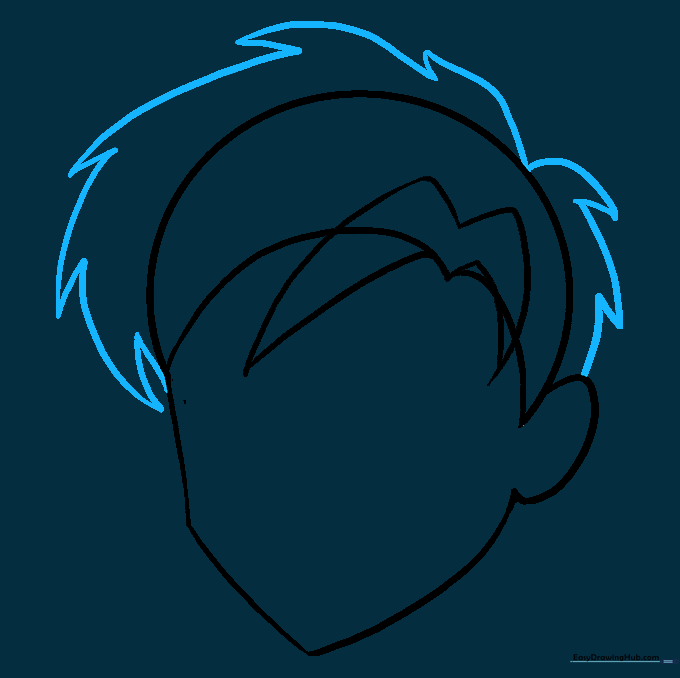
Use short, curved lines to create jagged spikes around the crown of the head. Teacher's Tip: Imagine the hair is growing from a single point at the back of the head to keep the spikes looking uniform.
Step 7: Refining the Outline
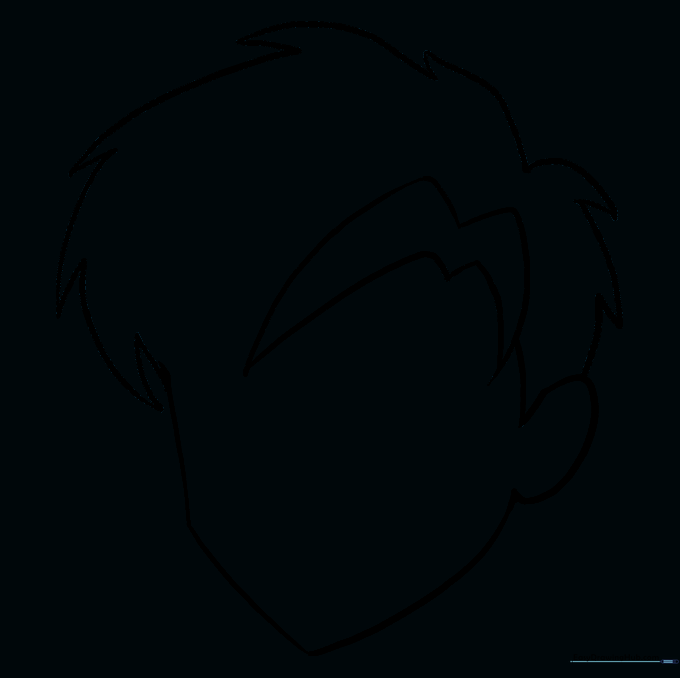
Erase any remaining guide lines from the forehead area. Teacher's Tip: A clean drawing makes the final ink or color look much more professional.
Step 8: Adding Side Tufts
Draw long, curved lines to create tufts of hair that overhang the face near the ears. Teacher's Tip: Varying the length of these tufts adds movement to your character's hair.
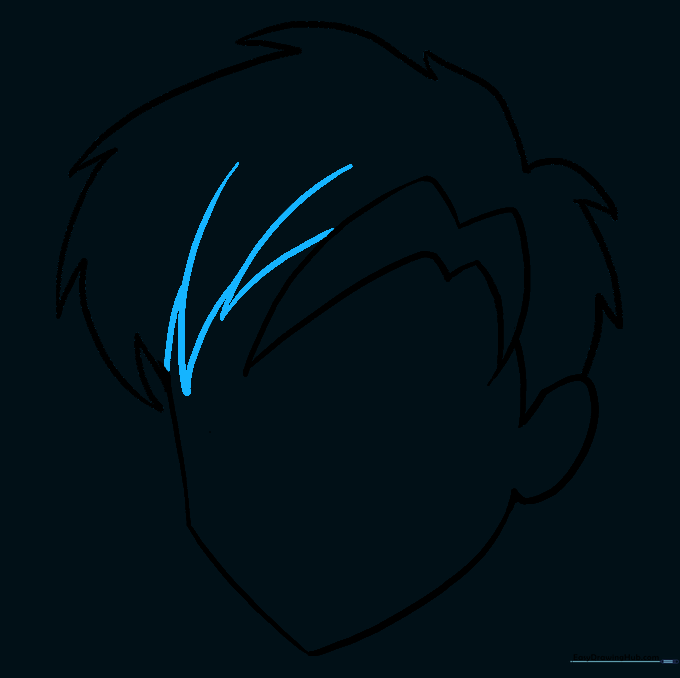
Step 9: Adding Texture Details

Add small, connected curved lines throughout the hair to create texture and depth. Teacher's Tip: Don't overdo it! A few well-placed lines are better than a messy, cluttered drawing.
Step 10: Bringing it to Life with Color

Time to color! Choose your favorite shade and fill in the hair. Teacher's Tip: Leave a small white gap near the top of the spikes to simulate a 'shine' or highlight—this makes the hair look glossy!
More Tutorials


