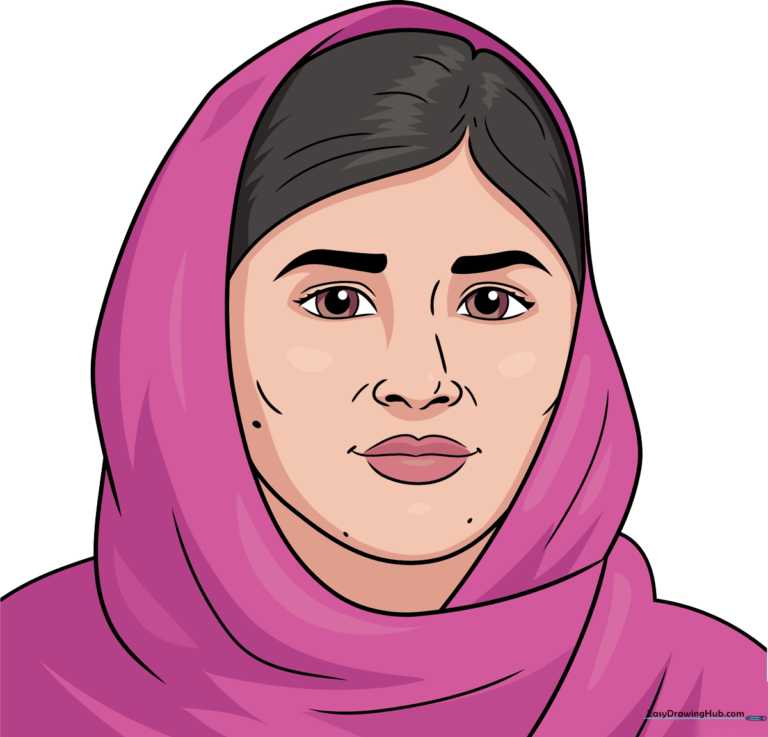
How to Draw Malala Yousafzai: Easy 10-Step Portrait Guide
Celebrate a hero of education by learning to draw a portrait of Malala Yousafzai. This tutorial is designed for ages 8+ and requires only a pencil, eraser, and paper. Follow these steps to build confidence in facial proportions and expressive line work.
🎯 Final Result
Step-by-Step Instructions
Step 1: Sketching the First Eye
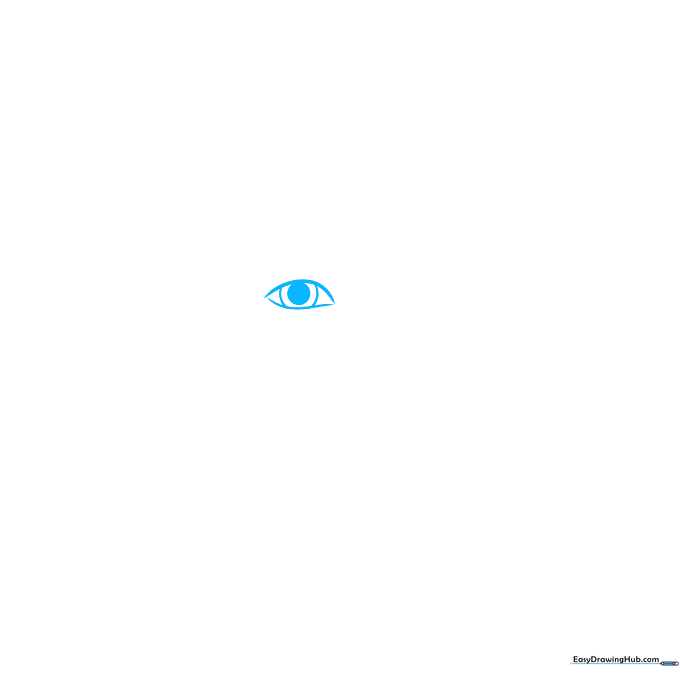
Begin by drawing the first eye using two curved lines that meet at the corners. Add two partial circles inside for the iris and pupil, shading the pupil dark. Teacher's Tip: Keep your pencil pressure light here so you can easily adjust the eye shape later.
Step 2: Drawing the Second Eye
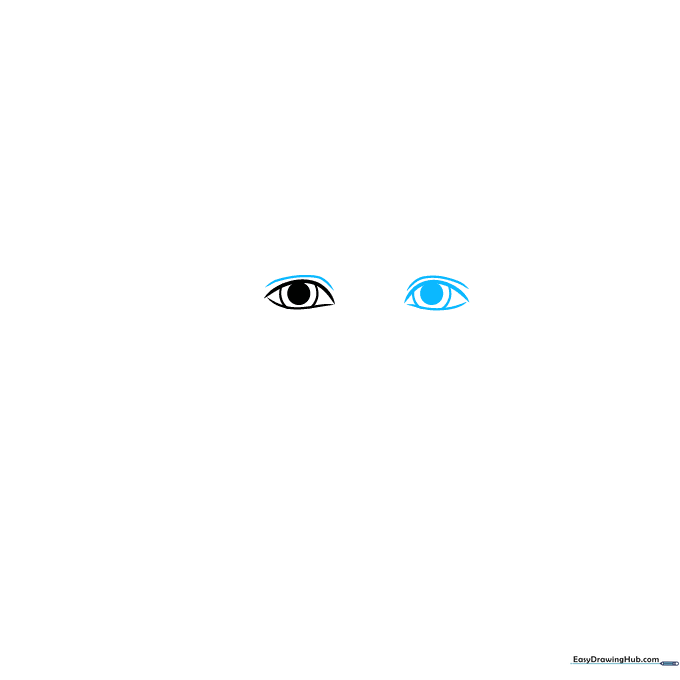
Repeat the process to draw the second eye, ensuring it aligns horizontally with the first. Add a small curved line above each eye to represent the eyelid crease. Teacher's Tip: Use your pencil to draw a faint horizontal guideline across your paper to keep both eyes level.
Step 3: Adding Brows and Lashes
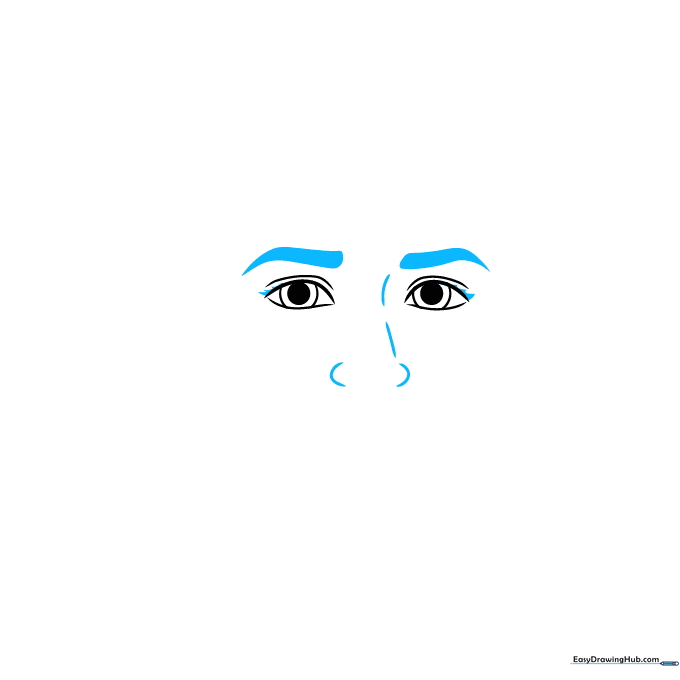
Sketch thick, slightly arched eyebrows above the eyes. Add small triangles at the outer corners of the eyes for eyelashes. Teacher's Tip: Don't make the eyebrows perfectly identical; natural brows have slight variations in thickness.
Step 4: Defining the Nose and Mouth
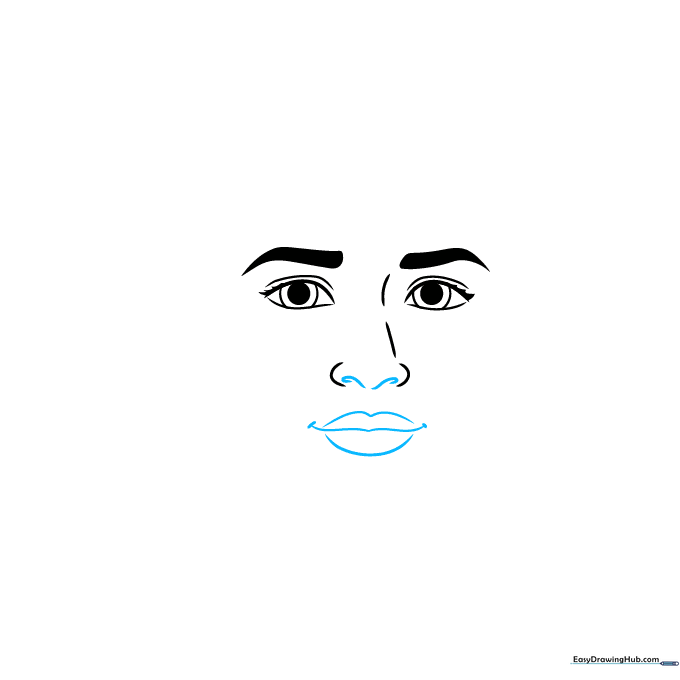
Draw the nose using short, subtle curved lines for the nostrils. For the mouth, use three gentle curves to define the lips. Teacher's Tip: Keep the nose lines very soft; heavy lines can make the nose look too harsh.
Step 5: Sketching the Hijab Outline
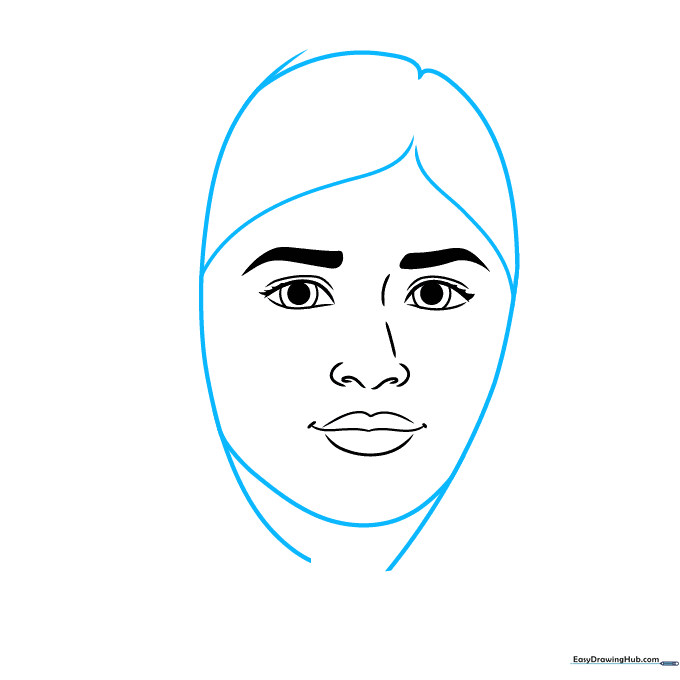
Use long, sweeping curved lines to frame the face with the edges of the hijab. Teacher's Tip: Imagine the fabric draping over the head; use smooth, continuous strokes to show the flow of the cloth.
Step 6: Completing the Hijab Shape

Extend the neck line upward to wrap around the head, enclosing the hijab. Teacher's Tip: Ensure the hijab looks rounded at the top to give the head a natural, three-dimensional shape.
Step 7: Adding Shoulders and Scarf
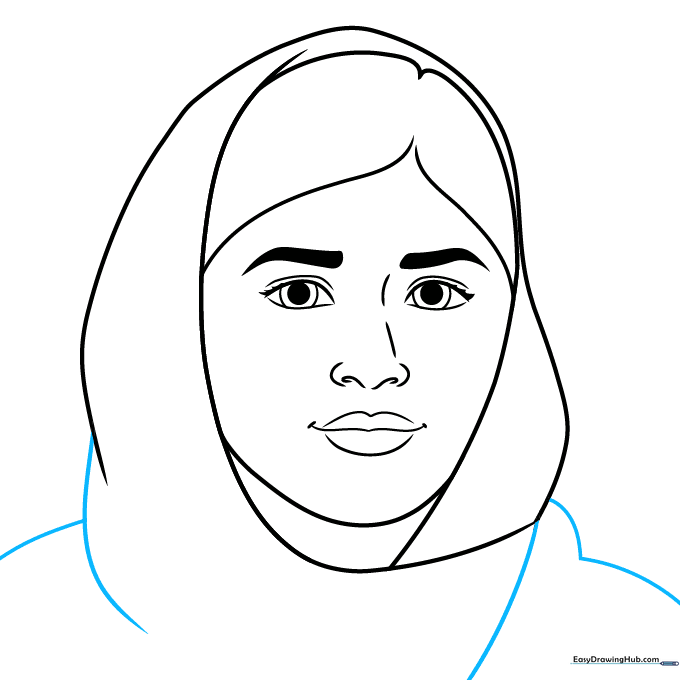
Draw long, flowing lines to show the scarf hanging around the neck and the slope of the shoulders. Teacher's Tip: Use wider curves for the shoulders to create a balanced portrait composition.
Step 8: Adding Texture Details
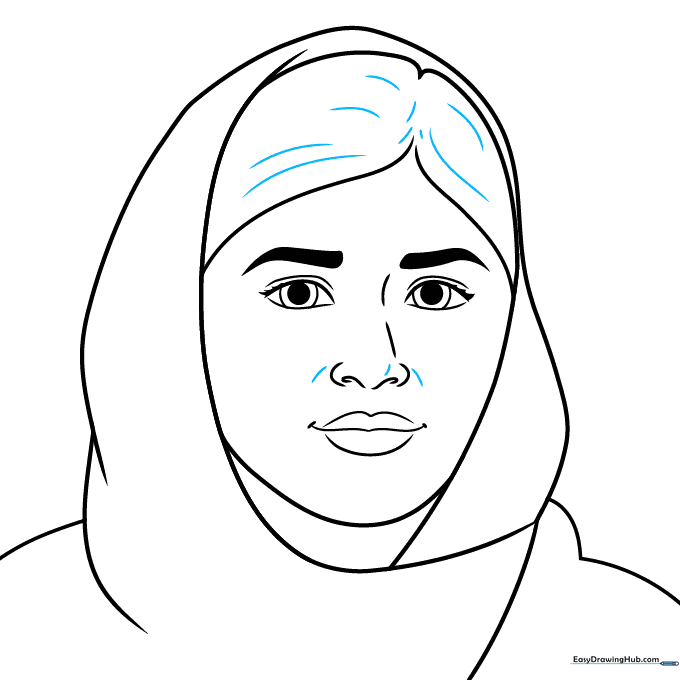
Add subtle curved lines to the hair area and around the nose to add depth. Teacher's Tip: Use very light, short strokes to suggest texture without over-detailing.
Step 9: Final Contouring

Add light contour lines to the cheekbones and folds in the cloth. Add a few tiny dots for freckles if you like. Teacher's Tip: Less is more—a few well-placed lines are better than too many messy ones.
Step 10: Bringing it to Life with Color

Time to color! Use warm tan tones for the skin, deep brown for the eyes and hair, and a vibrant pink or burgundy for the hijab. Teacher's Tip: Try layering your colors to create soft shadows on the face.
More Tutorials


