How to Draw Lungs: Simple Anatomy Sketching Guide
This step-by-step guide is perfect for students and young artists looking to illustrate the human respiratory system. All you need is a pencil, an eraser, and a piece of paper to get started. Follow along to turn complex anatomy into a simple, clear diagram.
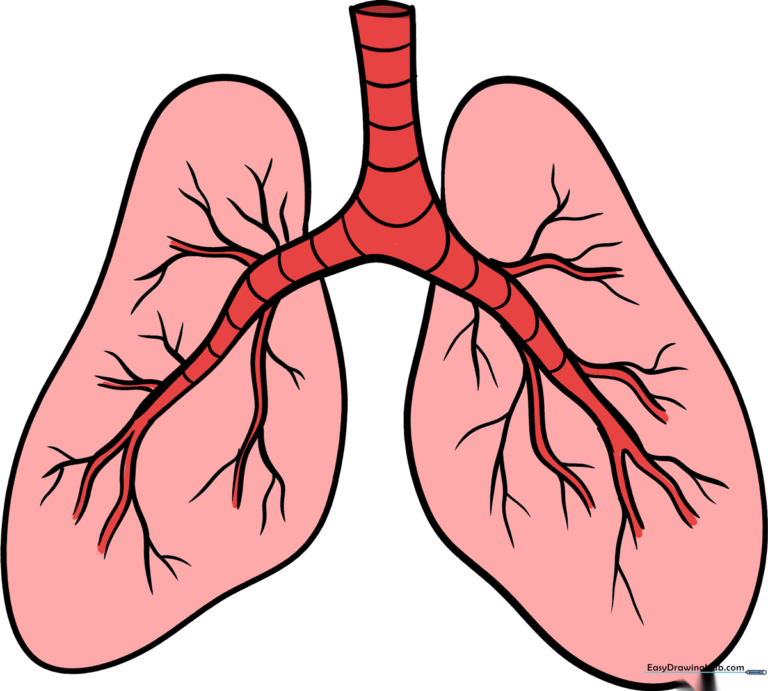
🎯 Final Result
Step-by-Step Instructions
Step 1: Sketching the Trachea
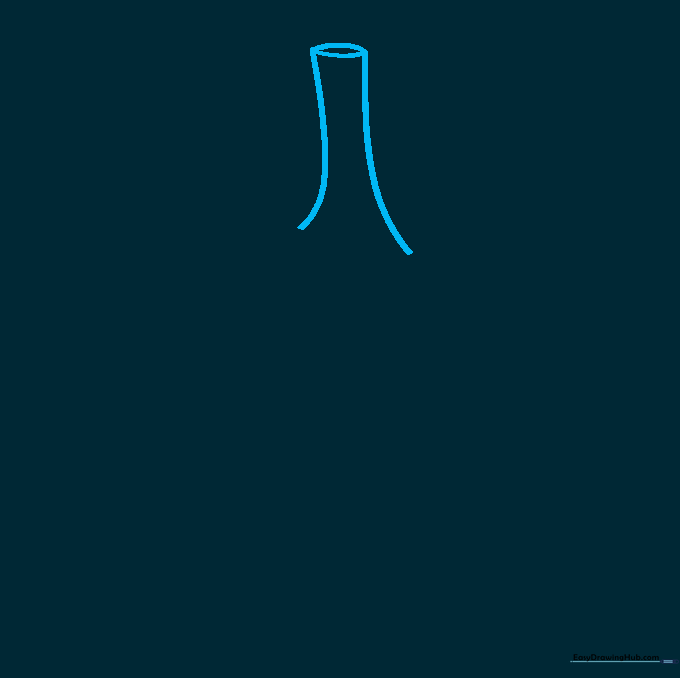
Draw two vertical curved lines that gently flare out at the bottom. Connect them at the top with a small oval. Teacher's Tip: Keep your pencil pressure light here so you can easily adjust the shape of the windpipe later.
Step 2: Defining the Primary Bronchi
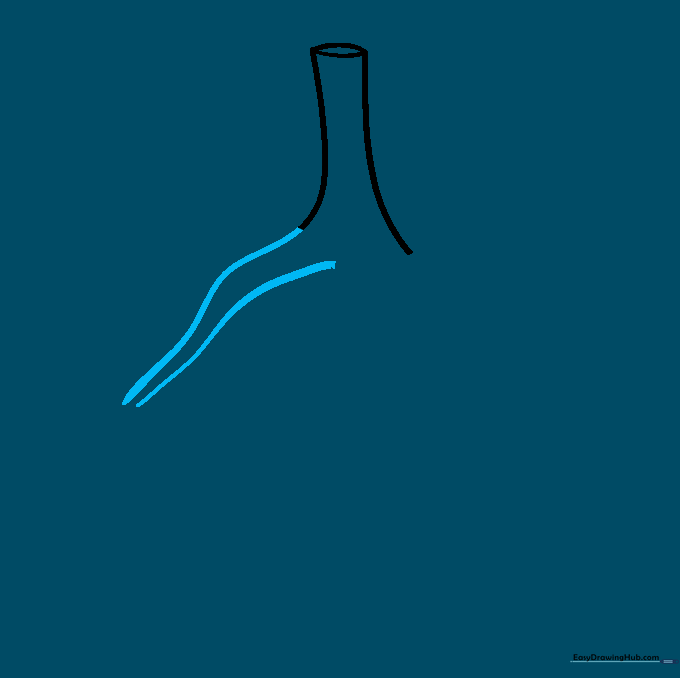
Extend a pair of curved lines from the base of the trachea to the left. This creates the primary bronchus. Teacher's Tip: Think of this as the 'branch' of a tree; keep the lines smooth and flowing.
Step 3: Balancing the Bronchi
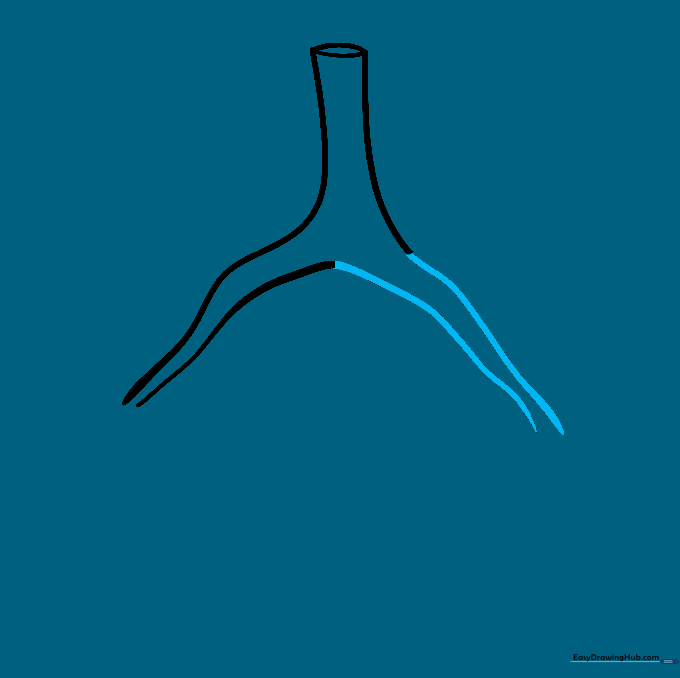
Mirror your work by drawing a matching pair of curved lines extending to the right. Teacher's Tip: Symmetry is key here, so try to match the length and curve of the first branch.
Step 4: Adding Tracheal Texture
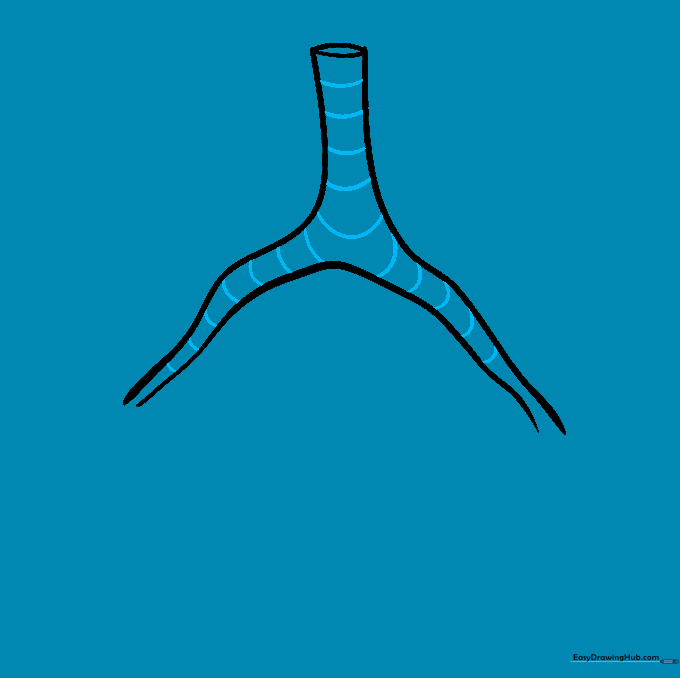
Add small, horizontal curved bands inside the trachea and bronchi. Teacher's Tip: These represent the cartilage rings. Keep them evenly spaced to make the drawing look more realistic.
Step 5: Outlining the First Lung
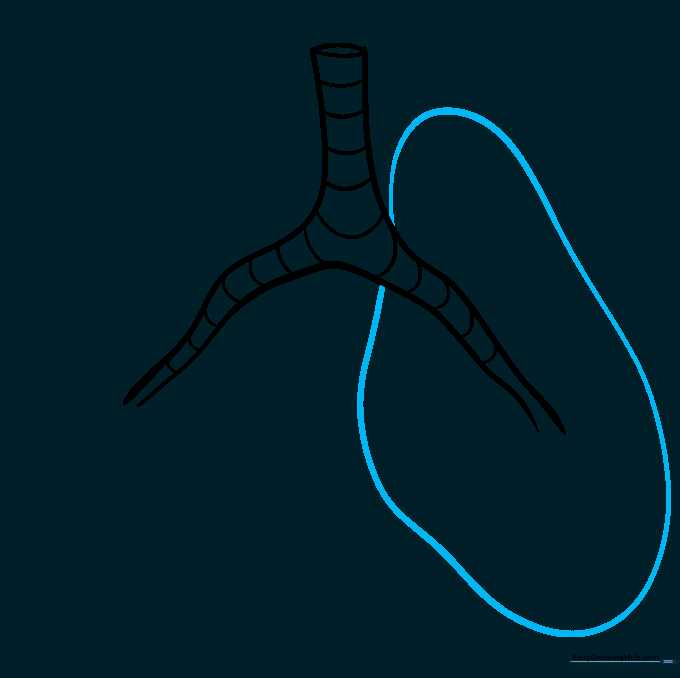
Draw a large, irregular rounded shape around the left bronchus. Teacher's Tip: Lungs aren't perfect circles; make the edges slightly bumpy to mimic the natural shape of the organ.
Step 6: Outlining the Second Lung
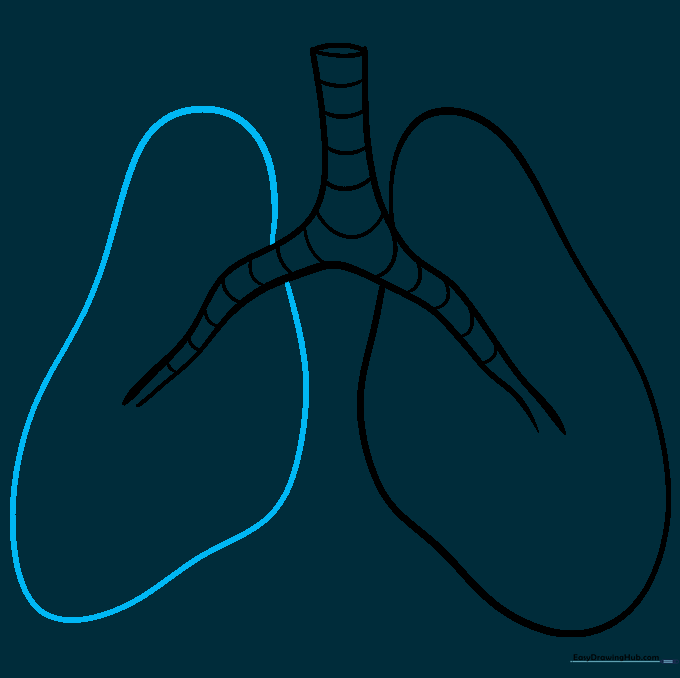
Repeat the process on the right side, drawing a similar irregular shape. Teacher's Tip: Ensure the two lungs are roughly the same size to keep your diagram balanced.
Step 7: Adding Secondary Bronchi
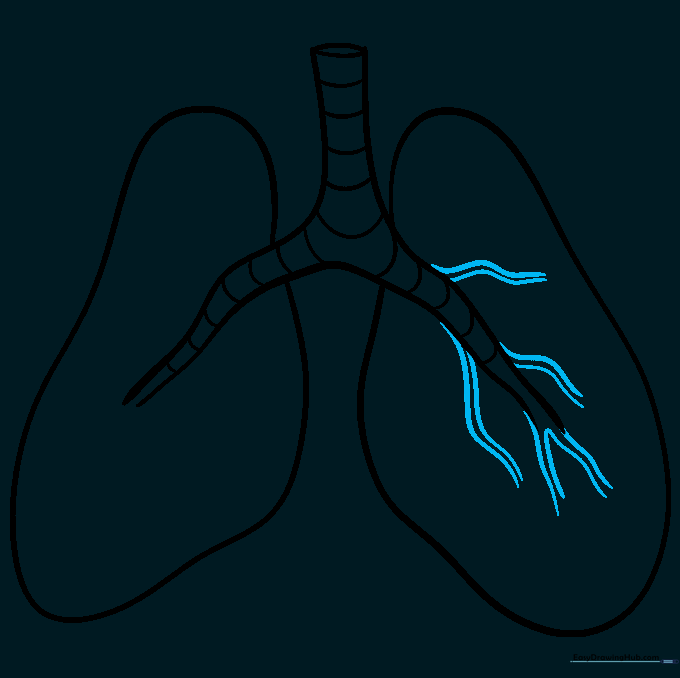
Draw smaller, branching curved lines extending from the main bronchi into the lung space. Teacher's Tip: These represent the secondary airways; keep them thinner than the main bronchi.
Step 8: Completing Secondary Bronchi
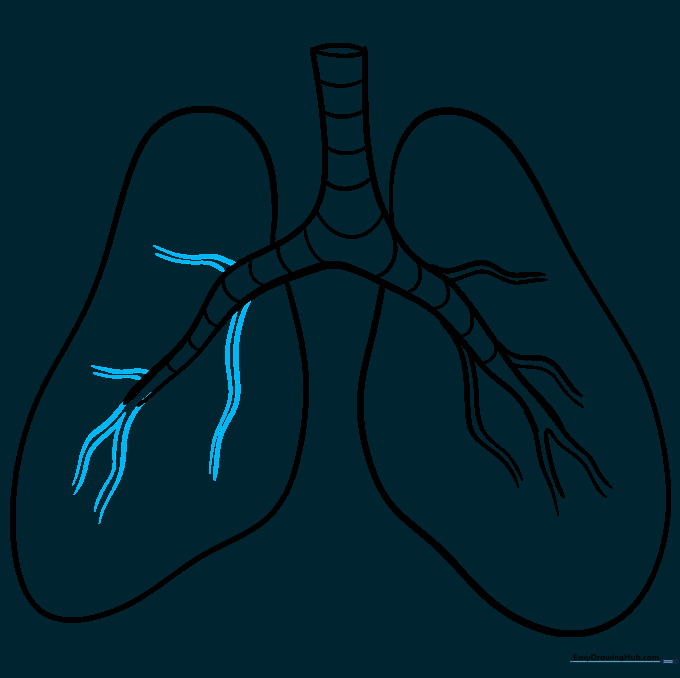
Repeat the branching on the right side. Teacher's Tip: Don't worry about making them perfectly identical; nature is rarely perfectly symmetrical!
Step 9: Adding Fine Bronchioles
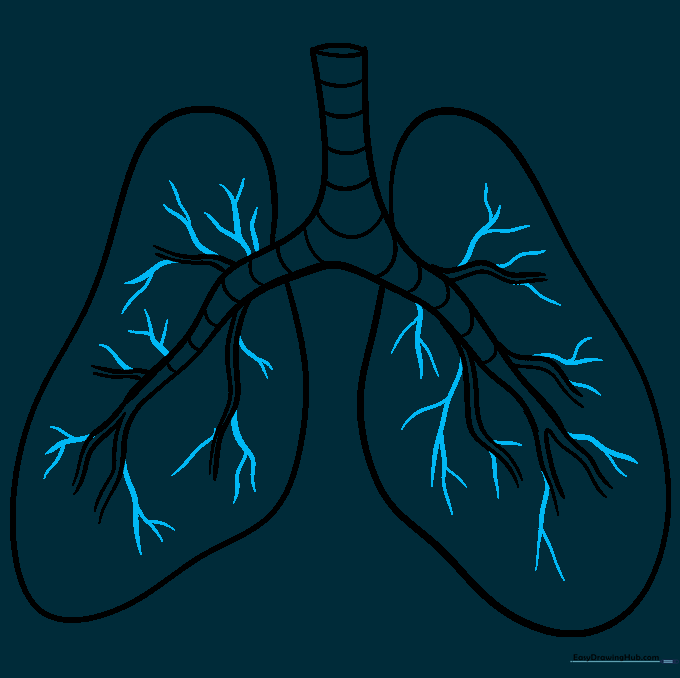
Add tiny, delicate lines branching off the secondary bronchi to represent the smallest airways. Teacher's Tip: Use a sharp pencil point here to keep these details clean and crisp.
Step 10: Final Touches and Coloring
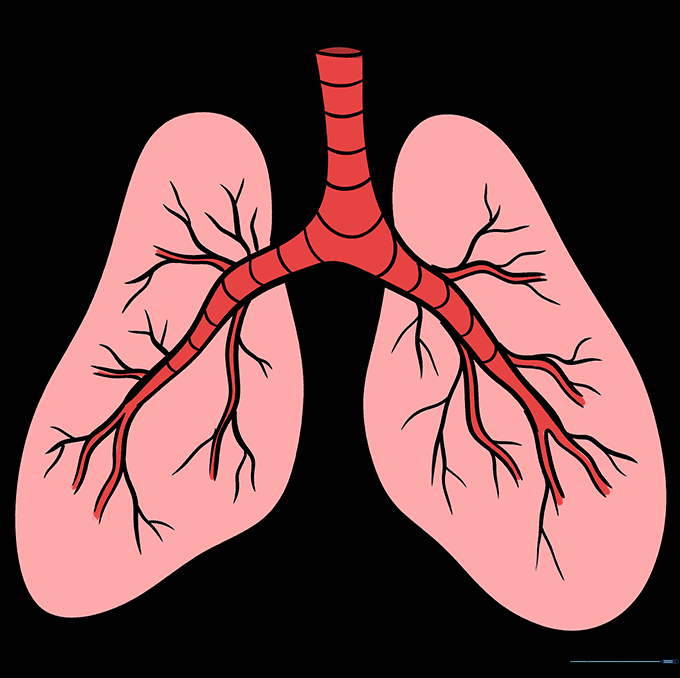
Erase any unnecessary guidelines and add color. Use light pink or reddish tones to bring your lungs to life. Teacher's Tip: Use a soft shading technique to give the lungs a 3D, rounded appearance.
More Tutorials


