How to Draw Luke Skywalker: Easy 10-Step Jedi Guide
Bring the galaxy’s greatest hero to life with this simple, step-by-step tutorial designed for young Padawans and budding artists. You will only need a pencil, an eraser, and a sheet of paper to complete this iconic character. Follow along to build confidence in your sketching skills and create your very own Jedi masterpiece.
🎯 Final Result

Step-by-Step Instructions
Step 1: Sketching the Face Shape

Outline Luke's face using a long, curved line for the jaw and a 'C' shape for the ear. Teacher's Tip: Keep your pencil pressure light so you can easily adjust the chin shape if it looks a bit too pointy.
Step 2: Adding the Hair
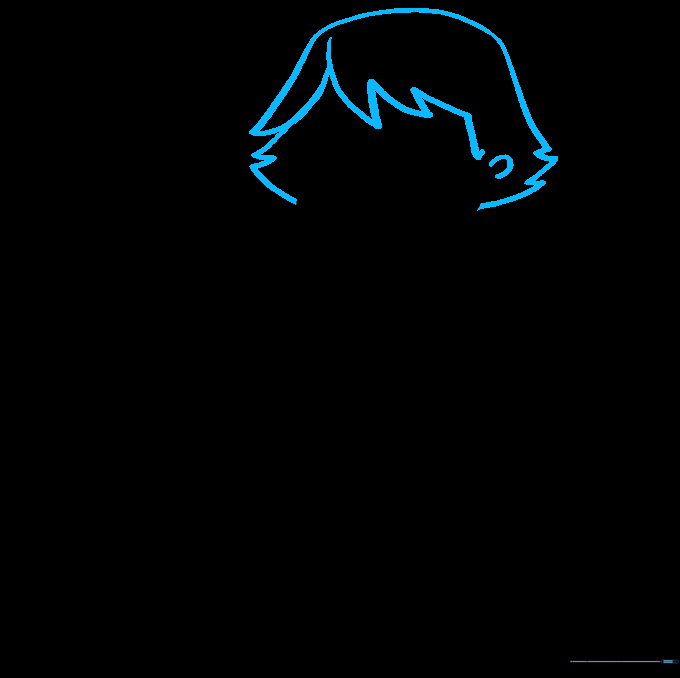
Use jagged, overlapping curved lines to create Luke’s signature messy hair. Add a small 'C' inside the ear for detail. Teacher's Tip: Don't worry about making the hair lines perfect; the more 'messy' the points are, the more natural it looks!
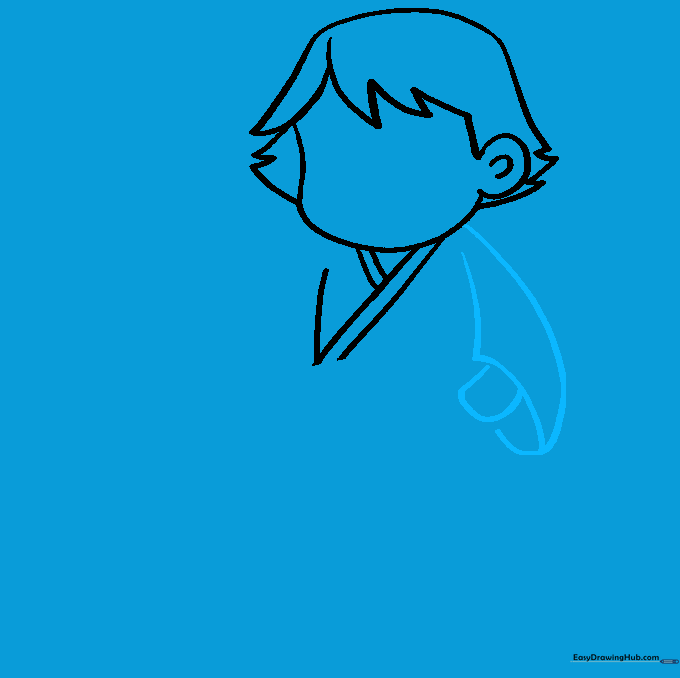
Step 3: Drawing the Tunic Collar

Sketch a 'Y' shape using two pairs of parallel lines to form the collar, then curve a line down for the torso. Teacher's Tip: Ensure your 'Y' is centered under the chin to keep the character looking balanced.
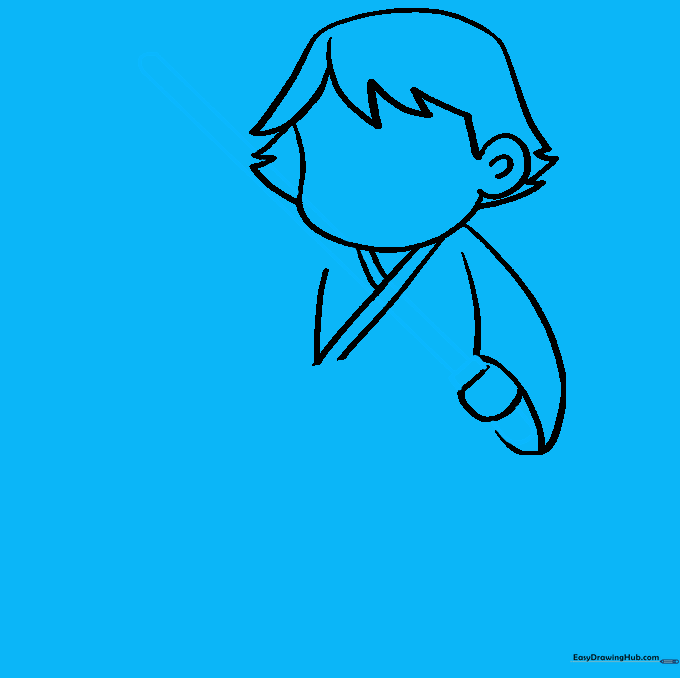
Step 4: Sketching the Arm
Extend a curved line from the neck to form the arm, adding a partial oval for the sleeve opening and a simple shape for the hand. Teacher's Tip: Keep the hand shape simple—a rounded mitten shape works perfectly for this cartoon style.
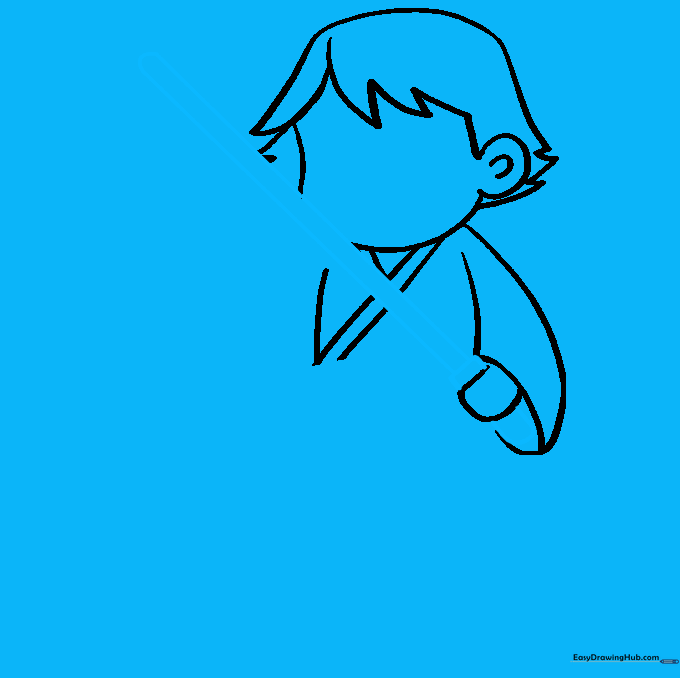
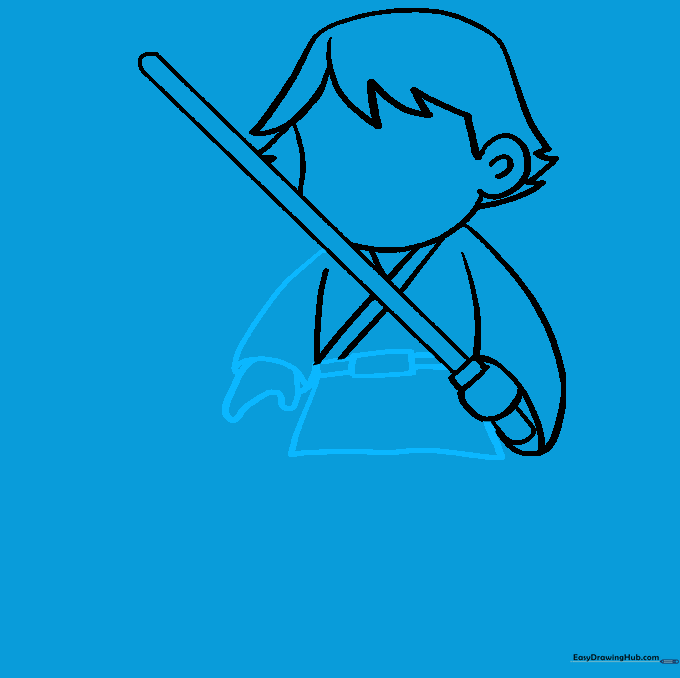
Step 5: The Lightsaber Hilt
Draw a small rectangle on the hand for the hilt, then extend two parallel lines to create the glowing blade. Teacher's Tip: Use a ruler if you want the lightsaber blade to look extra straight and sharp!
Step 6: Cleaning the Lines
Carefully erase any overlapping guide lines inside the lightsaber blade to make it look solid. Teacher's Tip: Use a kneaded eraser if you have one; it’s great for lifting graphite without smudging your work.
Step 7: Adding the Belt
Draw the second arm and three small rectangles at the waist for the belt. Teacher's Tip: Adding the belt helps define the torso and makes the character look more realistic.
Step 8: Pants and Boots
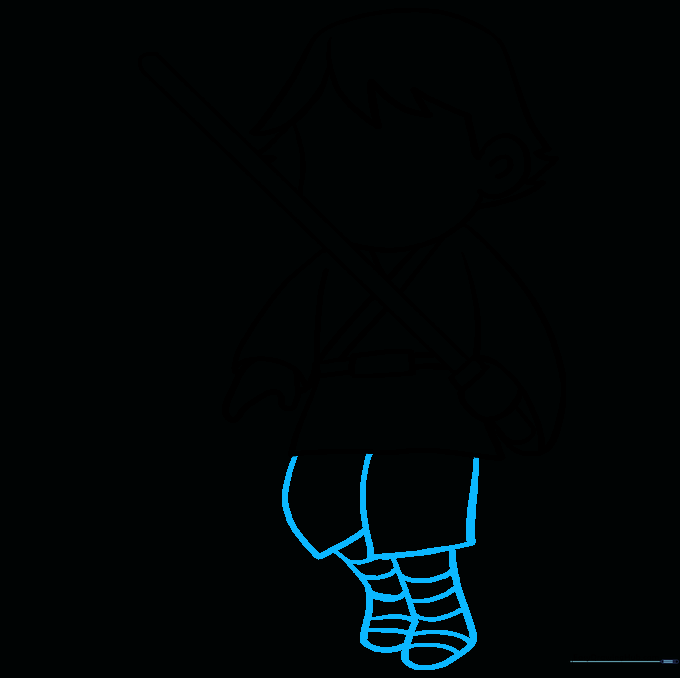
Extend lines down for the pants and enclose the boots with curved lines. Add horizontal lines on the boots for texture. Teacher's Tip: Keep the boot lines slightly curved to show the shape of the foot.
Step 9: Facial Features

Draw the eyes with small circles, adding pupils, then sketch the eyebrows, nose, and mouth. Teacher's Tip: Start with the eyes; they set the expression for the whole face!
Step 10: Bringing Luke to Life with Color

Time to color! Use sandy browns for his Tatooine tunic or black for his Jedi outfit. Choose blue or green for the lightsaber blade. Teacher's Tip: Use light pressure with your colored pencils to create smooth, even layers.
More Tutorials


