How to Draw Luisa from Encanto: Easy Step-by-Step Guide
Bring the strongest sister from the Madrigal family to life! This tutorial is designed for young artists and fans of Encanto who want to practice character proportions and expressive features. Grab your pencil, eraser, and paper, and let's capture Luisa's signature strength and kindness.
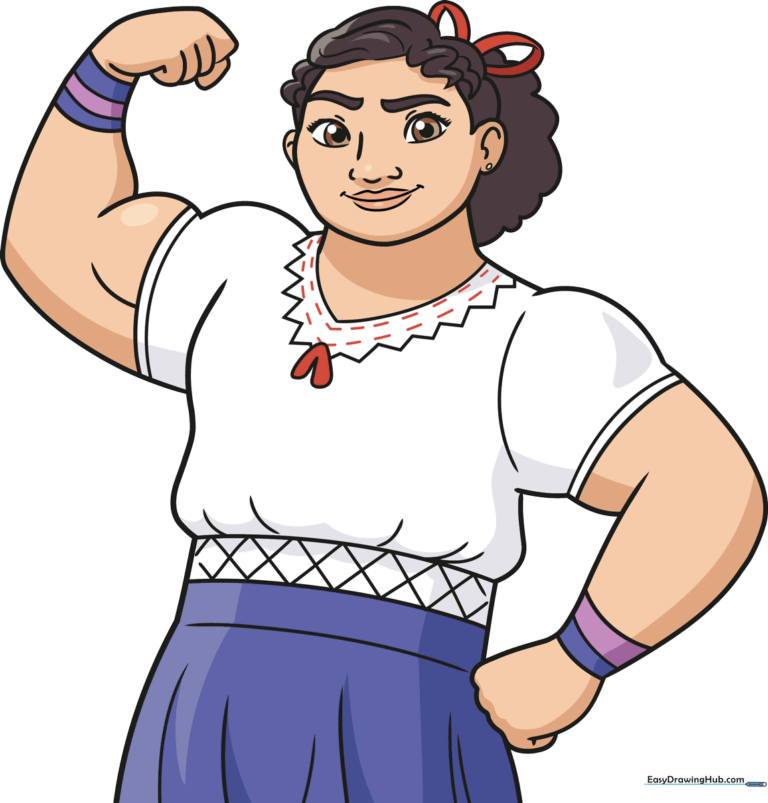
🎯 Final Result
Step-by-Step Instructions
Step 1: Sketching the Face and Eyes
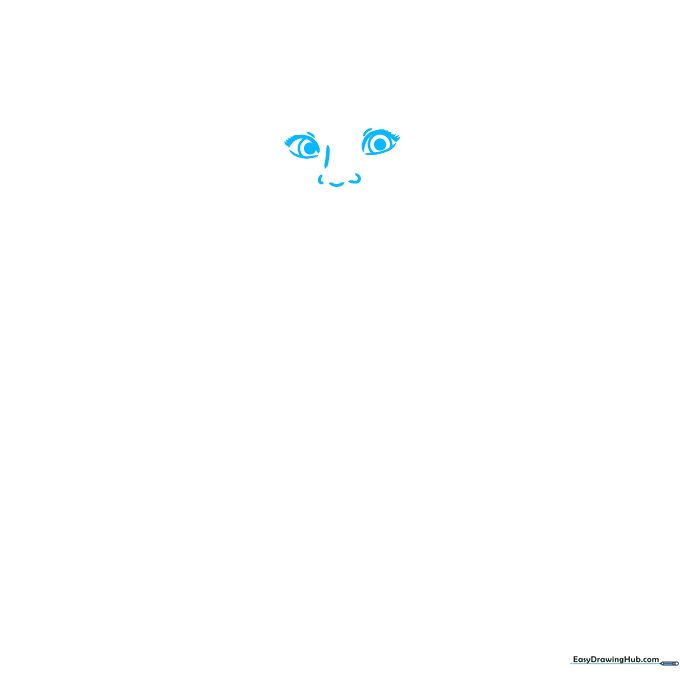
Start by drawing the outline of Luisa's face. Use gentle curved lines for her eyelids and the bridge of her nose. Add two circles for the eyes, placing a smaller circle inside each for the pupils. Teacher's Tip: Keep the eyes symmetrical to give her that friendly, determined expression.
Step 2: Adding Hair and Features
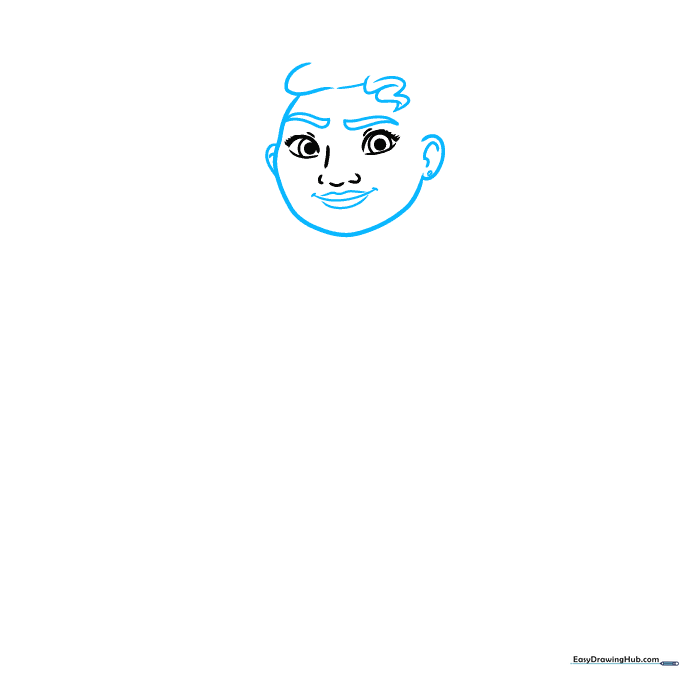
Outline her face shape with a smooth curve and add 'C' shaped ears on the sides. Draw her signature hair curls using overlapping loops. Add pointed eyebrows and a gentle, smiling mouth. Teacher's Tip: Use light, flicking motions for the hair to make it look soft and natural.
Step 3: Defining the Hair and Ribbon
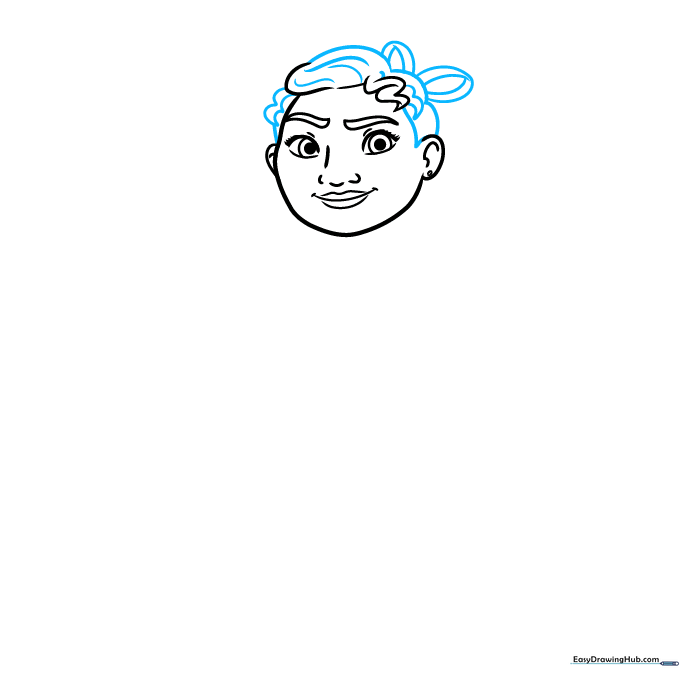
Finish the top of her hair and add the ribbon that keeps her ponytail in place. Add a few extra curved lines to show the texture of her hair. Teacher's Tip: Don't worry about making every line perfect; hair is naturally messy and flowing!
Step 4: Sketching the Neck and Shoulders
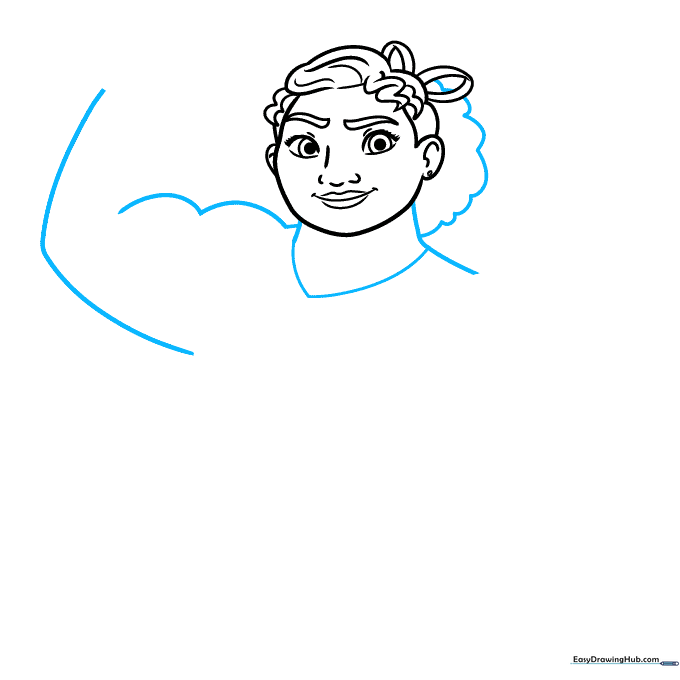
Draw the neck and connect it to her shoulders using a wide 'V' shape. Now, draw the outline of her flexing arm and biceps. Teacher's Tip: Luisa is strong, so make those arm lines bold and confident to show her muscle definition.
Step 5: Completing the Arm
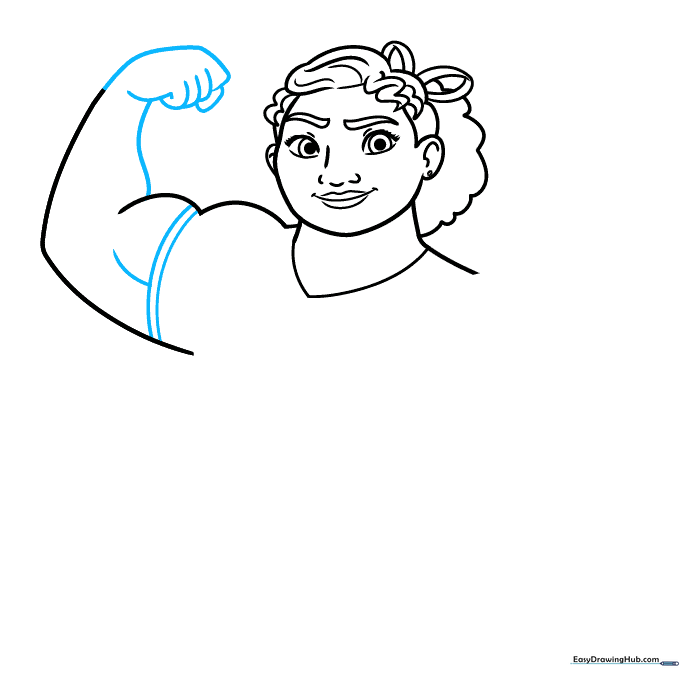
Finish the arm and the fist using rounded, overlapping lines. Add two lines across the biceps to represent her sleeve. Teacher's Tip: Think of the arm as a series of connected shapes to make it easier to draw.
Step 6: Drawing the Torso and Skirt
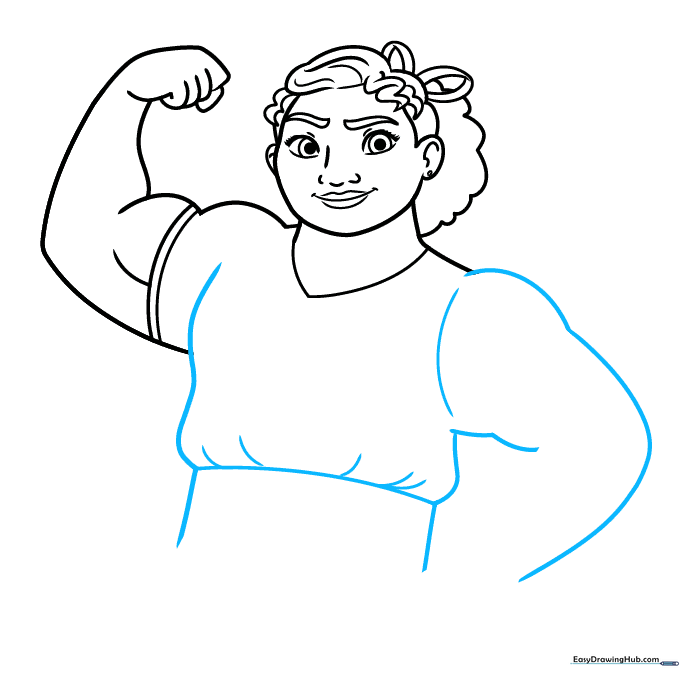
Use a long, sweeping curve to draw her other arm, the sides of her torso, and the top of her skirt. Teacher's Tip: Keep your pencil moving in one continuous motion for the skirt to make it look like fabric.
Step 7: Adding the Second Arm and Skirt Details
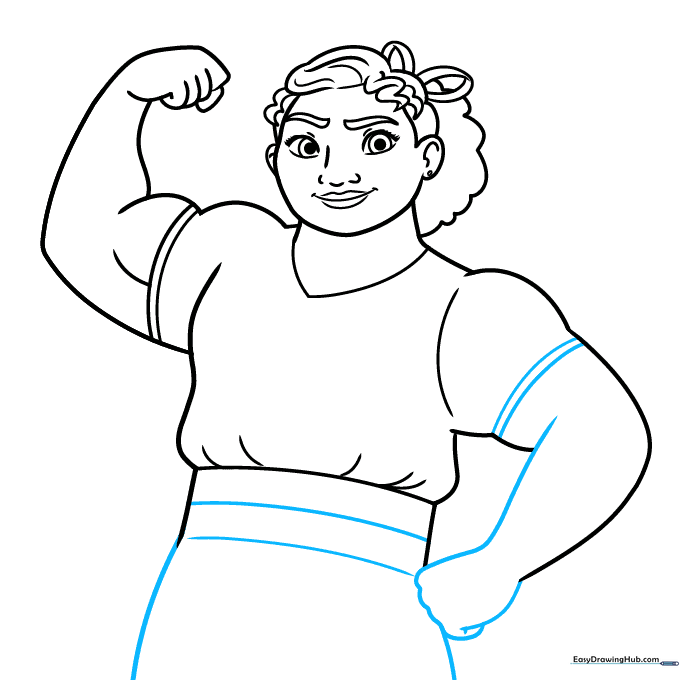
Draw the second arm and fist, matching the style of the first. Extend the skirt lines and add bands at the top for detail. Teacher's Tip: Ensure the arms look balanced on both sides of her body.
Step 8: Adding Waistband Patterns
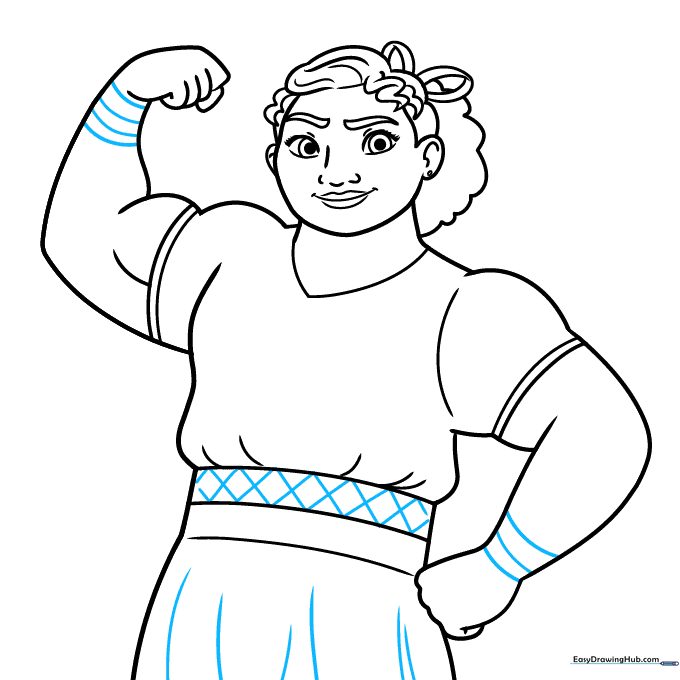
Add bands to her wrists and draw small diamond shapes along the waistband of her skirt. Teacher's Tip: Take your time with the diamonds; they are a key part of her outfit's unique pattern.
Step 9: Finalizing the Collar
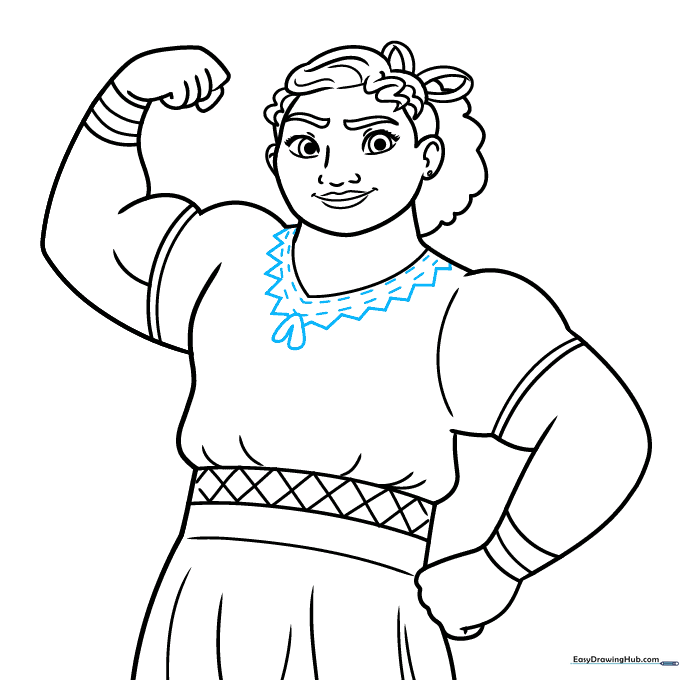
Finish the collar with a zigzag pattern and add the ribbon detail at the neck. Add two rows of short lines across the collar to complete the blouse design. Teacher's Tip: Use a sharp pencil to keep these small details clean.
Step 10: Coloring Your Masterpiece
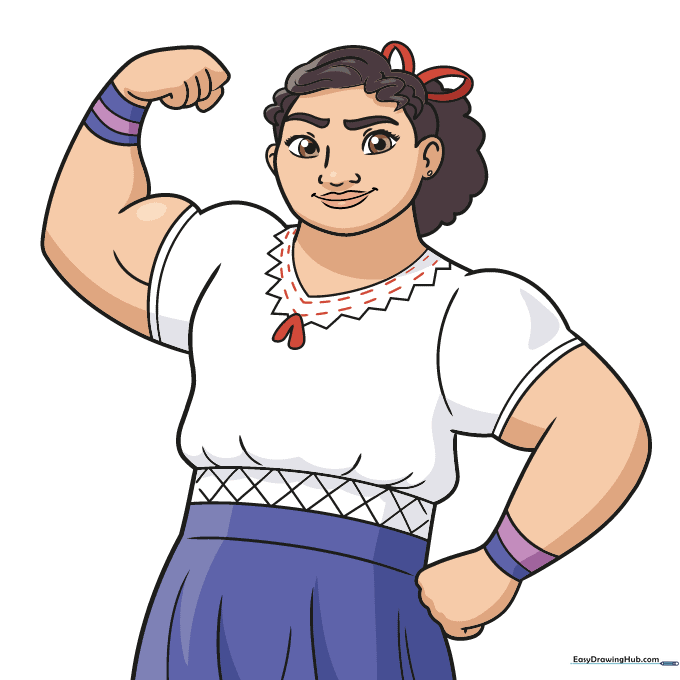
Time to add color! Use dark brown for her hair, warm brown for her eyes, and vibrant purple for her skirt. Keep her blouse a crisp white. Teacher's Tip: Color in one direction to keep your drawing looking smooth and professional.
More Tutorials


