How to Draw Luigi: Easy Step-by-Step Guide for Kids
Ready to bring Mario's brother to life? This tutorial is perfect for young artists ages 6+ who love the Super Mario universe. All you need is a pencil, an eraser, and some paper to start building your own gaming masterpiece.
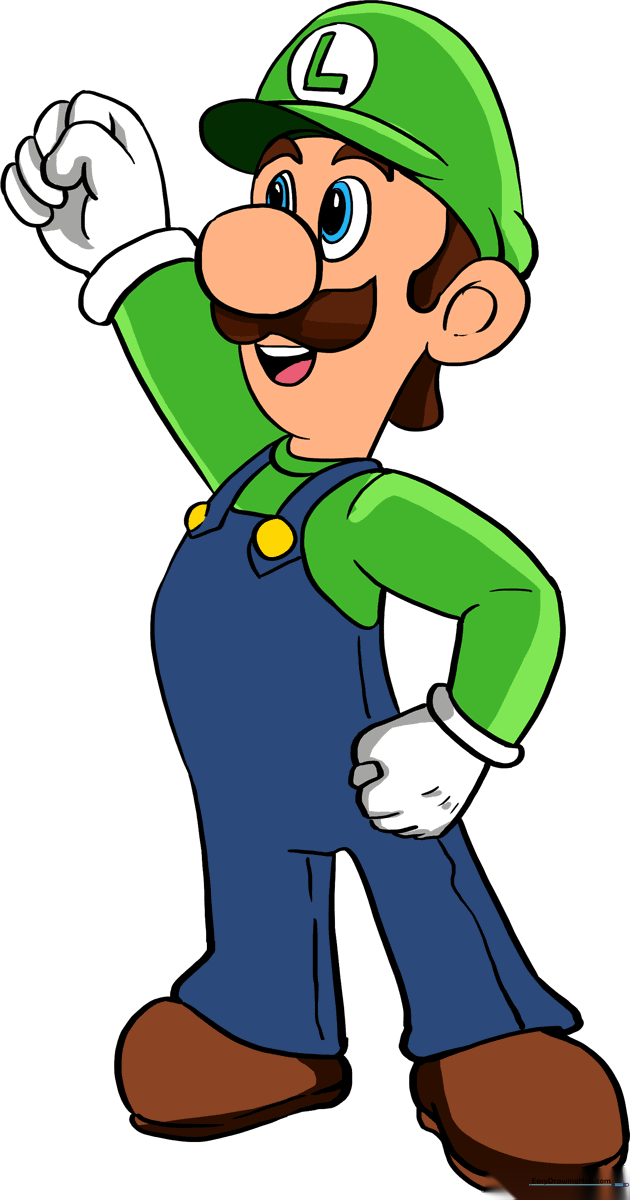
🎯 Final Result
Step-by-Step Instructions
Step 1: Sketching the Face and Mustache

Start by drawing a circle for the nose. Below it, sketch a rounded 'W' shape for the mustache. Add the eyes as irregular rounded shapes, placing three smaller ovals inside each to create his iconic look. Teacher's Tip: Keep your pencil lines light so you can easily adjust the eye placement if needed.
Step 2: Defining the Head and Smile

Outline the forehead and cheeks with smooth, curved lines. Add a 'C' shape for the ear and draw the eyebrows as short, pointed curves. Don't forget his friendly smile! Tip: Use a light touch when drawing the teeth to keep them looking natural rather than harsh.
Step 3: Adding the Signature Hat
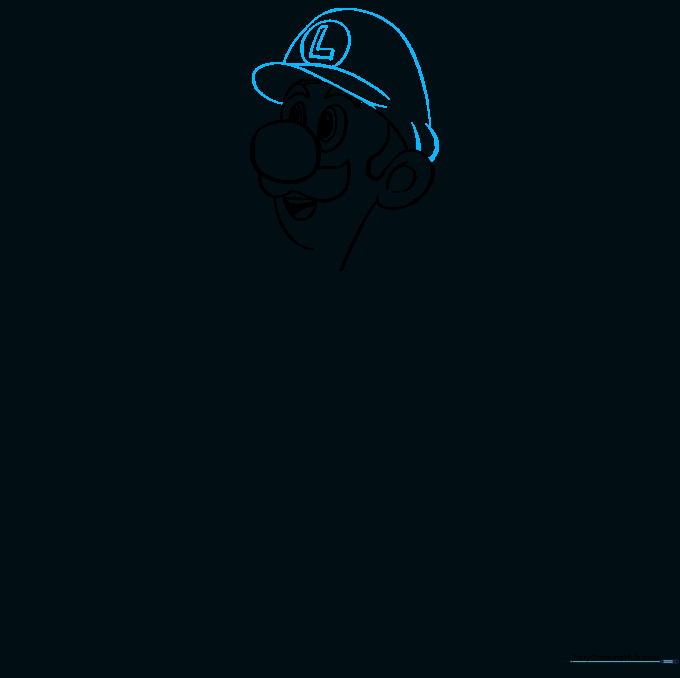
Draw the brim of the hat using a curved line across the top of his head. Add a small circle on the front and carefully sketch the letter 'L' inside. Tip: If the 'L' is tricky, practice drawing it on a scrap piece of paper first to get the proportions right.
Step 4: Sketching the Torso
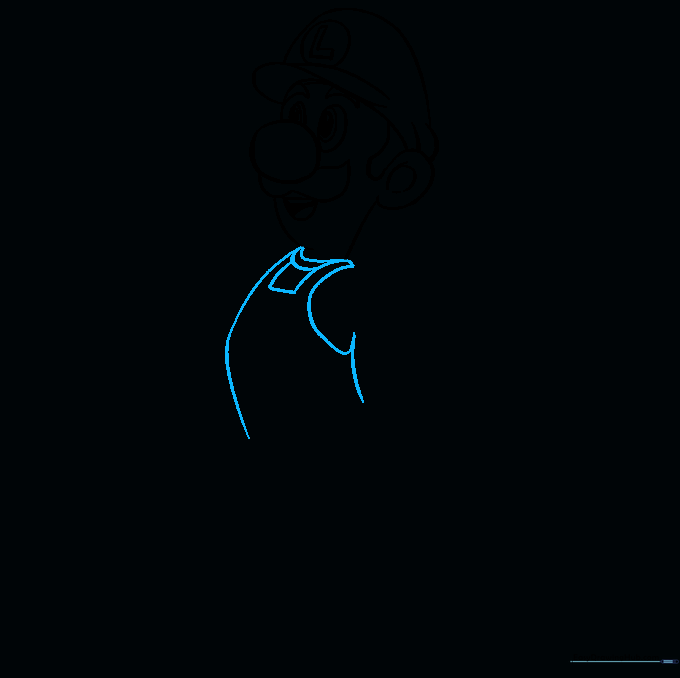
Draw a double curved line for the neck of his shirt, then add a square shape below for the bib of his overalls. Connect the sides of the torso with smooth curves. Tip: Keep the square centered to ensure Luigi looks balanced.
Step 5: Adding Overall Details
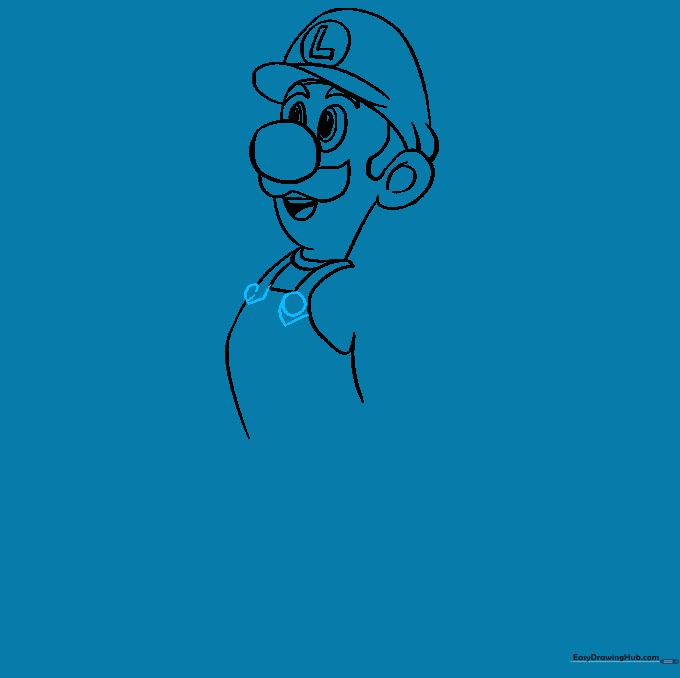
Add 'V' shaped lines at the bottom of the straps and draw two small circles for the buttons. These details really make the character recognizable! Tip: Press slightly harder with your pencil for these small details to make them pop.
Step 6: Drawing the First Arm
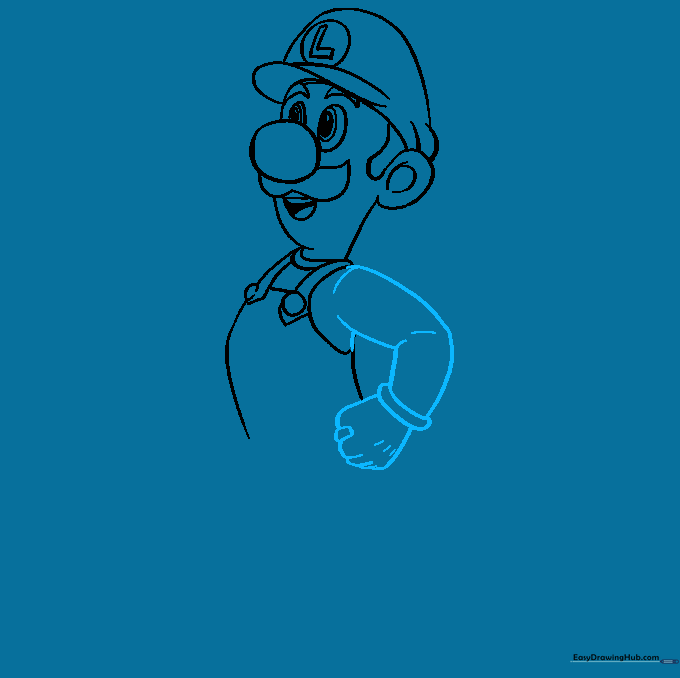
Outline the arm bent at the elbow. Use parallel lines for the sleeve and sketch the fist. Add a few short lines to show the elbow joint. Tip: Think of the arm as a bent tube to help keep the shape fluid.
Step 7: Adding the Second Arm
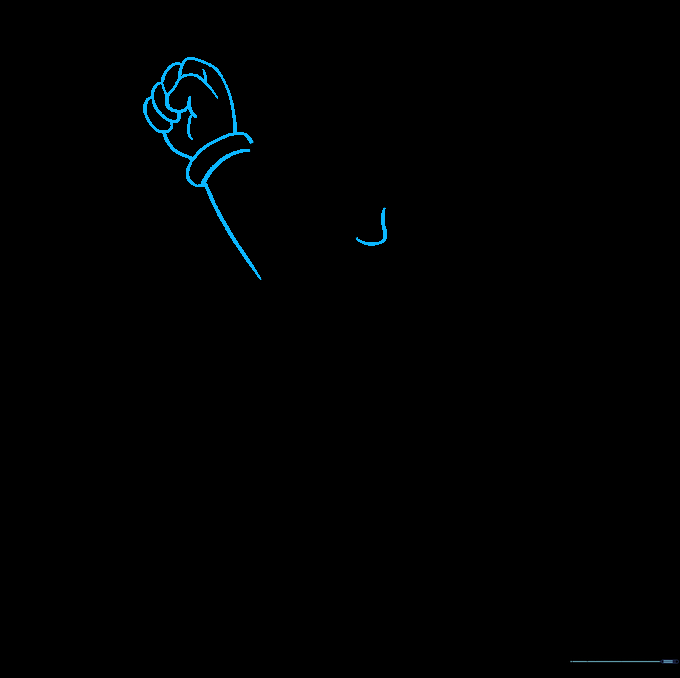
Sketch the hair at the back of the neck, then extend a diagonal line for the second arm. Finish the sleeve and hand with overlapping curved lines. Tip: Overlapping lines are a great way to show depth in a cartoon drawing.
Step 8: Constructing the Legs
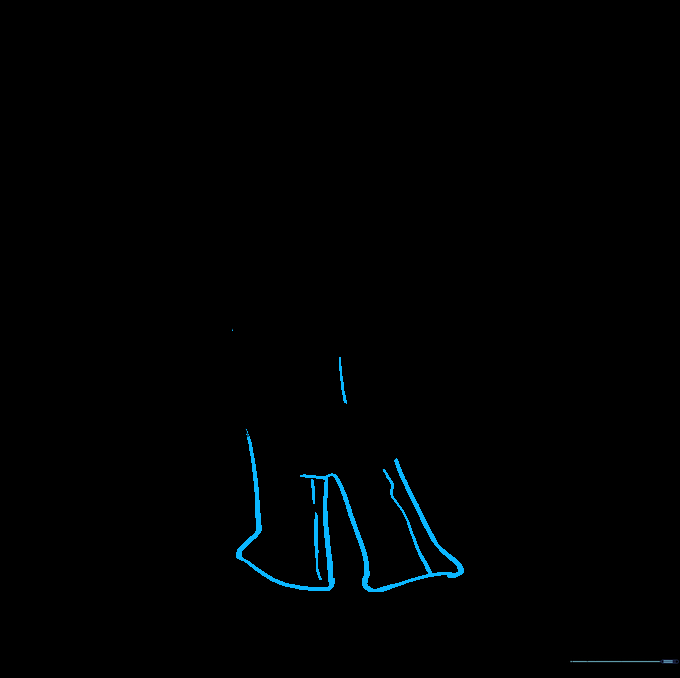
Extend lines from the torso and add an upside-down 'V' between them to create the legs of the overalls. Connect these at the bottom. Tip: Keep the legs slightly wider at the bottom to give Luigi a sturdy stance.
Step 9: Finalizing the Shoes

Draw the rounded shapes for the shoes and add a curved line near the bottom of each to represent the soles. Tip: Adding the sole line makes the shoes look grounded and realistic.
Step 10: Bringing Luigi to Life with Color

Time to color! Use his signature bright green for his shirt and hat, and blue for his overalls. Tip: Use light, circular motions with your colored pencils to get an even, vibrant finish.
More Tutorials


