How to Draw Lucky Luke: Easy 10-Step Cowboy Tutorial
Bring the fastest gun in the West to life with this step-by-step drawing guide. Designed for young artists and fans of classic comics, this tutorial focuses on capturing Lucky Luke's signature silhouette and confident posture. You will need a pencil, an eraser, and a steady hand to master his iconic cowboy look.
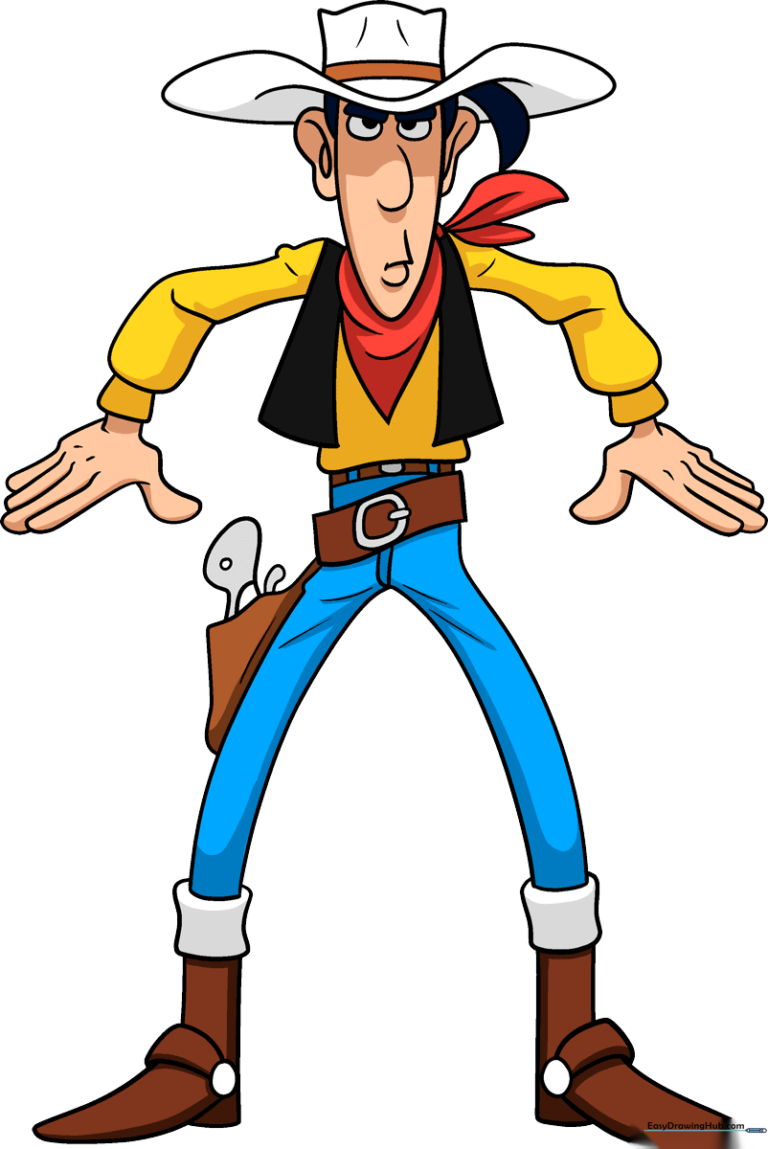
🎯 Final Result
Step-by-Step Instructions
Step 1: Sketching the Face and Hat Brim
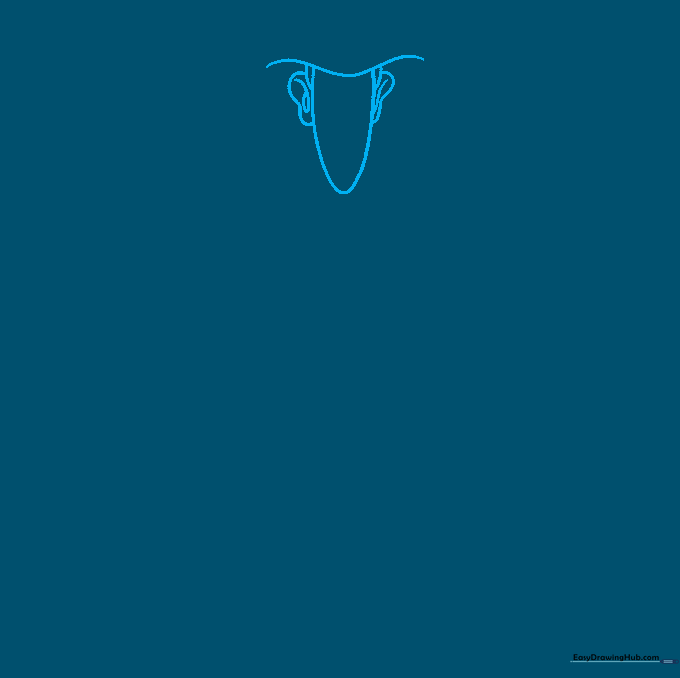
Start by drawing a long, horizontal curved line for the brim of his hat. Below it, sketch a 'U' shape for the face. Teacher's Tip: Keep the face shape narrow to match Luke's lean, heroic look, and leave space on the sides for his hair.
Step 2: Defining Facial Features

Add the brows, eyes, nose, and lips using simple curved lines. Add a small lock of hair falling over his forehead. Teacher's Tip: Use very light pressure for the eyes to keep his expression friendly rather than harsh.
Step 3: Constructing the Cowboy Hat
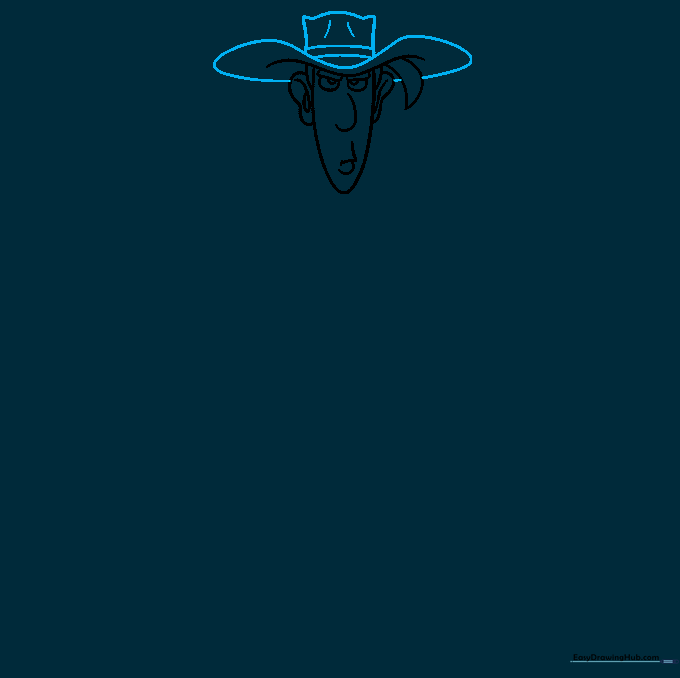
Draw the crown of the hat above the brim, adding a band for detail. Teacher's Tip: Think of the hat as a rounded rectangle; don't make it too tall, or it will look out of proportion with his face.
Step 4: Adding the Bandana and Vest
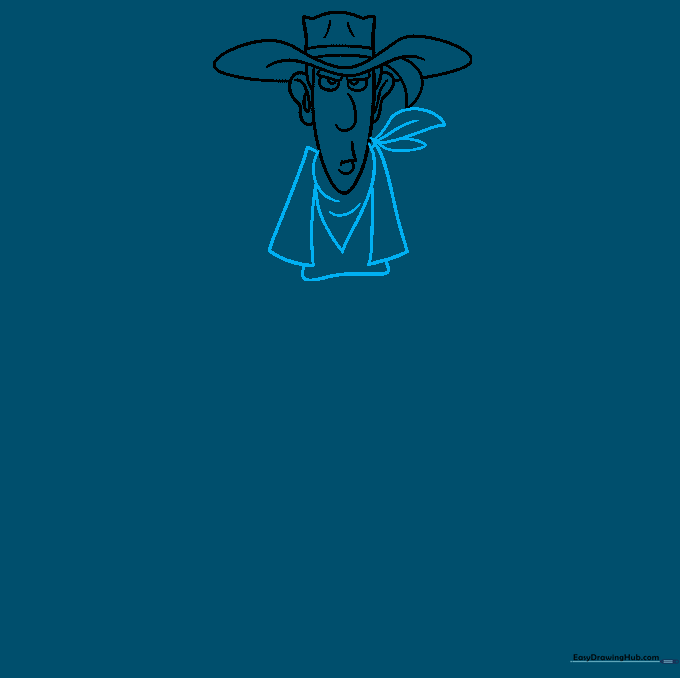
Draw a triangle shape for the bandana with a small circle for the knot. Add the vest and torso outline below. Teacher's Tip: The bandana should sit snugly against the neck to create a natural look.
Step 5: Drawing the First Arm
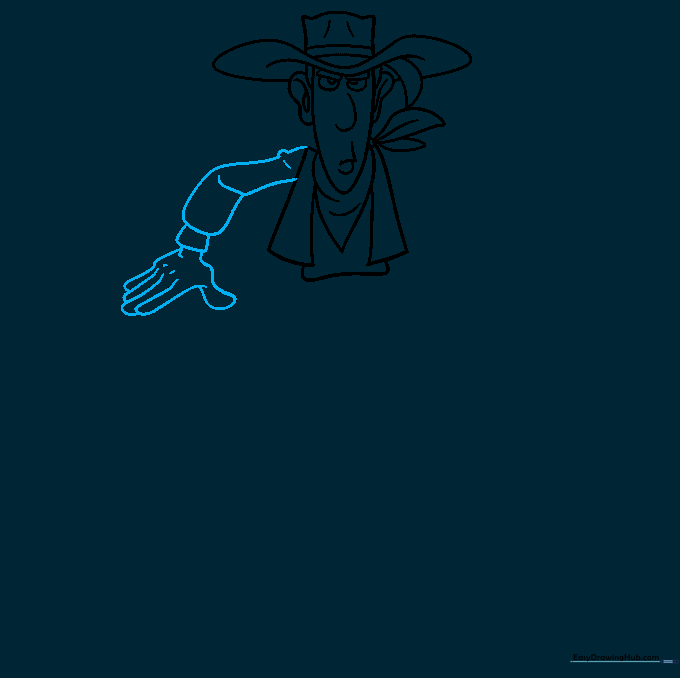
Use overlapping curved lines to create the sleeve and hand. Teacher's Tip: Overlapping lines create the illusion of depth, making the arm look like it has volume rather than being flat.
Step 6: Drawing the Second Arm
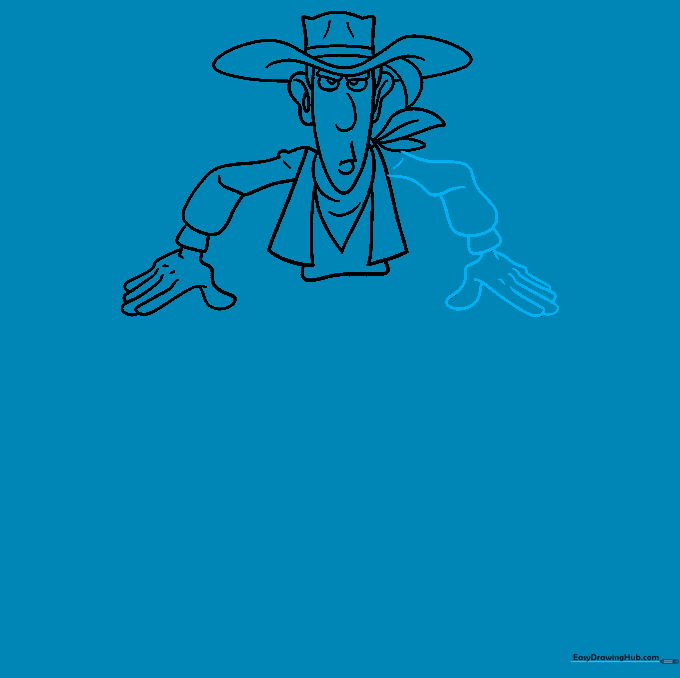
Repeat the process for the second arm, mirroring the style of the first. Teacher's Tip: Ensure the sleeves are roughly the same length so the character looks balanced.
Step 7: Sketching the Legs and Belt
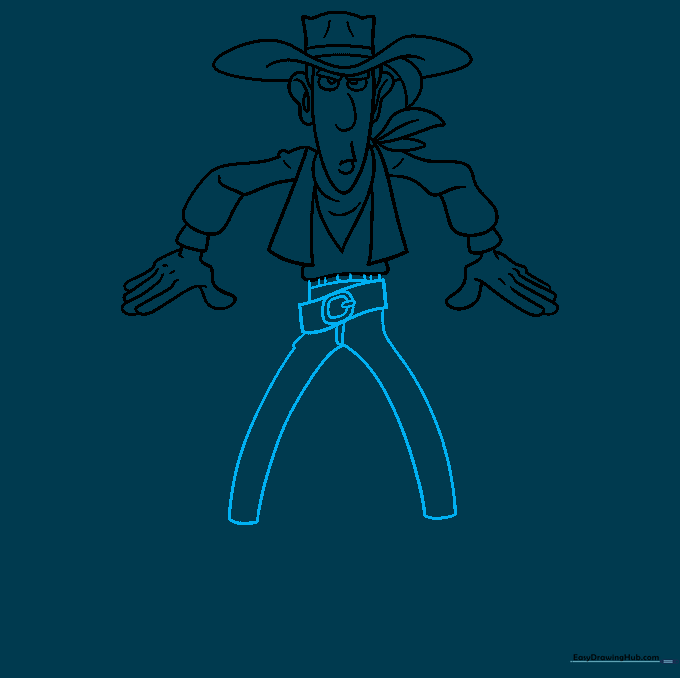
Extend long curved lines for the legs and add the belt, buckle, and zipper details. Teacher's Tip: Keep the legs slightly tapered to maintain his slim, agile appearance.
Step 8: Adding the Holster and Gun
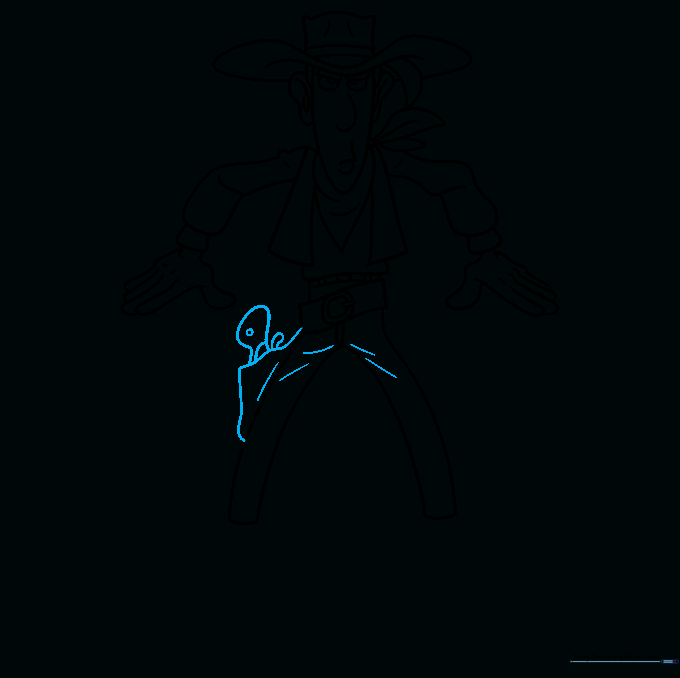
Draw the holster and the gun handle on his hip. Teacher's Tip: Focus on the irregular shape of the holster to make it look like worn leather.
Step 9: Drawing the Cowboy Boots
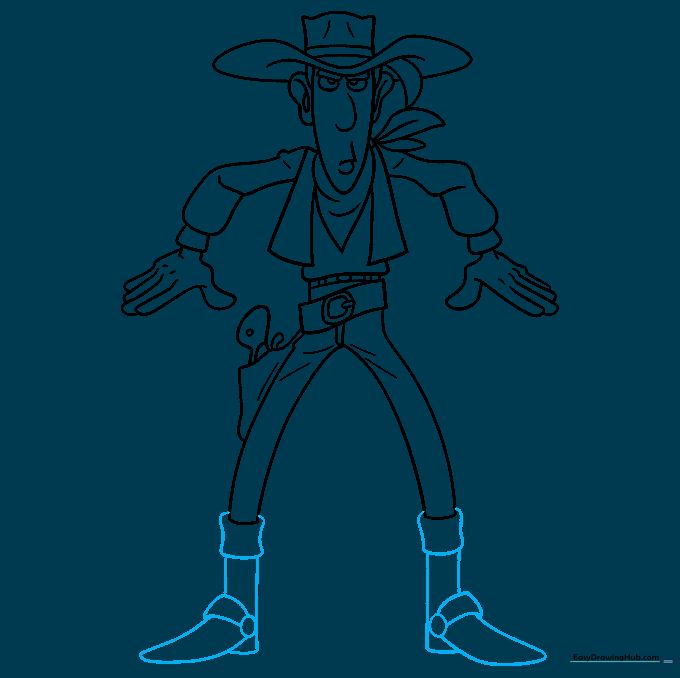
Finish the legs by drawing the boots with rounded toes. Teacher's Tip: Use a rounded triangle shape for the toe to give the boots that classic western look.
Step 10: Adding Color
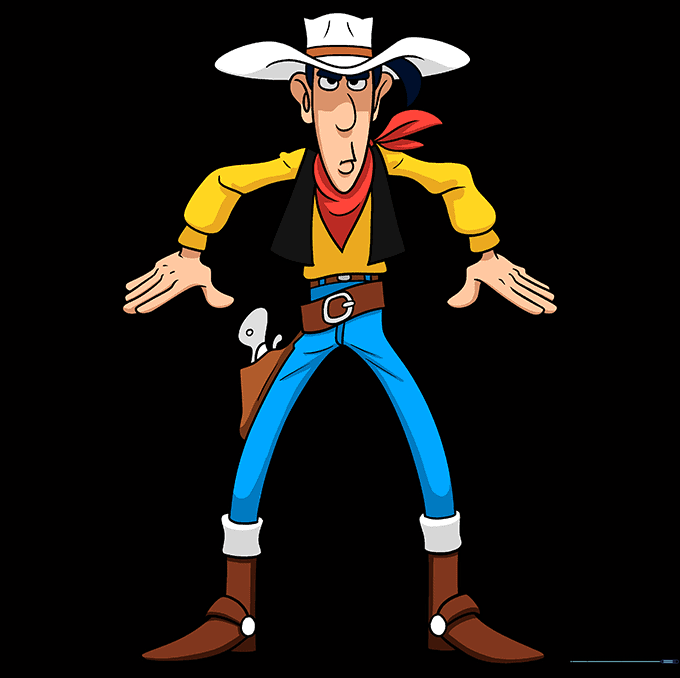
Bring your drawing to life with color! Use yellow for the shirt, red for the bandana, and blue for the jeans. Teacher's Tip: Use light, circular motions when coloring to keep the texture smooth and even.
More Tutorials


