How to Draw Lucario: Easy 10-Step Pokémon Guide
Ready to bring the Aura Pokémon to life? This tutorial is designed for young artists looking to level up their character drawing skills. Grab a pencil, an eraser, and some paper, and follow along as we break down Lucario’s complex shape into manageable, confident lines.
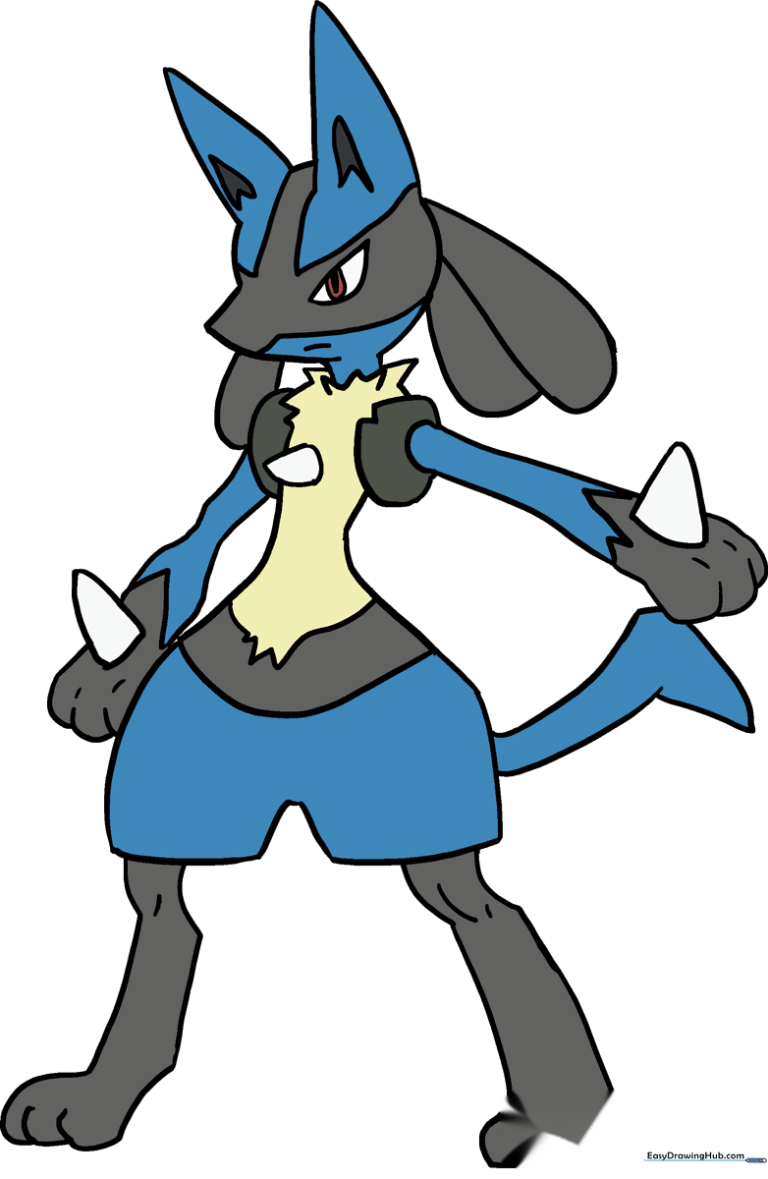
🎯 Final Result
Step-by-Step Instructions
Sketching the Head and Snout

Start with a light circle for the head. Add three small lines to define the jaw and pointed snout. Teacher's Tip: Keep the circle loose and light—it’s just a guide that we will refine later!
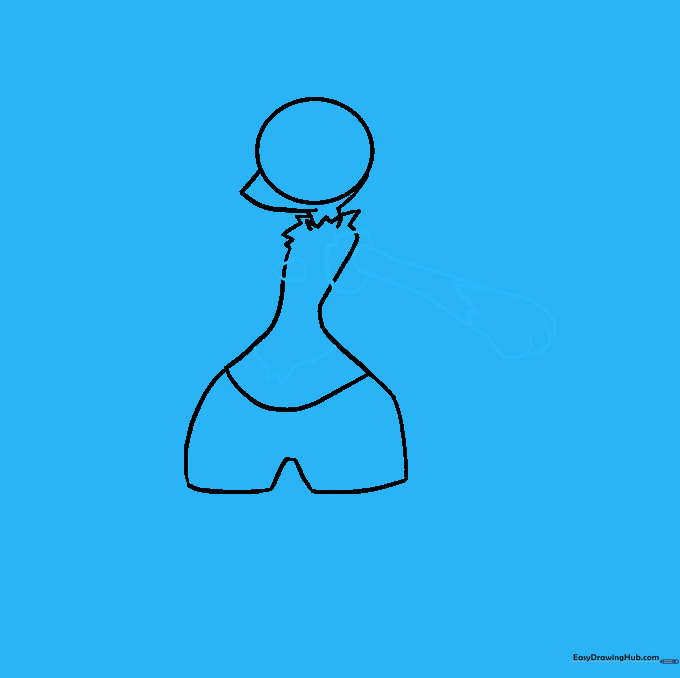
Defining the Torso and Hips
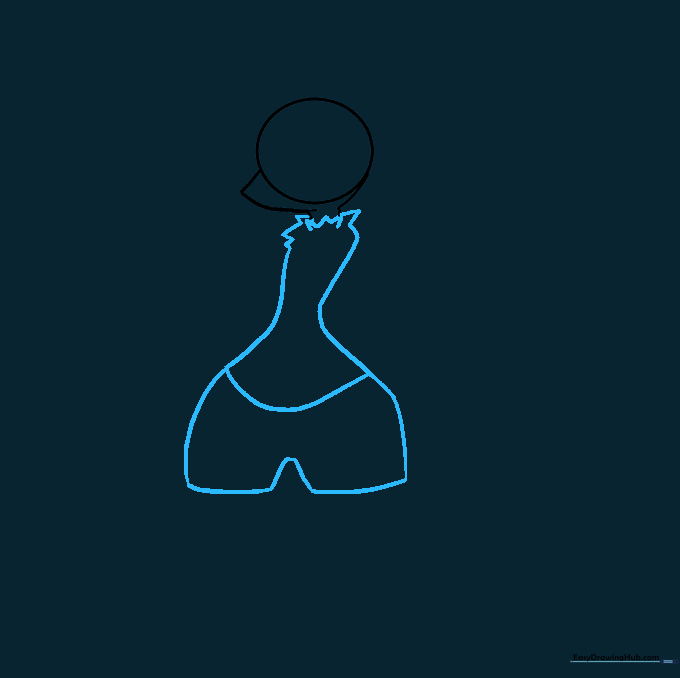
Draw small 'V' shapes for the neck, then extend curved lines downward to create the wide hip structure. Teacher's Tip: Lucario has a strong, athletic build; make sure the hips look wider than the neck to show off that power.
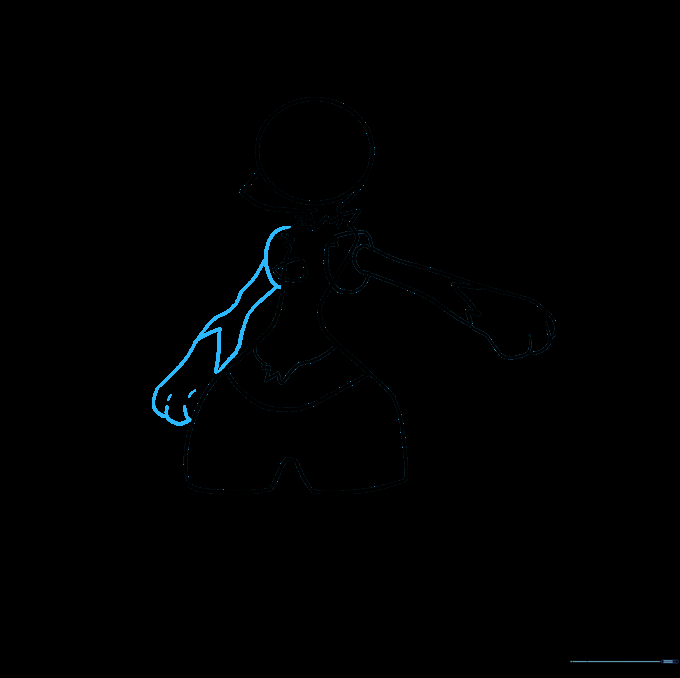
Adding the Chest and First Arm
Add a 'W' shape on the stomach and a triangular chest horn. Sketch the arm, ending in a club-like hand. Teacher's Tip: Use short, jagged lines for the arm bands to give it that cool, armored look.
Drawing the Second Arm
Mirror the arm process on the other side. Add the shoulder curve and the band detail. Teacher's Tip: Check your spacing—ensure both arms look balanced so your Lucario doesn't look lopsided.
Adding Ears and Hand Spikes
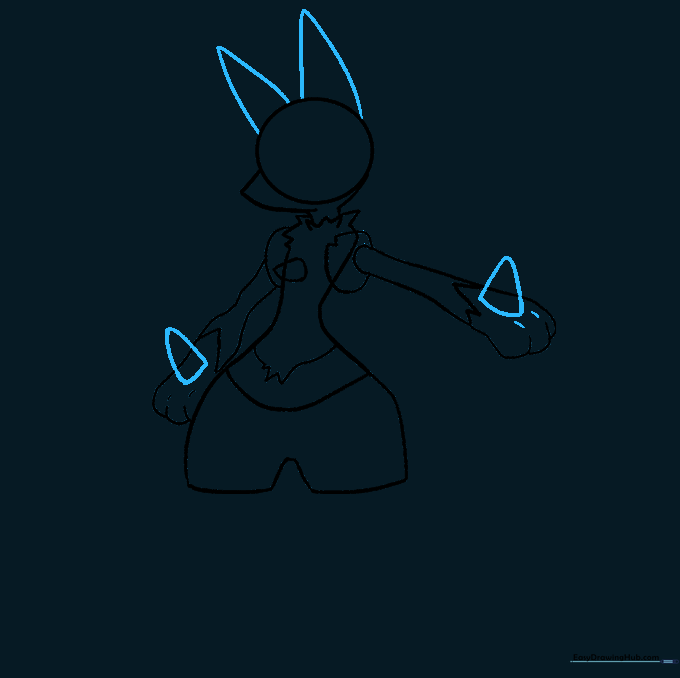
Draw two tall triangles for the ears and small rounded triangles on the hands. Teacher's Tip: Make the ears slightly angled outward to give Lucario an alert, listening expression.
Sketching the Hair
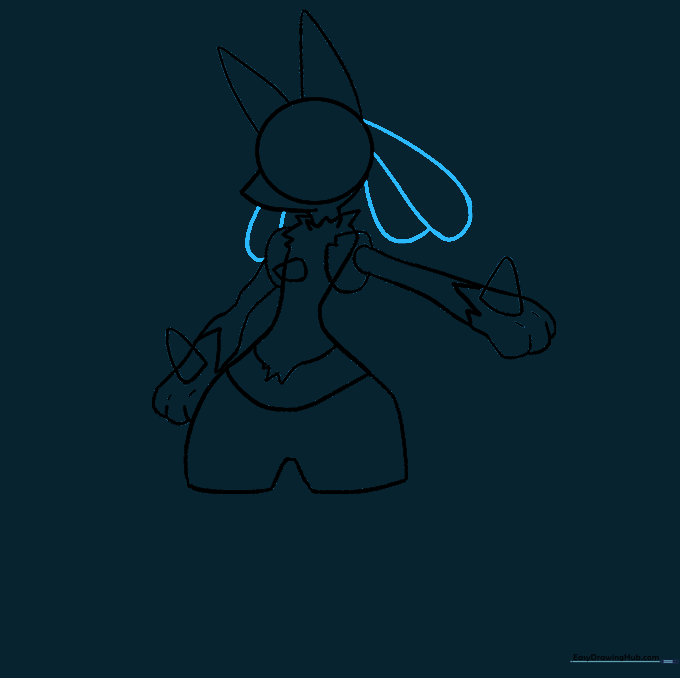
Add the teardrop-shaped hair strands flowing from the back of the head. Teacher's Tip: Draw these with a smooth, sweeping motion to make them look like they are moving in the wind.
Cleaning Up Your Lines
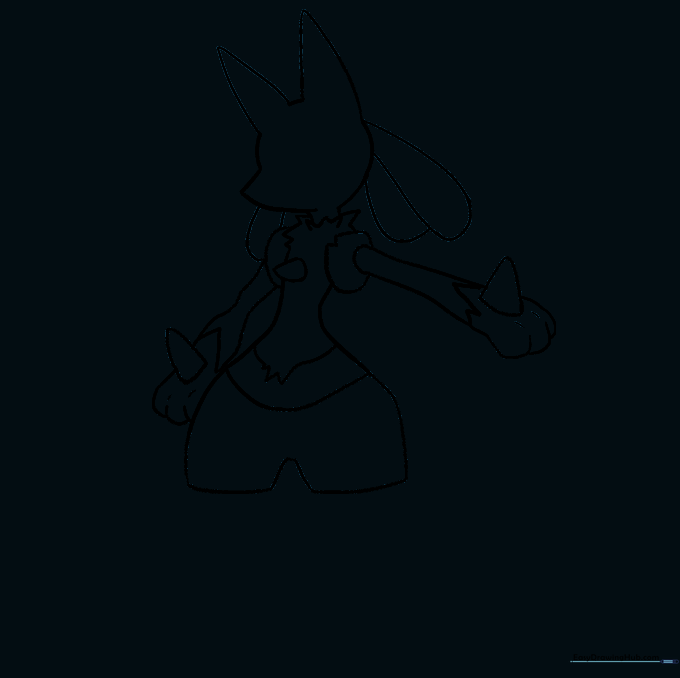
Gently erase your initial guide circles and overlapping lines. Teacher's Tip: Use a soft eraser and hold the paper down firmly so you don't accidentally crinkle it.
Adding Tail and Legs
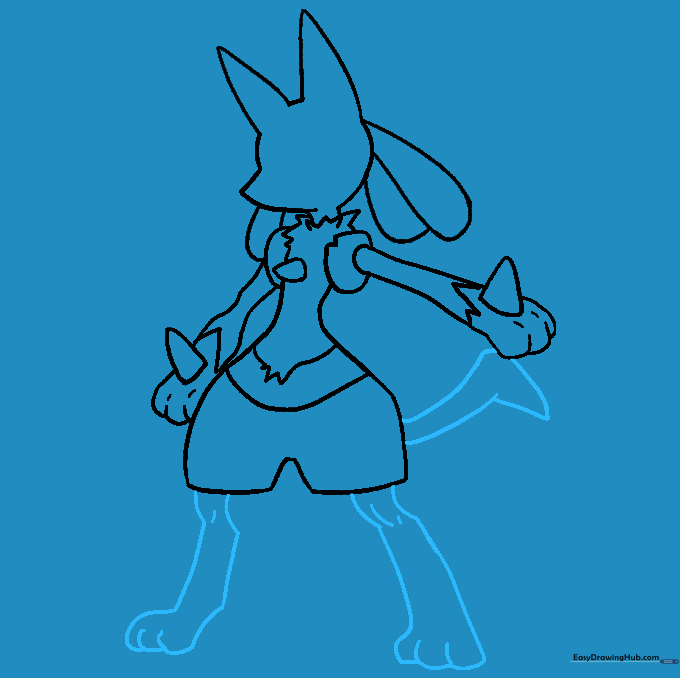
Draw the bent tail and the strong legs with pointed ankles. Teacher's Tip: The feet should be planted firmly to show Lucario is ready for action.
Refining the Face
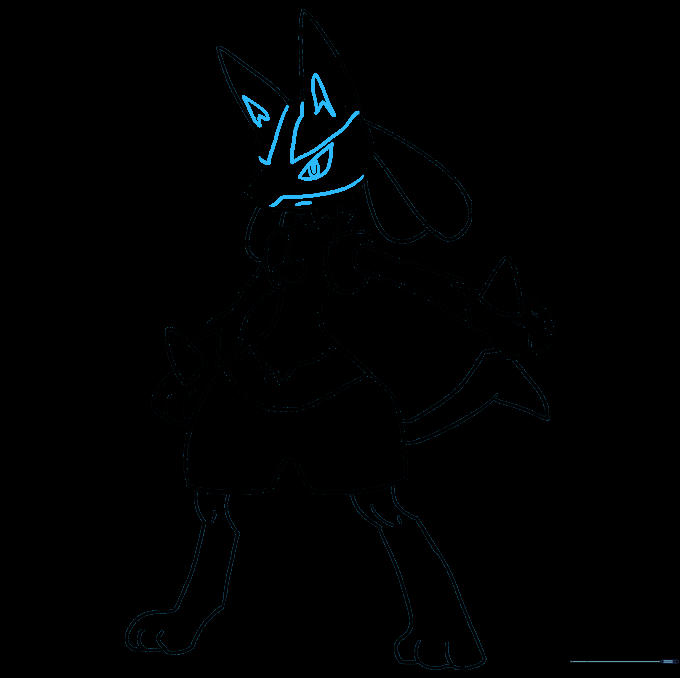
Add the eyes, pupils, and mouth. Teacher's Tip: The eyes are the most expressive part—take your time to get the almond shape right so Lucario looks focused.
Adding Color
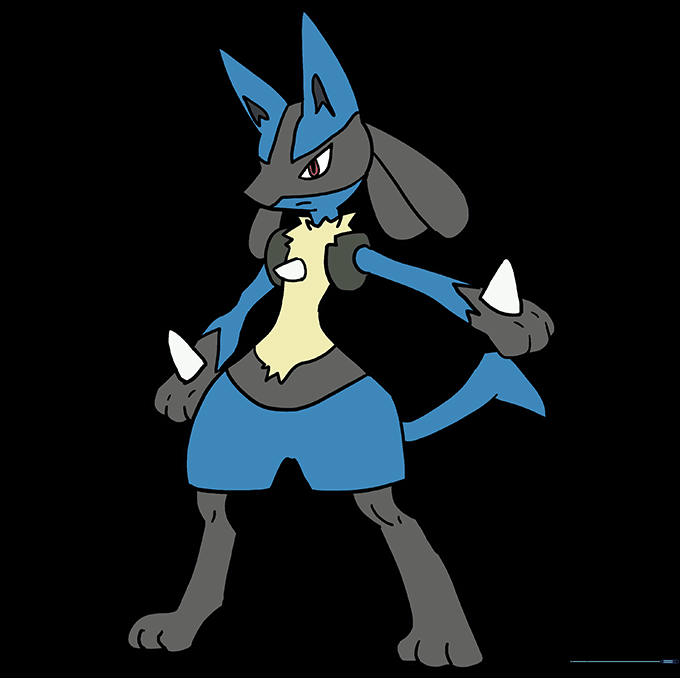
Bring your drawing to life with blue, grey, and yellow. Teacher's Tip: Use light pressure for the grey areas and firmer pressure for the blue to create depth and shadow.
More Tutorials


