How to Draw 3D LOVE Letters: Easy One-Point Perspective Guide
Ready to make your letters pop off the page? This tutorial is perfect for young artists ages 8+ looking to master the basics of one-point perspective. All you need is a pencil, an eraser, and a ruler to transform flat text into a cool 3D masterpiece.
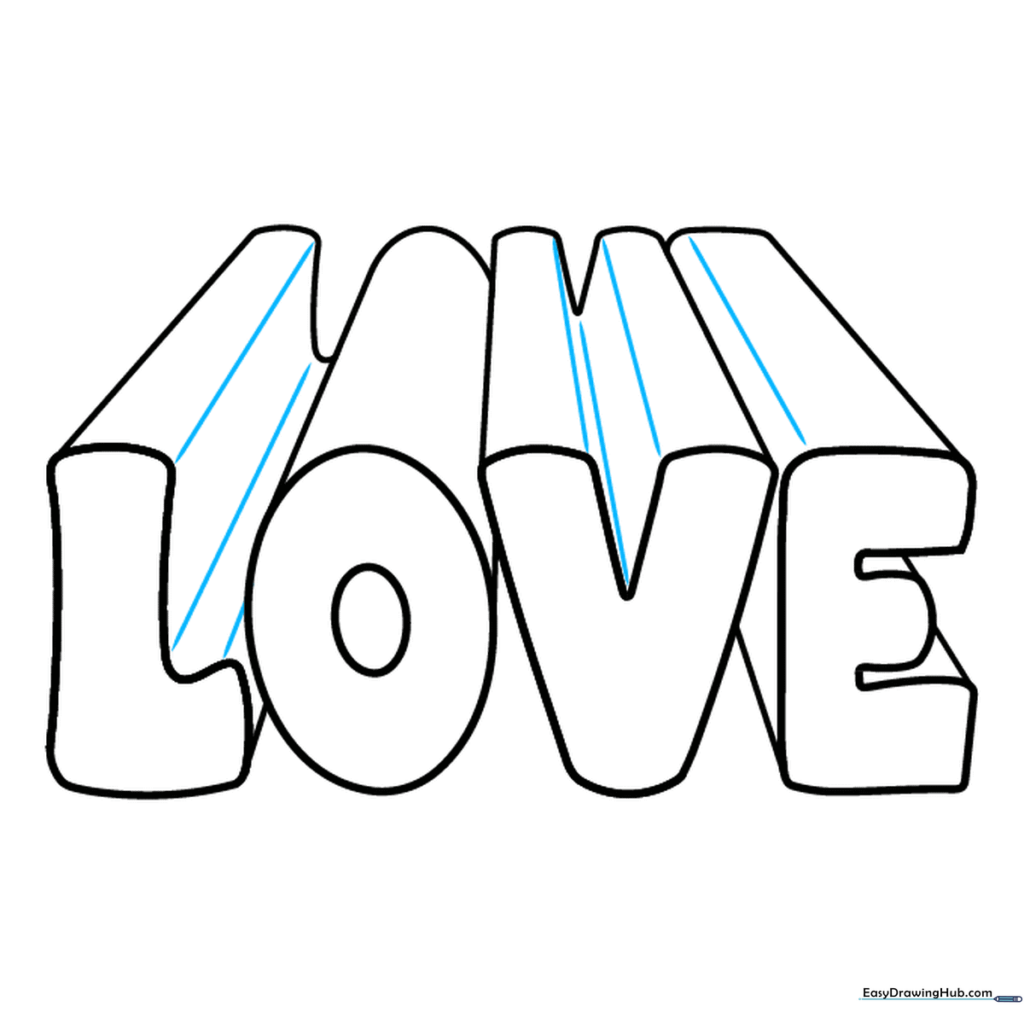
🎯 Final Result

Step-by-Step Instructions
Step 1: Sketching the Letter L
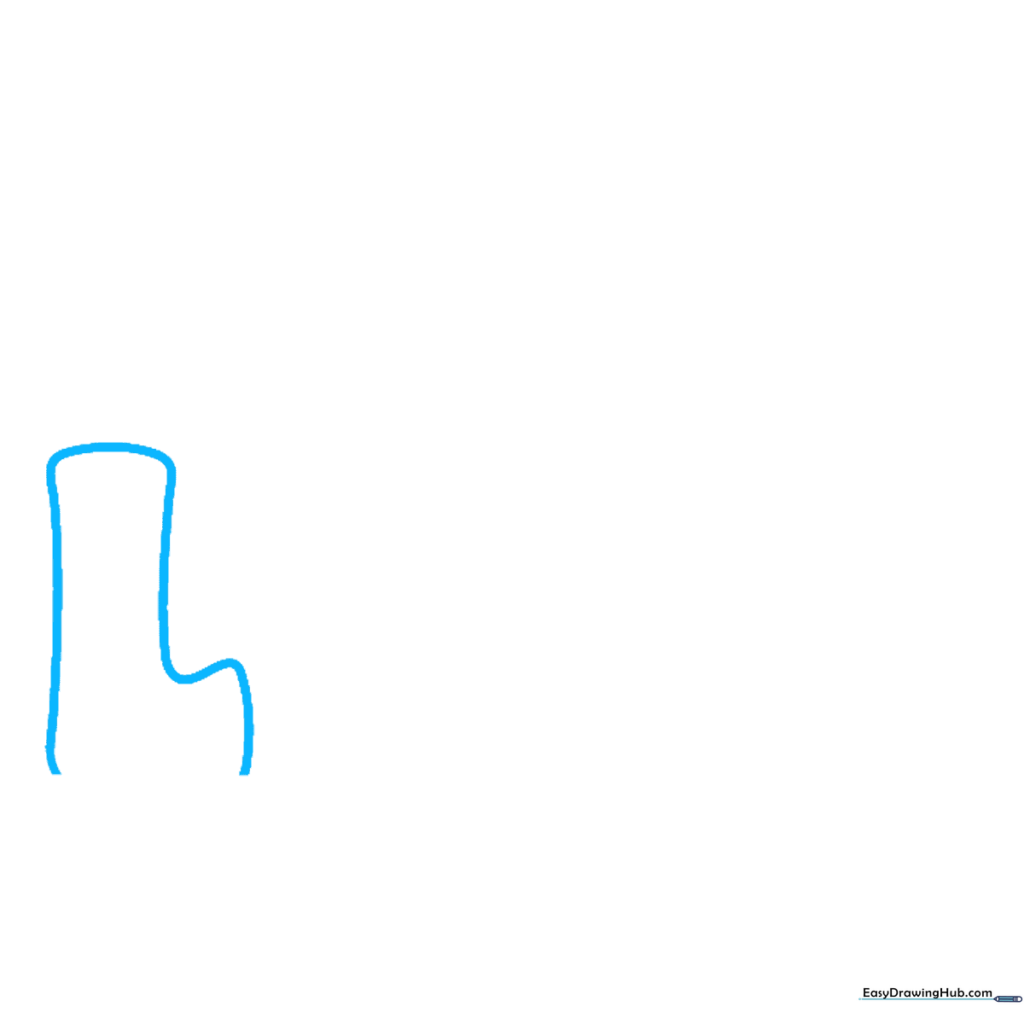
Start by drawing the blocky outline of the letter 'L' using a soft, curved line. Teacher's Tip: Keep your pencil grip loose to ensure your lines stay light and easy to adjust.
Step 2: Adding the Letter O
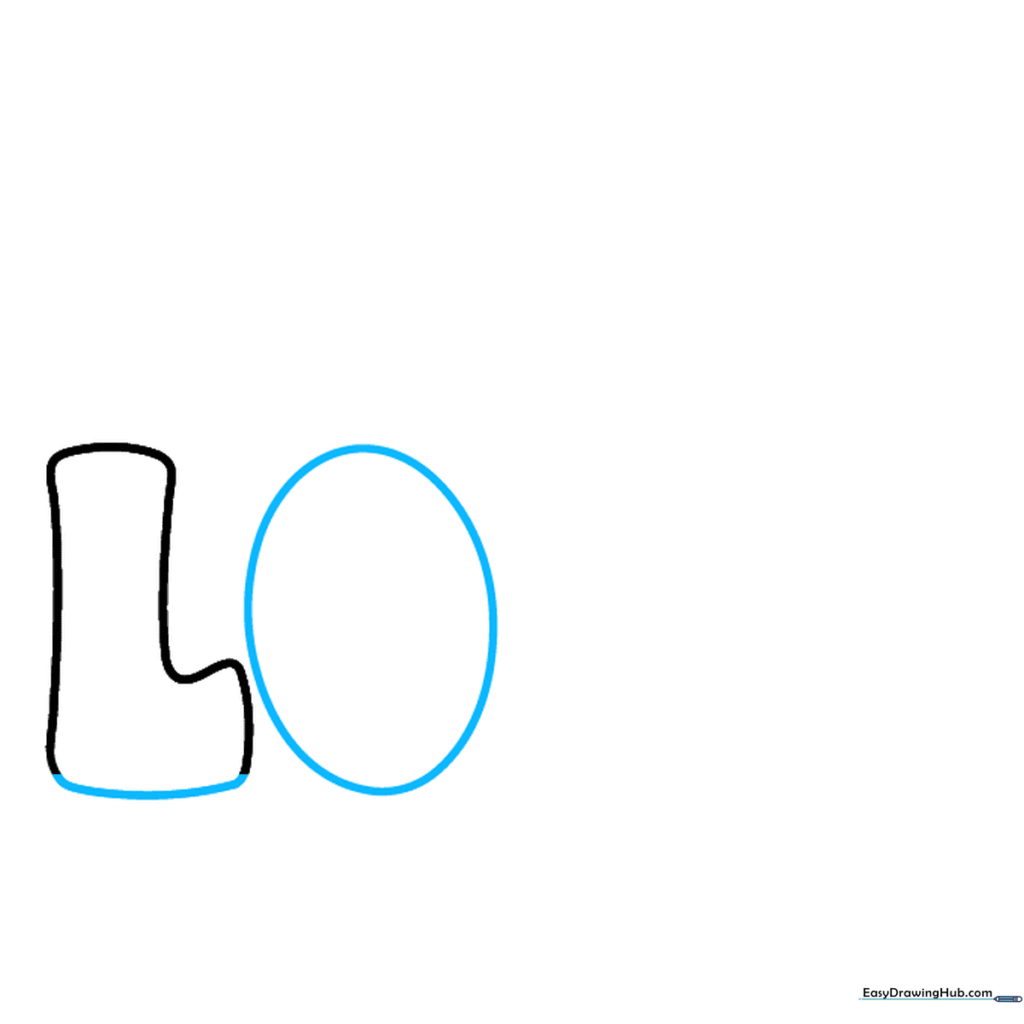
Close the 'L' shape with a clean line, then draw a simple oval next to it for the 'O'. Tip: Try to keep the height of your 'O' consistent with the 'L' for a balanced look.
Step 3: Detailing the O and Starting the V
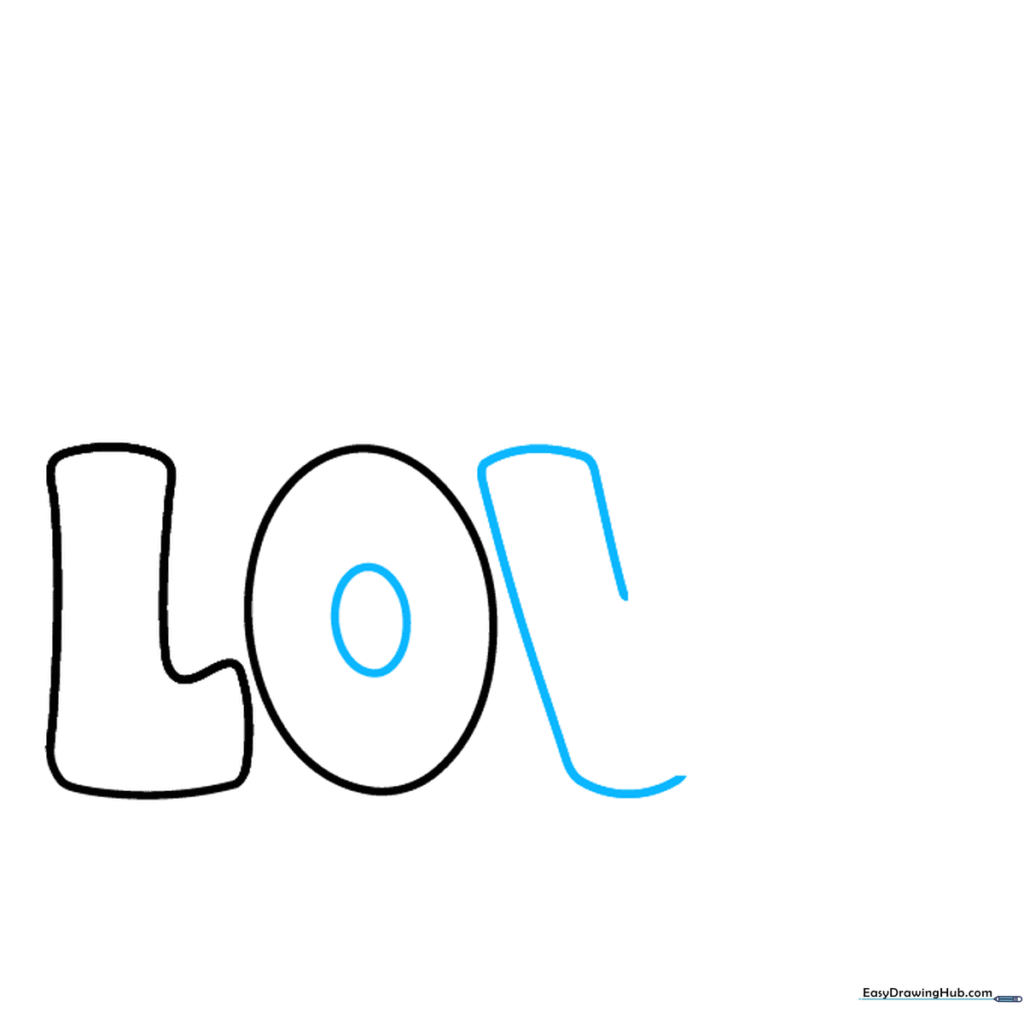
Draw a smaller oval inside your 'O' to give it depth. Next, sketch the 'V' by using a curved line that doubles back. Tip: Focus on keeping the 'V' symmetrical.
Step 4: Completing the V and Starting the E
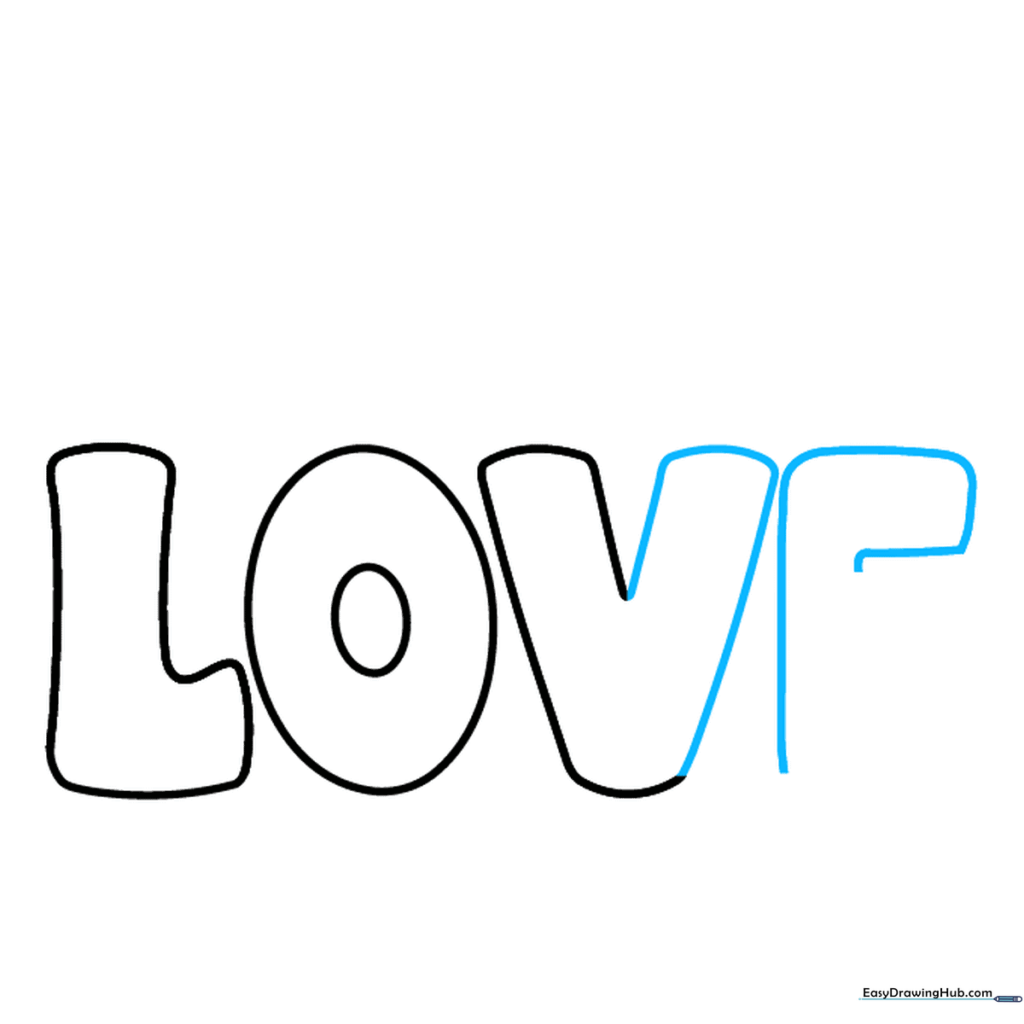
Finish the 'V' with two straight lines meeting at the top. Begin the 'E' by drawing a vertical spine and rounded prongs. Tip: Use your ruler if you struggle with straight lines!
Step 5: Finishing the E
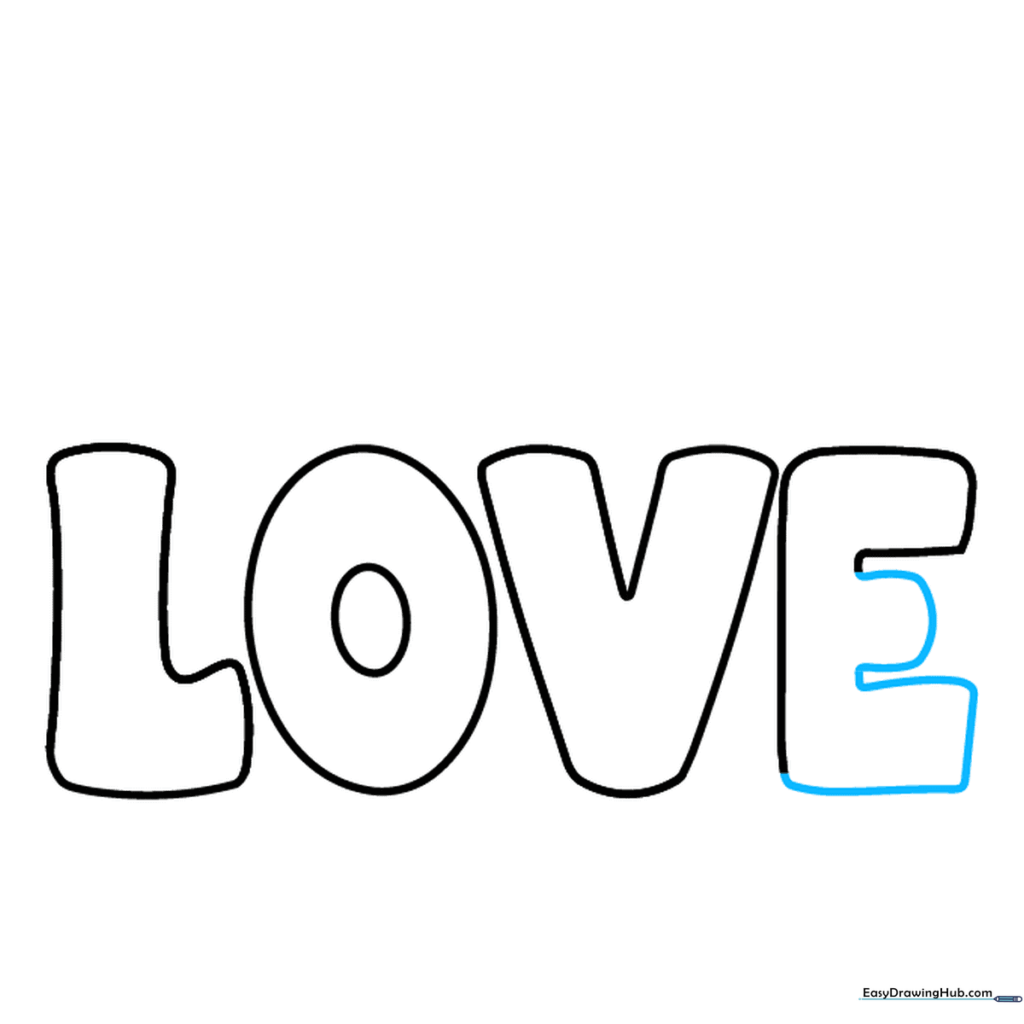
Use curved lines to enclose the remaining sections of the 'E'. Tip: Ensure the corners are rounded to match the style of the other letters.
Step 6: Adding Perspective to L and O
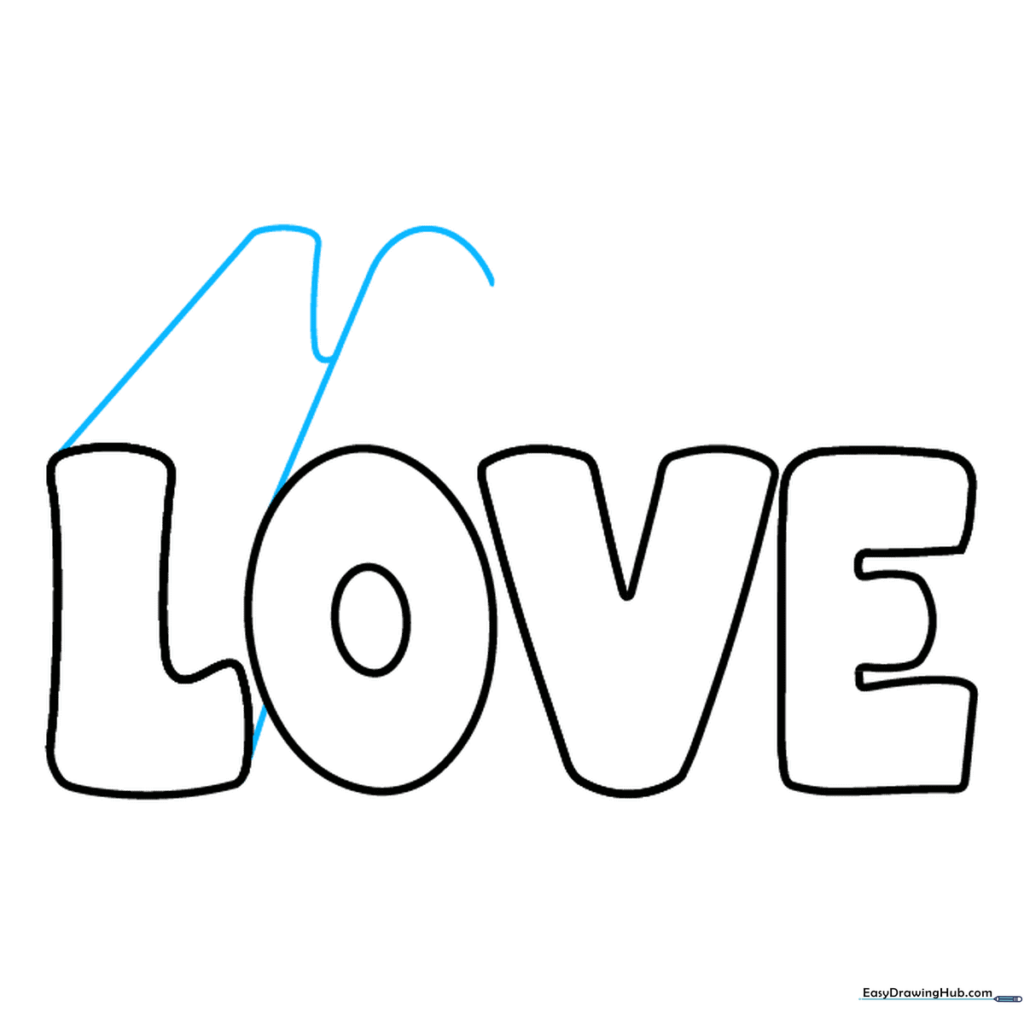
Draw long, straight lines extending from the corners of the 'L' and 'O' toward a single vanishing point. Tip: Use a ruler to keep these lines perfectly straight to maintain the 3D effect.
Step 7: Extending Perspective to V
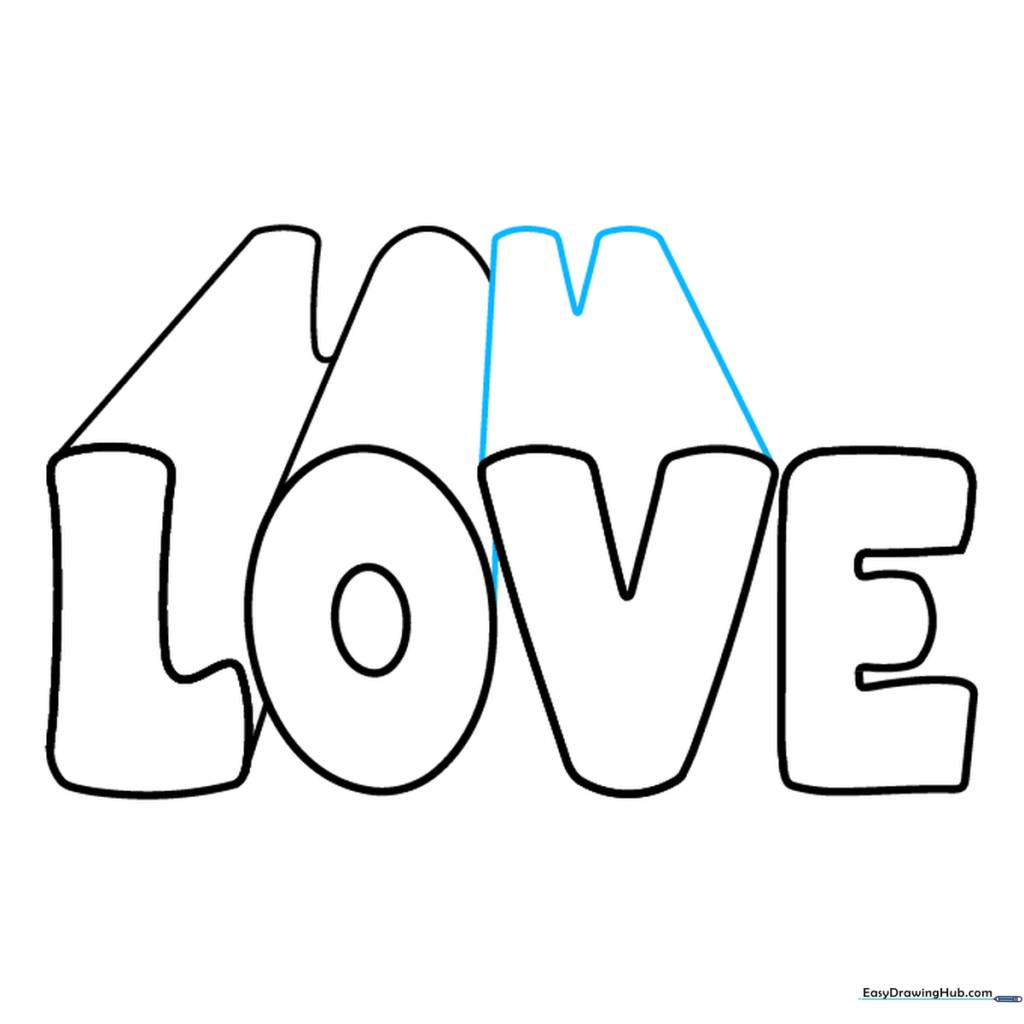
Draw lines from the 'V' corners, connecting them with curved lines to create depth. Tip: Check that your lines are parallel to the original letter edges.
Step 8: Adding Depth to E
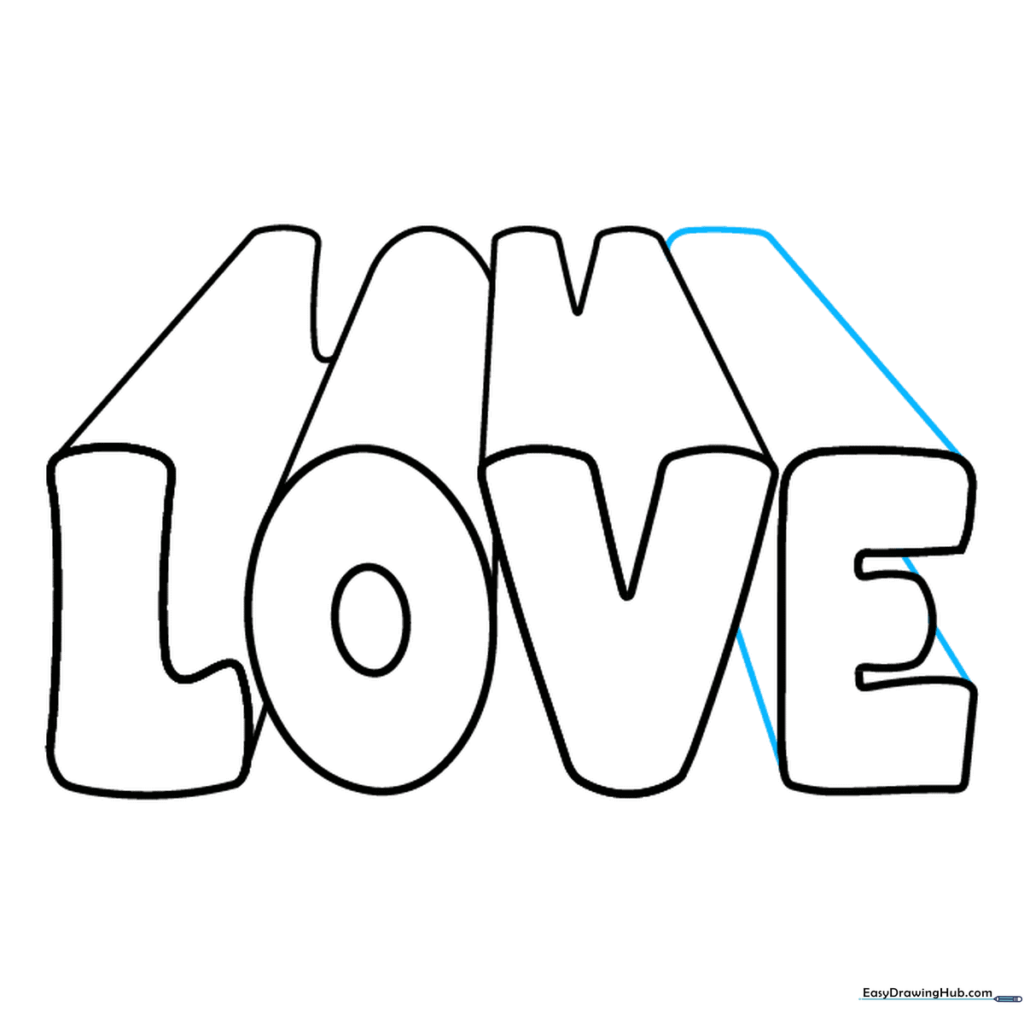
Connect the 'E' corners to your vanishing point and join them with the 'V' lines. Tip: This is where the 3D shape really starts to come alive!
Step 9: Finalizing the 3D Outline
Draw final straight lines on the tops of the letters to define the 3D edges. Tip: Erase any overlapping construction lines now for a clean look.
Step 10: Color and Shade

Bring your art to life with color! Tip: Use a darker shade on the side faces of the letters to emphasize the 3D perspective.
More Tutorials


