How to Draw Love Letter Hearts: Easy 9-Step Guide
Create a heartfelt, hand-drawn surprise perfect for Valentine's Day or any occasion. This tutorial is designed for artists of all ages, requiring only a pencil, paper, and an eraser. Follow along to build confidence in your line work and create a sweet, personalized illustration.
🎯 Final Result

Step-by-Step Instructions
Step 1: Sketching the Envelope Edge
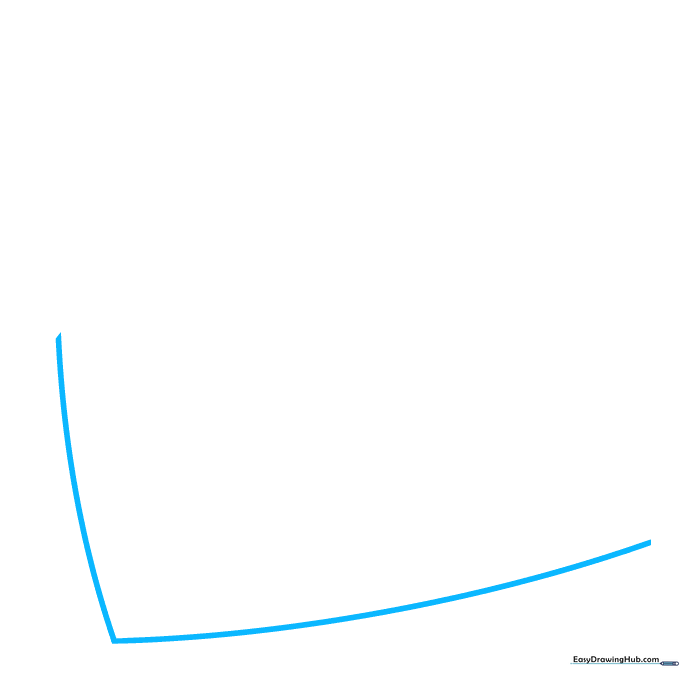
Start by drawing two curved lines that meet in an 'L' shape. Teacher's Tip: Keep these lines soft and rounded to give the envelope a gentle, cartoon-like appearance.
Step 2: Defining the Envelope Shape

Close the rectangle shape and add an incomplete triangle inside. Teacher's Tip: The triangle represents the folded flap of the envelope, so keep the lines crisp.
Step 3: Starting the Heart
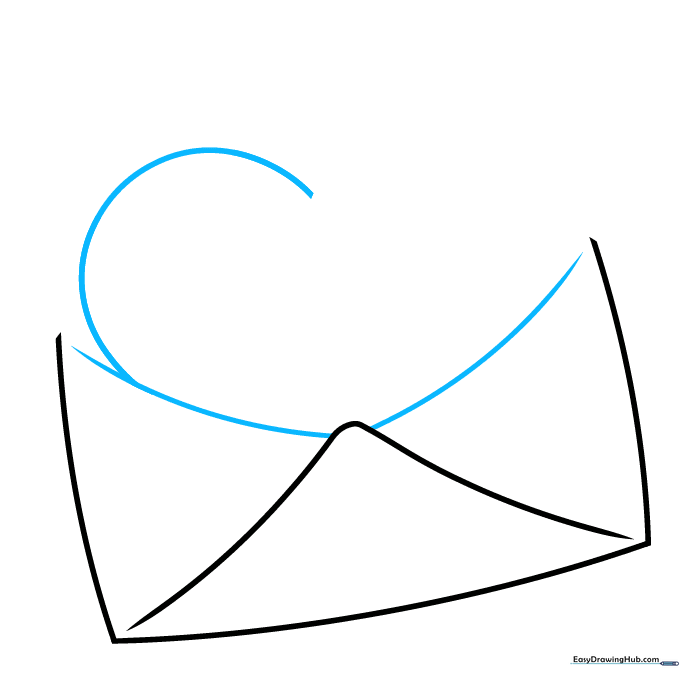
Draw a curved line across the top of the envelope, then extend a line upward to form the side of the heart. Teacher's Tip: Imagine the heart is 'popping' out of the envelope.
Step 4: Shaping the Main Heart
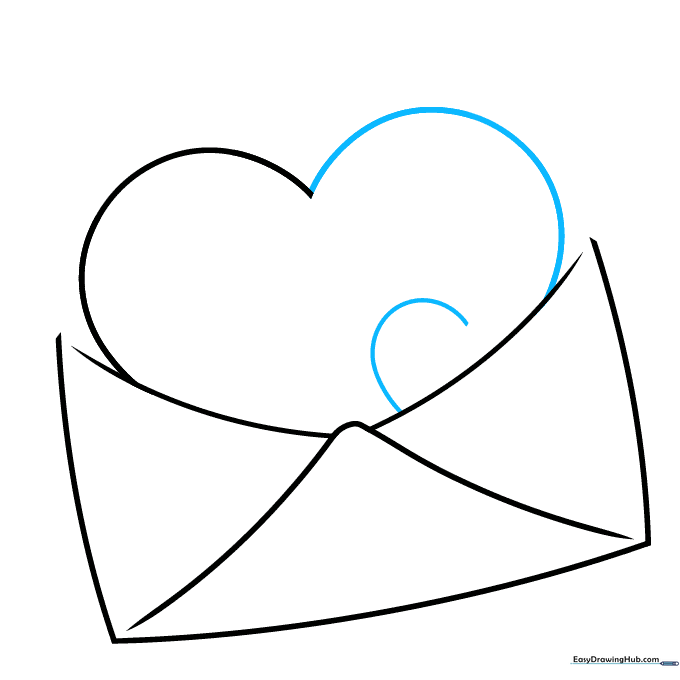
Complete the large heart and start a smaller one nearby. Teacher's Tip: Use a fluid motion with your wrist to get those nice, rounded heart lobes.
Step 5: Adding Overlapping Hearts
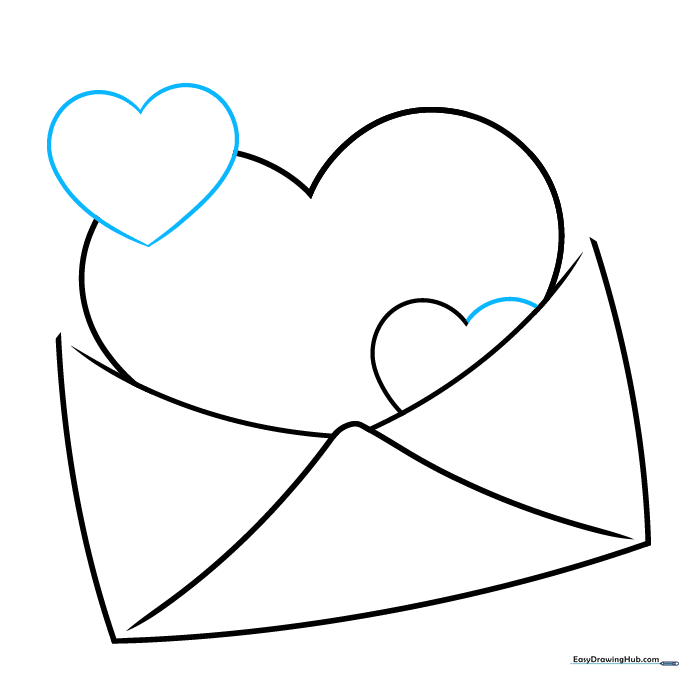
Draw a second small heart overlapping the first. Teacher's Tip: Don't worry about the lines crossing; you can erase the hidden parts later for a clean look.
Step 6: Balancing the Composition
Add another small heart on the opposite side. Teacher's Tip: Symmetry makes the drawing look balanced, but it's okay if they aren't identical!
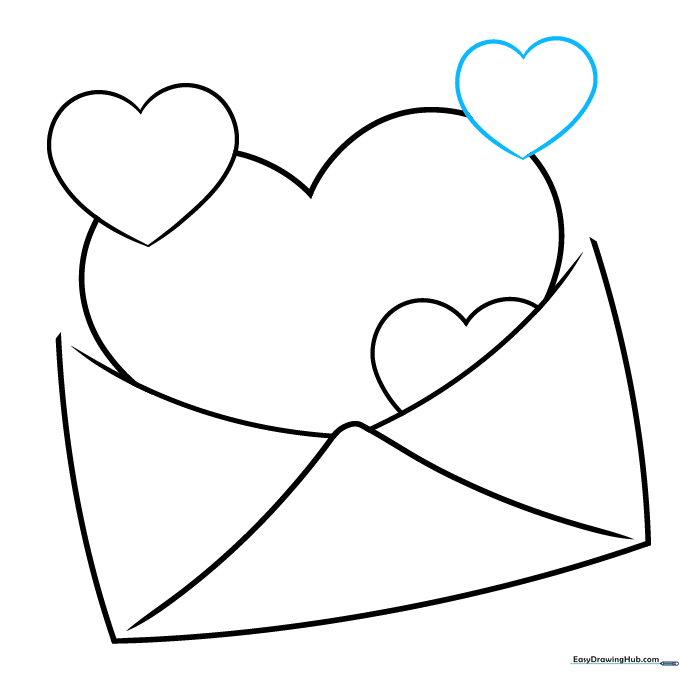
Step 7: Finalizing the Envelope Flap

Draw the envelope flap lines and one final floating heart above. Teacher's Tip: This adds depth and makes the drawing look like a finished scene.
Step 8: Adding Script Details
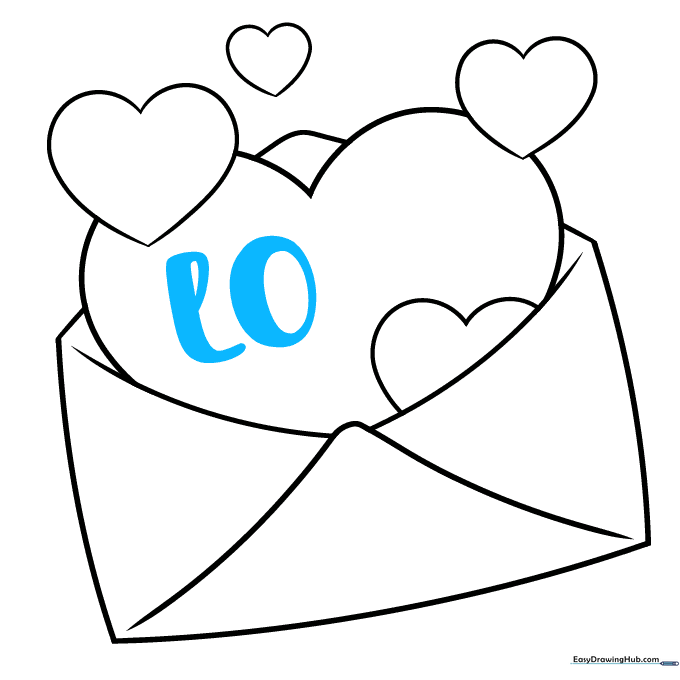
Carefully write 'L' and 'O' in a cursive, fancy script across the heart. Teacher's Tip: Go slow! Cursive letters are all about smooth, connected movements.
Step 9: Completing the Message

Finish the word 'LOVE' by adding 'V' and 'E'. Teacher's Tip: Ensure your letters are evenly spaced so the word looks centered.
Step 10: Adding Color

Bring your drawing to life with color. Teacher's Tip: Use different shades of pink and red to create a gradient effect, making the hearts look 3D.
More Tutorials


