How to Draw Lips: Simple 10-Step Drawing Guide
Ready to bring your character portraits to life? This tutorial is perfect for young artists and beginners looking to master facial features. Grab a pencil, an eraser, and a sheet of paper to practice these simple shapes that build a natural-looking mouth.
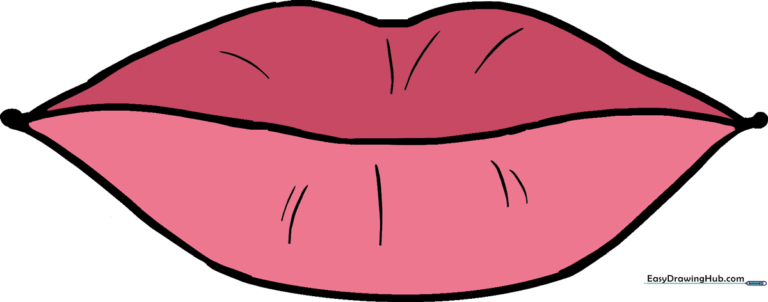
🎯 Final Result
Step-by-Step Instructions
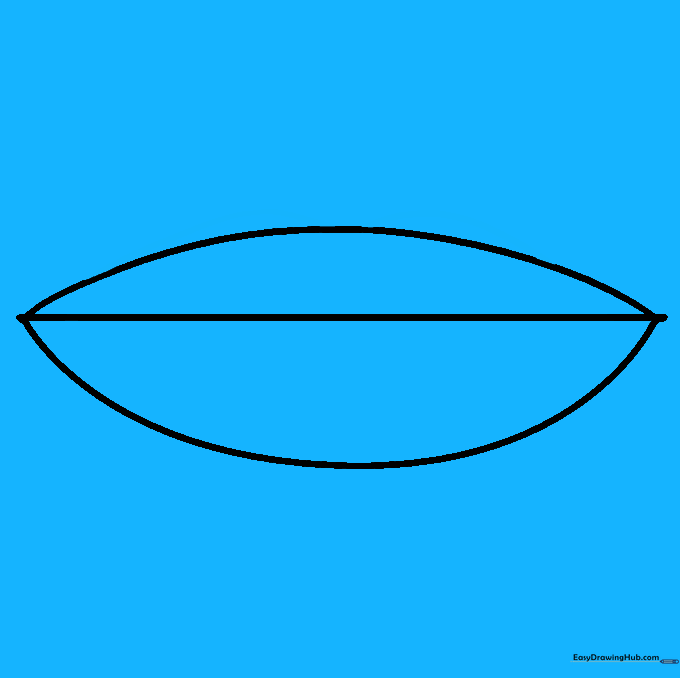
Step 1: Establishing the Baseline

Draw a light, horizontal guide line across your paper. Tip: Keep this line very faint so it’s easy to erase later; it acts as the anchor for your entire drawing.
Step 2: Shaping the Upper Lip

Draw a soft, curved line above your guide to create a semicircle. Tip: Think of this as the 'cupid's bow' area—keep the curve gentle and rounded.
Step 3: Defining the Lower Lip

Draw a larger, fuller curve beneath the guide line. Tip: The bottom lip is usually slightly thicker than the top, so make this curve a bit deeper.
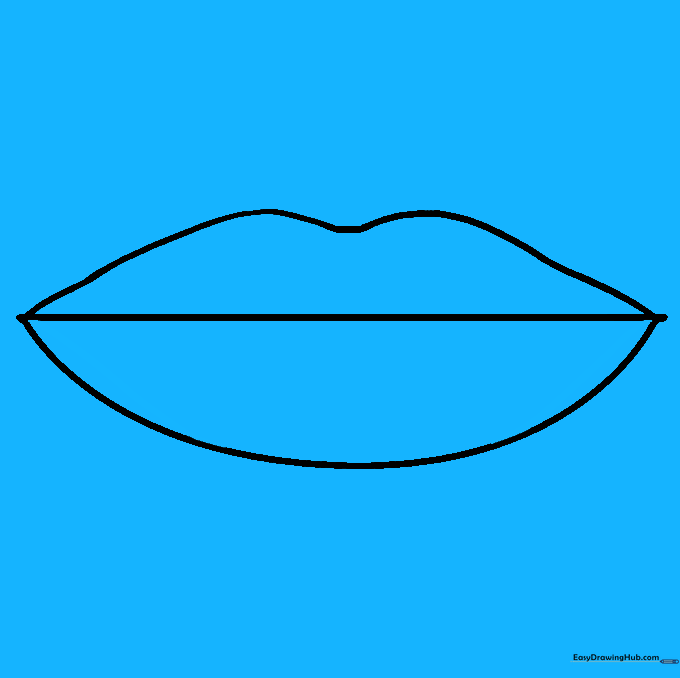
Step 4: Adding Contours
Add two small curved lines on top of the upper lip shape. Tip: These small marks help define the natural dip in the center of the lip.
Step 5: Cleaning Up

Carefully erase the original guide lines inside the upper lip. Tip: Use a kneaded eraser if you have one—it’s gentler on the paper and won't smudge your work.
Step 6: Detailing the Lower Lip
Draw a curved line through the bottom lip to add volume. Tip: This line shouldn't be perfectly straight; follow the natural roundness of the lip.
Step 7: Final Cleanup

Erase the remaining horizontal guide line from the bottom lip. Tip: Make sure your pencil lines are clean and crisp before moving to the final details.
Step 8: Defining the Mouth Line
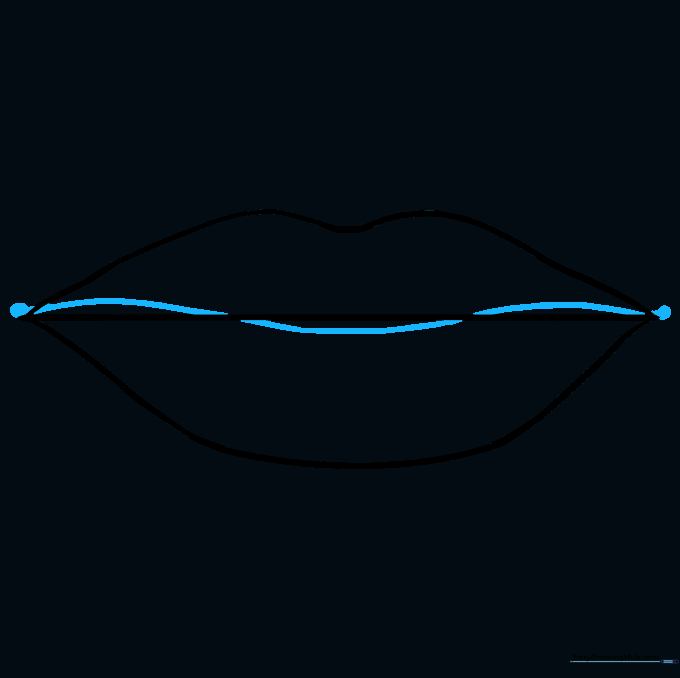
Add a small dot at each corner and connect them with a wavy line. Tip: The wave should dip slightly in the middle to mimic the natural shape of a mouth.
Step 9: Adding Texture
Add short, light curved lines across the lips. Tip: Don't overdo it! These small lines represent the natural texture of skin and make the lips look realistic.
Step 10: Adding Color
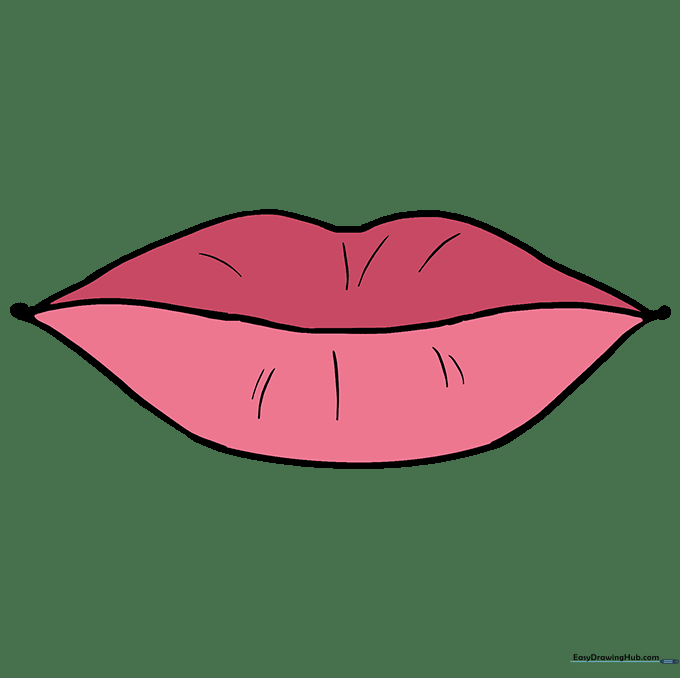
Bring your drawing to life with color! Tip: Use light pressure with your colored pencils to create gradients, making the center of the lips slightly lighter to show highlights.
More Tutorials


