How to Draw Lionel Messi: Easy Step-by-Step Guide
Capture the likeness of soccer legend Lionel Messi with this approachable portrait tutorial. Designed for young artists and beginners, this lesson uses basic geometric shapes to build facial structure. Grab your pencil and eraser to start sketching your favorite athlete today.
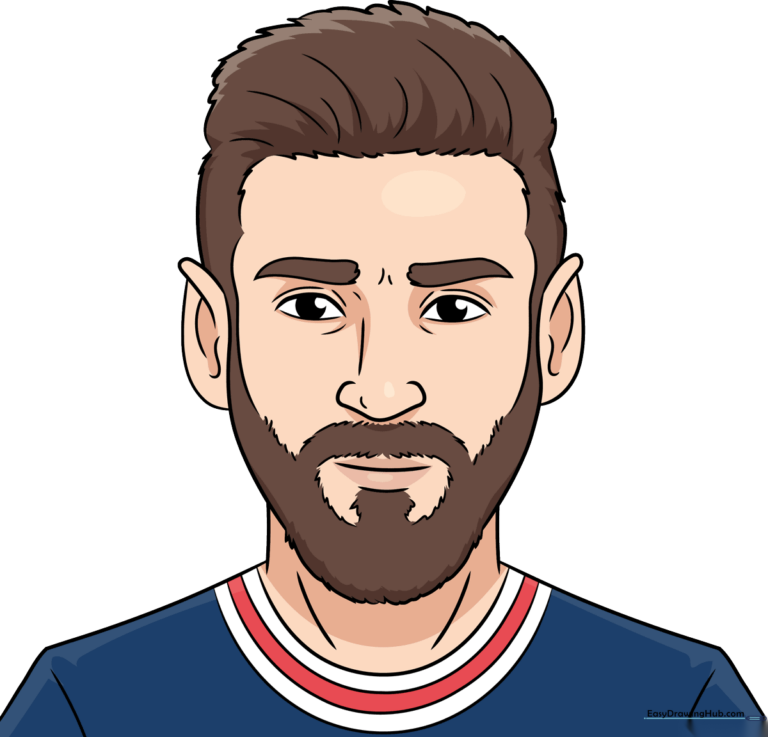
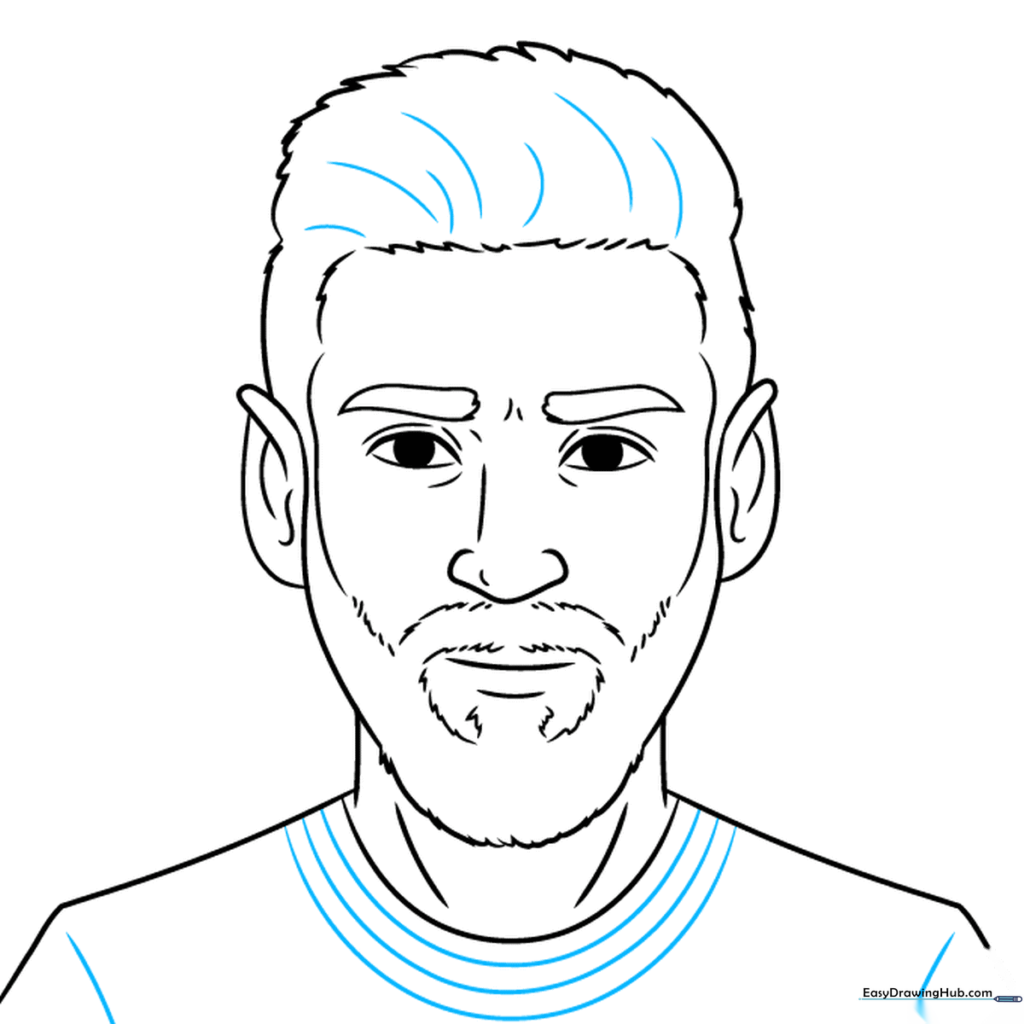
🎯 Final Result
Step-by-Step Instructions
Step 1: Sketching the Eyes
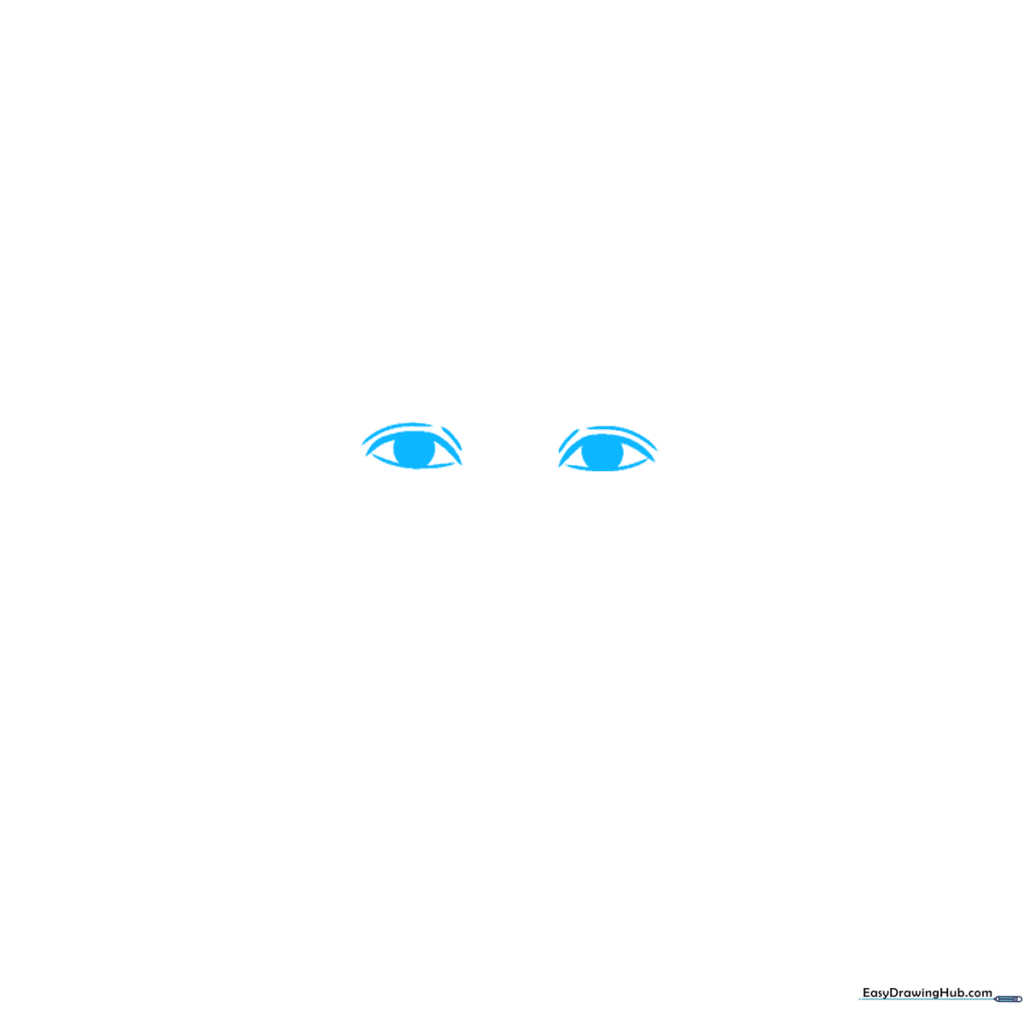
Start by drawing two almond-shaped eyes using curved lines. Add a dark, thick line for the upper eyelid to give him a focused look. Teacher's Tip: Keep your pencil pressure light so you can easily adjust the symmetry before committing to the final lines.
Step 2: Defining Brows and Nose

Sketch bushy, pointed eyebrows using short, jagged strokes that meet toward the center. Add the lower eyelids and the bridge of the nose. Teacher's Tip: Use quick, flicking motions with your pencil to create the texture of natural hair.
Step 3: Adding the Mouth
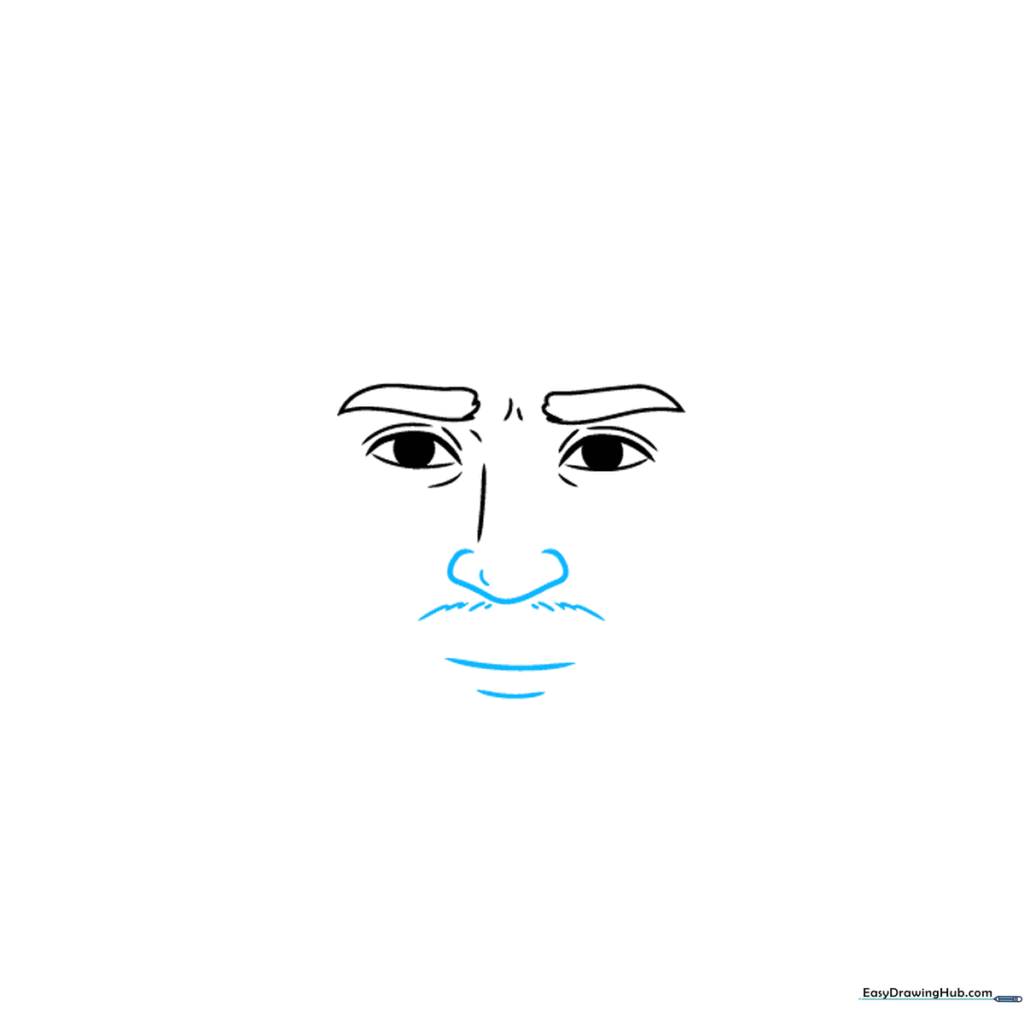
Draw the tip of the nose, followed by the mouth and lower lip using soft, curved lines. Begin the mustache area with tiny, closely spaced strokes. Teacher's Tip: Keep the mouth line slightly curved to suggest a subtle, confident expression.
Step 4: Creating Facial Hair
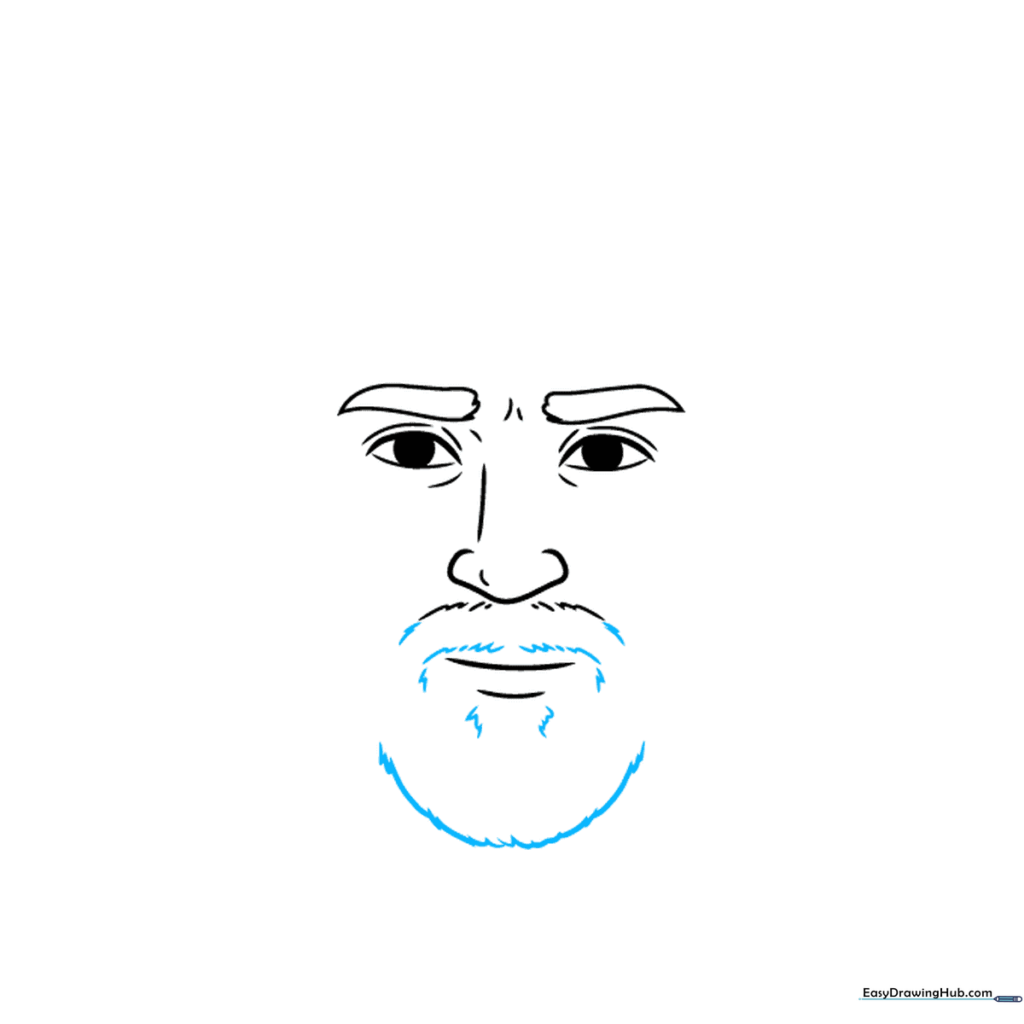
Build out the mustache and beard using a series of connected 'U' shaped lines. This adds depth and texture to the face. Teacher's Tip: Vary the length of your 'U' strokes to make the beard look more realistic and less like a solid block.
Step 5: Shaping the Face and Ears
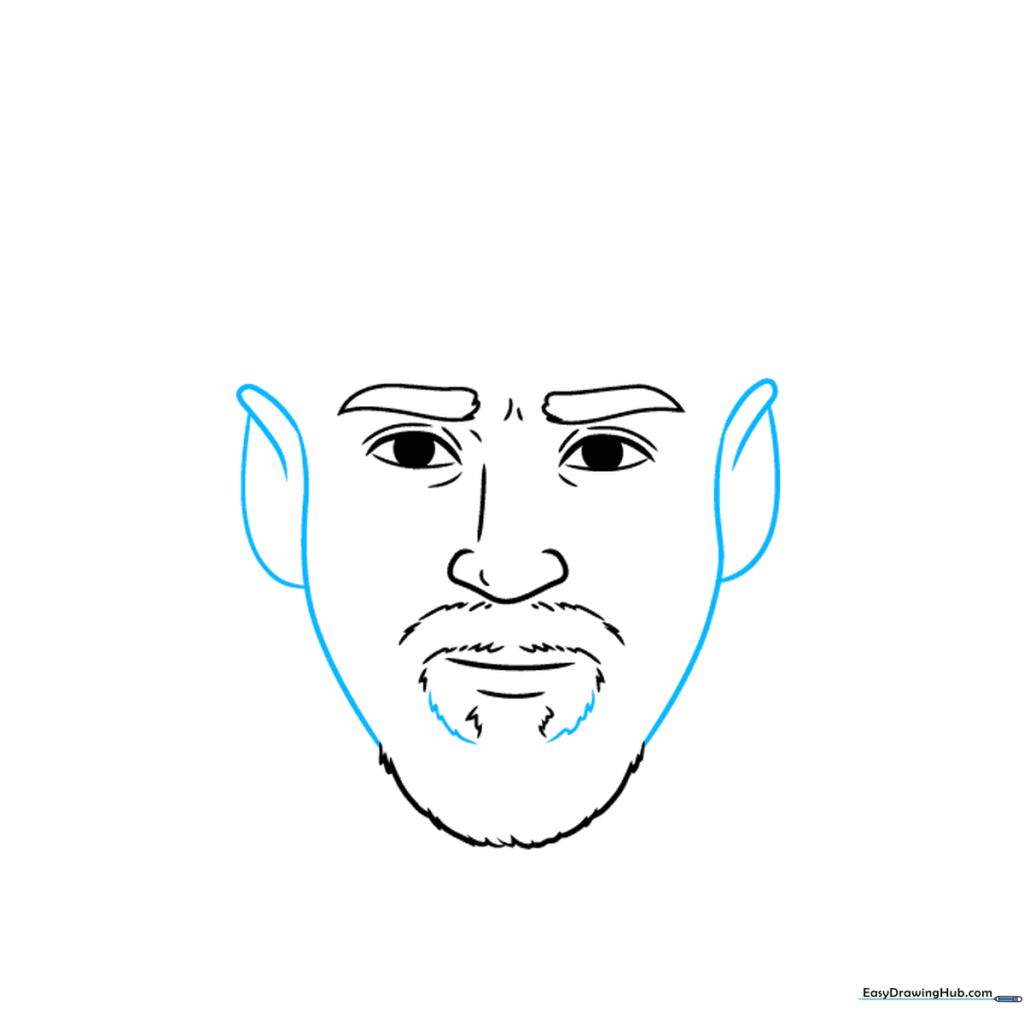
Use long, sweeping curved lines to outline the jawline and ears. Ensure the ears align roughly with the eyes and nose. Teacher's Tip: Don't worry about perfect symmetry; faces are naturally organic and slightly asymmetrical.
Step 6: Adding Hairline Details
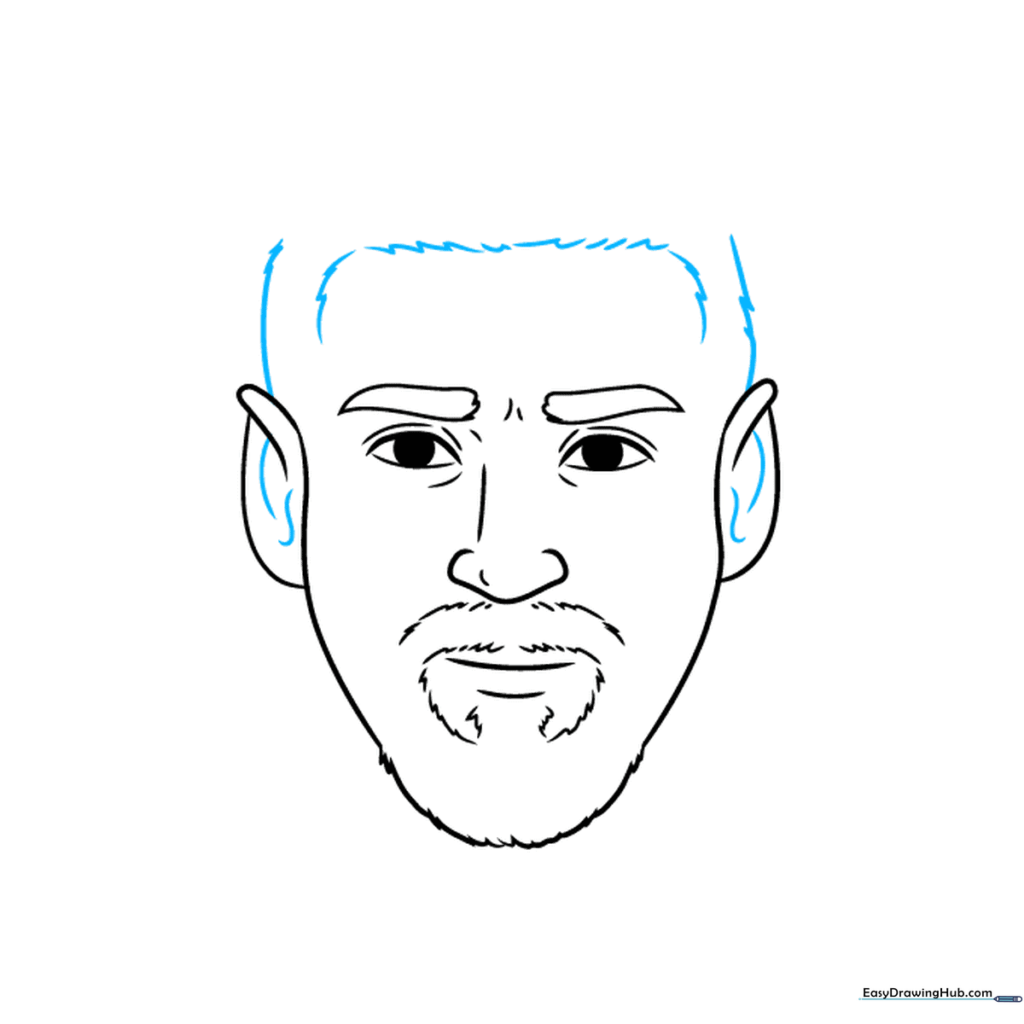
Add inner ear details and begin sketching the hair along the forehead and temples. Use short, directional strokes to mimic hair growth. Teacher's Tip: Follow the curve of the skull to keep the hair looking natural.
Step 7: Completing the Hair
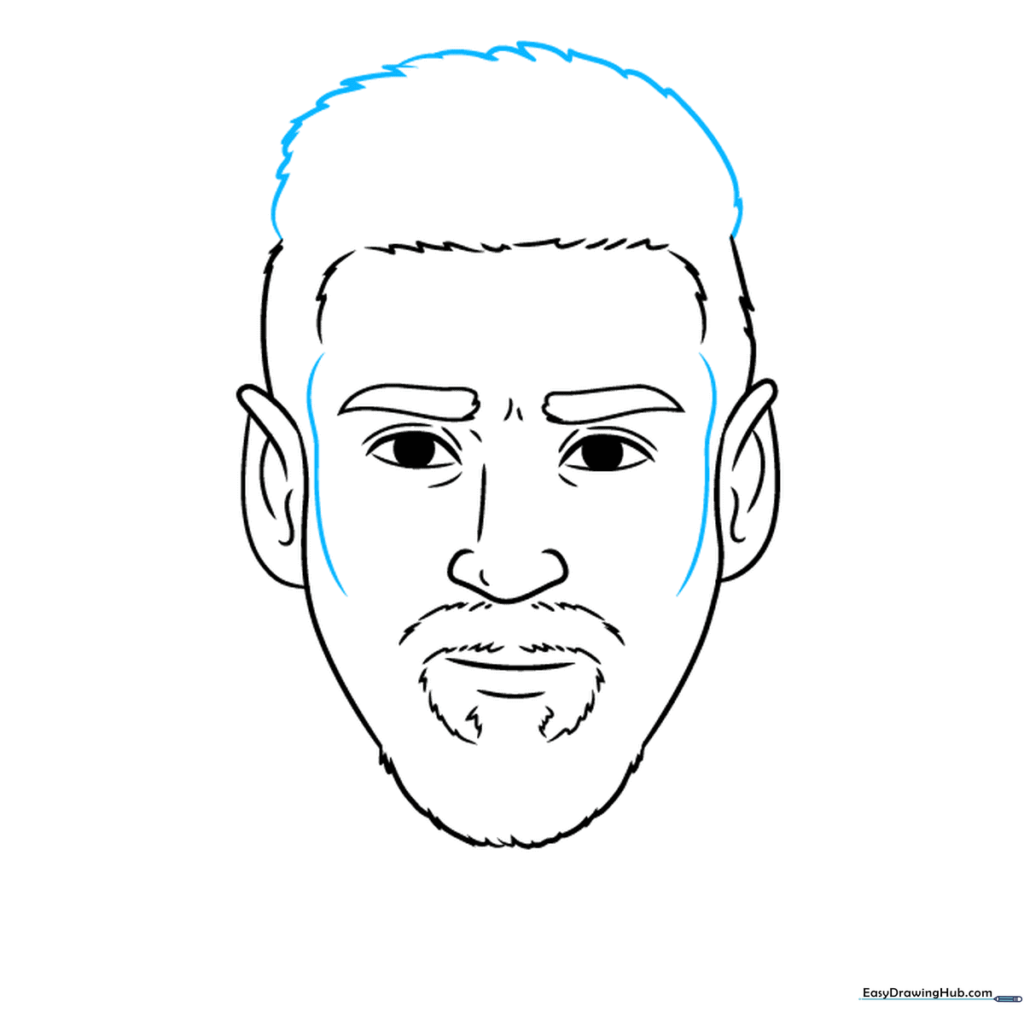
Fill in the top of the hair with connected, flowing lines. Refine the contours between the eyes and ears to define the cheekbones. Teacher's Tip: Use longer, overlapping lines to create the volume of the hair.
Step 8: Neck and Shoulders
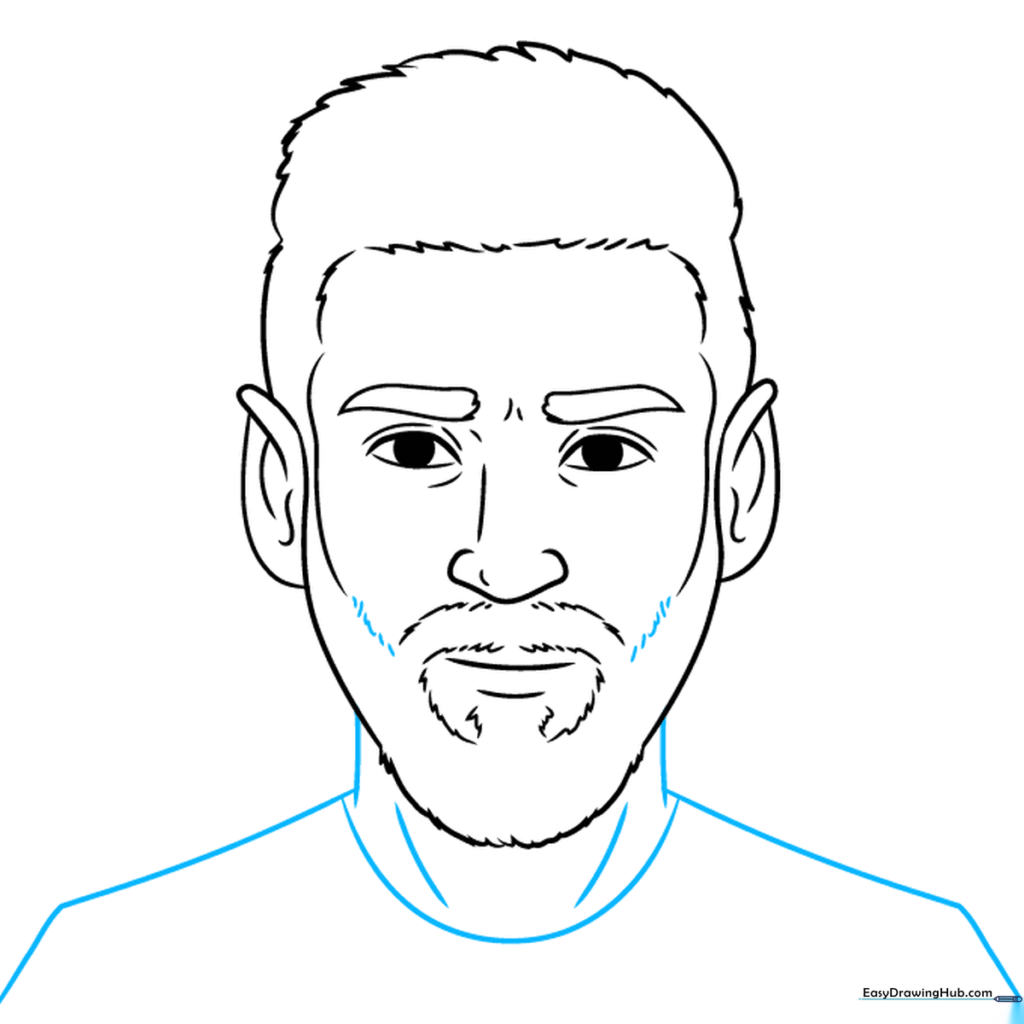
Draw the neck and shoulders to ground the portrait. Add a 'U' shaped neckline for his jersey. Teacher's Tip: The neck should be slightly narrower than the jawline to keep the proportions balanced.
Step 9: Final Details
Add final texture to the hair and define the shirt sleeves. Clean up any stray guidelines with your eraser. Teacher's Tip: A clean outline makes coloring much easier later!
Step 10: Adding Color

Bring your drawing to life with color! Use brown for the hair and beard. For the jersey, choose your favorite team colors—red and blue or white and light blue work perfectly. Teacher's Tip: Use light pressure for skin tones and build up the color gradually.
More Tutorials


