How to Draw a Lion Head: Easy 10-Step Guide for Kids
Ready to bring the King of the Jungle to life? This tutorial is perfect for young artists ages 5 and up. All you need is a pencil, an eraser, and a piece of paper to start building your lion's expressive face and iconic mane.
🎯 Final Result

Step-by-Step Instructions
Step 1: Sketching the Base Circle

Draw a light circle in the center of your page. Teacher's Tip: Keep your pencil strokes very faint so they are easy to erase later; this circle is just a guide for the head shape.
Step 2: Defining the Cheeks
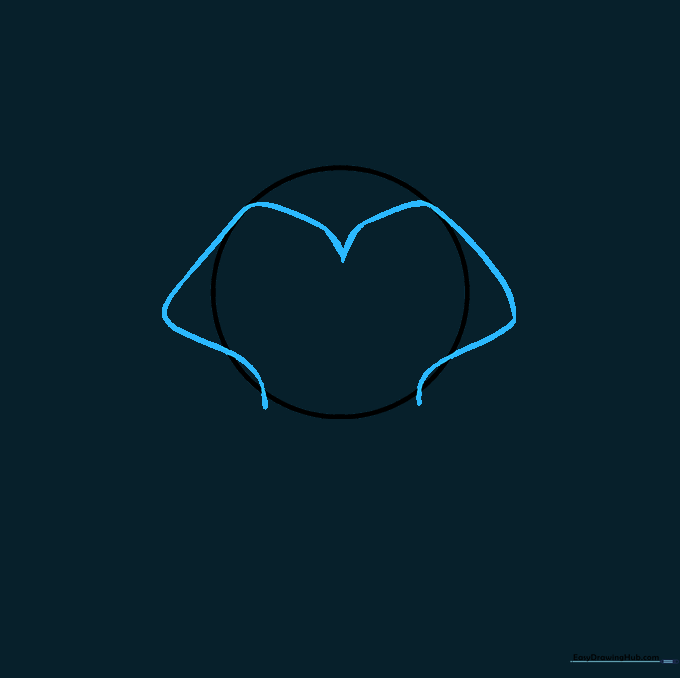
Use curved lines to shape the face. Start beneath the circle, curve outward for the cheeks, and bring them to a soft point in the center. Tip: Think of these as two rounded 'M' shapes meeting in the middle.
Step 3: Sketching the Muzzle
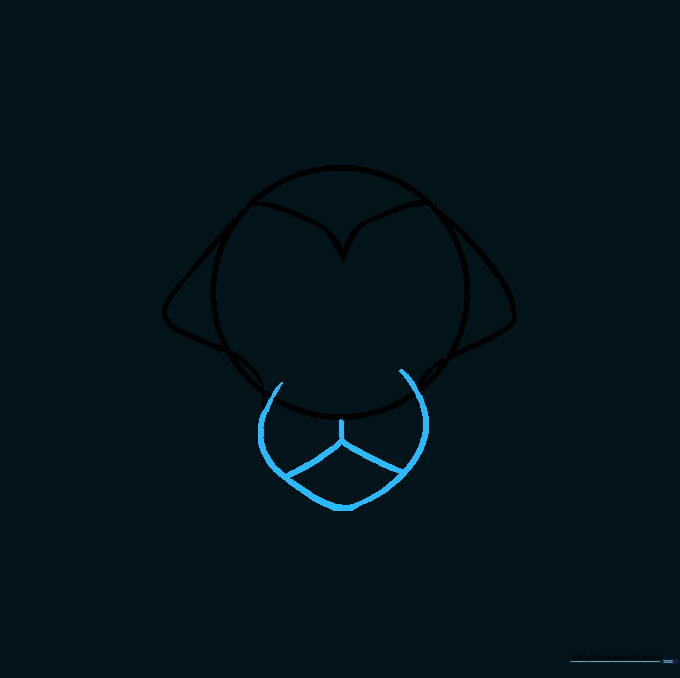
Draw a rounded shape at the bottom for the snout. Add an upside-down 'V' inside for the mouth. Tip: Keep the muzzle small—it helps the lion look more like a friendly cartoon character.
Step 4: Adding Eyes and Nose
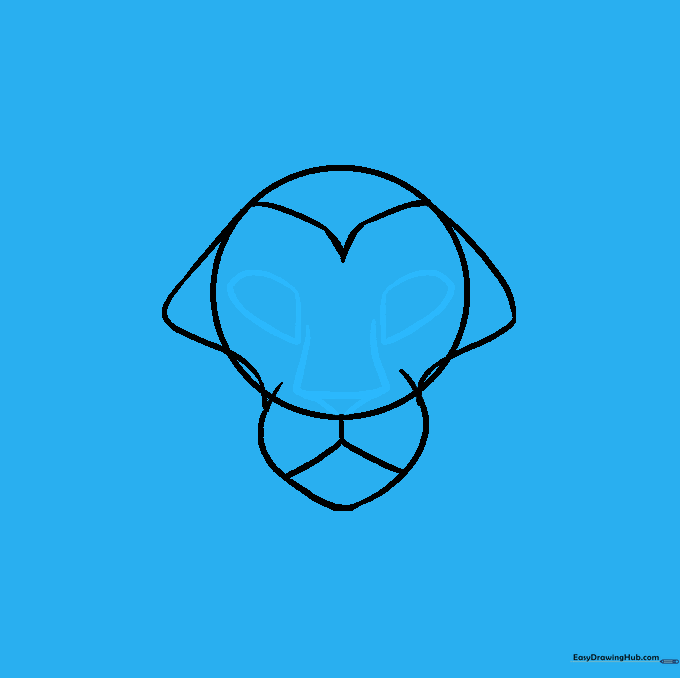
Draw a small triangle for the nose and two irregular shapes for the eyes. Tip: Make sure the inner corners of the eyes are slightly pointed toward the nose to give your lion a focused expression.
Step 5: Starting the Mane
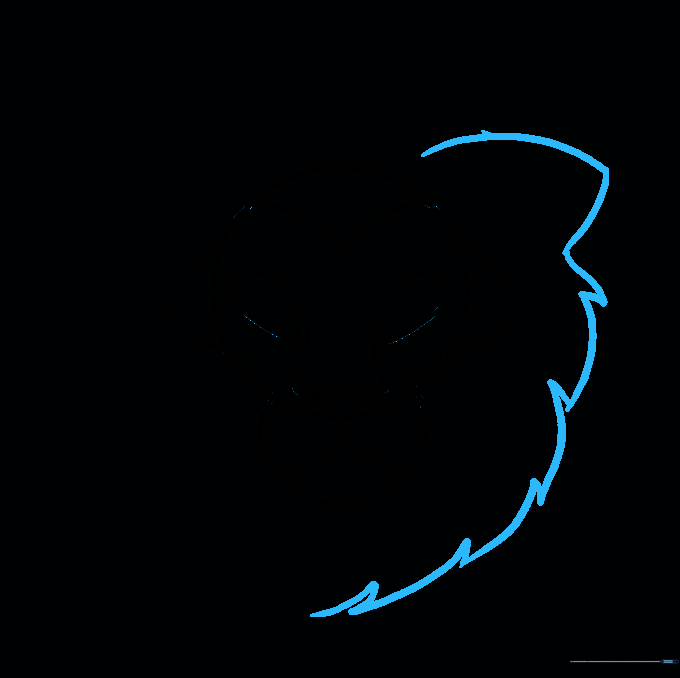
Begin the mane by drawing jagged, short curved lines around the head. Tip: Don't worry about making them perfect; fur is naturally messy and uneven!
Step 6: Expanding the Mane
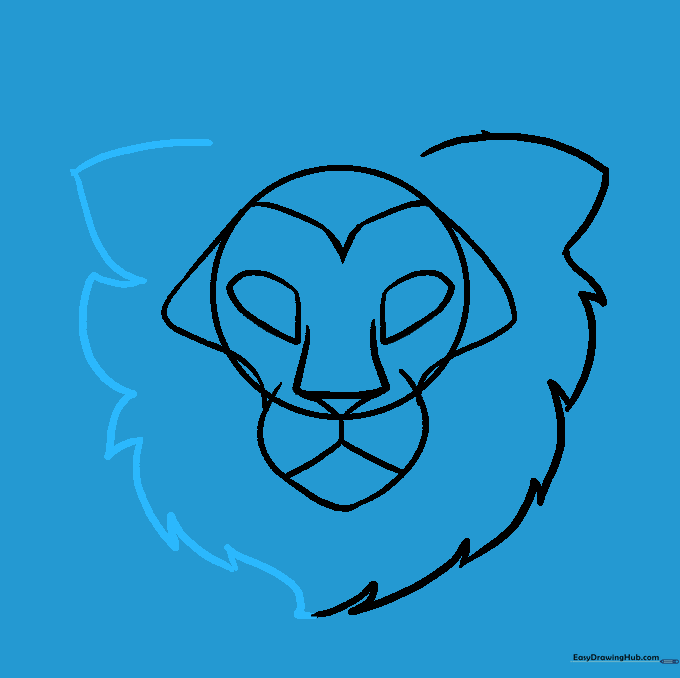
Continue adding more jagged, connected lines to fill out the mane. Tip: Vary the length of your lines to make the mane look thick and voluminous.
Step 7: Cleaning Up
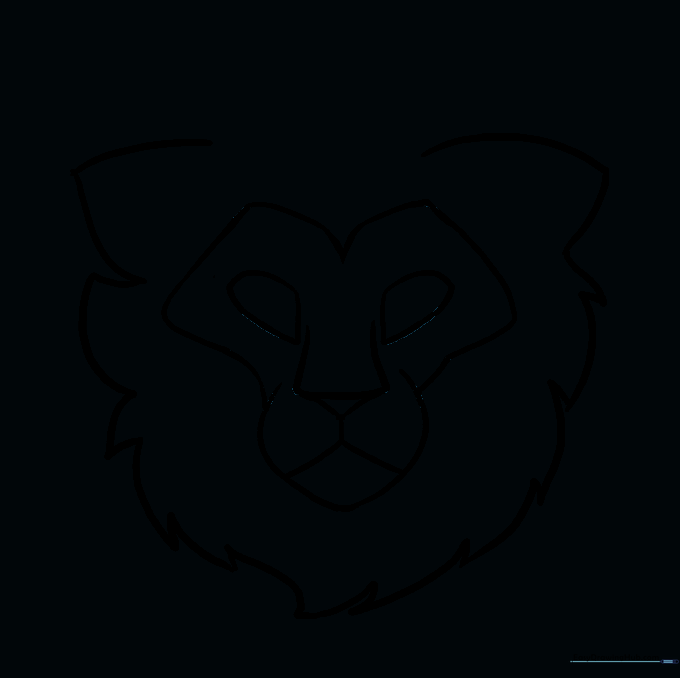
Gently erase the original circle guide lines inside the face. Tip: Use a soft eraser and hold the paper down firmly so you don't accidentally wrinkle it.
Step 8: Adding Ears and Detail
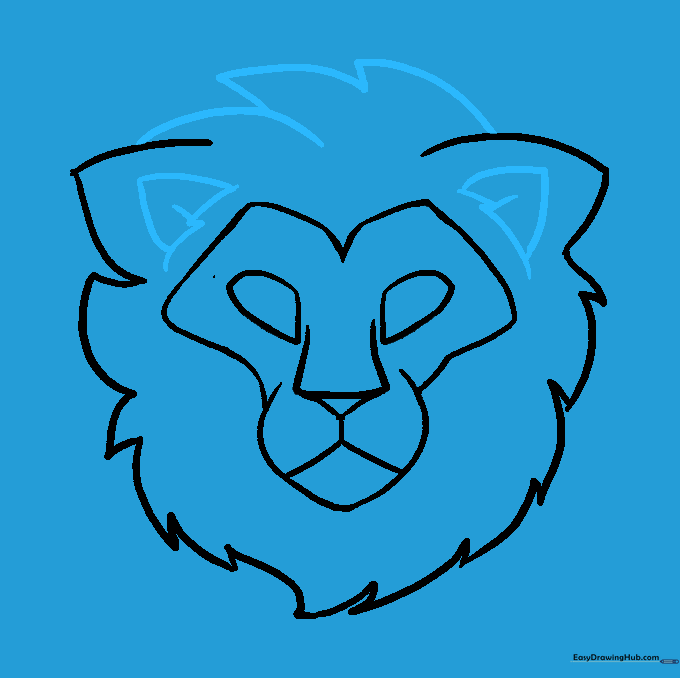
Draw the ears by creating small, furry triangles within the mane. Tip: Add a small line inside each ear to give them a sense of depth.
Step 9: Final Facial Features
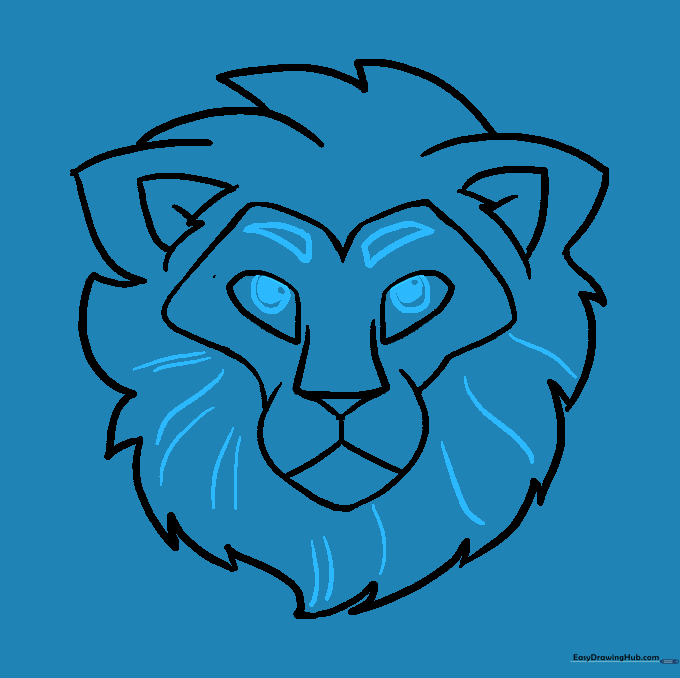
Add eyebrows and pupils. Draw three circles inside each eye, shading the smallest one to create a realistic shine. Tip: Eyebrows help show emotion—angle them down to make your lion look brave!
Step 10: Bringing it to Life with Color
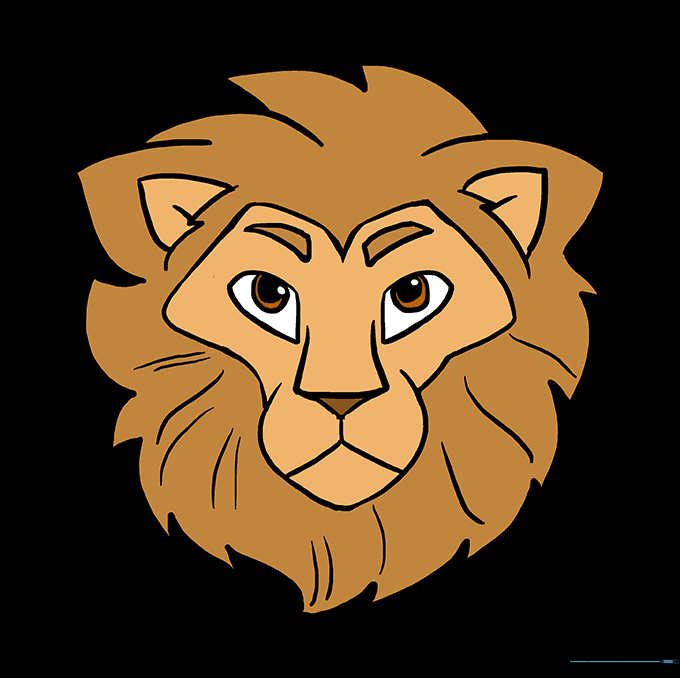
Time to color! Use warm tones like golden yellow, orange, or brown for the mane. Tip: Use a darker shade of brown for the shadows in the mane to make it look 3D.
More Tutorials


