How to Draw Link: Easy 10-Step Zelda Guide for Kids
Ready to bring the hero of Hyrule to life? This tutorial is perfect for young fans ages 7+ who want to practice character proportions. Grab a pencil, an eraser, and a piece of paper, and let's start sketching our favorite adventurer.
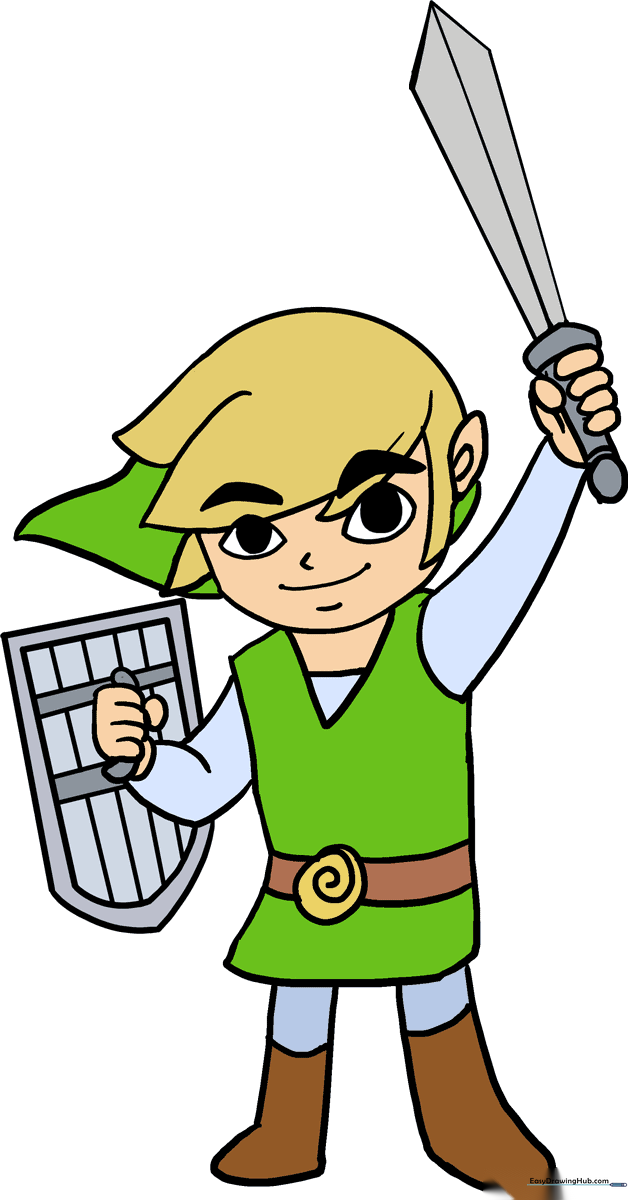
🎯 Final Result
Step-by-Step Instructions
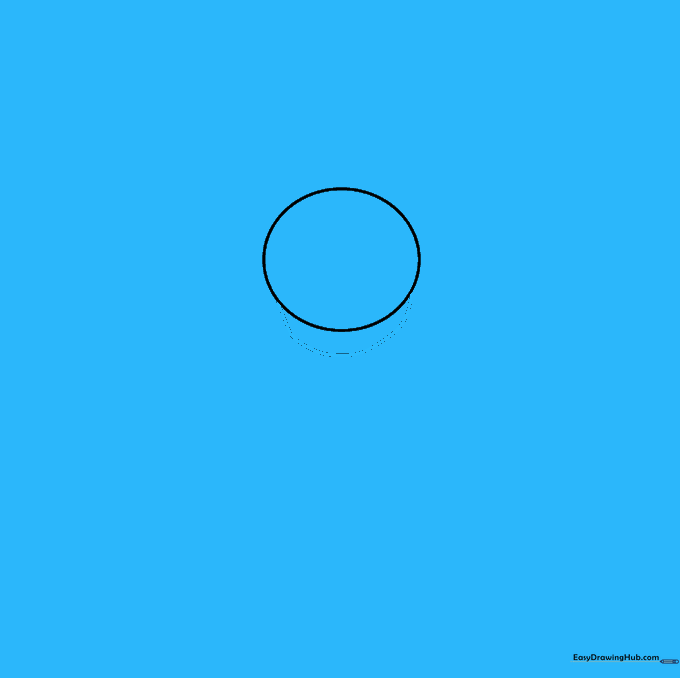
Step 1: Sketching the Head Base

Draw a light circle to serve as the head. Teacher's Tip: Keep your pencil pressure very light here so you can easily erase these guidelines once the face details are finished.
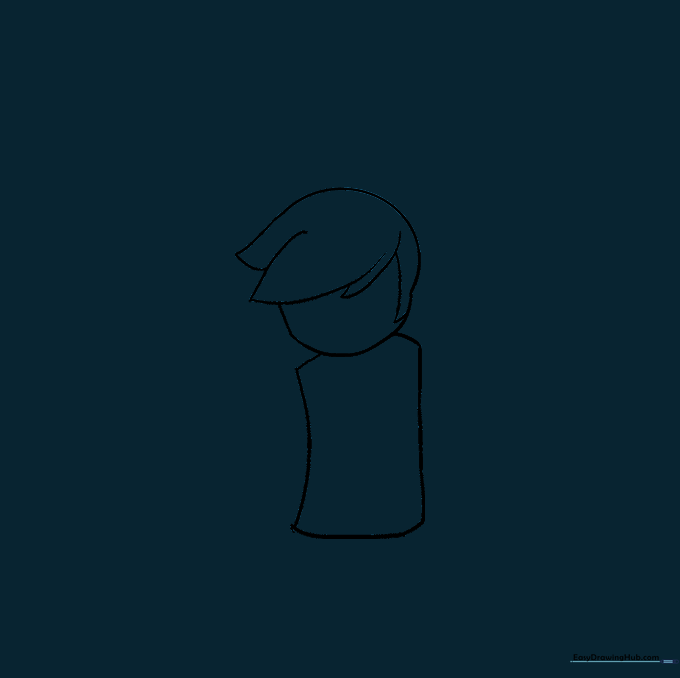
Step 2: Defining the Jawline
Add a curved shape beneath the circle to form the jaw. Tip: Think of this as a soft 'U' shape that connects smoothly to the sides of your circle.
Step 3: Outlining the Torso
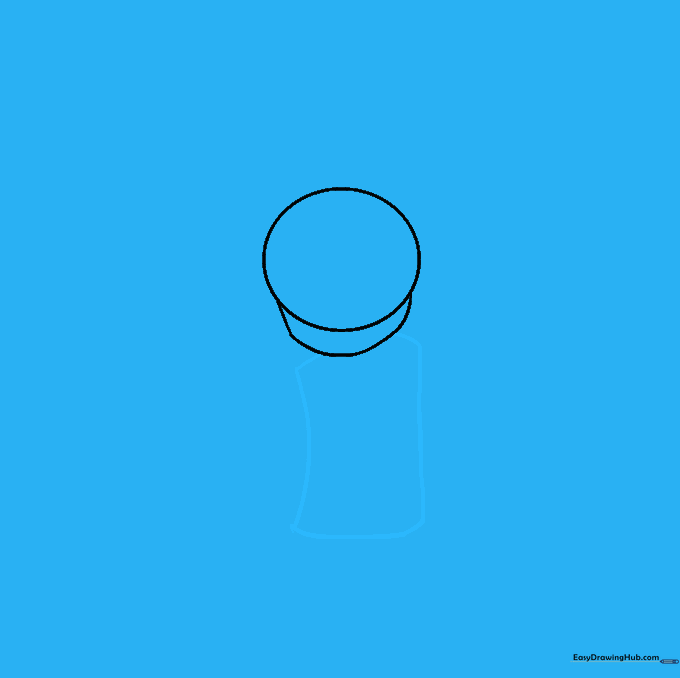
Draw a rectangular shape below the head for the body. Tip: Don't worry about perfect corners; keep the lines slightly rounded to give him a more natural, cartoon-like appearance.
Step 4: Sketching the Hair
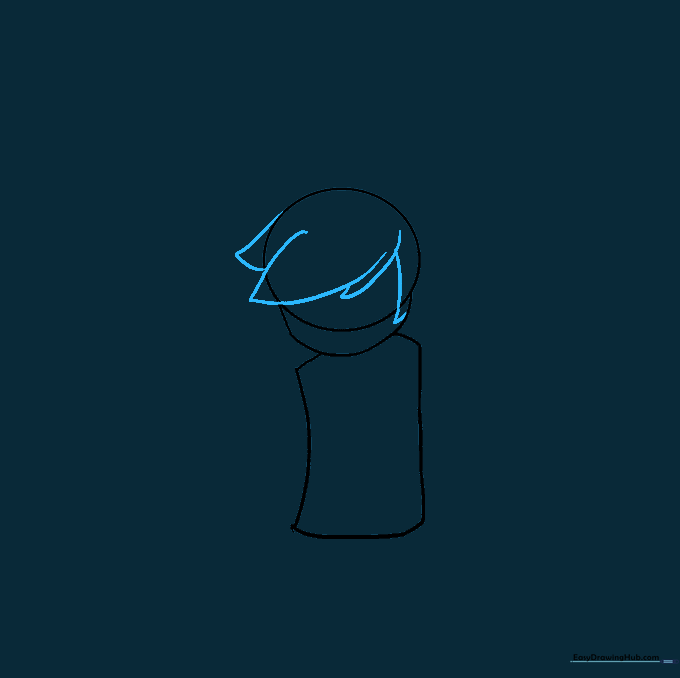
Add locks of hair using two curved lines that meet at a point. Tip: Vary the length and width of the locks to make his hair look dynamic and messy, just like Link's!
Step 5: Cleaning the Guidelines
Carefully erase the original circle lines inside the hair and face. Tip: Use a clean eraser and hold the paper steady to avoid smudging your work.
Step 6: Adding Clothing Details
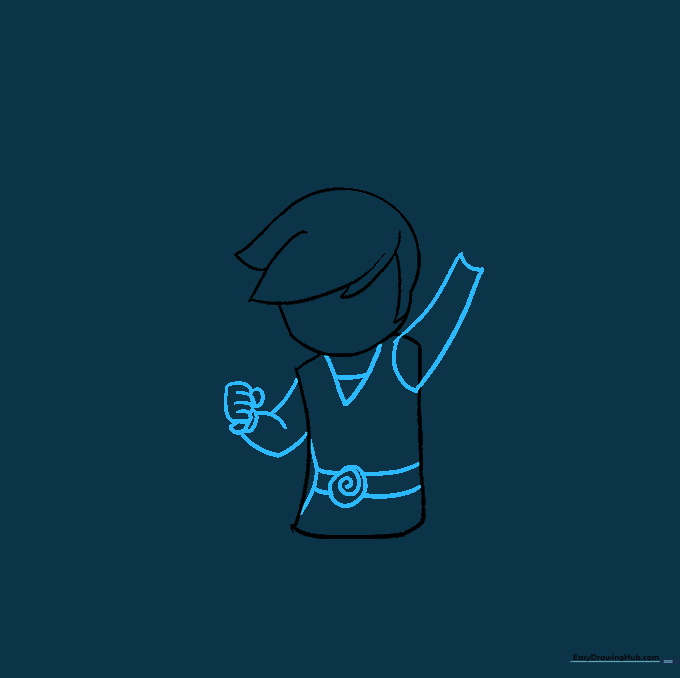
Draw the arms, hands, and belt. Tip: For the belt, draw a small circle in the center of the torso and add a spiral inside to create the iconic buckle detail.
Step 7: Drawing the Hat and Boots
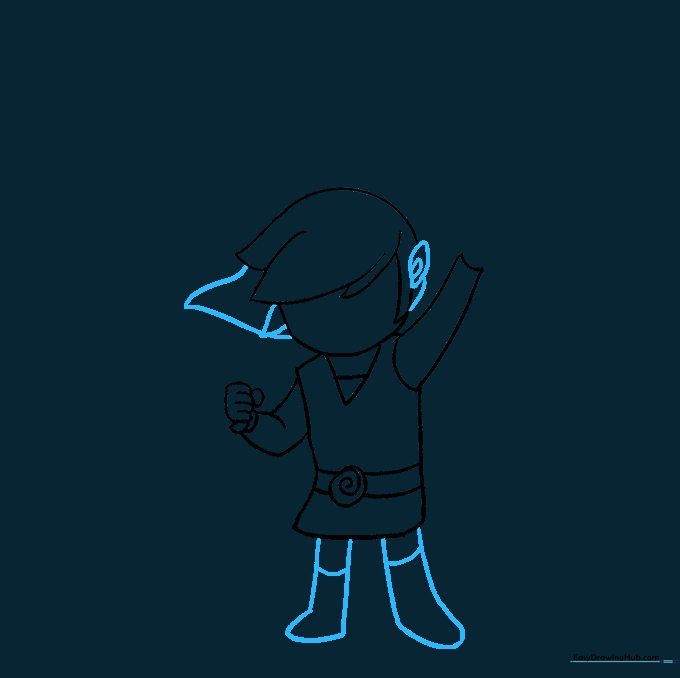
Add the signature pointed hat and define the legs with boots. Tip: When drawing the boots, make sure the horizontal line across the leg is slightly curved to show depth.
Step 8: Equipping the Sword and Shield
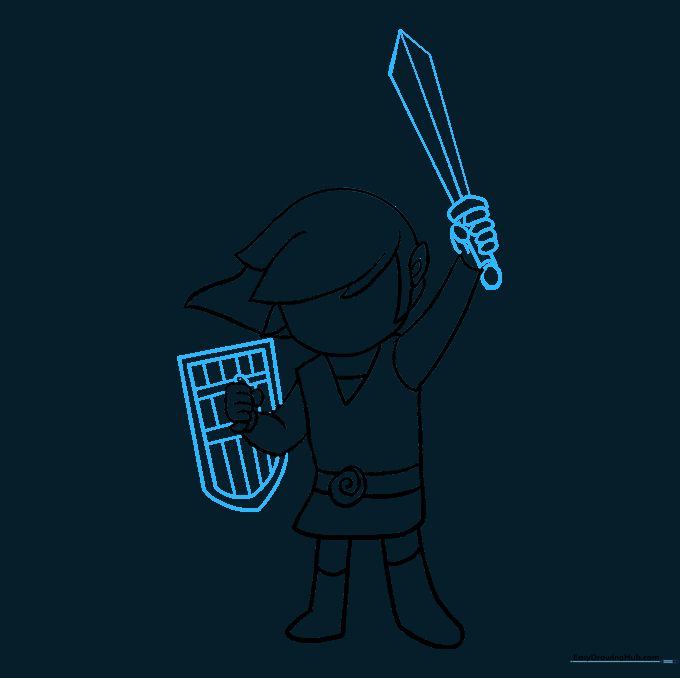
Sketch the shield and sword hilt. Tip: Use a ruler if you struggle with straight lines for the sword blade, but try freehand first to build your confidence!
Step 9: Adding Facial Features
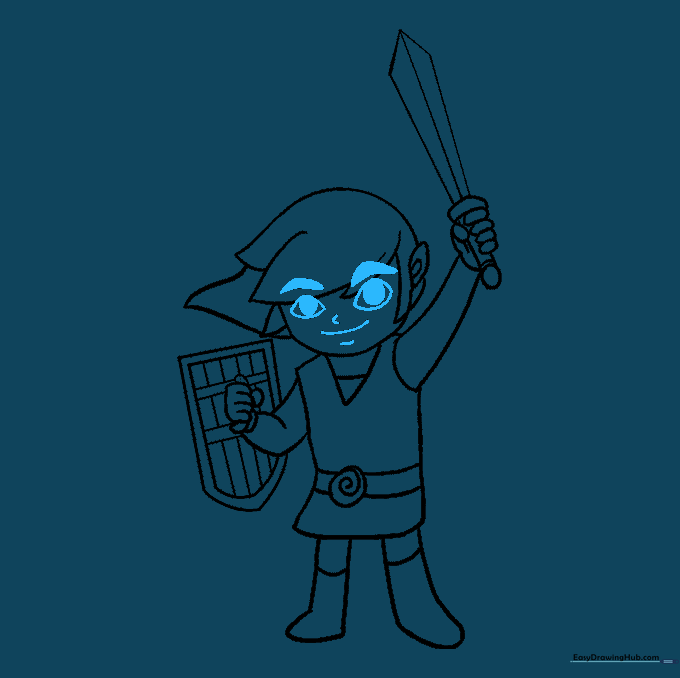
Draw the eyes, eyebrows, nose, and mouth. Tip: Keep the eyebrows thick and angled slightly downward to give Link his determined, heroic expression.
Step 10: Bringing Link to Life with Color
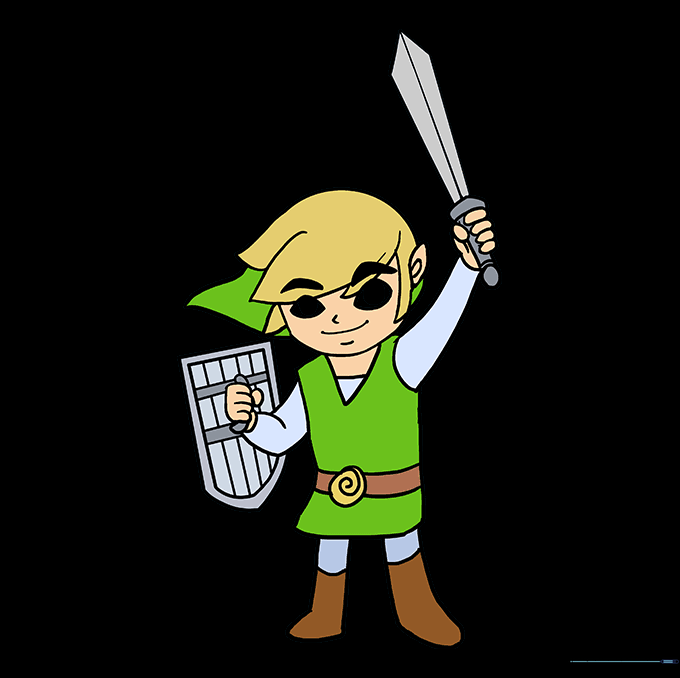
Add color to your drawing. Tip: Use a bright forest green for his tunic and a warm yellow for his hair to keep the drawing looking classic and vibrant.
More Tutorials


