How to Draw Lightning: Easy 10-Step Guide for Kids
Ready to capture the power of a storm on paper? This tutorial is perfect for young artists ages 5 and up. You will only need a pencil, an eraser, and a sheet of paper to create a dramatic, electrifying scene.
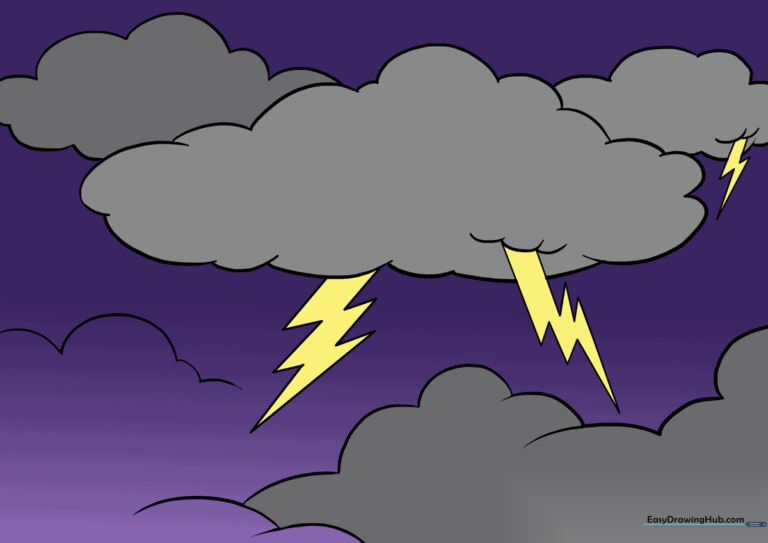
🎯 Final Result
Step-by-Step Instructions
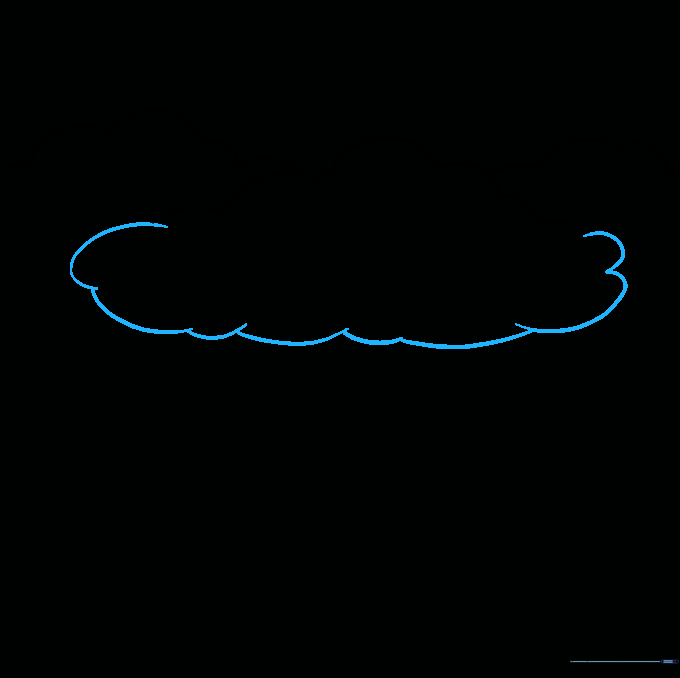
Step 1: Sketching the First Cloud

Start by drawing the top of your storm cloud using a series of short, connected, curved lines. Teacher's Tip: Keep your pencil pressure light so you can easily adjust the shape later if it looks too uniform.
Step 2: Adding Overlapping Clouds

Draw a second cloud shape that slightly overlaps the first one. Use the same short, bumpy, curved lines. Tip: Overlapping shapes is a great way to create depth and make your drawing look more professional.
Step 3: Expanding the Cloud Cluster

Add a third cloud section to your cluster using the same curved line technique. Tip: Don't worry about making the clouds perfectly symmetrical; real storm clouds are messy and unpredictable!
Step 4: Closing the Central Cloud
Connect your lines to fully enclose the central cloud shape. Tip: Use quick, confident strokes to keep the cloud looking soft and fluffy rather than rigid.
Step 5: Defining the Cloud Base

Outline the bottom of your background clouds. Tip: Vary the size of your curves here to give the clouds a sense of volume and weight.
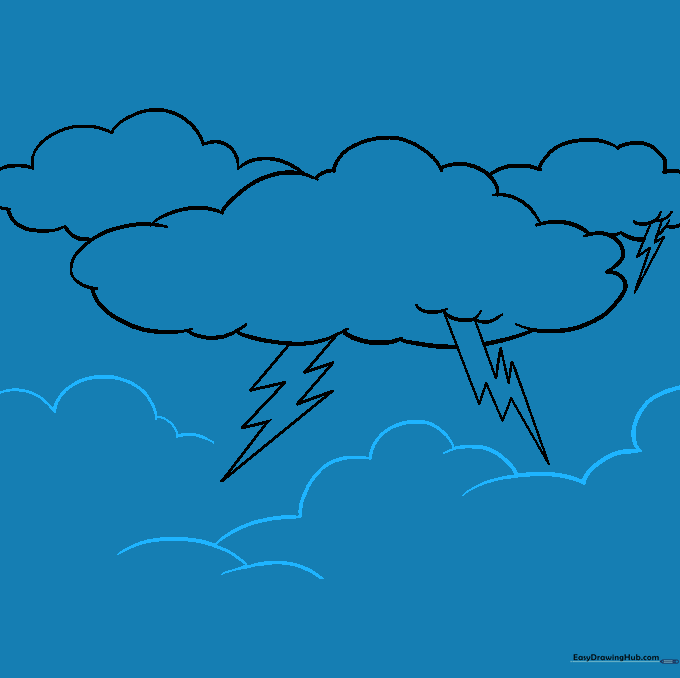
Step 6: Drawing the Main Lightning Bolt
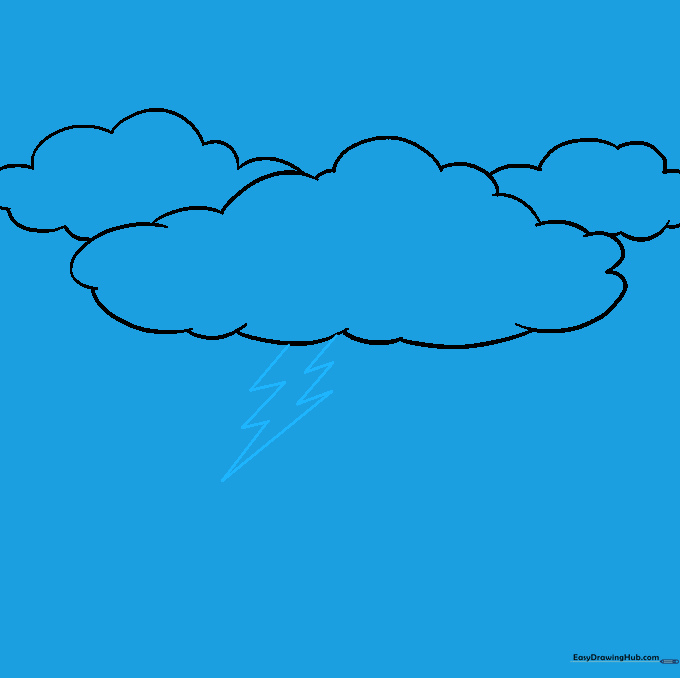
Draw a jagged lightning bolt descending from the center. Use sharp, straight lines that meet at points. Tip: Think of the bolt as a series of 'V' shapes connected together to create that energetic, electric look.
Step 7: Adding Secondary Bolts
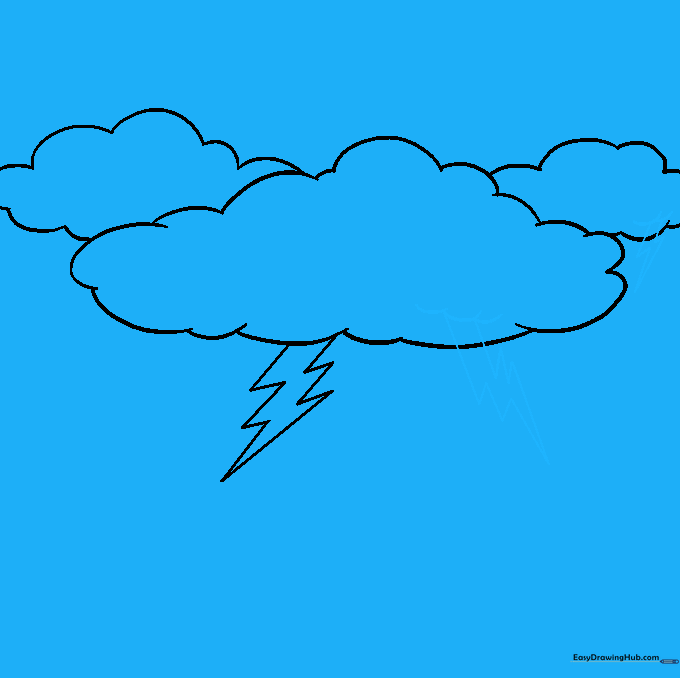
Add smaller lightning bolts branching off the main one or from other clouds. Tip: Adding multiple bolts makes your drawing look more dynamic and intense.
Step 8: Cleaning Up Your Sketch

Gently erase any overlapping guide lines inside the lightning bolts so they appear to be in front of the clouds. Tip: Use a kneaded eraser if you have one; it’s great for lifting graphite without damaging the paper.
Step 9: Adding Final Details
Add a few more low-lying cloud segments to fill out the bottom of your scene. Tip: This helps ground your drawing and makes the storm look more complete.
Step 10: Bringing Your Storm to Life
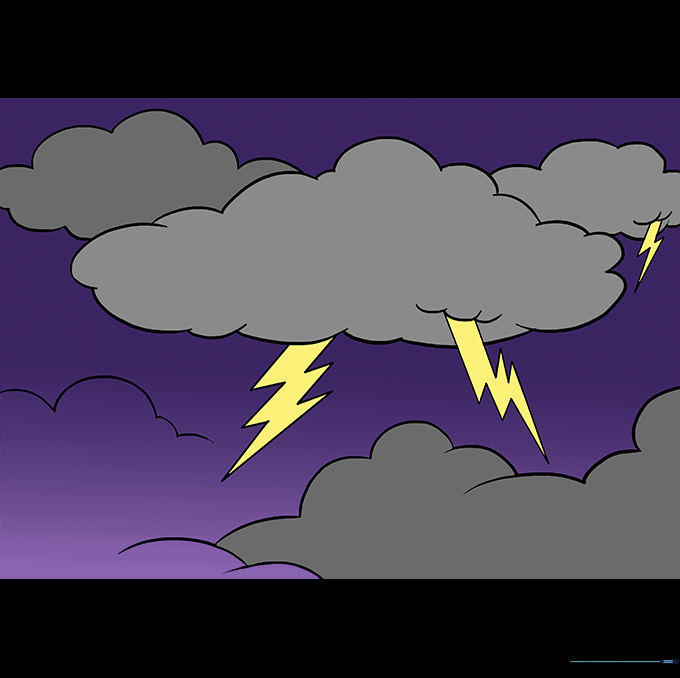
Time to color! Use dark blues, greys, or even deep purples for the clouds. For the lightning, try a bright yellow or white to make it 'pop' against the dark sky. Tip: Use a white gel pen or crayon to add a glow effect around the edges of your lightning bolts!
More Tutorials


