How to Draw Lettuce: Easy 9-Step Guide for Kids
Ready to draw some healthy greens? This tutorial is perfect for young artists ages 5 and up who want to practice organic shapes. All you need is a pencil, an eraser, and your favorite green markers to bring this crunchy vegetable to life.
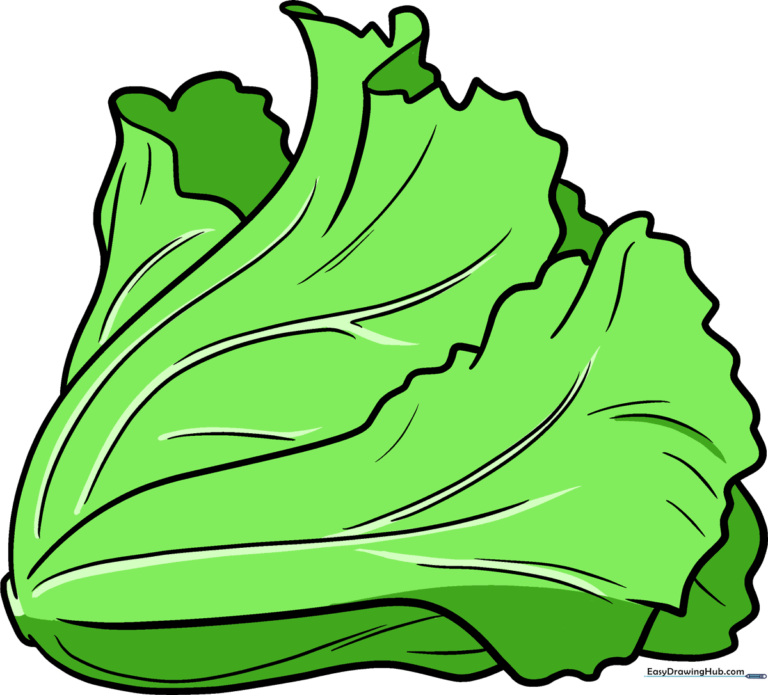
🎯 Final Result
Step-by-Step Instructions
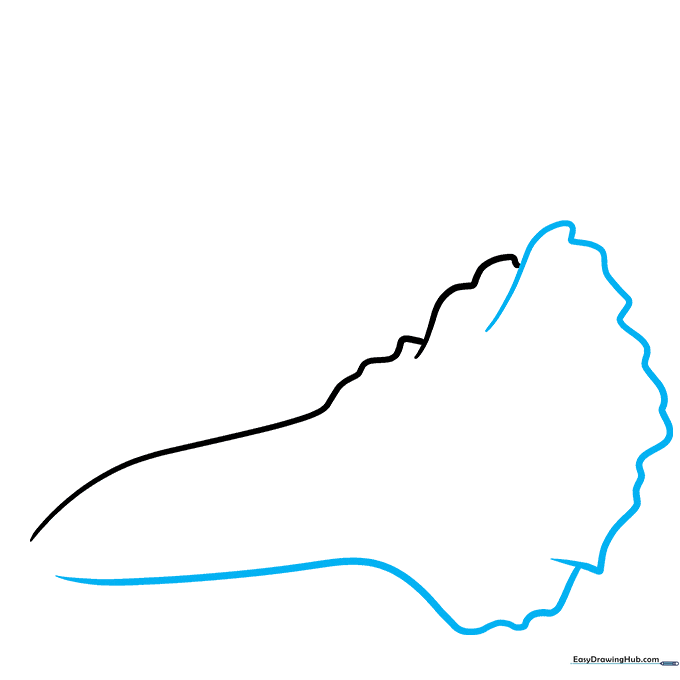
Step 1: Sketching the First Leaf

Start your lettuce by drawing a long, curved line that turns wavy at the end. Add a second wavy line that overlaps the tip to create the top edge of your first leaf. Teacher's Tip: Keep your pencil pressure light so you can easily adjust the shape if needed.
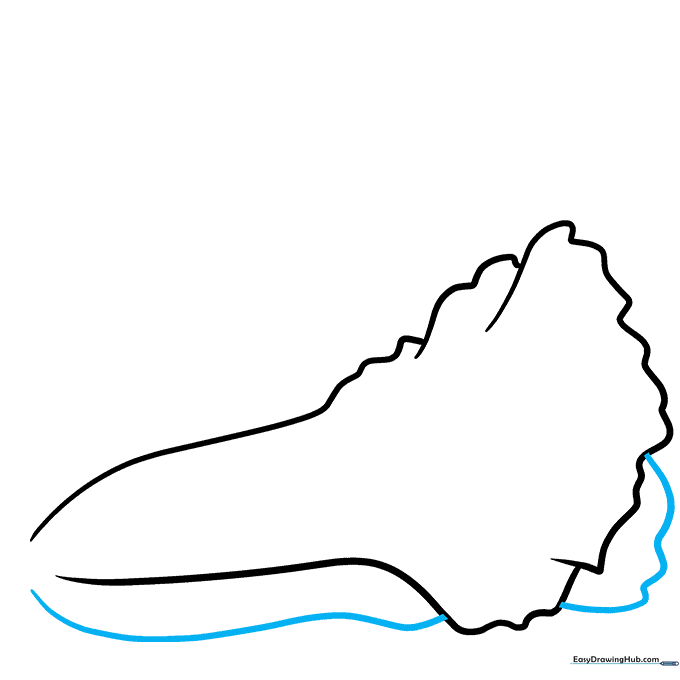
Step 2: Closing the Leaf Shape
Draw another long, curved line that transitions into a wavy edge. Connect this to your first leaf with a small wavy line where they overlap. Teacher's Tip: Think of these wavy lines like the ruffled edges of real lettuce leaves!
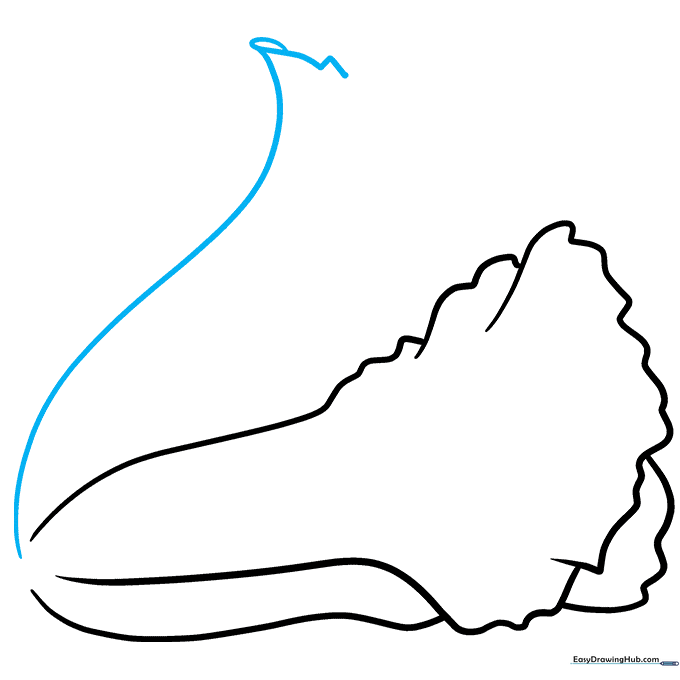
Step 3: Adding the Second Leaf
Draw a long, curved line beneath the first leaf, topped with a wavy line. This creates the illusion of a second leaf tucked behind the first. Teacher's Tip: Overlapping shapes is a great way to add depth to your drawings.
Step 4: Building the Lettuce Head
Add another curved line, leaving a small gap at the bottom. Draw a wavy line at the top, doubling it back to create a fold. Teacher's Tip: Don't worry about making the lines perfect; lettuce leaves are naturally irregular!
Step 5: Connecting the Layers
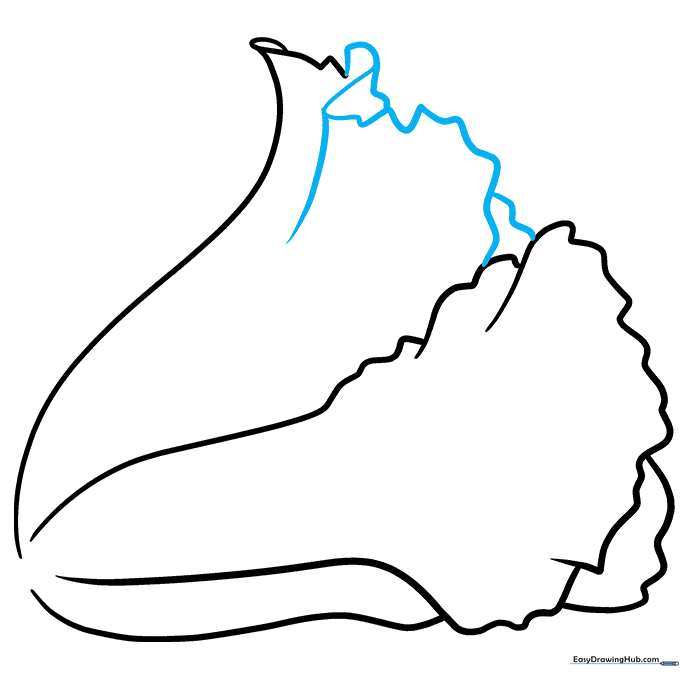
Use a series of overlapping wavy lines to connect the top of the third leaf to the first. Teacher's Tip: Use quick, confident strokes to keep the lines looking organic.
Step 6: Defining the Base
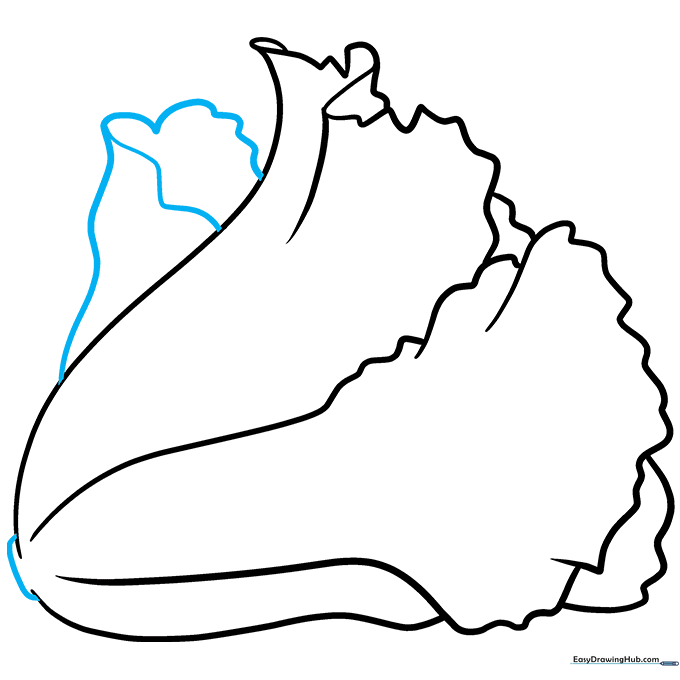
Add a fourth leaf beside the third with a wavy line. Draw a line across the top for dimension, and connect the bottoms with a curved line to represent the stem. Teacher's Tip: This base helps ground your drawing on the page.
Step 7: Adding Leaf Veins
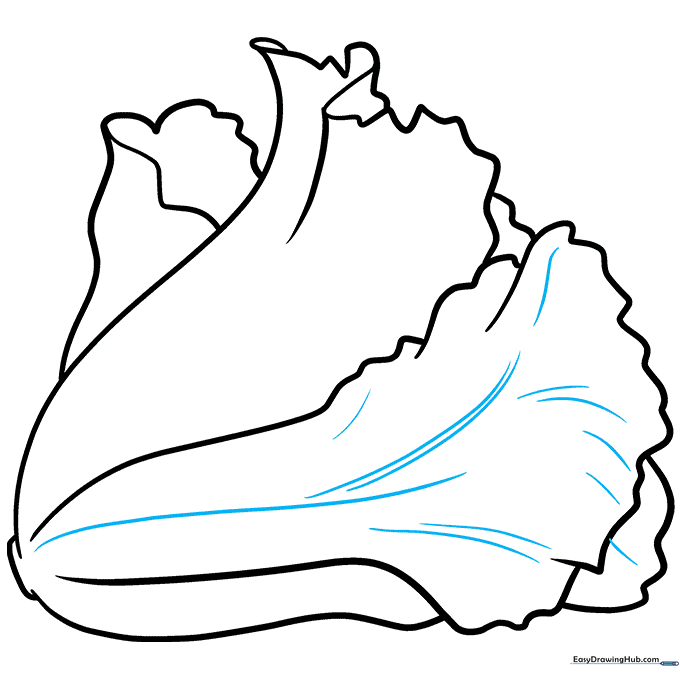
Texture the first leaf by drawing a central branching vein using pairs of long, curved lines. Add smaller lines extending outward. Teacher's Tip: Keep these lines thin and delicate to mimic real plant veins.
Step 8: Detailing the Other Leaves
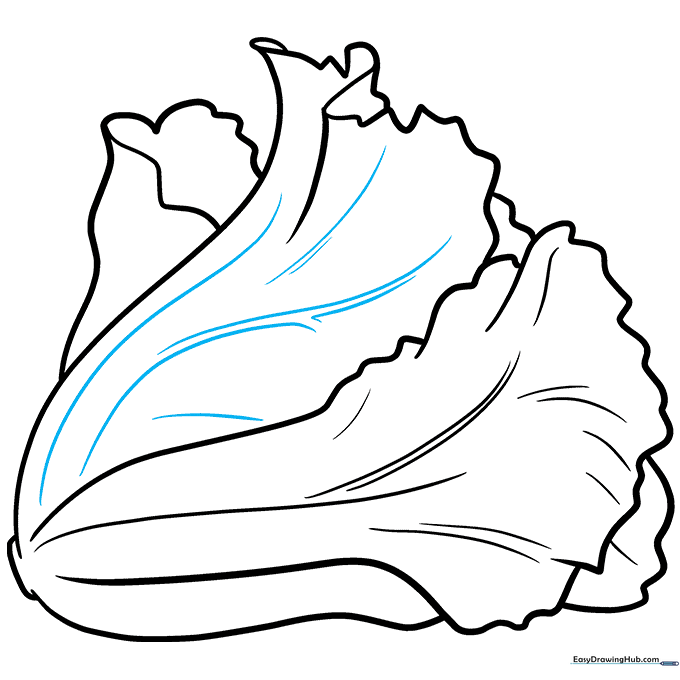
Repeat the vein process on the third leaf, adding branching lines. Teacher's Tip: Vary the length of your lines to make the texture look more natural.
Step 9: Final Texturing
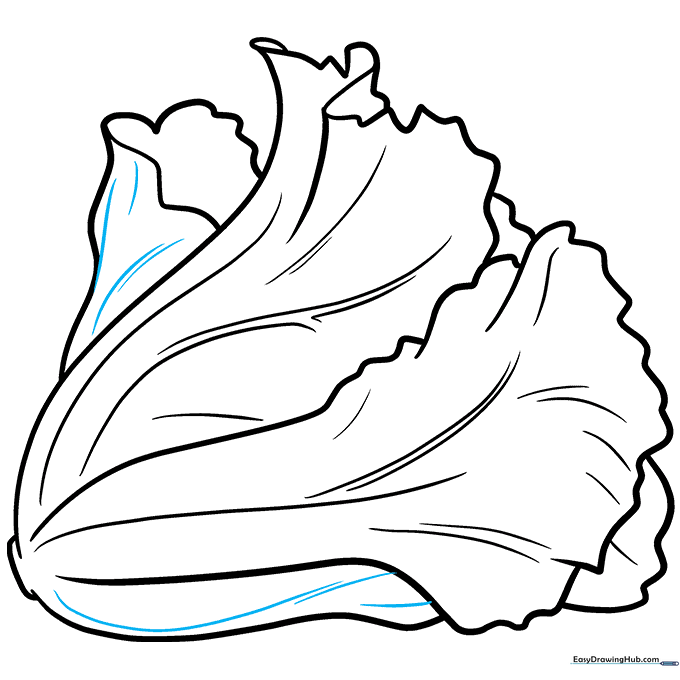
Add final texture lines to the remaining leaves to complete your outline. Teacher's Tip: Now is the time to erase any stray guidelines before you start coloring!
Color Your Lettuce
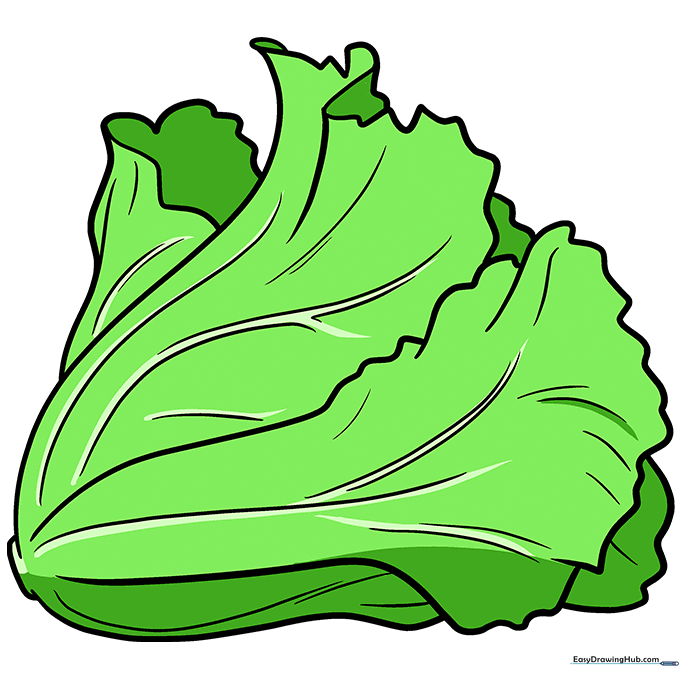
Bring your lettuce to life with color! Use vibrant greens for the leaves and lighter, creamy tones for the stem. Teacher's Tip: Try using a darker green for the shadows near the base to give your drawing a 3D look.
More Tutorials


