How to Draw Lemonade: Easy 10-Step Guide for Kids
Ready to draw something refreshing? This lemonade tutorial is perfect for artists ages 5 and up. All you need is a pencil, an eraser, and your favorite markers or crayons to bring this summer treat to life.
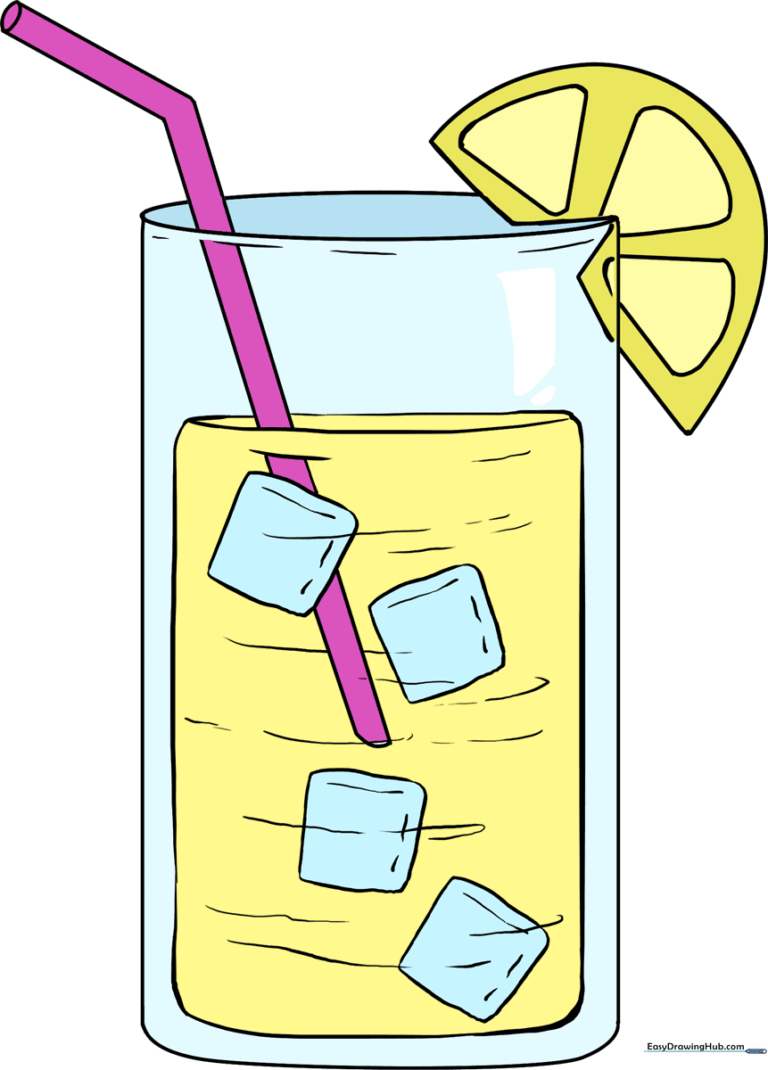
🎯 Final Result
Step-by-Step Instructions
Step 1: Sketching the Glass Sides

Draw two vertical lines of equal length. Tip: Keep them parallel to create a sturdy-looking glass. If you struggle with straight lines, use the edge of a ruler for practice.
Step 2: Defining the Glass Shape

Connect the bottom with a gentle curve and the top with a flattened oval. Tip: The oval represents the opening of the glass, so make it wide enough to fit your straw later!
Step 3: Adding the Straw

Draw two thin, parallel lines extending upward from the glass, then add a small oval at the top to show the straw's opening. Tip: Add a slight bend to the straw to make it look realistic.
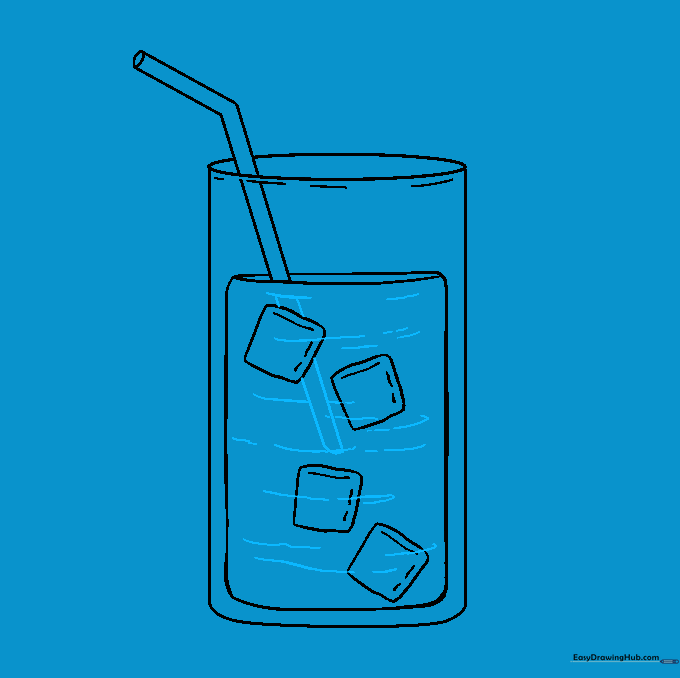
Step 4: Drawing the Liquid Line
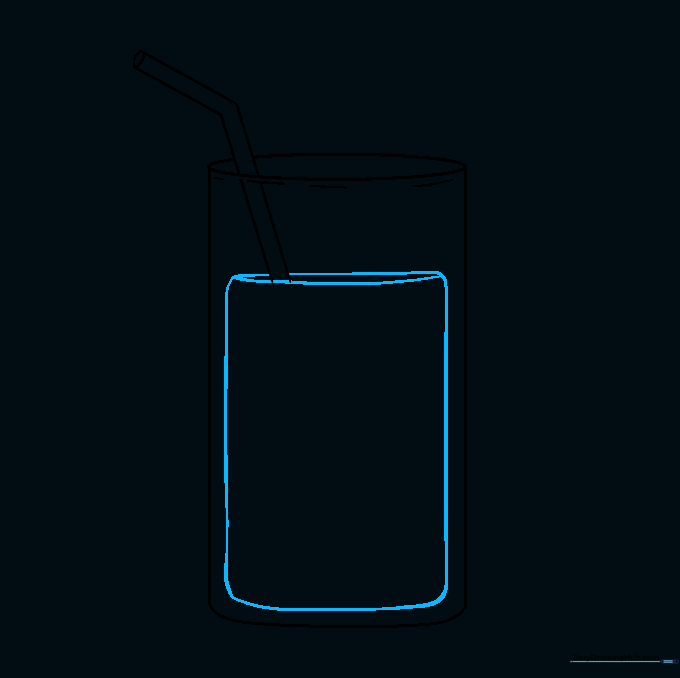
Draw a rectangle with rounded corners inside the glass, topped with a curved line. Tip: This curve shows the 'waterline' of your drink, making it look like it's filled to the brim.
Step 5: Adding Ice Cubes

Draw two squares with rounded corners inside the liquid. Add small curved lines to the edges to give them a 3D, icy look. Tip: Don't worry about making them perfect; ice cubes are naturally irregular!
Step 6: More Ice Cubes
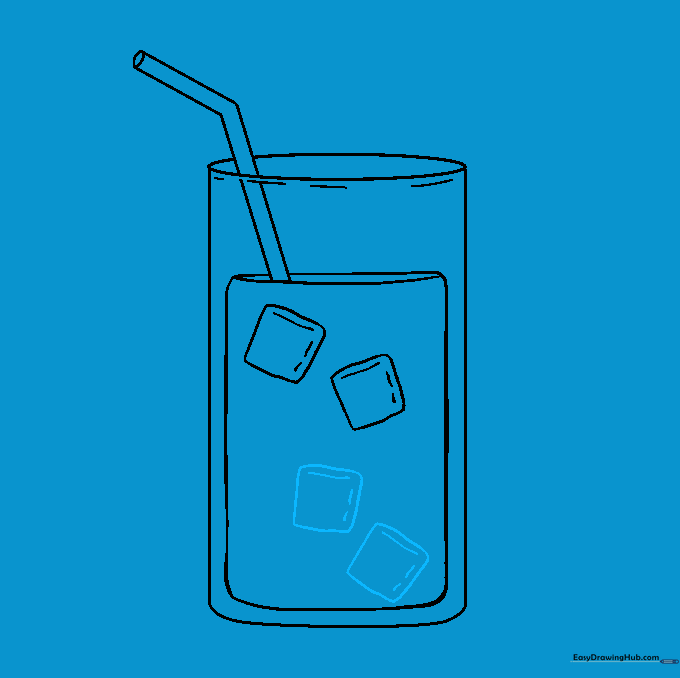
Add two more ice cubes to fill the glass. Tip: Overlap them slightly to create depth and make the drink look crowded and cold.
Step 7: Finishing the Straw
Complete the straw by drawing the bottom portion inside the liquid. Tip: Draw the lines behind the ice cubes to show that the straw is submerged in the drink.
Step 8: Adding a Lemon Slice

Draw a half-circle on the rim of the glass. Tip: Imagine the lemon is resting right on the edge—this adds a professional touch to your drawing.
Step 9: Detailing the Lemon
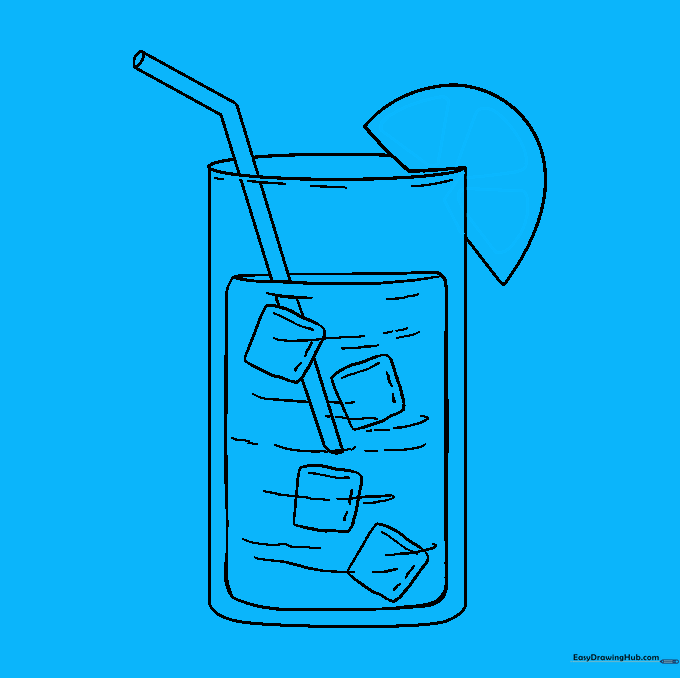
Add small triangles inside the lemon slice to represent the fruit's segments. Tip: Keep the lines thin so the lemon looks juicy and realistic.
Step 10: Adding Color
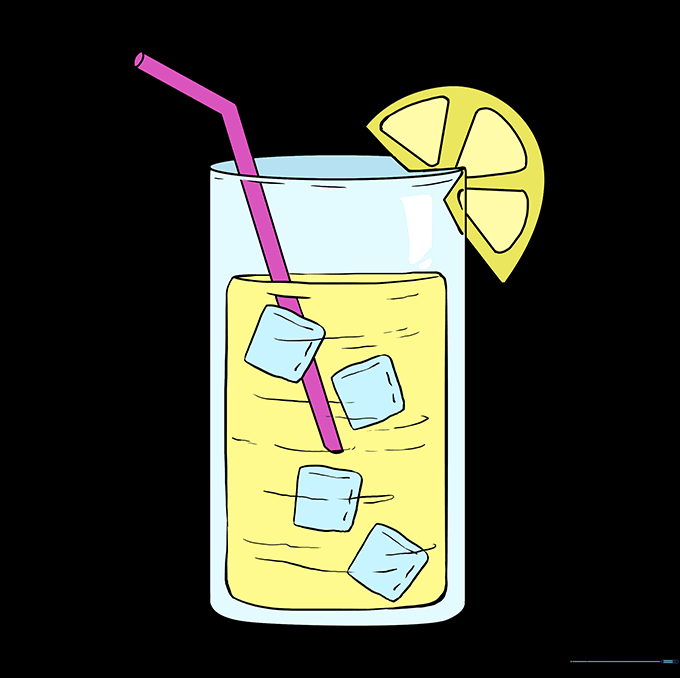
Bring your drawing to life with color! Use bright yellow for the lemon and a soft, pale yellow for the lemonade. Tip: Leave small white spots on the glass to mimic the reflection of light.
More Tutorials


