How to Draw Lego Bricks: Easy 10-Step Guide
Perfect for young builders and artists, this tutorial breaks down the geometry of Lego bricks into simple, manageable shapes. You will need a pencil, an eraser, and a piece of paper to get started. By focusing on basic 3D perspective, you'll learn how to stack and connect your own digital bricks in no time.
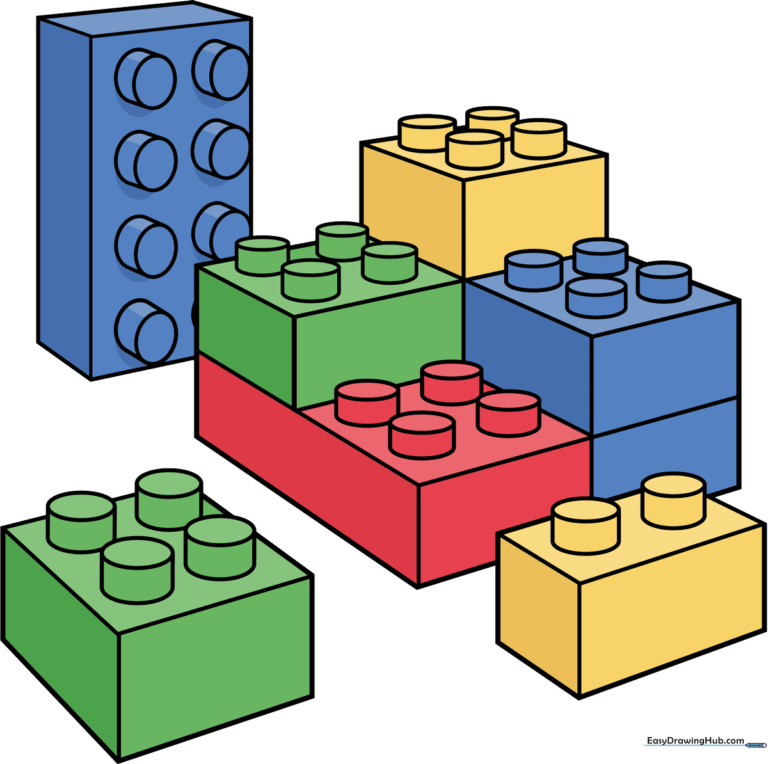
🎯 Final Result
Step-by-Step Instructions
Step 1: Establishing the Top Face

Start by drawing a slanted square to represent the top surface of your brick. Add a rectangle and a parallelogram on the sides to create a 3D cube effect. Teacher's Tip: Keep your lines light and sketchy so you can easily clean up the edges later.
Step 2: Adding the Studs
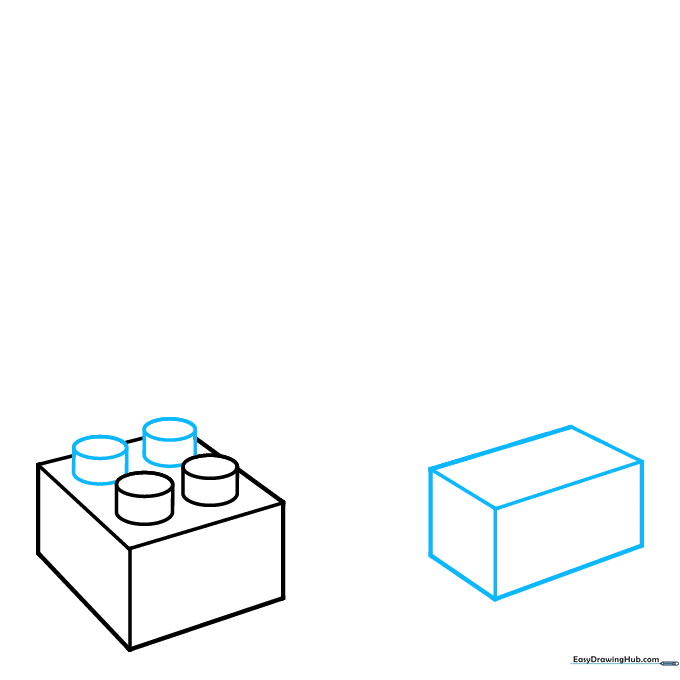
Draw two small ovals on the top surface, then add curved lines beneath them to give them volume. Connect these with short vertical lines to form the studs. Tip: Think of these as tiny cylinders sitting on a platform.
Step 3: Building the Second Brick
Sketch a second rectangular prism beneath the first one using parallel straight lines. This creates the illusion that the bricks are stacked. Tip: Ensure your vertical lines are perfectly parallel to keep the perspective consistent.
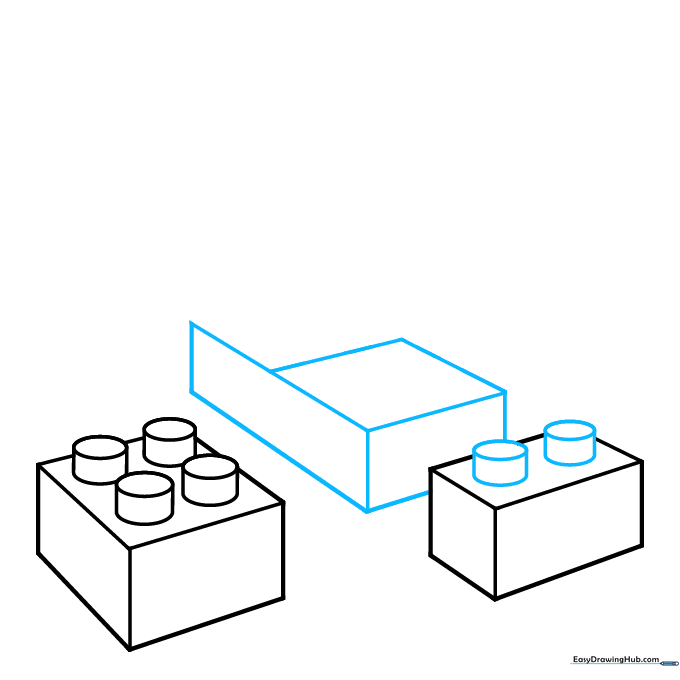
Step 4: Adding Studs to the Second Brick

Repeat the process from Step 2 by adding two more cylinders to the top of your new brick. Tip: If the cylinders look uneven, try drawing the ovals first and then connecting them with straight lines.
Step 5: Expanding the Structure
Draw the sides of two additional bricks using clean, straight lines. This adds complexity to your drawing. Tip: Use a ruler if you struggle with straight lines, but try freehand first to build your muscle memory!
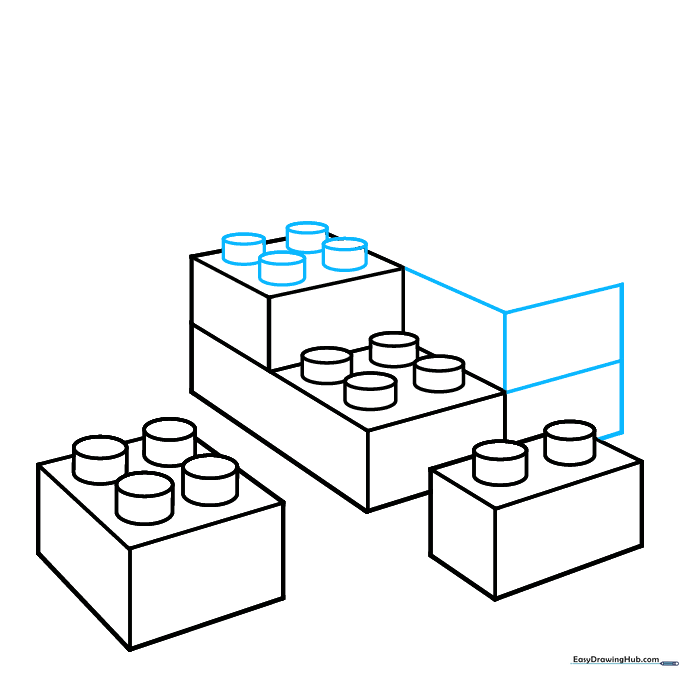
Step 6: Adding More Studs
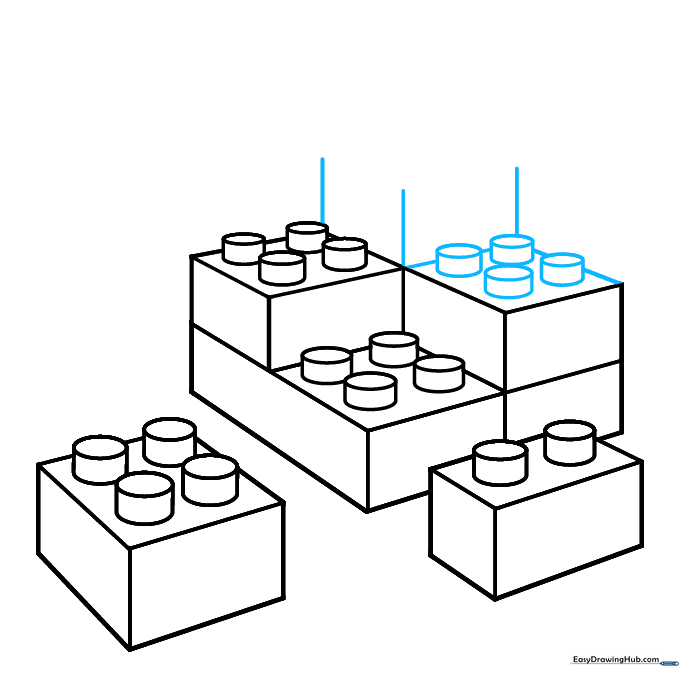
Continue adding four small cylinders to the top of the uppermost brick. Tip: Remember that objects further away should be drawn slightly smaller to maintain proper perspective.
Step 7: Defining the Brick Tops
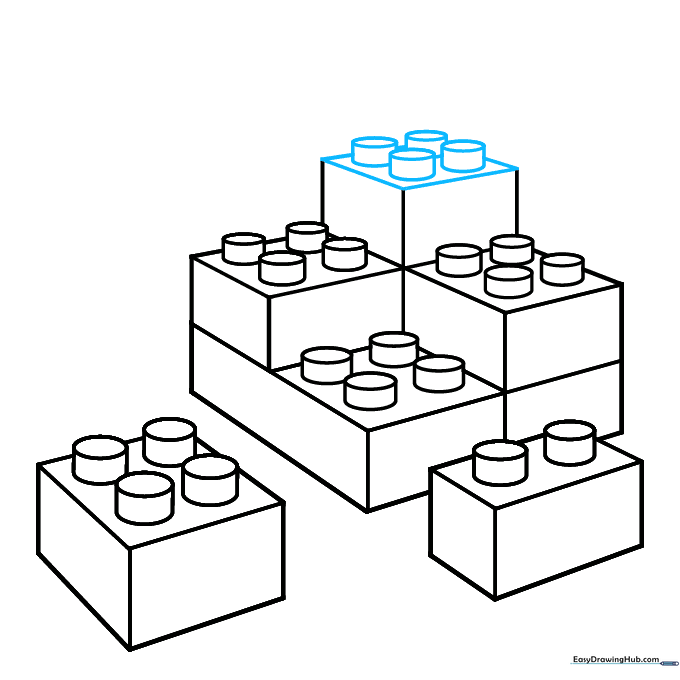
Draw four more cylinders on the next brick and enclose the square top around them. Tip: Keep your pencil pressure consistent so the studs look uniform.
Step 8: Adding Background Bricks
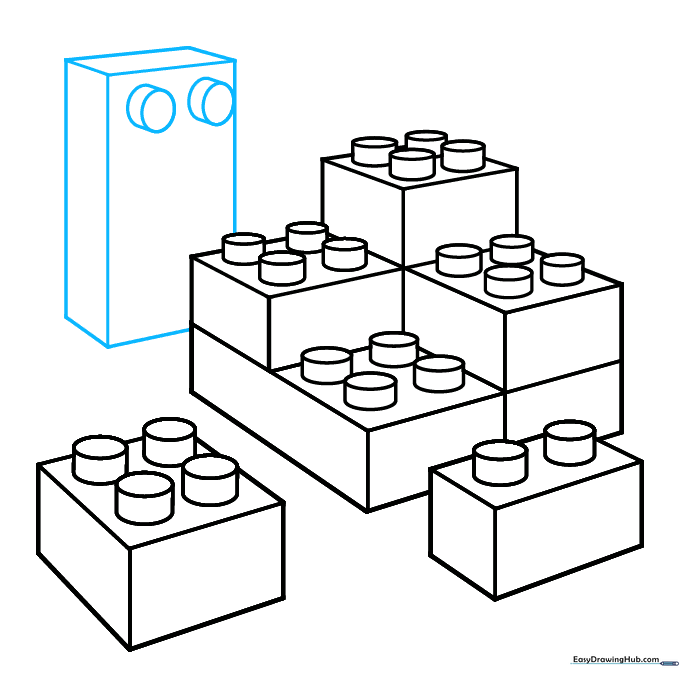
Draw a tall, rectangular brick in the background to create depth. Add two cylinders near the top. Tip: Since this brick is in the background, you can draw it slightly behind the others to show layering.
Step 9: Finalizing the Details
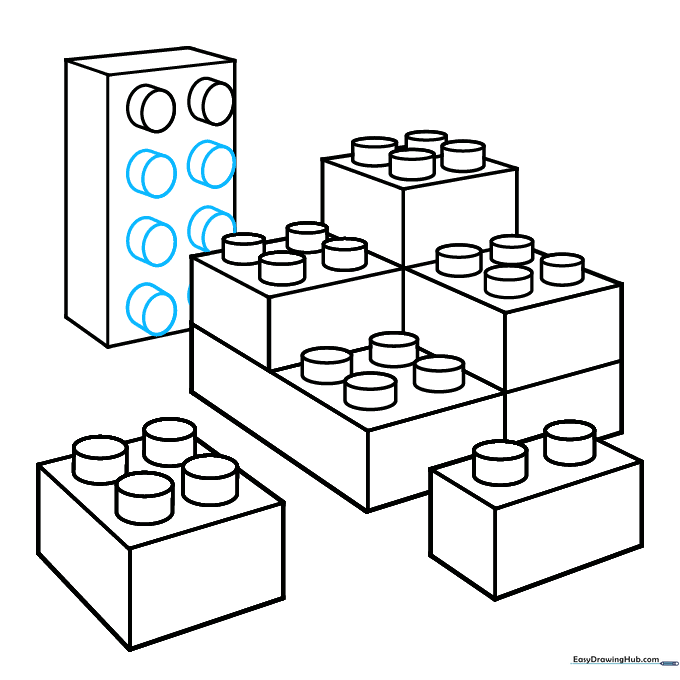
Complete the eight cylinders on the large brick. If one is hidden by another block, simply draw the visible portion. Tip: Use your eraser to remove any overlapping lines that shouldn't be visible.
Step 10: Adding Color
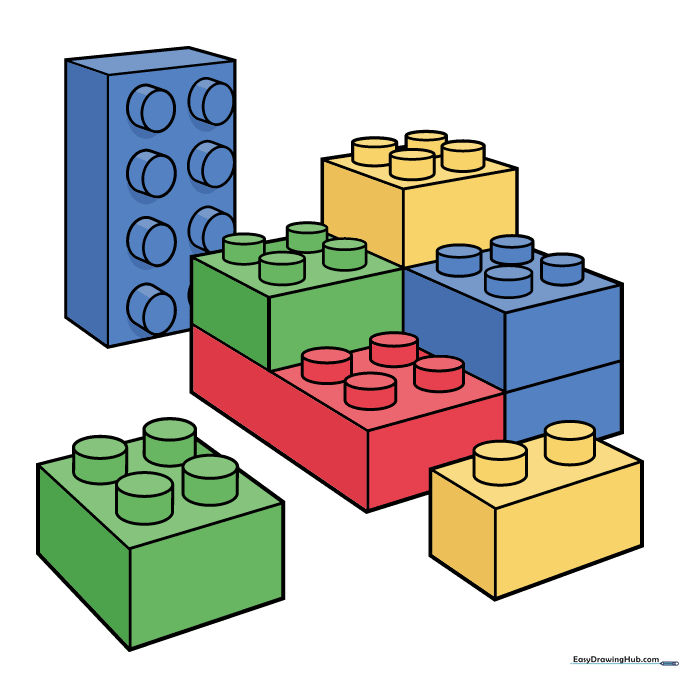
Time to bring your bricks to life! Use bright primary colors like red, blue, yellow, and green. Tip: Try using a darker shade of the same color on one side of the brick to create a simple shadow effect.
More Tutorials


