How to Draw Las Vegas: Easy 9-Step Cityscape Guide
Capture the excitement of the Las Vegas strip with this fun, screen-free drawing activity. Designed for artists ages 6 and up, this tutorial breaks down complex architecture into simple geometric shapes. Grab your pencil, eraser, and paper to start building your own neon-inspired cityscape.
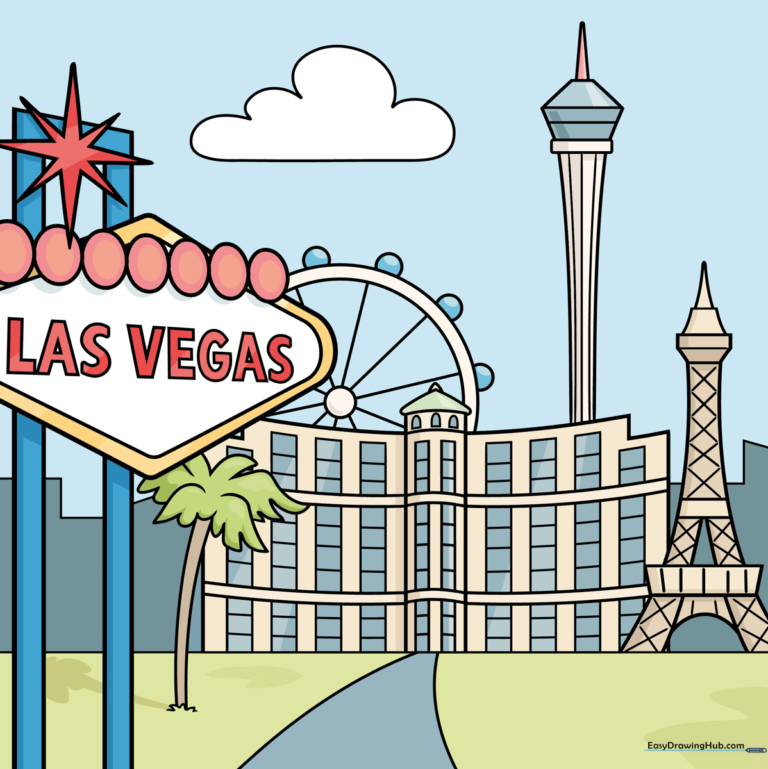
🎯 Final Result
Step-by-Step Instructions
Step 1: Sketching the Welcome Sign
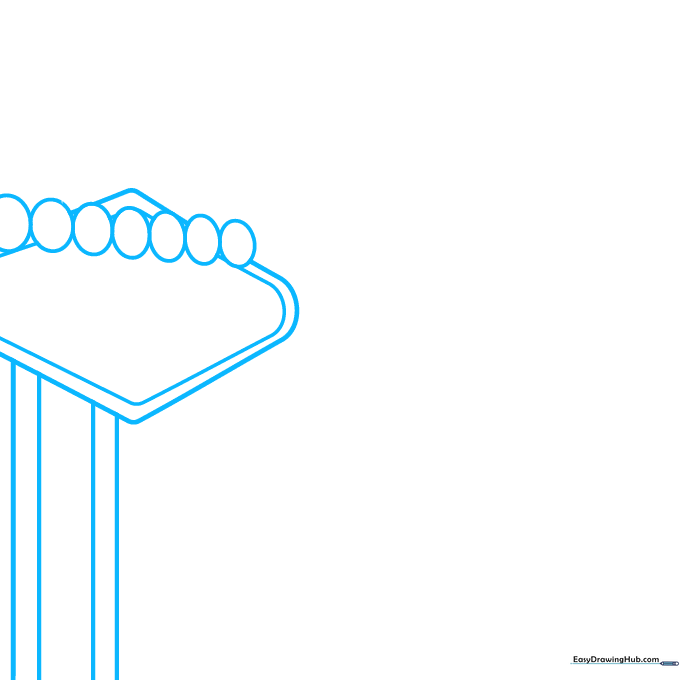
Start by drawing two parallel diamond shapes with rounded corners to form the base of the iconic sign. Add four small circles along the top edge and four vertical support lines underneath. Teacher's Tip: Use a light touch here; these are just your structural guidelines.
Step 2: Adding Text and Detail
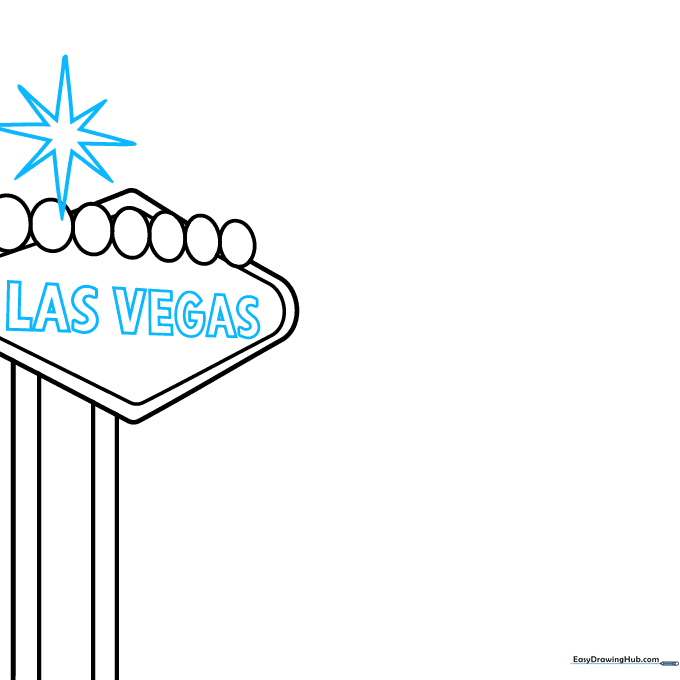
Carefully print 'LAS VEGAS' in bold, block letters inside the diamond. Top it off with an eight-pointed starburst. Tip: If the letters are tricky, draw light horizontal lines first to keep your text straight.
Step 3: Setting the Scene
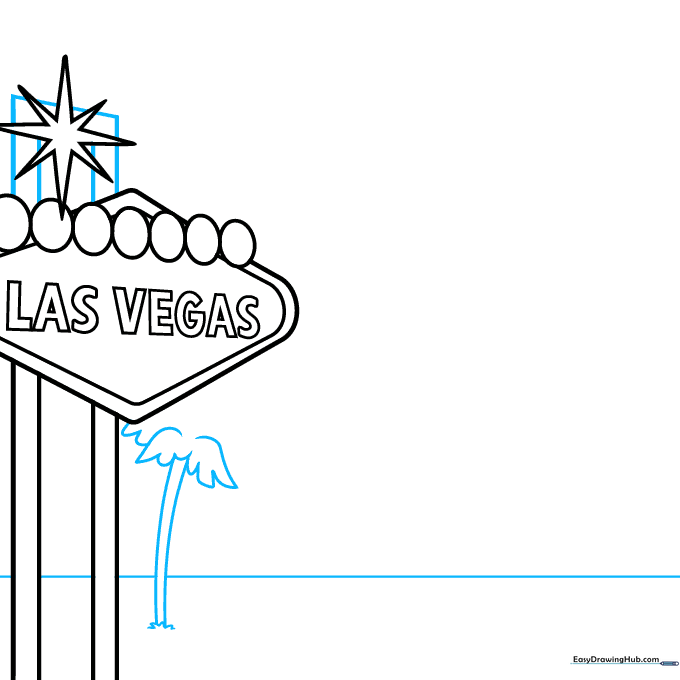
Draw a horizon line behind the sign, then add a palm tree using two curved lines for the trunk and overlapping 'U' shapes for the leaves. Tip: Palm leaves look best when they are slightly irregular, so don't worry about making them perfect!
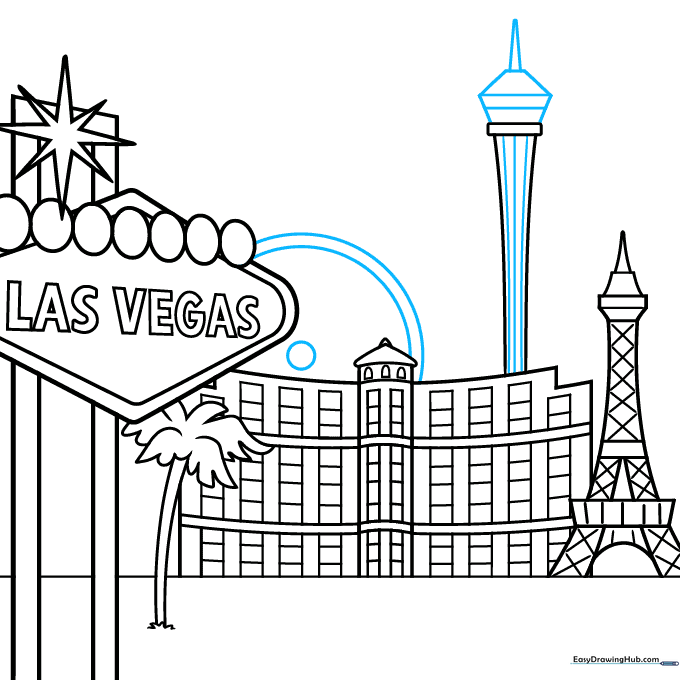
Step 4: Sketching the Eiffel Tower
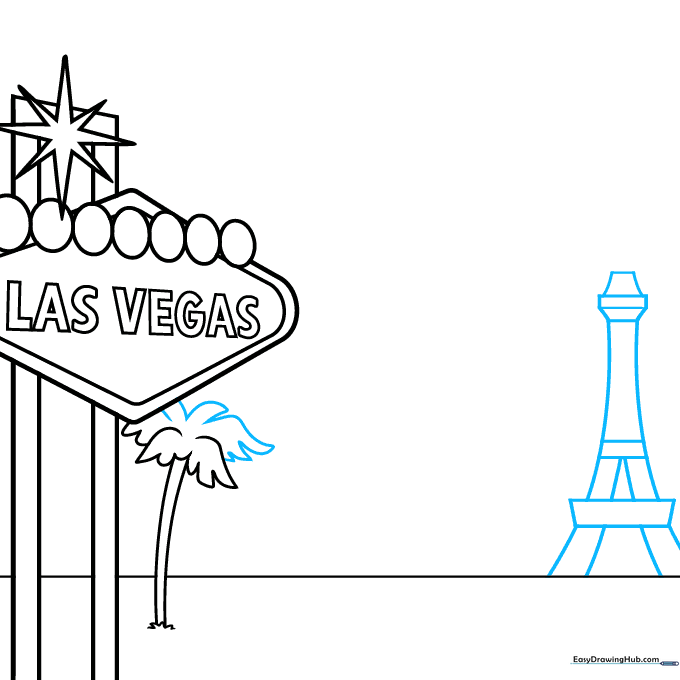
Construct a miniature Eiffel Tower using a series of stacked trapezoids and rectangles. This creates the iconic triangular silhouette. Tip: Keep your lines sharp to give the tower a metallic, structural look.
Step 5: Adding Texture and the Bellagio
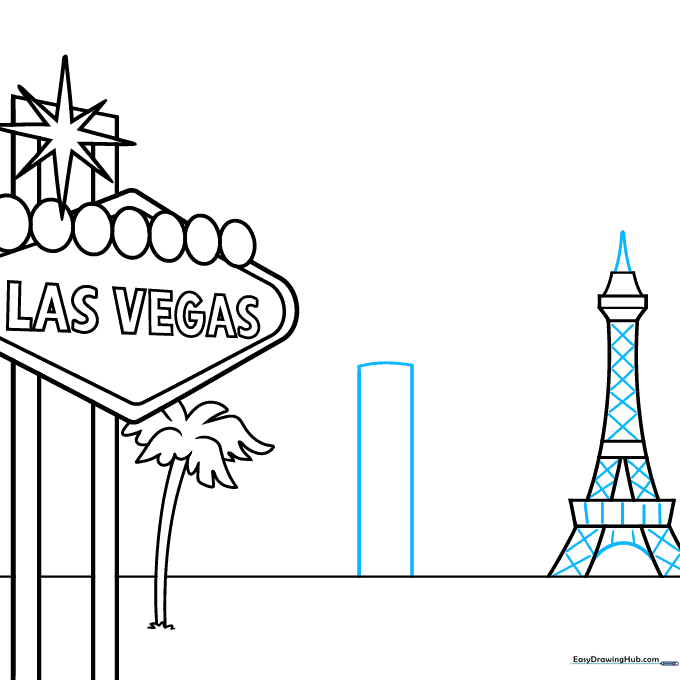
Add 'X' patterns to the tower for detail. Next to it, draw a tall vertical rectangle with a curved top to represent the Bellagio Hotel. Tip: Use a ruler if you want your hotel walls to look perfectly straight.
Step 6: Hotel Windows and Details
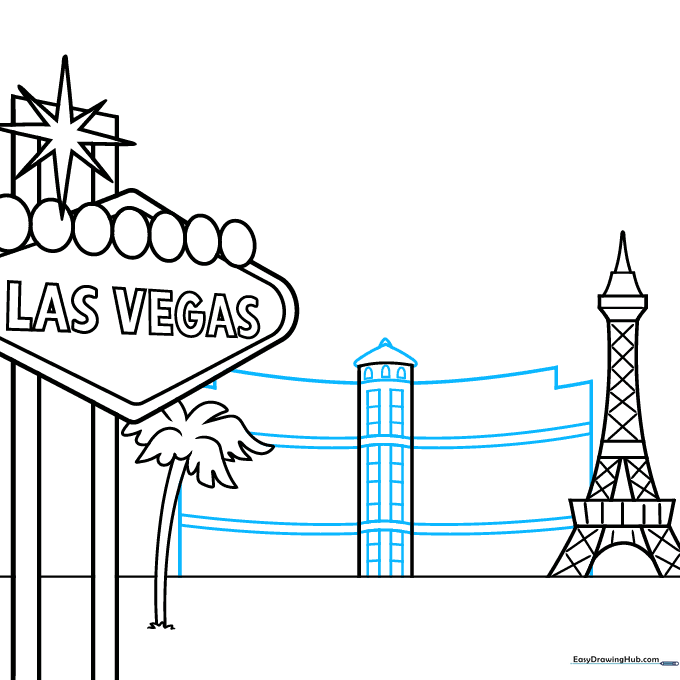
Add small triangles to the hotel roof and draw columns of rectangular windows. Tip: To make the windows look uniform, draw two long vertical lines first, then add horizontal segments between them.
Step 7: Building The Strat
Add square windows to the hotel front. Then, draw two long, slightly curved lines topped with a narrow rectangle to begin the tall tower of The Strat. Tip: Keep the lines for the tower parallel to ensure it looks stable.
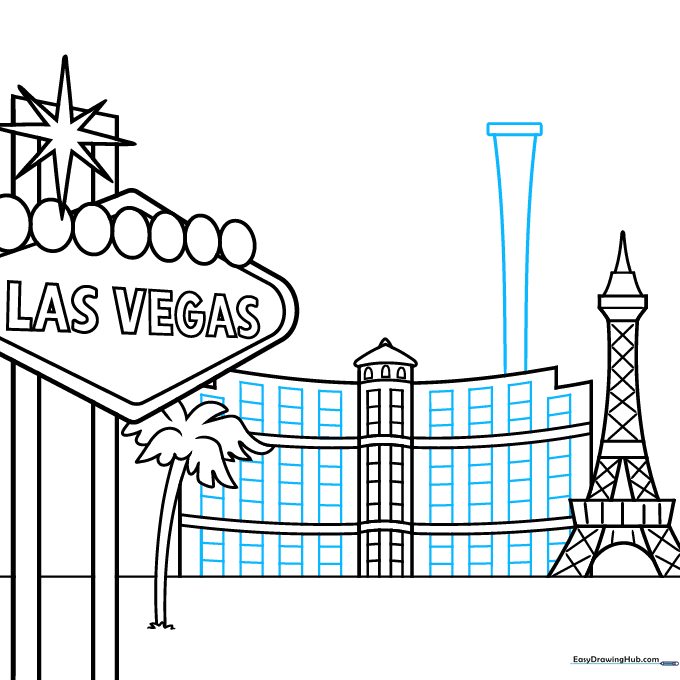
Step 8: Adding the High Roller
Finish the top of The Strat with trapezoids. Next, draw a large circle for the High Roller Ferris wheel. Tip: Use a round object like a bottle cap to trace a perfect circle if you're having trouble freehanding it!
Step 9: Final Touches
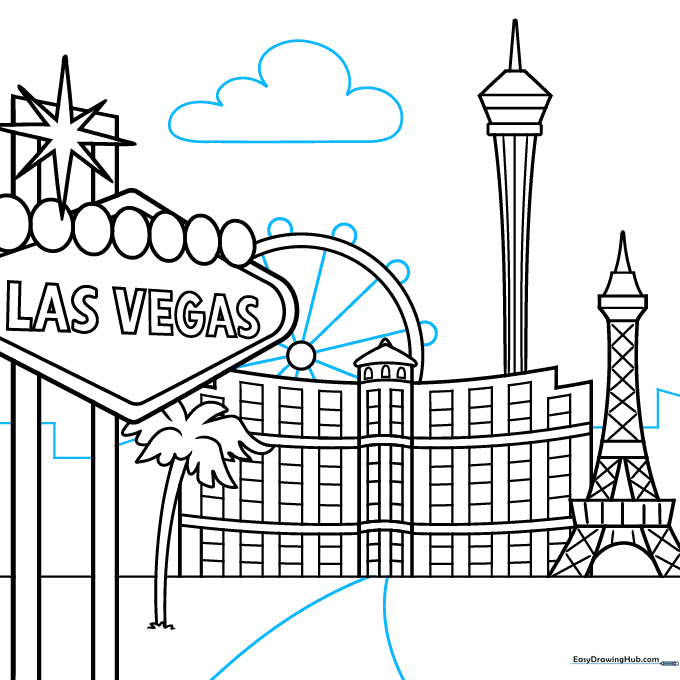
Draw spokes inside the wheel and small boxes on the rim for the passenger cars. Add a cloud, a distant skyline, and a road leading into the city. Tip: Vary the height of the distant buildings to create a sense of depth.
Step 10: Bring It to Life with Color
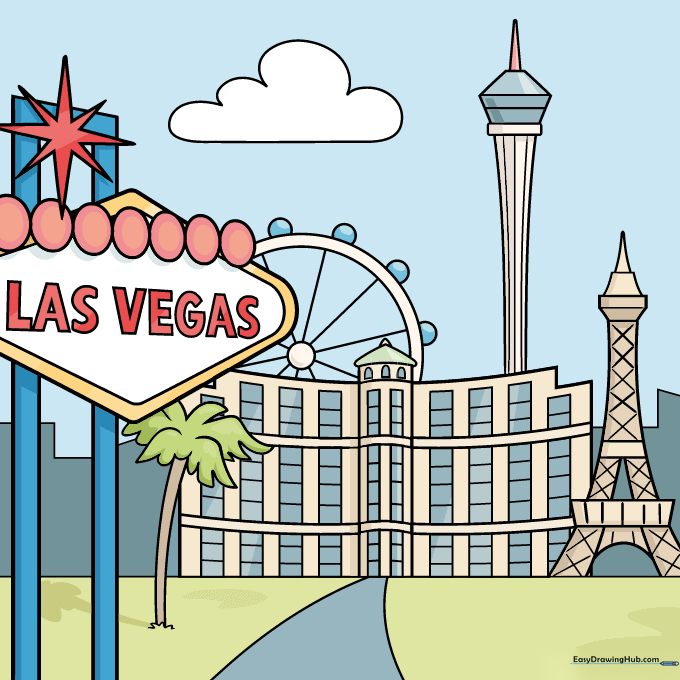
Time to color! Use bright, neon-inspired colors. The Las Vegas sign looks great with red letters, a blue frame, and a yellow outline. Tip: Use markers for a bold, vibrant look that mimics the city's famous lights.
More Tutorials


