How to Draw Kylo Ren: Easy 10-Step Star Wars Guide
Ready to bring the First Order to life? This tutorial is perfect for young Star Wars fans ages 7+ looking to practice symmetry and character design. Grab your pencil, eraser, and paper, and follow these steps to sketch Kylo Ren’s iconic mask and cloak.
🎯 Final Result

Step-by-Step Instructions
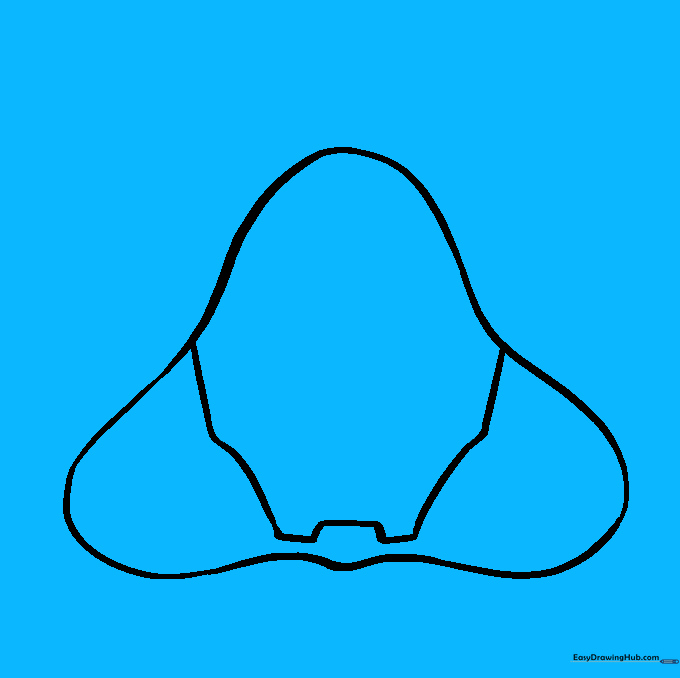
Step 1: Sketching the Cloak Base

Start by drawing a long, gentle curved line. Teacher's Tip: Keep your pencil pressure light so you can easily adjust the shape later if it looks a bit lopsided.
Step 2: Completing the Hood

Draw a mirror image of the first line to close the shape. Teacher's Tip: Try to keep the distance between the two lines consistent to ensure the hood looks balanced.
Step 3: Outlining the Mask

Use a series of curved and straight lines to define the bottom of the mask. Teacher's Tip: Pay close attention to the notch at the bottom; it gives the mask that signature aggressive look.
Step 4: Defining the Eyepiece
Draw a curved rectangle in the center for the eyes, then add small rectangles at the base. Teacher's Tip: Use a ruler if you struggle with straight lines, but freehand practice is great for building steady hands!
Step 5: Adding Respirator Details
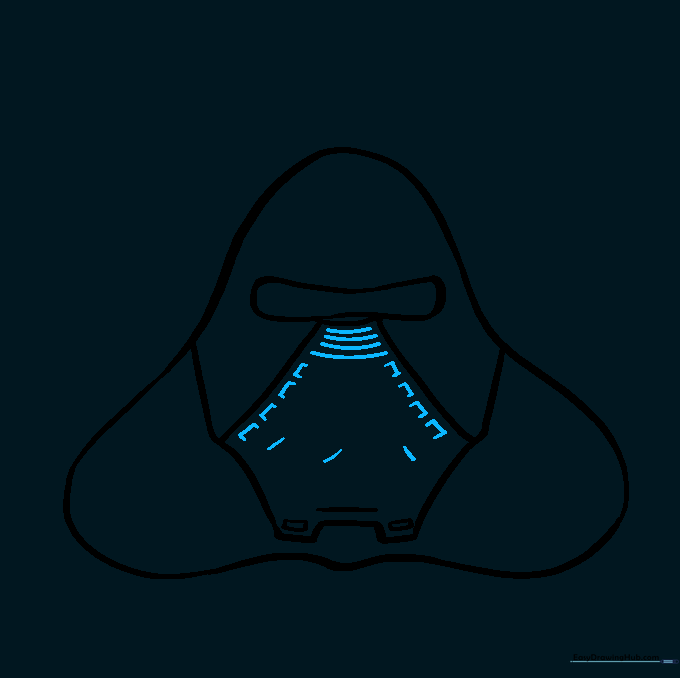
Add parallel lines and staple-shaped marks to the lower mask. Teacher's Tip: These small details represent the respirator—keep them neat to make the mask look mechanical.
Step 6: Refining the Mask Texture
Add small triangles and shapes to the sides of the respirator and shade them. Teacher's Tip: Use the side of your pencil lead for soft shading to create depth.
Step 7: Forehead Details
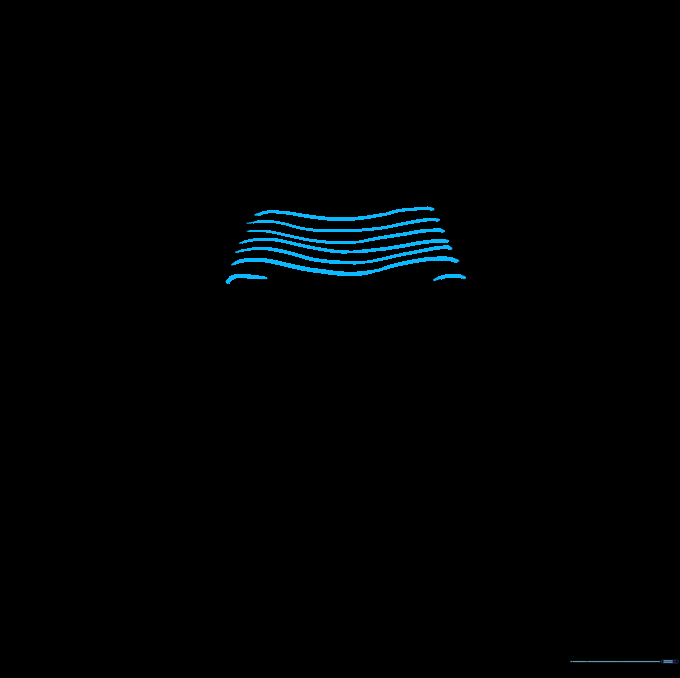
Draw several parallel curved lines above the eye visor. Teacher's Tip: These lines suggest the helmet's construction; keep them evenly spaced for a professional look.
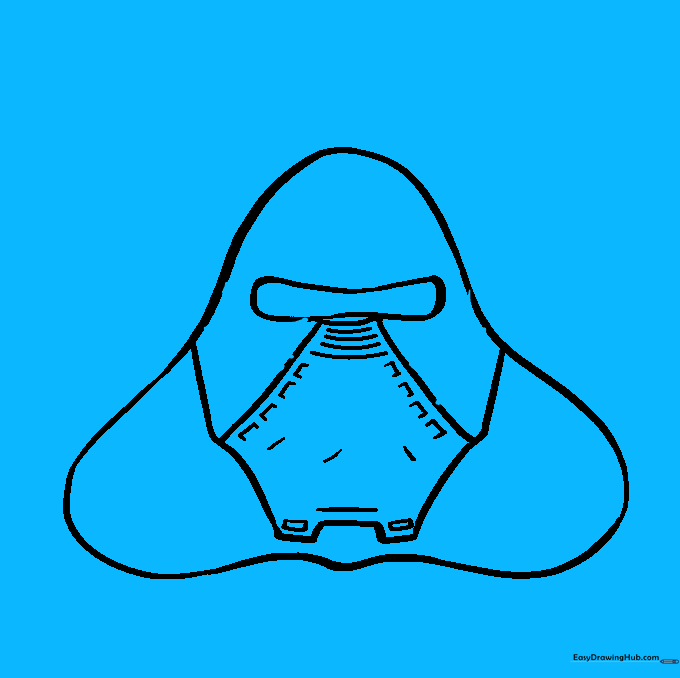
Step 8: Expanding the Cloak
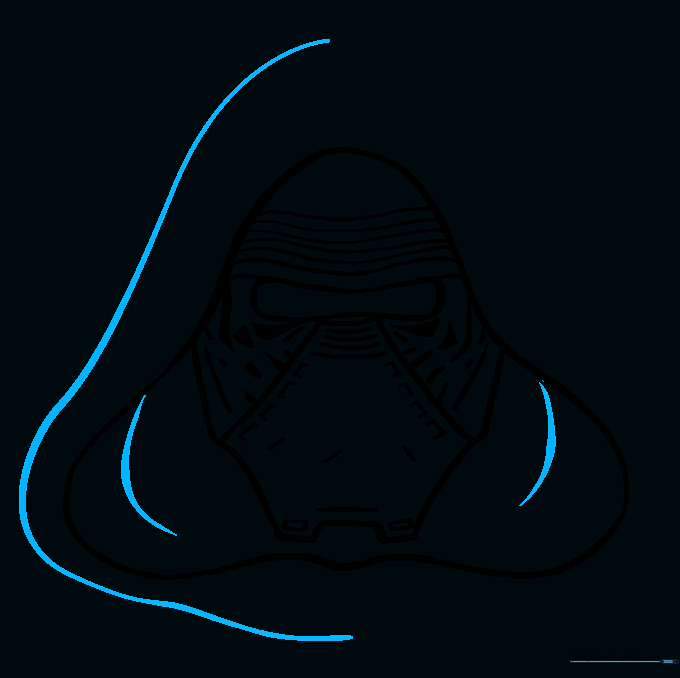
Draw curved lines on the sides of the mask and extend the cloak outward. Teacher's Tip: Don't worry about making the cloak perfectly symmetrical; fabric naturally folds and moves.
Step 9: Finalizing the Cloak

Mirror the lines from the previous step to fully enclose the cloak. Teacher's Tip: Use bold, confident strokes now that you've finalized the shape.
Step 10: Coloring Your Masterpiece
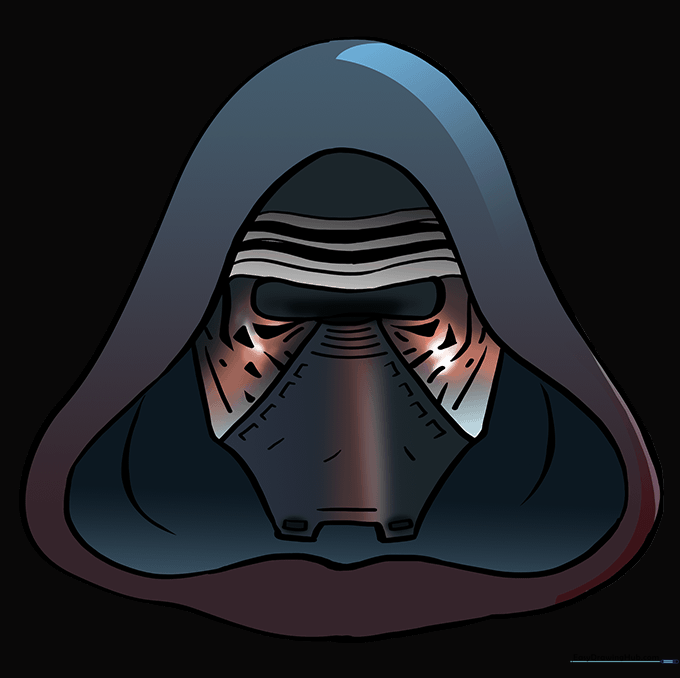
Color your drawing using shades of black and dark gray. Teacher's Tip: Use a silver or white colored pencil to add highlights to the mask to make it pop against the dark cloak!
More Tutorials


