How to Draw King Tut: Easy Step-by-Step Pharaoh Guide
Bring ancient history to life by drawing King Tut’s iconic golden mask. Designed for young artists and history buffs, this project requires only a pencil, paper, and an eraser. Follow these steps to master symmetry and detail while creating your own royal masterpiece.
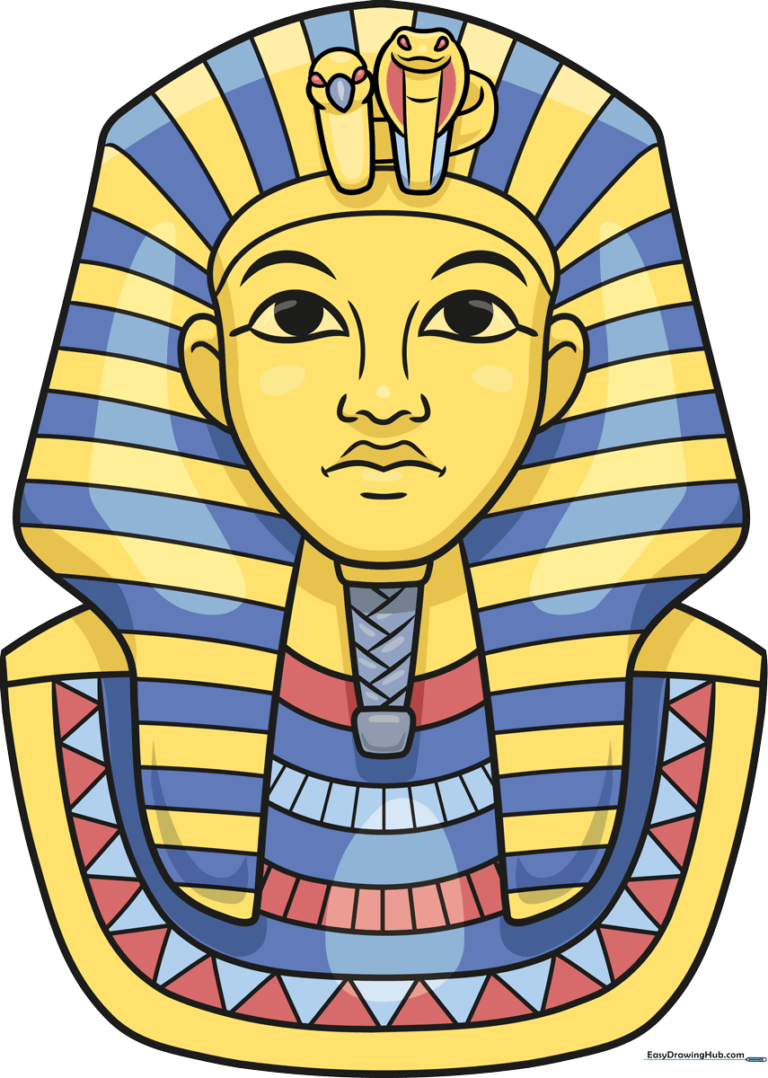
🎯 Final Result
Step-by-Step Instructions
Step 1: Sketching the Royal Eyes

Start by drawing two almond-shaped eyes with pointed corners. Add a small circle inside each for the pupil and a thick, curved line above for the brow. Teacher's Tip: Keep your pencil pressure light so you can easily adjust the symmetry if one eye looks a bit different than the other.
Step 2: Defining Facial Features
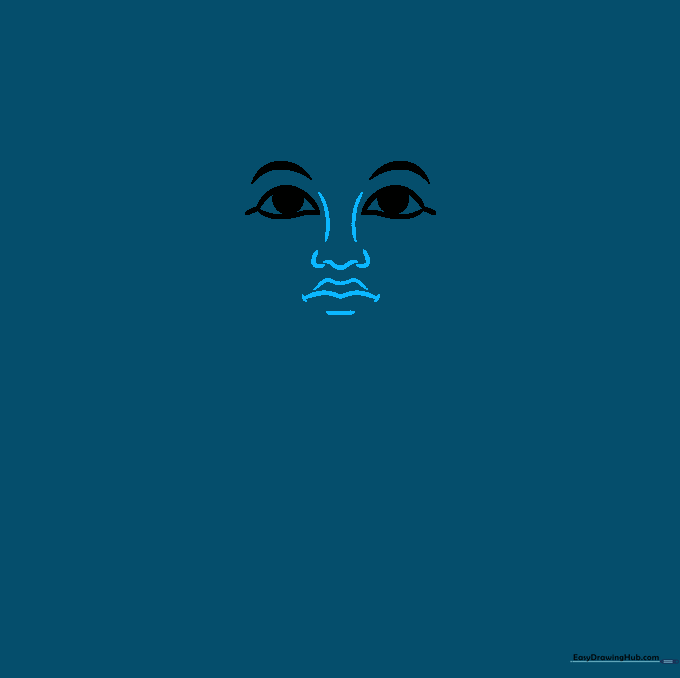
Use soft, curved lines to outline the nose, nostrils, and an 'M' shape for the mouth. Add a small curve under the lip for the chin. Teacher's Tip: Focus on the 'M' shape for the mouth—it gives the pharaoh that classic, stoic expression.
Step 3: Shaping the Face and Ears
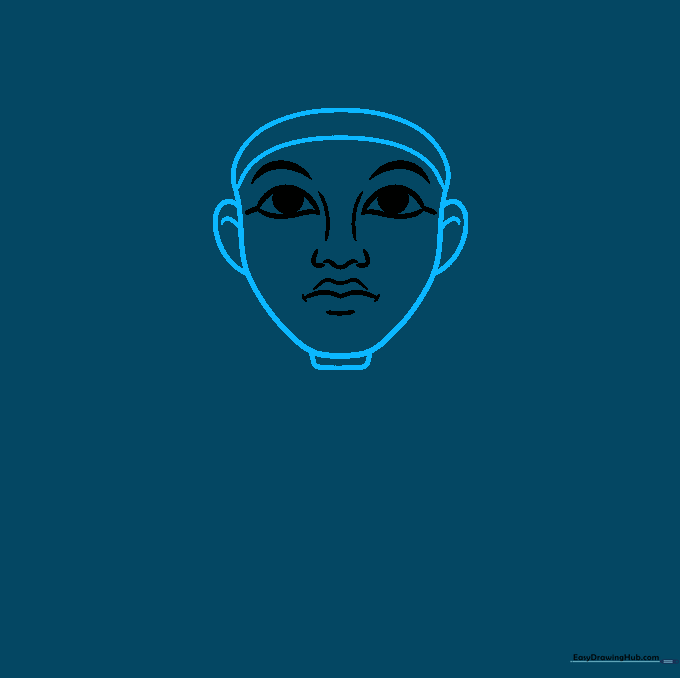
Draw a long, continuous curve to frame the face, adding 'C' shaped ears on the sides. Place a small rounded rectangle under the chin for the beard base. Teacher's Tip: Make sure your face shape is wide enough to accommodate the heavy headcloth we'll add next.
Step 4: Adding the Nemes and Beard
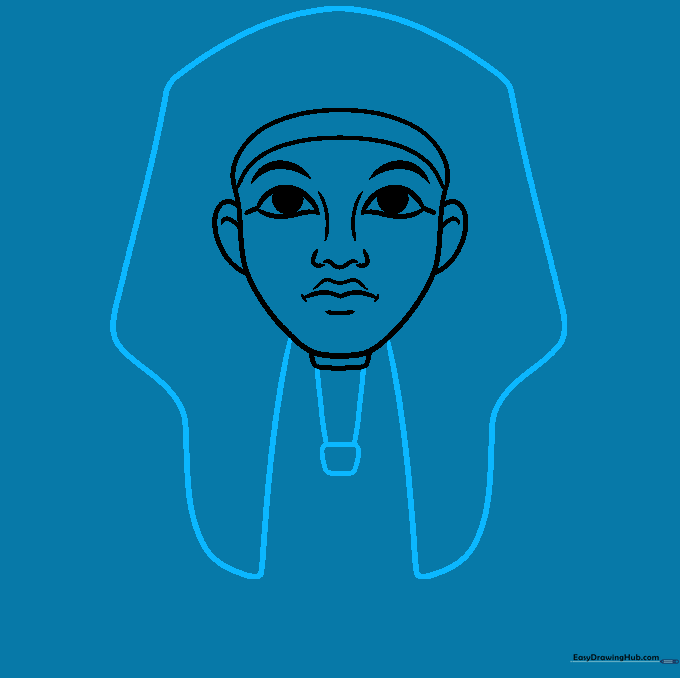
Sketch the 'nemes' (the striped headcloth) using large, sweeping curves that drape over the shoulders. Add the rectangular postiche, or false beard, extending from the chin. Teacher's Tip: The beard is a symbol of authority, so draw it straight and centered to keep the mask looking balanced.
Step 5: Defining the Shoulders
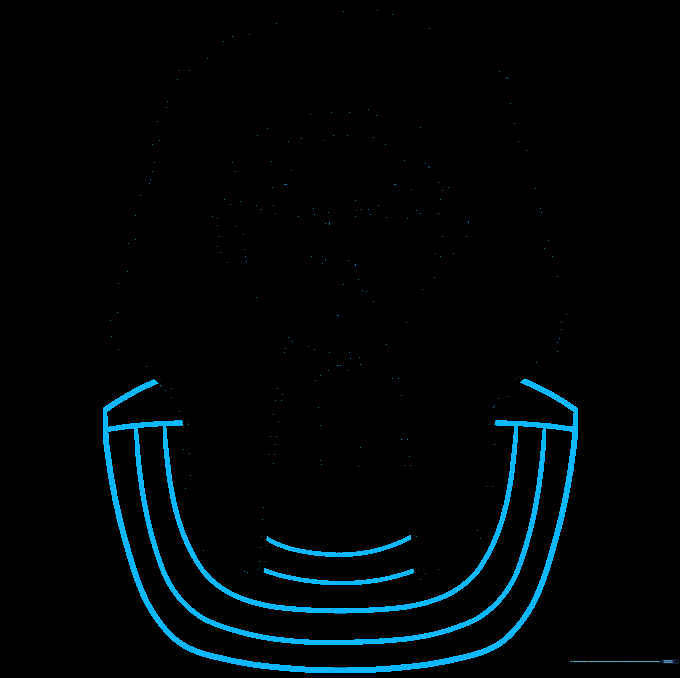
Draw wide, curved lines extending from the neck to form the shoulders and chest area. Use an inverted rainbow shape to connect the bottom of the mask. Teacher's Tip: Use long, fluid strokes here to ensure the shoulders look smooth and regal.
Step 6: Starting the Stripe Pattern
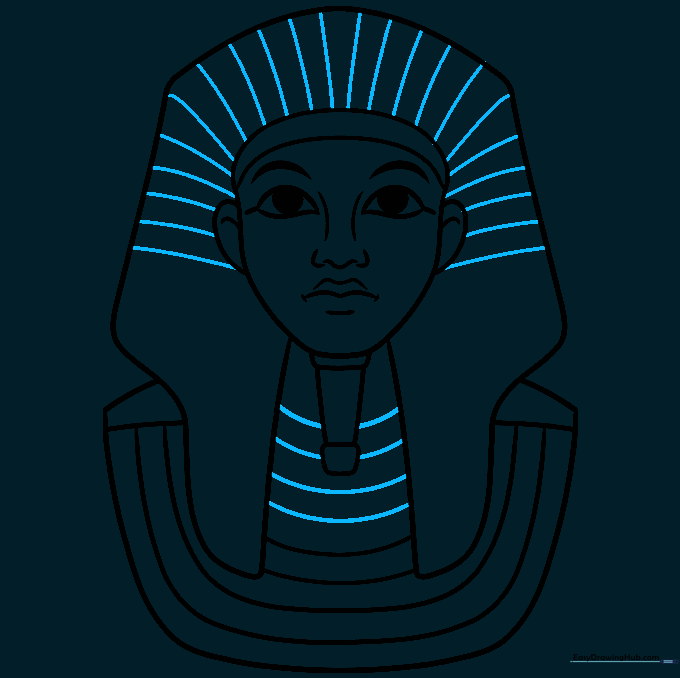
Add curved lines extending from the head down the sides of the mask to begin the striped pattern. Teacher's Tip: Try to space these lines evenly; consistency is the key to making the headcloth look authentic.
Step 7: Detailing the Stripes
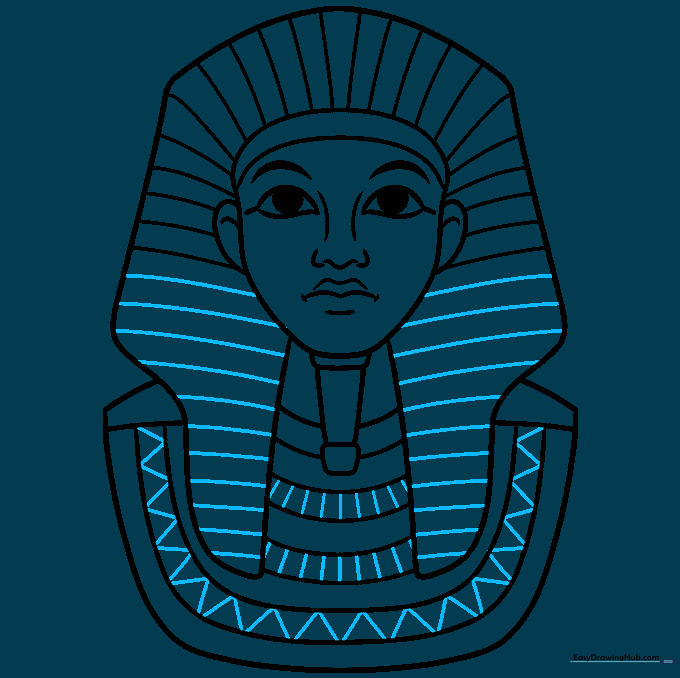
Fill in the stripes with parallel lines across the headcloth and chest. Add small triangles or straight lines to specific stripes for extra texture. Teacher's Tip: Don't worry if the lines aren't perfectly straight—the goal is a clean, stylized look.
Step 8: Adding the Vulture Emblem
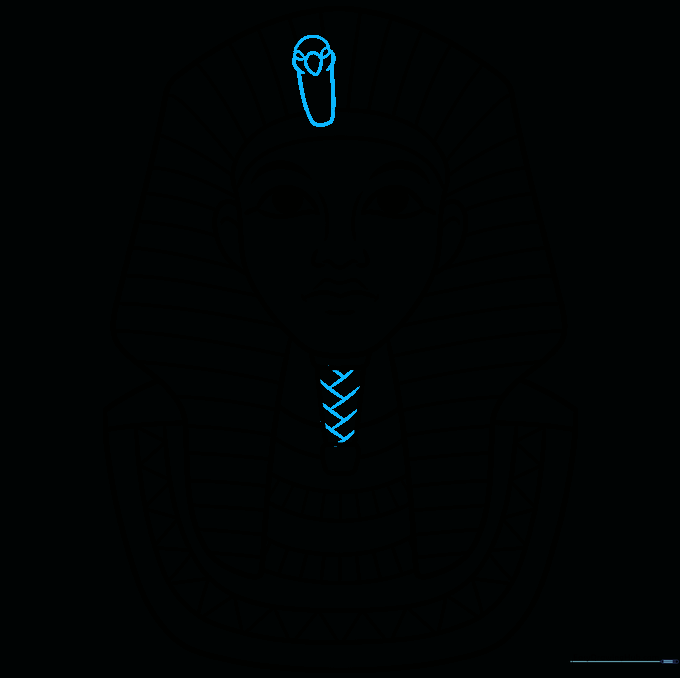
Add small diagonal rectangles to the beard for texture. Sketch the vulture head on the front of the crown using teardrop shapes for the eyes and beak. Teacher's Tip: The vulture represents protection, so draw it small and centered on the forehead.
Step 9: Drawing the Royal Cobra
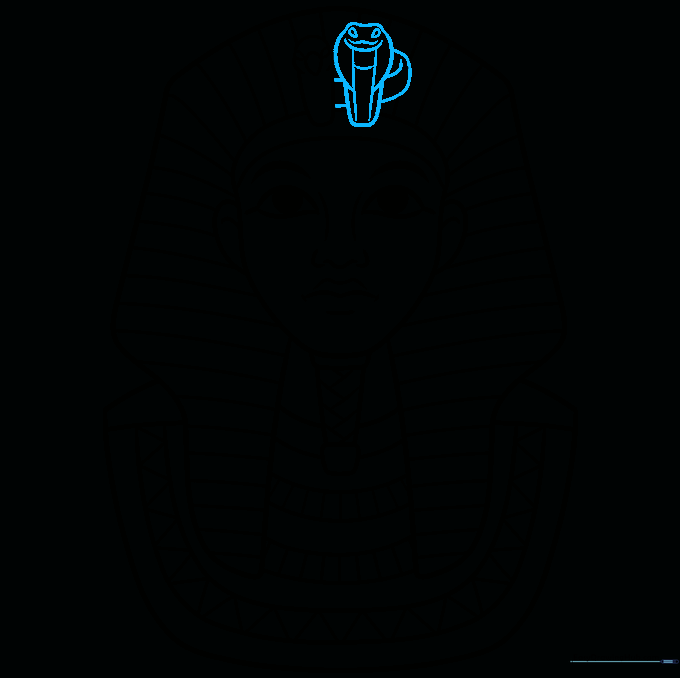
Sketch the cobra (uraeus) on the crown using overlapping curves for the hood and body. Use a wavy line for the mouth and small dots for eyes. Teacher's Tip: The cobra is a classic Egyptian symbol—keep the hood wide to make it stand out against the stripes.
Step 10: Bringing It to Life with Color
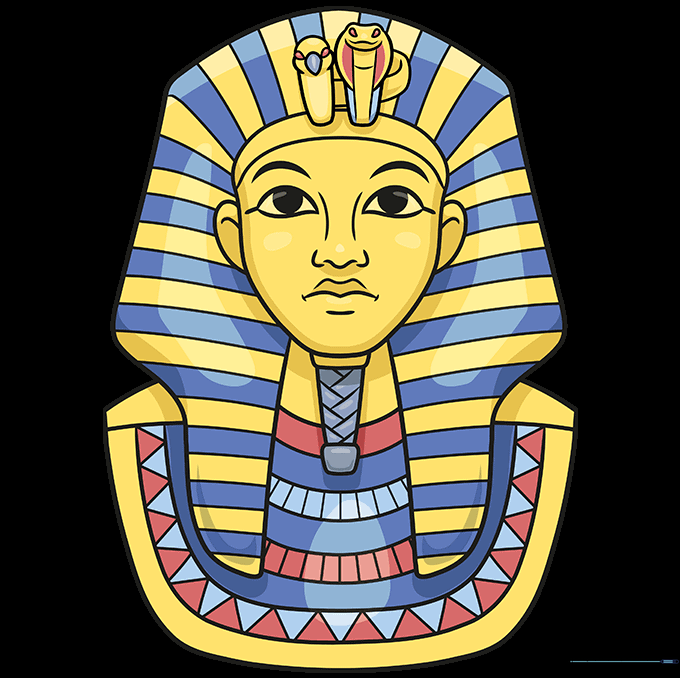
Color your mask using vibrant gold for the main body, with deep blue and reddish-brown accents for the stripes and symbols. Teacher's Tip: Use metallic markers or crayons if you have them to give the gold a truly royal shine!
More Tutorials


