How to Draw Kermit the Frog: Easy 10-Step Guide
Bring everyone's favorite frog to life with this simple, screen-free drawing activity. Designed for artists ages 5 and up, this tutorial requires only a pencil, eraser, and paper to master Kermit's iconic expression. Follow along to build confidence and refine your character-drawing skills.
🎯 Final Result

Step-by-Step Instructions
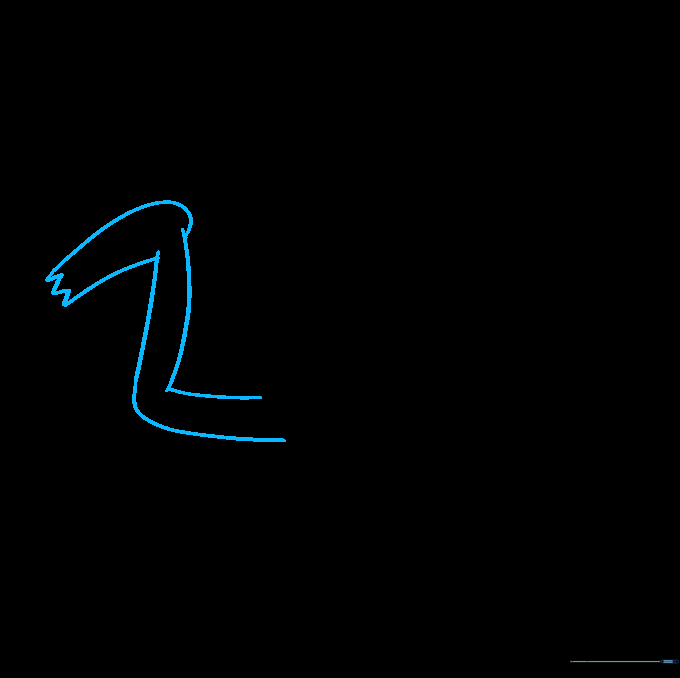
Step 1: Sketching the Head Shape
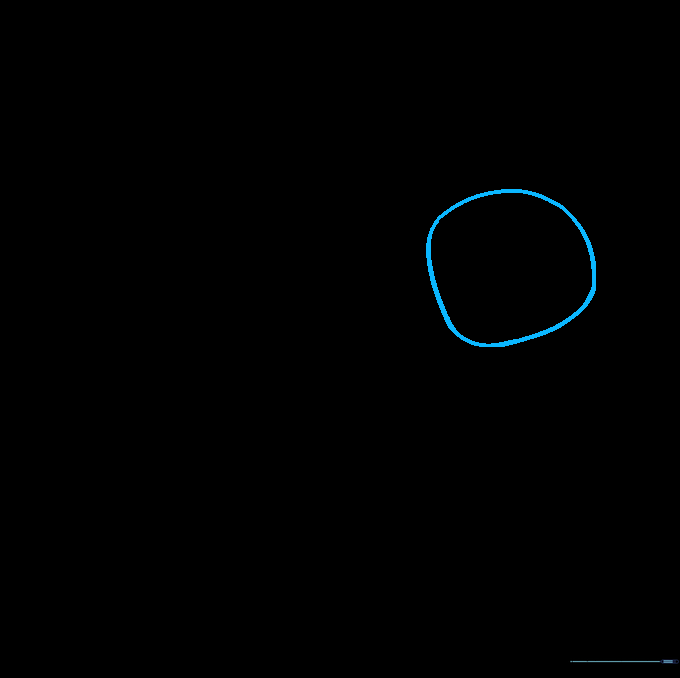
Draw a rounded shape for the head that dips slightly at the chin and cheeks. Teacher's Tip: Keep your pencil pressure light; this helps you adjust the shape of his friendly face without leaving dark marks.
Step 2: Adding the Eyes
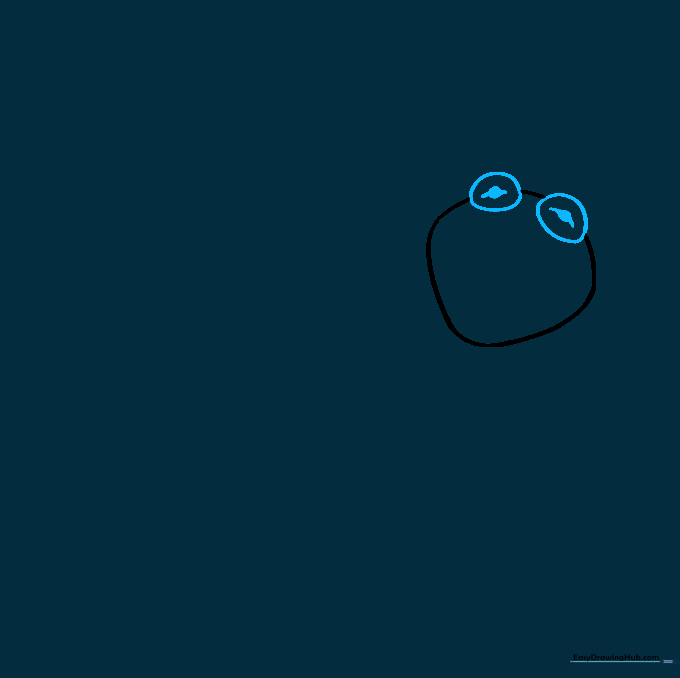
Outline two round shapes for the eyes, then shade a small circle in the center of each. Add a curved line through the center to give him that classic Muppet look. Tip: Make sure the eyes are symmetrical to help Kermit look balanced.
Step 3: Drawing the Mouth

Use two wide 'U' shaped lines to form his happy, open mouth. Add another 'U' shape inside for the tongue with a small center line. Tip: A wider mouth makes him look extra cheerful!
Step 4: Creating the Collar

Use a series of 'V' shaped lines to create his signature pointed collar. Tip: Try to keep the points even in size so the collar looks neat and consistent.
Step 5: Sketching the Body

Draw a simple oval shape below the collar to form the body. Tip: Keep this shape slightly elongated to give Kermit his slender, frog-like posture.
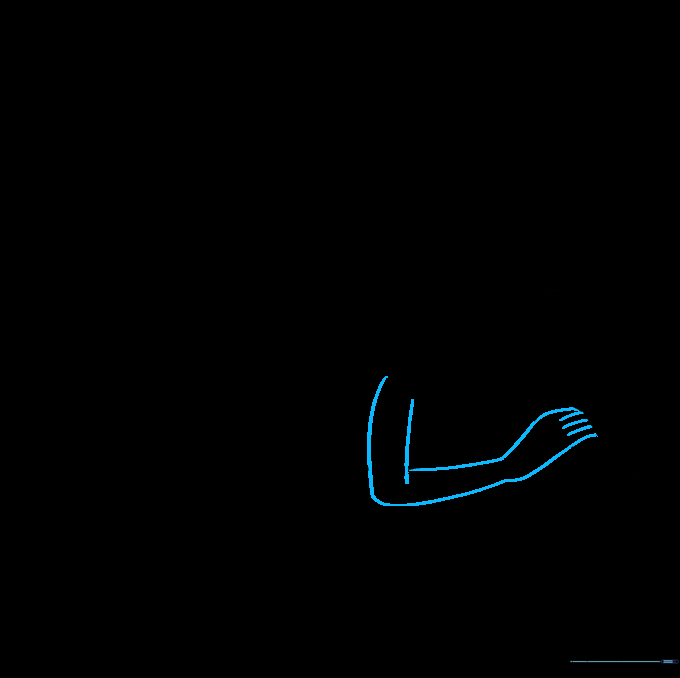
Step 6: Adding the First Arm
Use 'V' shaped lines to outline the arm, making sure to round the elbow point. Add curved lines for the hand and fingers. Tip: Think of the fingers as small, soft sausages—keep them rounded, not sharp.
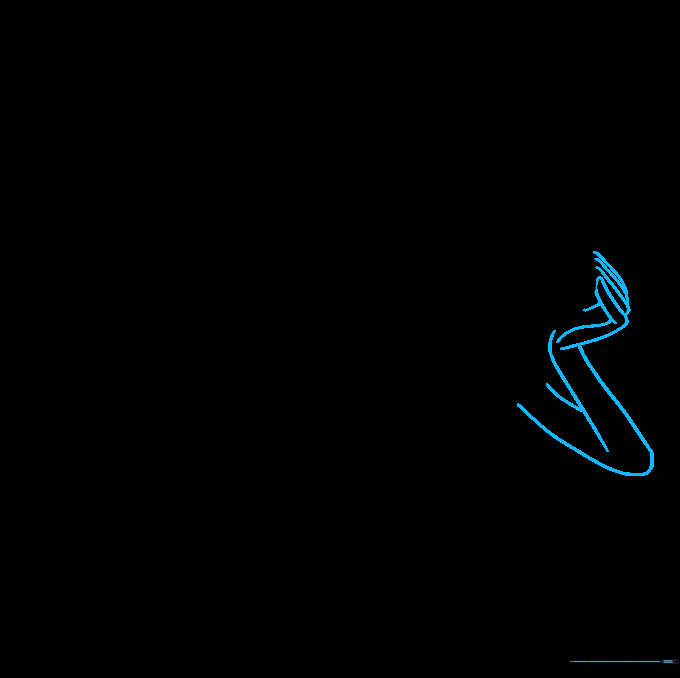
Step 7: Drawing the Second Arm
Repeat the process for the second arm, using wide 'V' shapes. Use narrow lines to separate the fingers. Tip: Erase any overlapping lines from the body to make the arm look like it's in front.
Step 8: Sketching the First Leg
Use curved 'V' shapes to outline the leg, bent at the knee. Add the foot with small 'V' shapes for the toes. Tip: A bent knee gives your drawing a sense of movement and personality.
Step 9: Adding the Final Leg

Draw the second leg and foot using the same curved line technique. Ensure the toes match the first foot for consistency. Tip: Check your proportions—Kermit's legs should look long and lanky.
Step 10: Adding Color

Bring Kermit to life with color! Use a vibrant green for his body and a lighter, yellowish-green for his collar. Tip: Use light, circular motions with your crayon for a smooth, even finish.
More Tutorials


