How to Draw Katsuki Bakugo: Easy Step-by-Step Anime Guide
Ready to bring UA High’s most explosive student to life? This tutorial is perfect for aspiring manga artists looking to capture Bakugo’s intense expression. Grab your pencil, an eraser, and a piece of paper to start building your character drawing skills today.
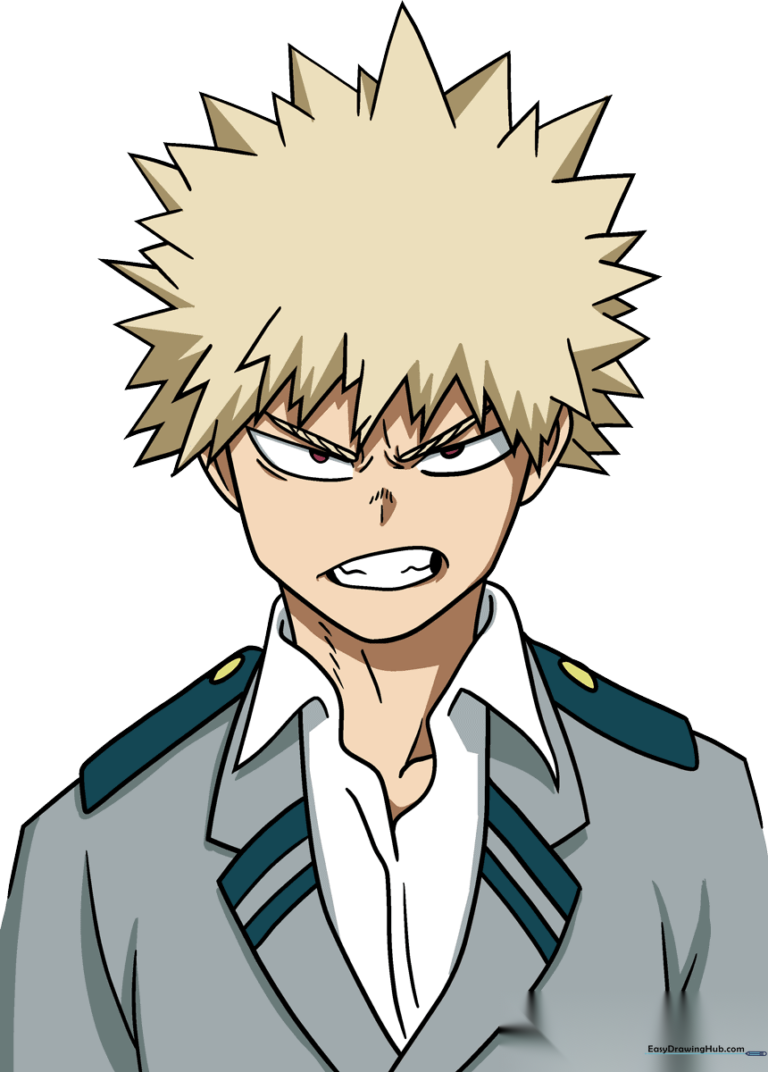
🎯 Final Result
Step-by-Step Instructions
Step 1: Sketching the Face Shape

Draw a rounded shape for the face, focusing on a strong, squared jawline. Add a light 'T' guide across the center to help align the eyes and nose later. Teacher's Tip: Keep your pencil pressure very light here so these guidelines disappear easily when you erase them later.
Step 2: Defining Facial Features

Sketch the ears on the sides, then draw his signature sharp, aggressive anime eyes and furrowed brows. Add the nose and a snarling mouth showing his teeth. Teacher's Tip: Bakugo’s expression is all in the eyebrows—keep them angled downward toward the nose to capture his determined personality.
Step 3: Starting the Spiky Hair
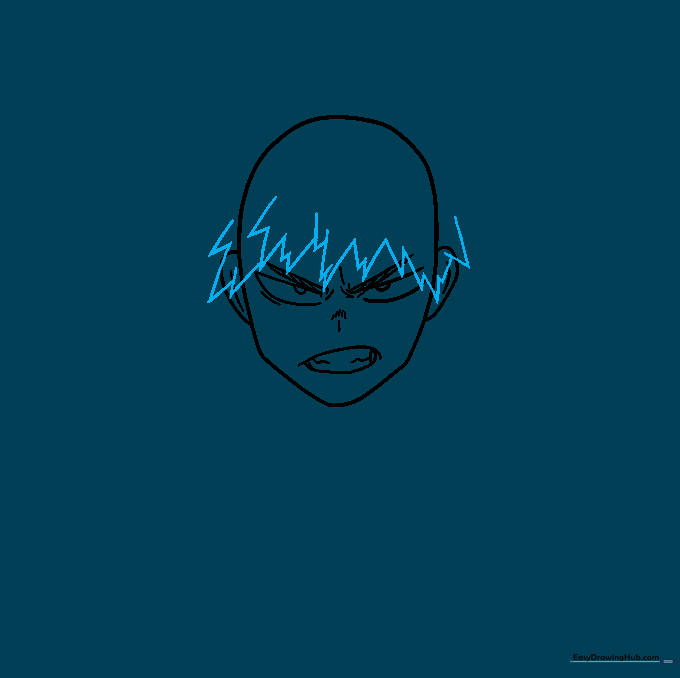
Erase your 'T' guide lines. Begin the hair by drawing overlapping zigzag segments across the forehead. Teacher's Tip: Use quick, flicking motions with your pencil to get those sharp, manga-style hair points.
Step 4: Building Hair Volume
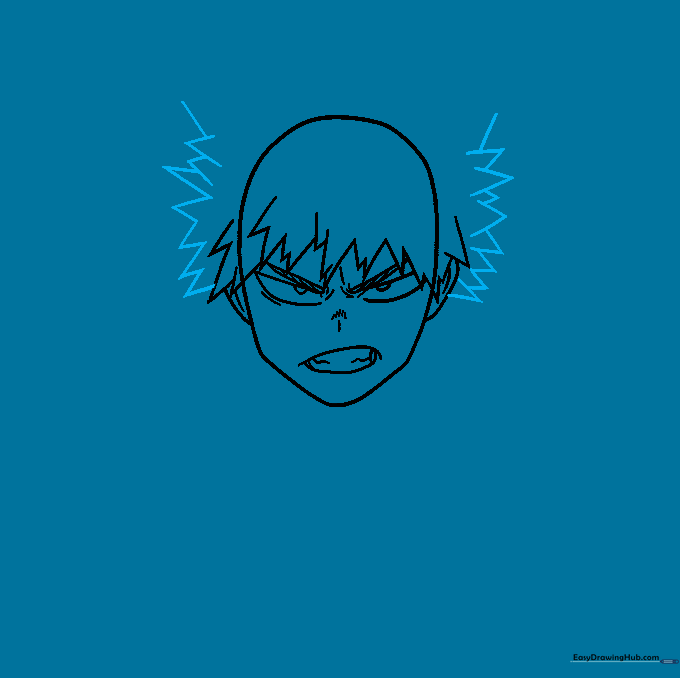
Clean up the lines where the ears meet the hair. Continue extending the hair upward using sharp, angular lines. Teacher's Tip: Don't worry about making the spikes perfectly symmetrical; Bakugo's hair is naturally messy and wild!
Step 5: Completing the Hair
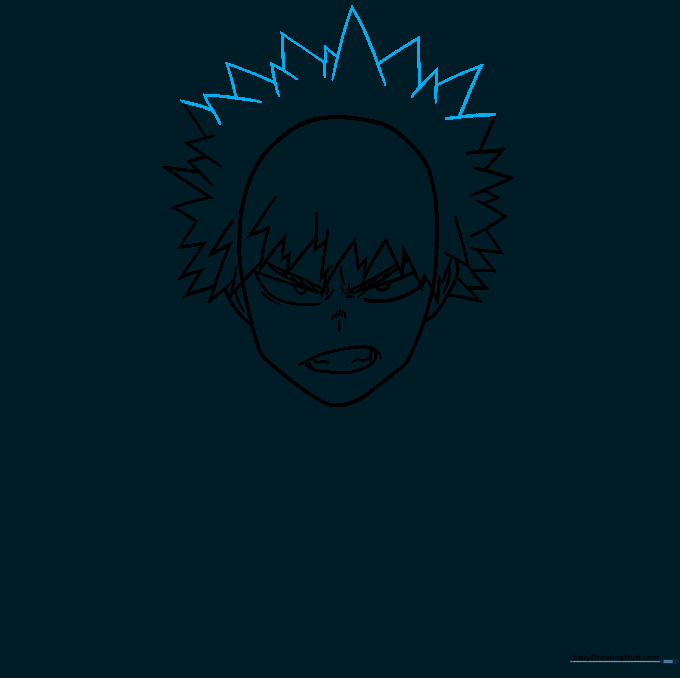
Finish the top of the hair by drawing overlapping triangular shapes. Teacher's Tip: Vary the size of the triangles to give the hair a more dynamic, three-dimensional look.
Step 6: Neck and Collar
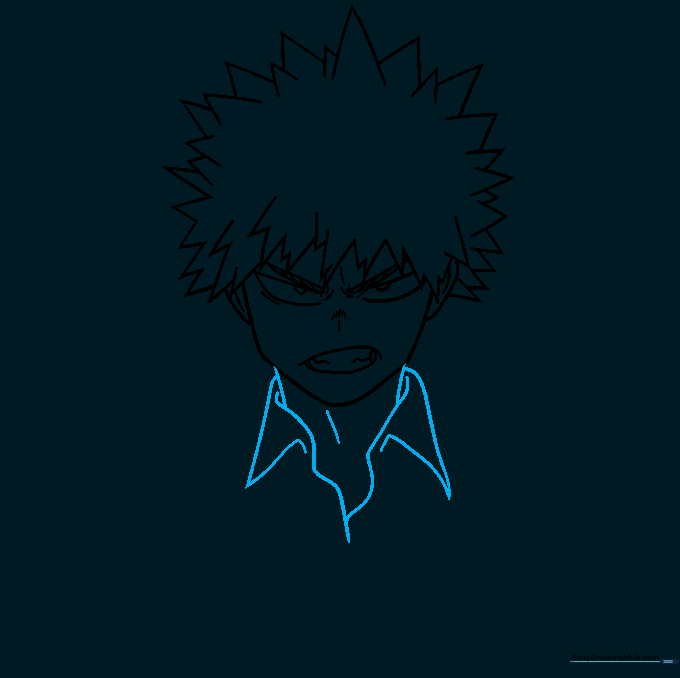
Erase any stray lines in the hair. Draw the neck and the collar of his uniform using sharp, incomplete triangles. Teacher's Tip: Keep the neck lines firm to show the structure of his uniform.
Step 7: Shoulders and Lapels
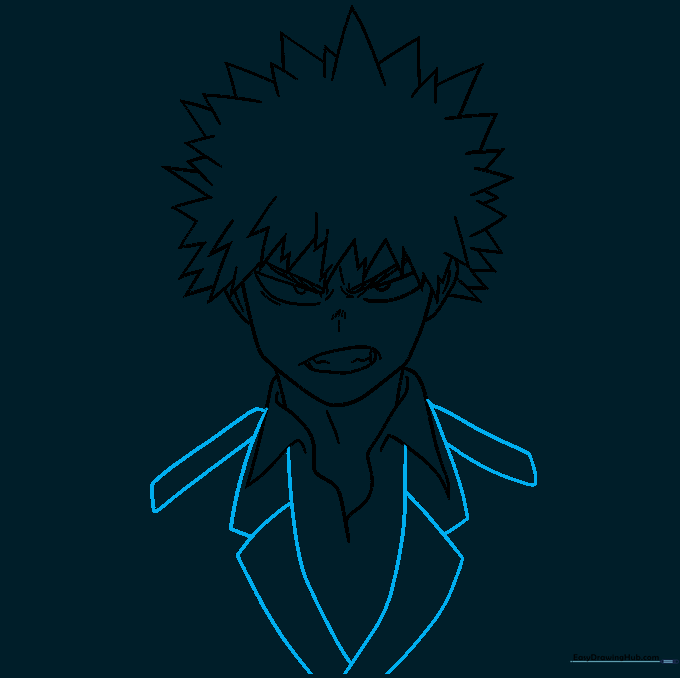
Outline the shoulders and lapels using irregular rectangular shapes. Teacher's Tip: Use a ruler if you struggle with straight lines, but freehand adds more character!
Step 8: Adding Uniform Details
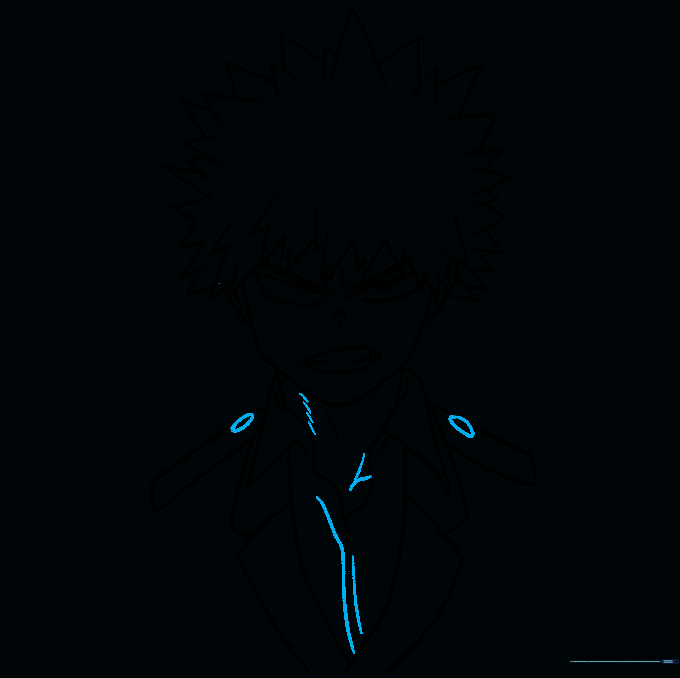
Add the buttons on the shoulders and draw small lines to indicate fabric folds. Teacher's Tip: A few simple lines near the neck can suggest muscle tension, making the drawing look more realistic.
Step 9: Finalizing the Outline
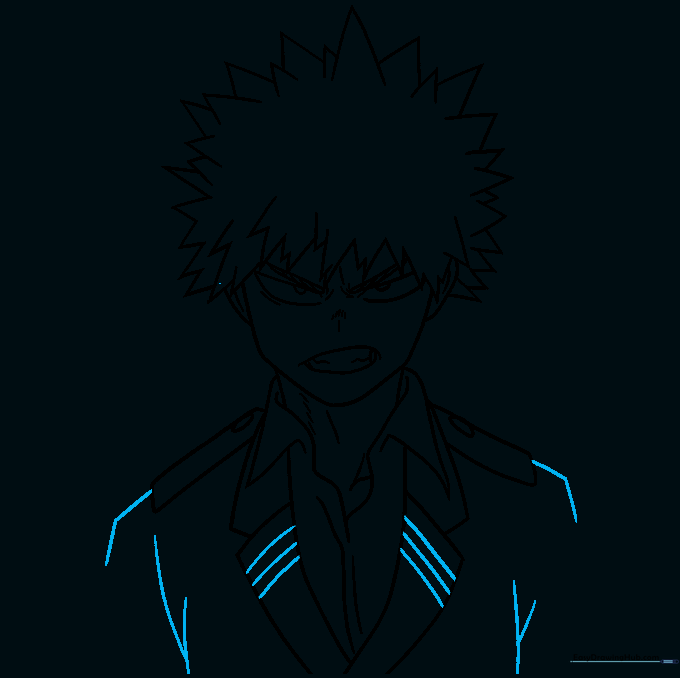
Draw the arms and torso sides. Add parallel lines across the lapel to complete the uniform look. Teacher's Tip: Ensure your final outline is bold and clean before you start coloring.
Step 10: Bring Bakugo to Life with Color

Time to color! Use a bright, sandy yellow for his spiky hair and a deep red for his intense eyes. Teacher's Tip: Use light shading under the chin to add depth to your finished portrait.
More Tutorials


