How to Draw Jigglypuff: Easy 10-Step Pokémon Guide
Bring the iconic Pokémon Jigglypuff to life with this beginner-friendly drawing guide. Designed for artists ages 5 and up, this activity requires only a pencil, paper, and an eraser to master. Follow these simple steps to build confidence and develop your character-drawing skills.
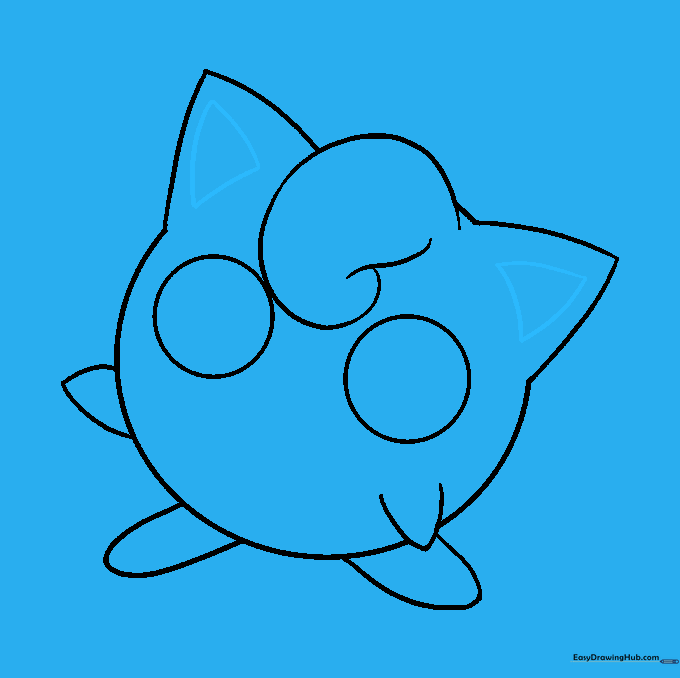
🎯 Final Result

Step-by-Step Instructions
Step 1: Sketching the Base Shape

Draw a light circle to serve as the head and body. Teacher's Tip: Keep your pencil strokes very faint so you can easily erase them later once we add the final details.
Step 2: Adding the Ears
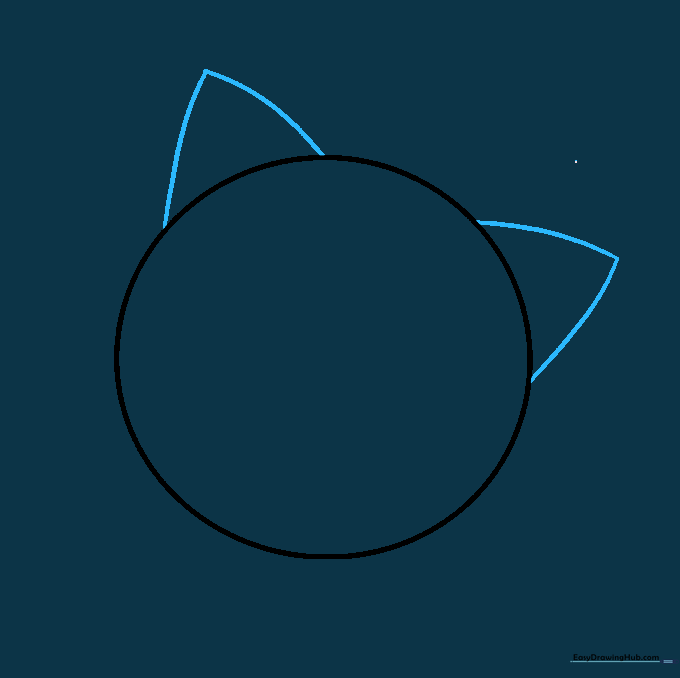
Place two triangles at the top of your circle for the ears. Tip: Make sure the triangles are slightly rounded at the tips to match Jigglypuff’s soft, cartoon aesthetic.
Step 3: Drawing the Hair Curl
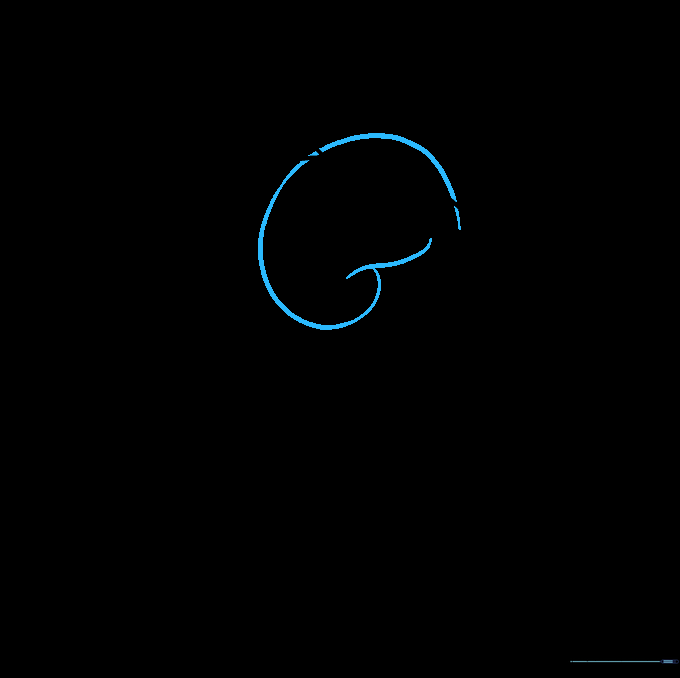
Sketch an irregular, spiral-like shape between the ears using curved lines. Tip: Think of this like a small, soft wave of hair sitting on top of the head.
Step 4: Cleaning the Outline

Carefully erase the overlapping guide lines inside the hair and ears to make the silhouette look clean. Tip: Use a soft eraser and brush away the crumbs to keep your paper tidy.
Step 5: Sketching the Arms
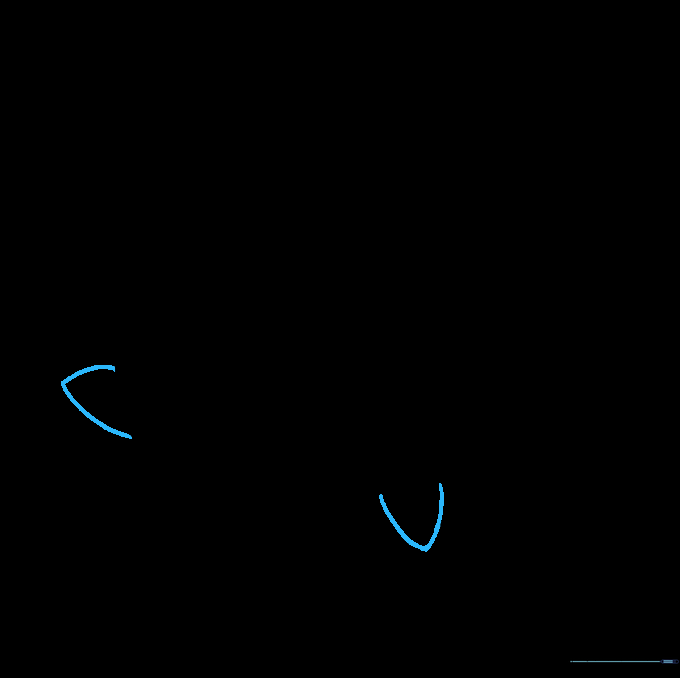
Extend a small “V” shaped line from each side of the body to create the arms. Tip: Keep these small and rounded so they look like little nubs.
Step 6: Adding the Feet

Draw a “U” shaped line at the bottom of the body on each side to form the feet. Tip: Make sure they are symmetrical so your Jigglypuff looks balanced.
Step 7: Drawing the Eyes
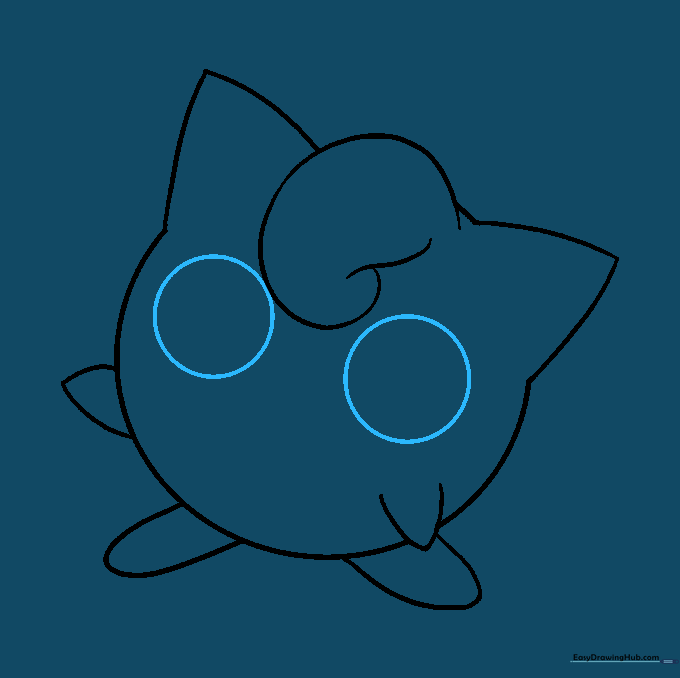
Draw two large circles in the center of the face. Tip: Take your time here—these large eyes are what give Jigglypuff that cute, expressive look.
Step 8: Ear Details
Add a smaller triangle inside each ear to create depth. Tip: Keep the inner triangle centered to make the ears look three-dimensional.
Step 9: Final Facial Features
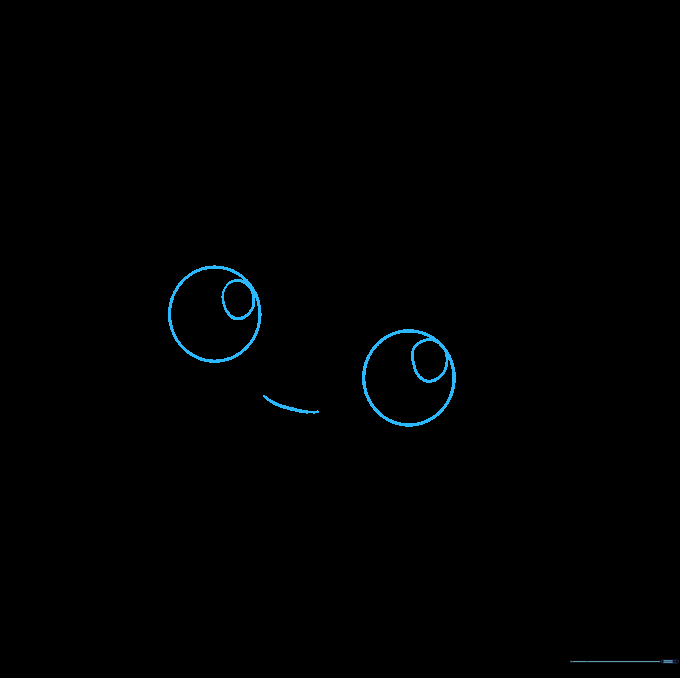
Draw smaller circles inside the eyes for pupils and a curved line for the mouth. Tip: Leave a tiny white spot in the pupil to create a 'glint' or highlight, making the eyes pop!
Step 10: Adding Color
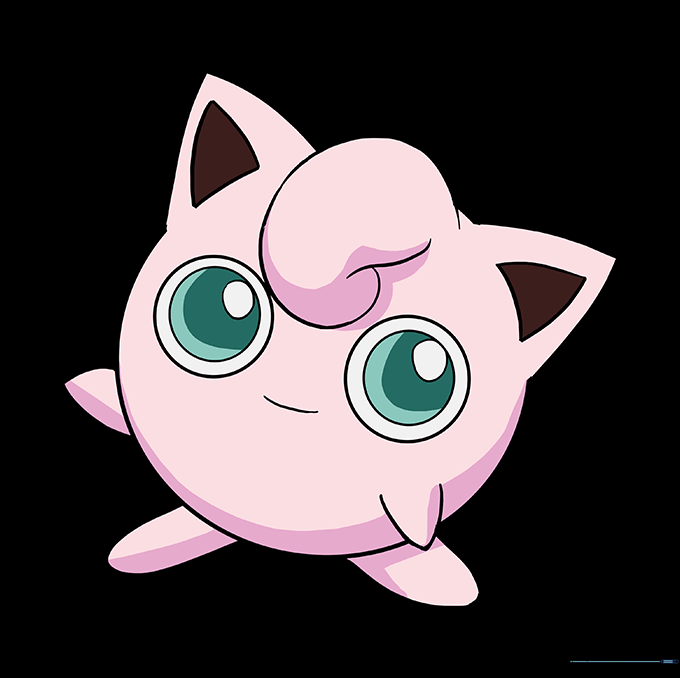
Time to bring your drawing to life! Color your Jigglypuff a soft, vibrant pink. Tip: Use light pressure with your colored pencils to get an even, smooth look.
More Tutorials


