How to Draw Jesus on the Cross: Simple Step-by-Step Guide
This guided drawing tutorial is designed for students and beginners looking to create a respectful, symbolic illustration of Jesus on the cross. You will need a pencil, an eraser, and a piece of paper to complete this activity. Follow along to build confidence in drawing human proportions and meaningful religious iconography.
🎯 Final Result

Step-by-Step Instructions
Step 1: Establishing the Vertical Beam

Draw a long, narrow vertical rectangle to serve as the main support of the cross. Teacher's Tip: Use a ruler if you want perfectly straight edges, but freehand lines add a more organic, hand-drawn feel.
Step 2: Adding the Crossbar

Draw a horizontal rectangle crossing the vertical beam near the top. Teacher's Tip: Ensure the crossbar is centered so the cross looks balanced and stable.
Step 3: Sketching the Head and Crown

Sketch the head using a soft oval, then add the hair and the crown of thorns. Teacher's Tip: Keep the crown of thorns simple with small, jagged V-shapes to represent the texture.
Step 4: Outlining the Torso
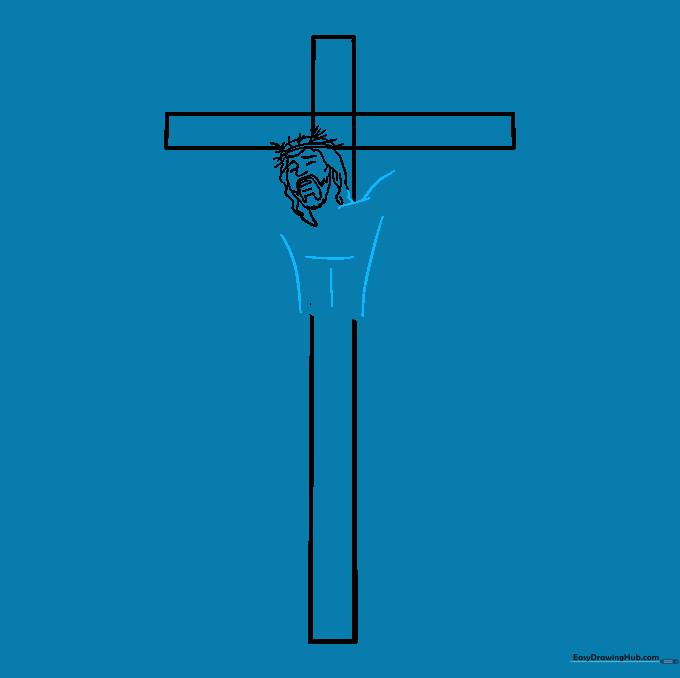
Use gentle, curved lines to define the shoulders and the ribcage. Teacher's Tip: Think of the torso as a soft 'V' shape to help guide your hand as you draw the chest muscles.
Step 5: Drawing the Garment
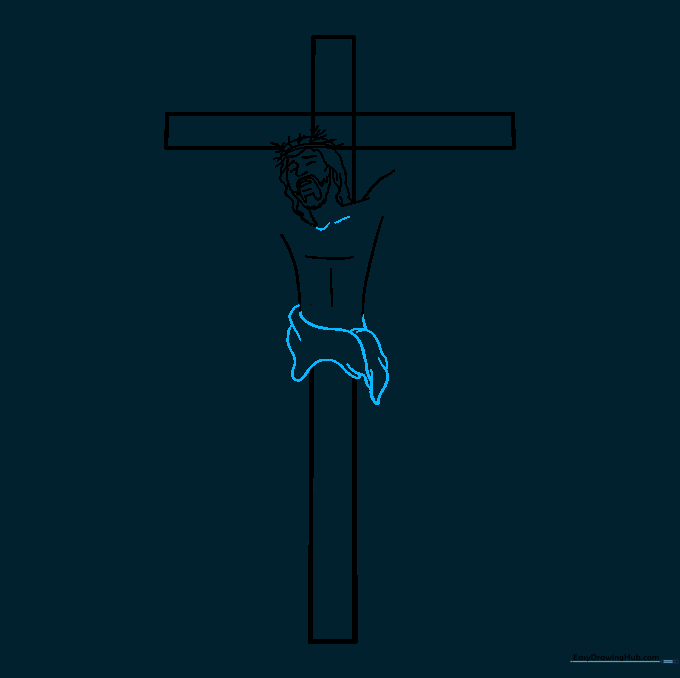
Add the hip garment using overlapping curved lines to create a sense of fabric folds. Teacher's Tip: Don't worry about perfect symmetry; fabric naturally bunches and drapes in irregular ways.
Step 6: Adding the Arms and Hands
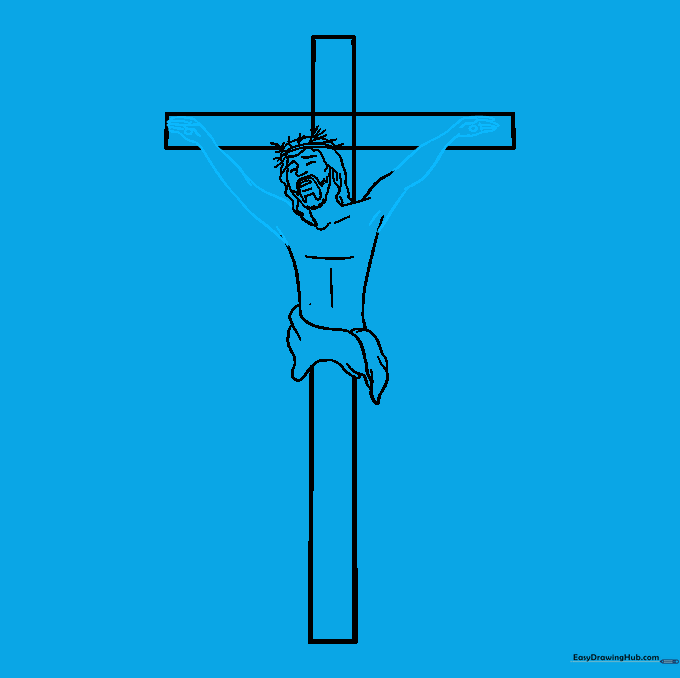
Extend the arms outward along the crossbar, tapering the lines at the elbows and wrists. Teacher's Tip: Use small, simple shapes for the hands—you don't need to draw every finger in detail.
Step 7: Drawing the First Leg
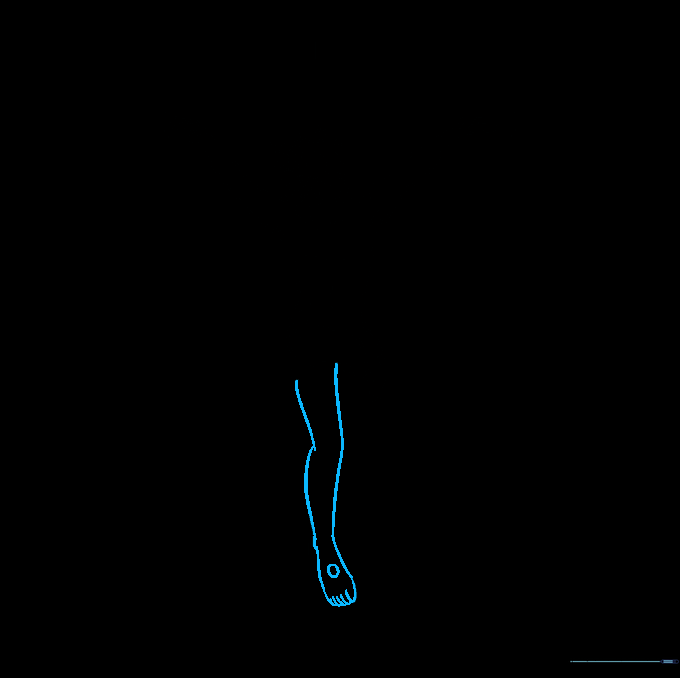
Draw the leg with a slight bend at the knee, ending in a foot. Add a small circle on the foot to represent the nail. Teacher's Tip: Keep the lines near the knee slightly thicker to suggest muscle structure.
Step 8: Refining the Sketch

Carefully erase any overlapping construction lines or guidelines that are no longer needed. Teacher's Tip: Use a kneaded eraser if you have one; it’s excellent for lifting graphite without smudging your drawing.
Step 9: Adding the Second Leg
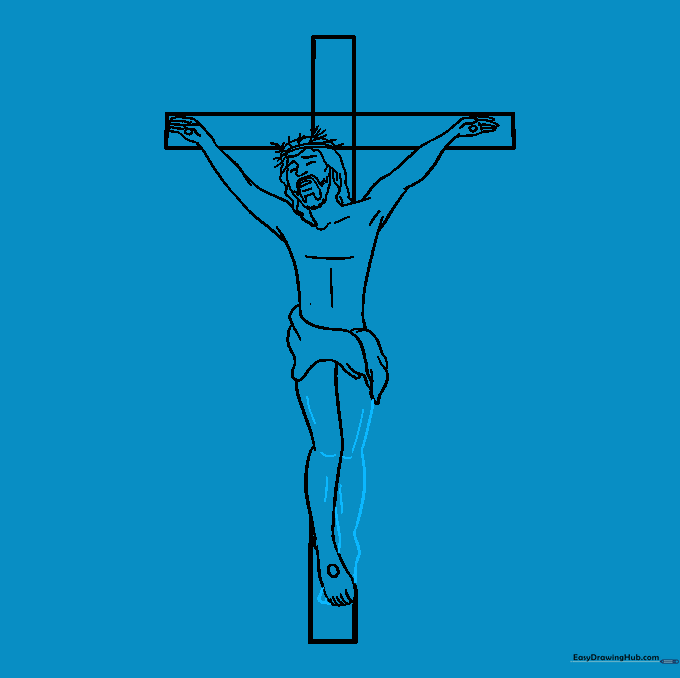
Draw the second leg, positioning it slightly behind the first to create depth. Teacher's Tip: Use light shading on the inner side of the legs to help them look rounded.
Step 10: Adding Color
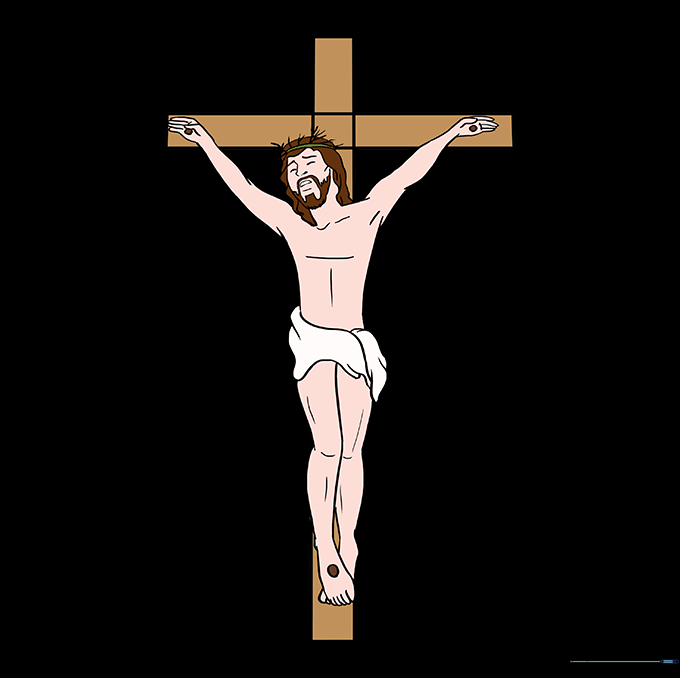
Bring your drawing to life with color. Use browns for the wooden cross and soft skin tones for the figure. Teacher's Tip: Use a darker brown for the edges of the cross to give it a 3D, weathered appearance.
More Tutorials


