How to Draw Jesus’ Face: Easy Step-by-Step Guide
This guided drawing lesson is designed for artists of all ages, making it a wonderful screen-free activity for Sunday school or home. You will only need a pencil, an eraser, and a sheet of paper to get started. Follow along to build confidence in facial proportions and expressive line work.
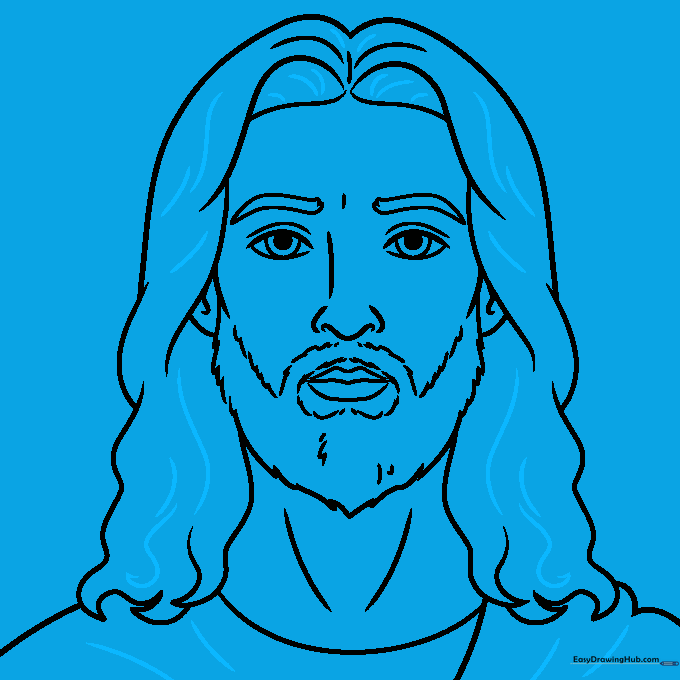
🎯 Final Result

Step-by-Step Instructions
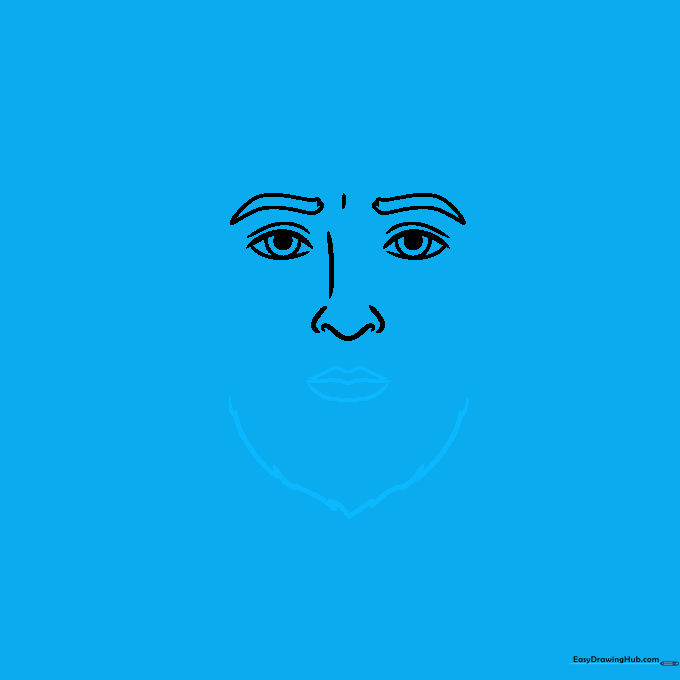
Step 1: Sketching the Eyes

Draw two almond-shaped outlines for the eyes. Tip: Keep them level with each other. Add small circles for the pupils and shade them in, then draw a soft, curved line above each eye for the eyelid.
Step 2: Defining the Brows and Nose

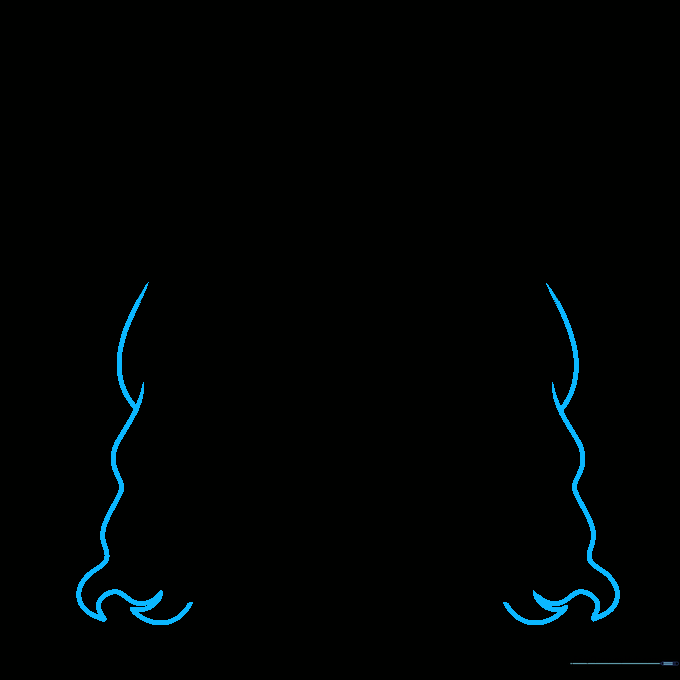
Add bushy eyebrows using short, curved strokes. Connect them to the bridge of the nose, ending with a small 'U' shape for the nostrils. Tip: A gentle curve for the nose bridge makes the expression look more serene.
Step 3: Adding the Mouth and Beard Base
Sketch the lips with a soft, curved line. Below the mouth, use jagged, connected lines to start the beard. Tip: Vary the length of your lines to make the beard look natural and textured.
Step 4: Shaping the Face and Mustache
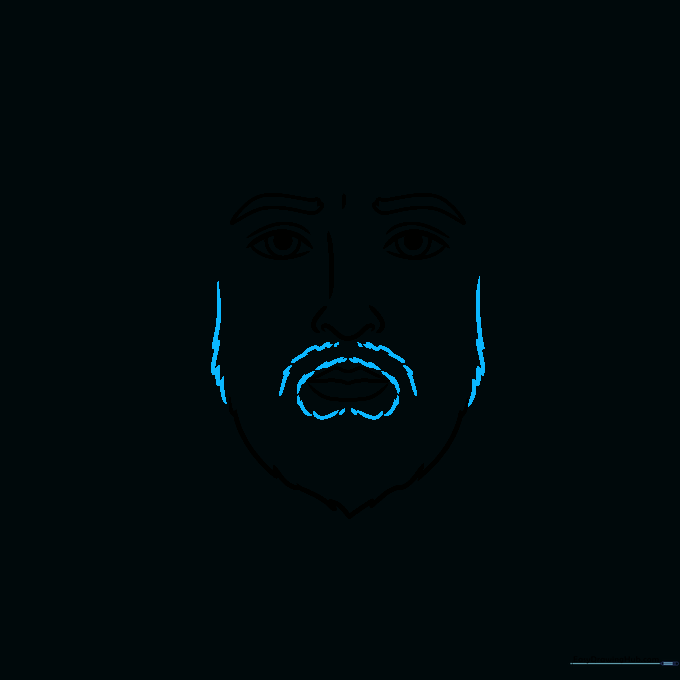
Use curved lines to define the cheeks and jawline. Add the mustache by drawing curved strokes that frame the mouth. Tip: Keep your pencil pressure light so you can easily adjust the shape of the face.
Step 5: Drawing the Hairline
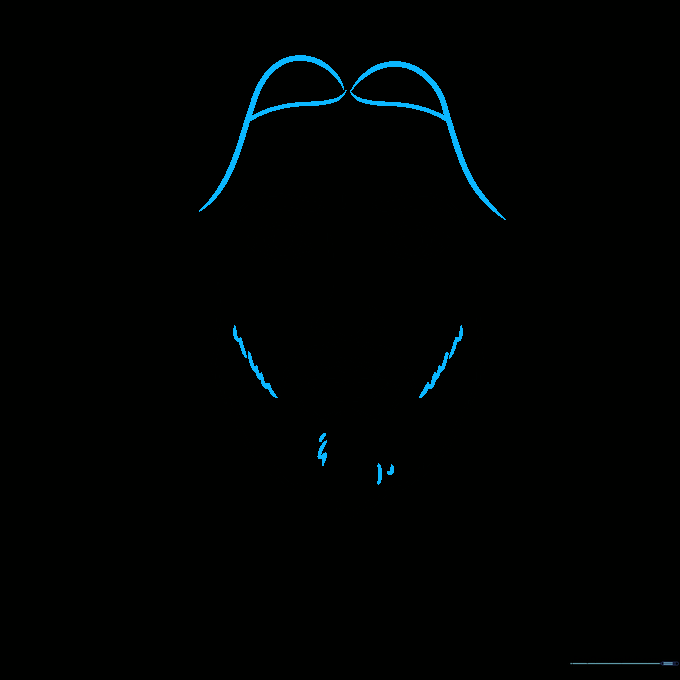
Extend the beard along the cheeks with short, rhythmic strokes. Draw a large 'M' shape across the forehead to establish the hairline. Tip: Imagine the hair flowing away from the center part.
Step 6: Adding Volume to the Hair
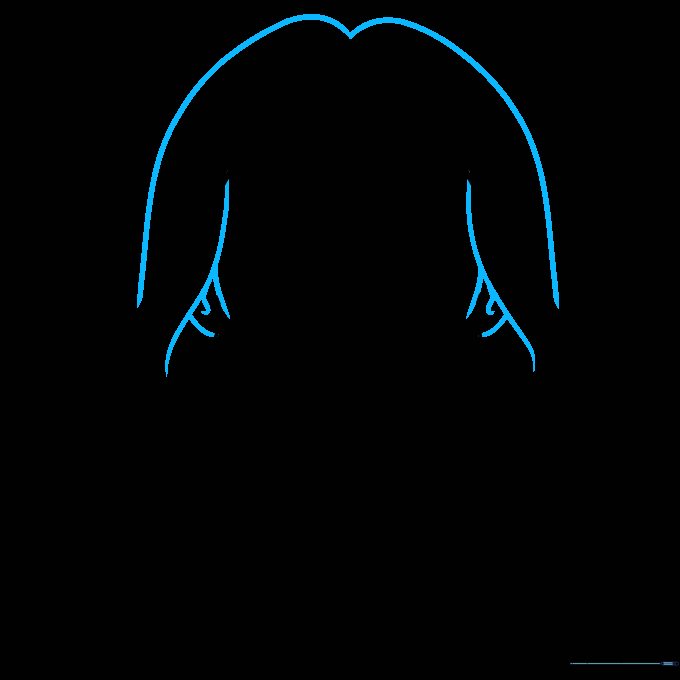
Draw long, sweeping lines to create the hair. Add ears on both sides, tucked slightly behind the hair. Tip: Overlapping your lines helps create the illusion of thick, wavy hair.
Step 7: Extending the Locks
Continue the long, curved lines downward to lengthen the hair. Let the lines meet at the ends to form pointed, natural-looking locks. Tip: Don't worry about making every line perfect; hair is naturally messy!
Step 8: Adding Clothing and Neck Details

Finish the hair locks and add a few lines to the neck area. Draw the collar of the garment using simple, curved lines. Tip: Adding a few folds to the clothing makes the drawing look more realistic.
Step 9: Finalizing the Outline
Review your drawing and add extra texture lines to the hair and beard to give them depth. Erase any stray guide marks. Tip: Darken your final lines with a steady hand.
Step 10: Bringing it to Life with Color

Use warm, natural tones to color your drawing. Tip: Use a lighter brown for the hair and a slightly darker shade for the shadows in the beard to add dimension.
More Tutorials


