How to Draw Jeans: Easy 10-Step Guide for Beginners
Ready to design your own fashion sketches? This guide is perfect for artists ages 5 and up looking to draw realistic-looking jeans. Grab a pencil and eraser, and follow these simple steps to master fabric folds and garment structure.
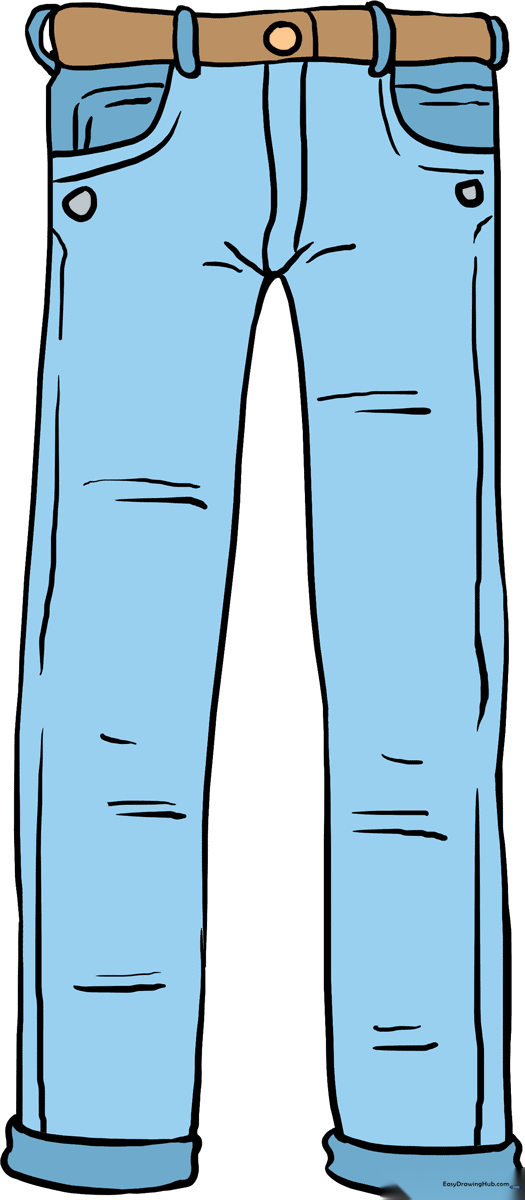
🎯 Final Result
Step-by-Step Instructions
Step 1: Sketching the Waistband
Start by drawing a narrow, slightly curved rectangle at the top of your page. This represents the waistband. Teacher's Tip: Keep the corners rounded to make the fabric look soft rather than stiff.
Step 2: Adding Belt Loops and Buckle

Draw small loops along the top of the waistband and a tiny circle in the center for the button. Tip: Use short, quick strokes for the loops to give them a natural, stitched appearance.
Step 3: Drawing the Fly
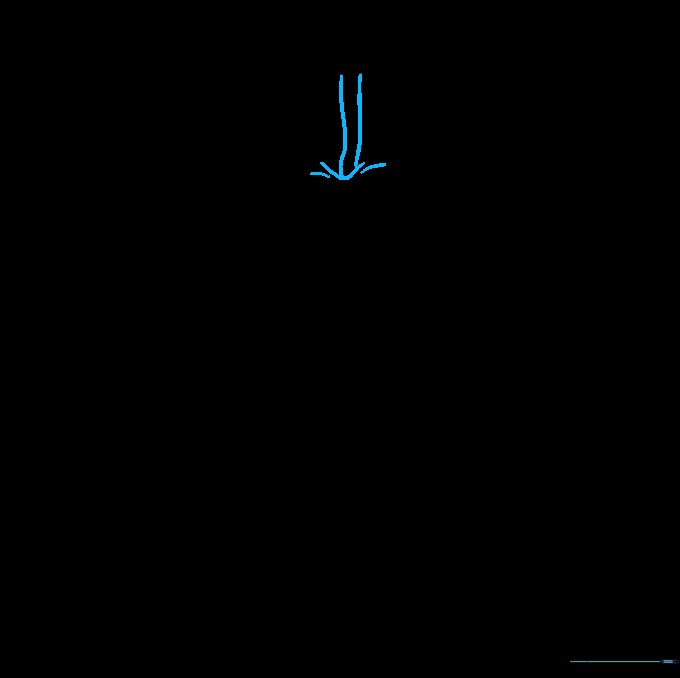
Extend two curved lines downward from the button area, connecting them with a 'U' shape. Add tiny curved lines near the fly to suggest fabric folds. Tip: Don't press too hard; these folds should look subtle.
Step 4: Outlining the First Leg
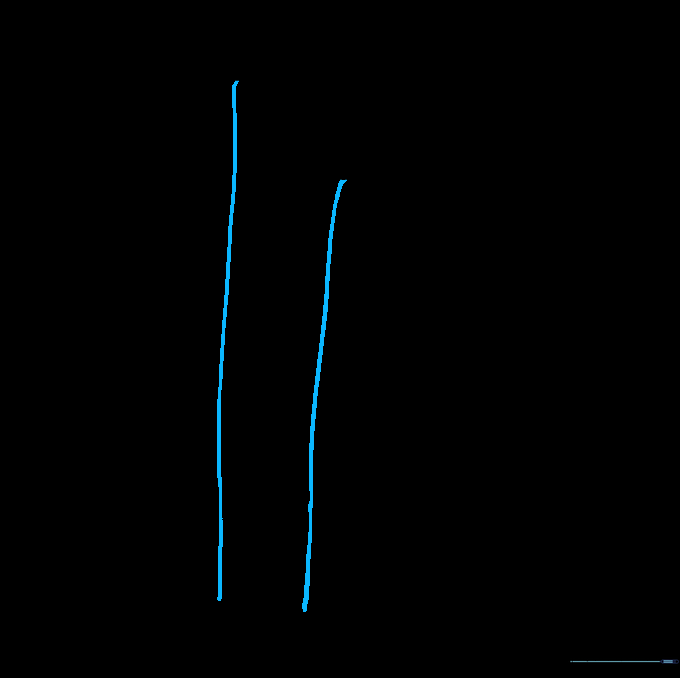
Draw two long, slightly curved lines descending from the left side of the waistband. This creates the outer and inner seam of the first pant leg.
Step 5: Outlining the Second Leg

Repeat the process on the right side to create the second leg. Try to keep the width consistent with the first leg so your jeans look symmetrical.
Step 6: Adding the Cuffs
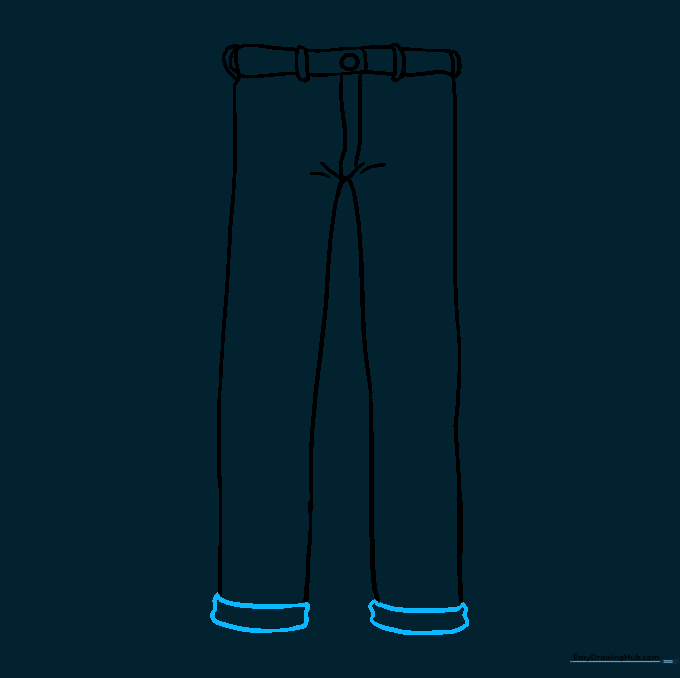
Draw a curved line at the bottom of each leg, then add a second line slightly below it to create the look of a folded cuff. Tip: This adds a nice 'finished' look to your drawing.
Step 7: Drawing the First Pocket
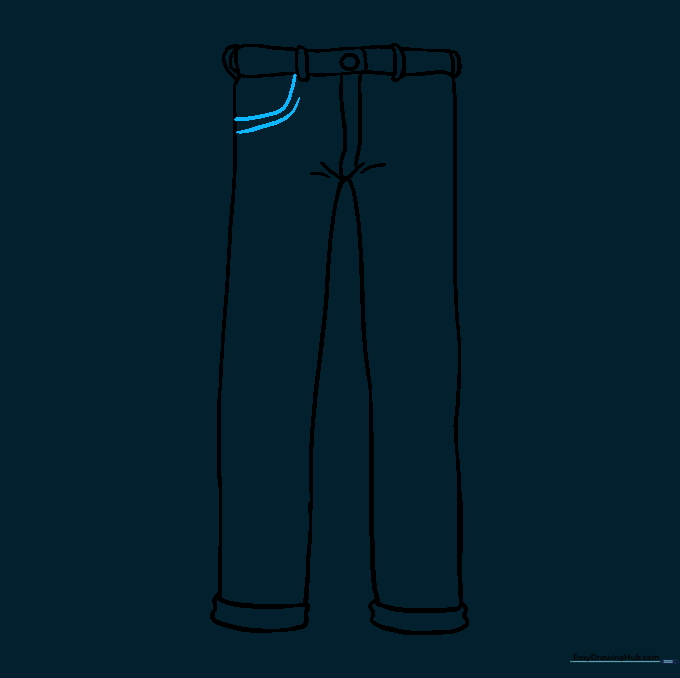
Sketch a curved, irregular shape at the top corner of the jeans for the pocket. Add a parallel line inside to give it depth. Tip: Think of this as a small 'U' shape tucked into the corner.
Step 8: Adding the Second Pocket
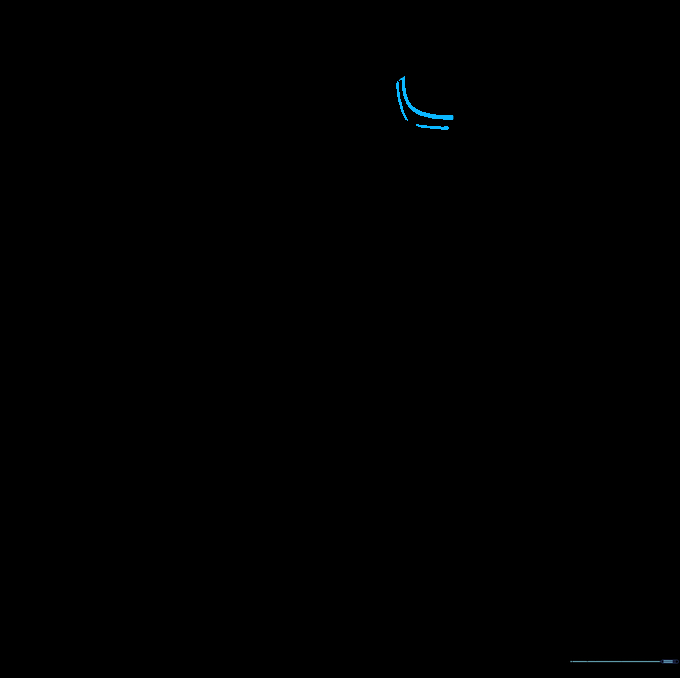
Mirror the pocket shape on the opposite side. It doesn't have to be perfect—real pockets often have slight variations in how they sit on the fabric.
Step 9: Adding Final Details
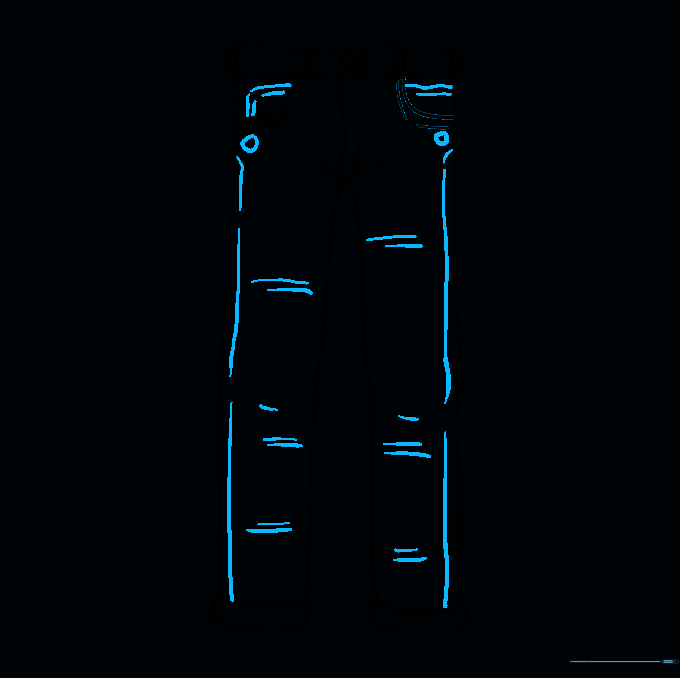
Add small circles for rivets and extra curved lines down the legs to represent creases. Tip: Creases make the jeans look like they are being worn, which adds realism to your drawing.
Step 10: Bringing Your Jeans to Life with Color
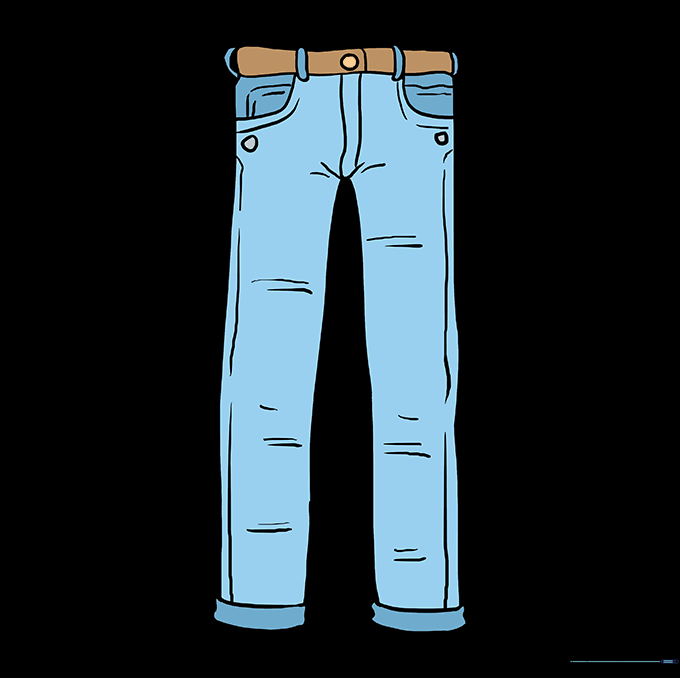
Time to color! Use shades of blue for a classic denim look, or get creative with black, white, or even bright colors. Tip: Use a slightly darker blue pencil to shade the edges of the pockets and the seams to create a 3D effect.
More Tutorials


