How to Draw Jackie Robinson: Easy 10-Step Portrait Guide
Celebrate baseball legend Jackie Robinson by creating your own portrait! This tutorial is perfect for students ages 7+ and requires only a pencil, eraser, and paper. Follow these steps to build confidence in drawing facial features and iconic sports gear.
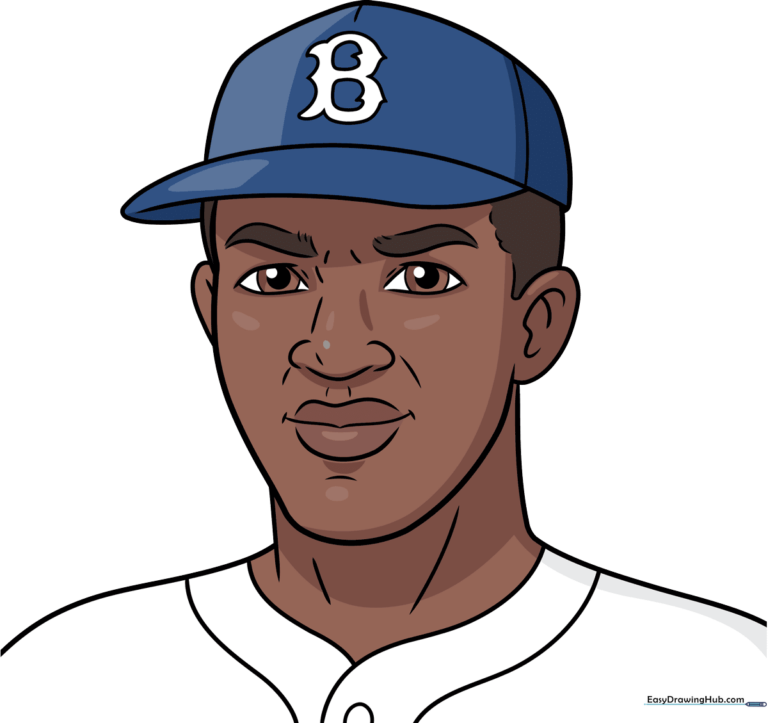
🎯 Final Result
Step-by-Step Instructions
Step 1: Sketching the Eyes
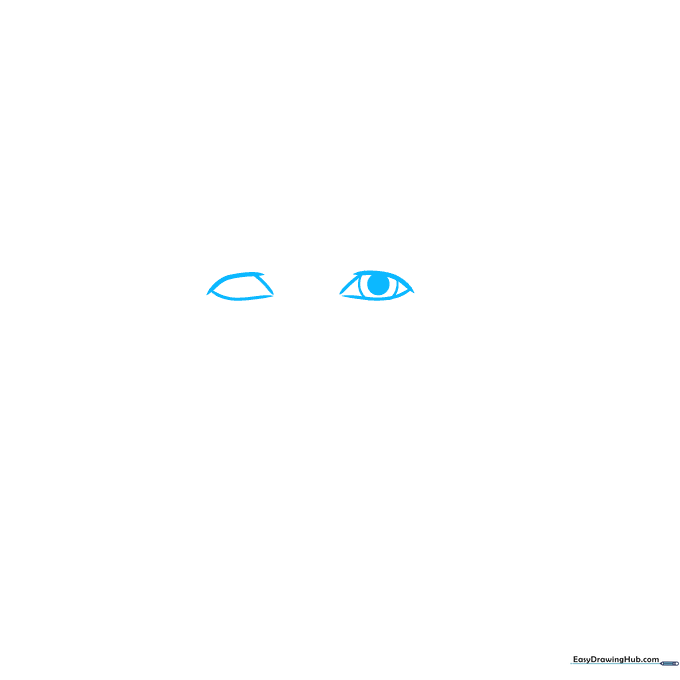
Start by drawing the eyes using three curved lines for each. Add a circle inside for the iris and a smaller shaded circle for the pupil. Teacher's Tip: Keep your pencil pressure light here so you can easily adjust the symmetry if needed.
Step 2: Defining the Face
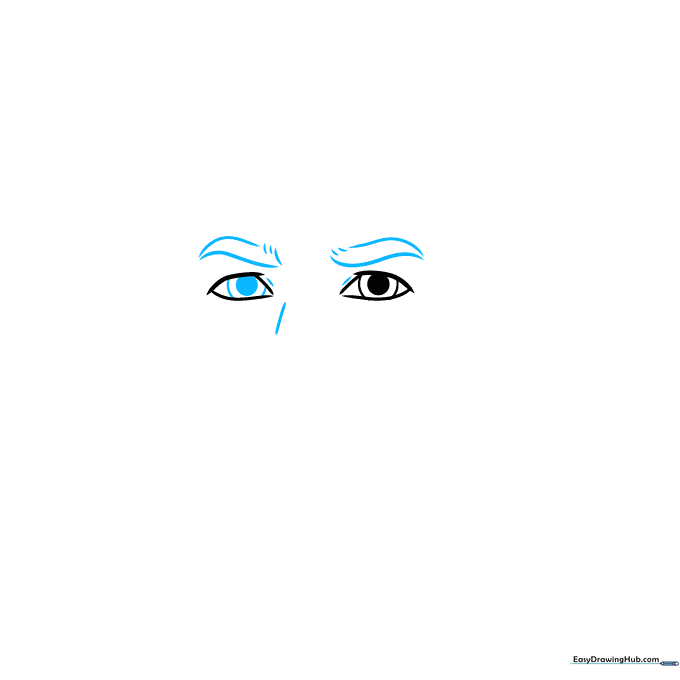
Complete the second eye and add curved lines for the eyebrows, nose bridge, and eyelids. Teacher's Tip: Use short, soft strokes to suggest the brow bone, which helps give the face a more realistic, three-dimensional look.
Step 3: Adding the Nose and Mouth

Sketch the tip of the nose, the nostrils, and the lips using smooth, curved lines. Teacher's Tip: Don't draw a full outline for the nose; just suggest the shape with the nostrils to keep the portrait looking natural.
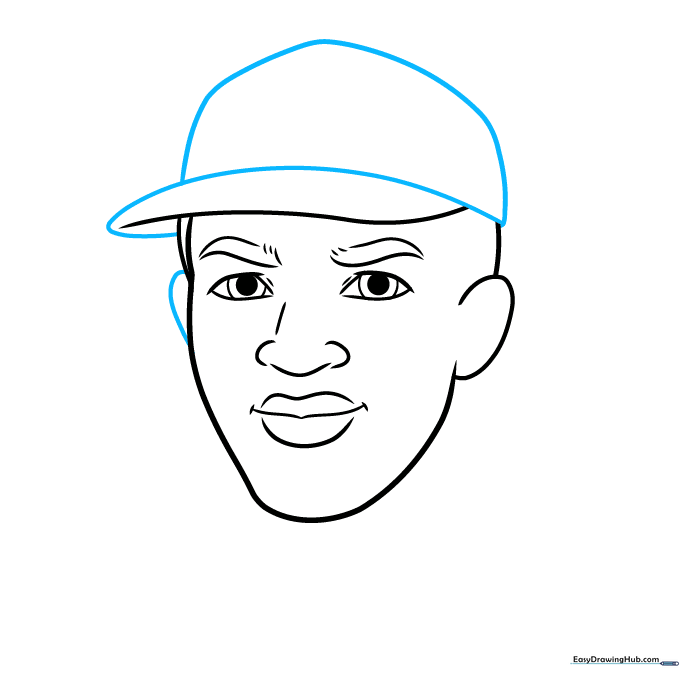
Step 4: Outlining the Face and Cap
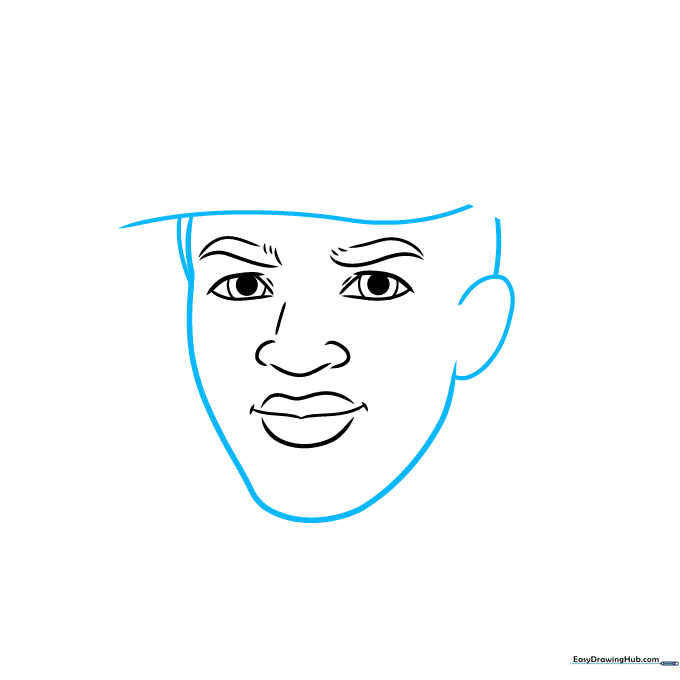
Use overlapping curved lines to trace the jawline, ear, and the bill of the baseball cap. Teacher's Tip: Ensure the cap bill aligns with the top of the forehead for a balanced perspective.
Step 5: Completing the Cap
Enclose the ear and draw the crown of the cap using long, sweeping curved lines. Teacher's Tip: Imagine the cap is wrapping around a ball—this helps you draw the curve of the crown correctly.
Step 6: Adding the Neck and Hairline
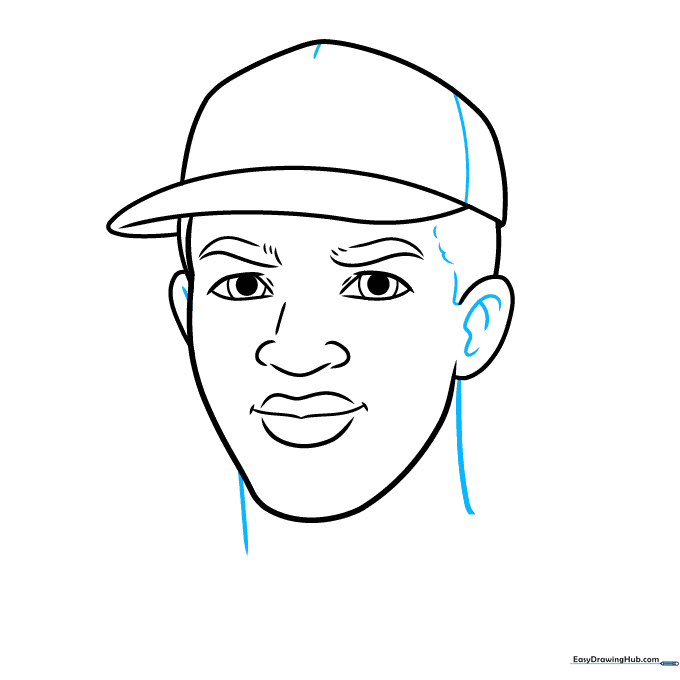
Draw the neck and add short, textured lines for the hairline and ear details. Teacher's Tip: Use quick, flicking motions with your pencil to make the hair look natural rather than like a solid block.
Step 7: Drawing the Uniform
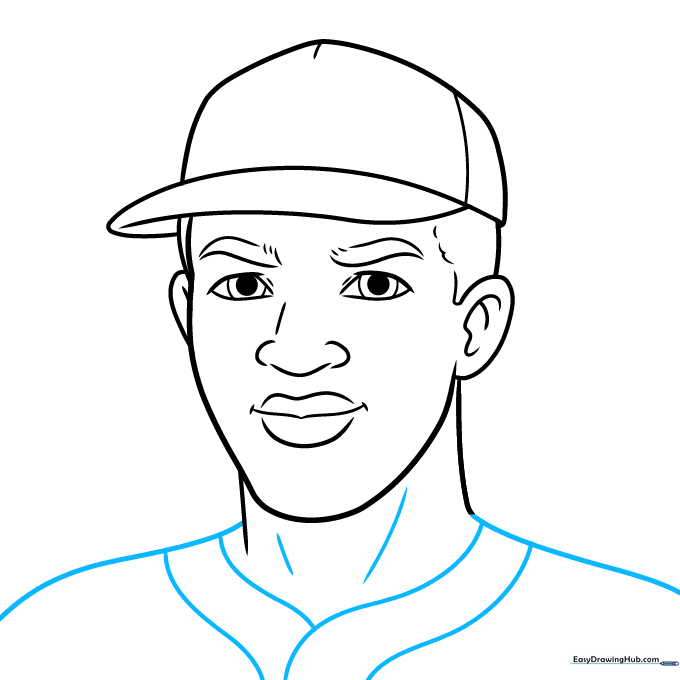
Extend lines from the neck to create the shoulders and the 'V' shape of the uniform collar. Teacher's Tip: Keep the shoulder lines wide to give the figure a strong, athletic build.
Step 8: Refining Features and Logo

Add contour lines to the chin and nose, and start the 'B' logo on the cap. Teacher's Tip: The 'B' is stylized, so take your time connecting the points to get that classic Brooklyn Dodgers look.
Step 9: Completing the Logo
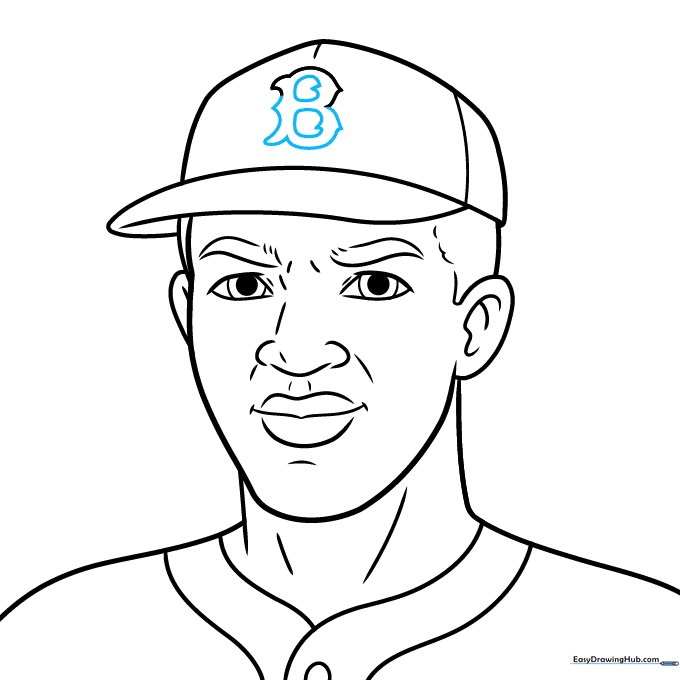
Finish the bold, fancy 'B' on the cap. Teacher's Tip: If the letter looks too thin, go back and thicken the lines to make it stand out as the focal point of the cap.
Step 10: Adding Color
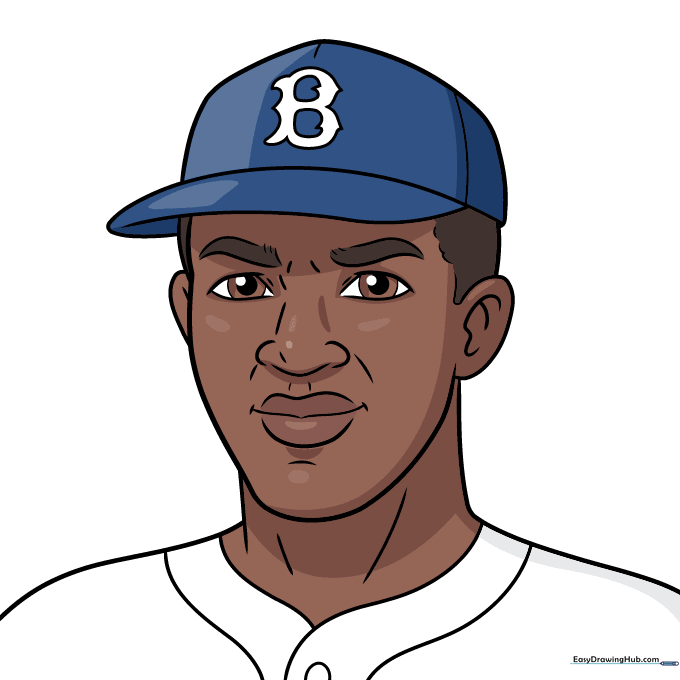
Bring your portrait to life! Use brown for skin and hair, and classic Dodgers blue and white for the cap and uniform. Teacher's Tip: Use a light blue for the cap and a darker blue for the logo to create depth.
More Tutorials


