How to Draw Jack and the Beanstalk: Easy 9-Step Guide
Bring the classic fairy tale to life with this fun, guided drawing activity. Perfect for ages 6+, all you need is a pencil, paper, and an eraser to start your adventure. Follow these steps to build confidence and master character proportions while creating your own magical scene.
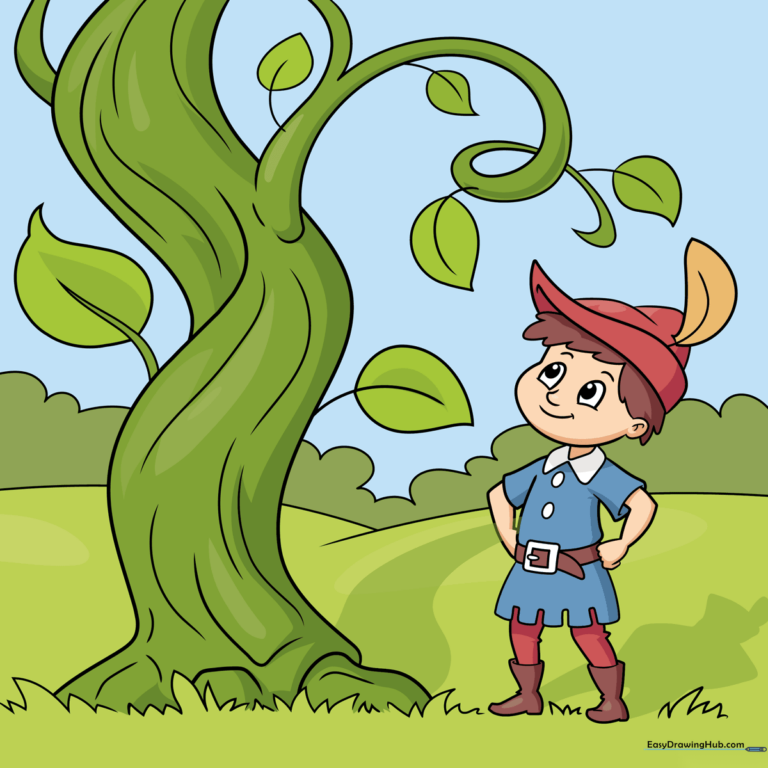
🎯 Final Result
Step-by-Step Instructions
Step 1: Sketching Jack's Face

Start by drawing Jack's face using soft, curved lines for the cheeks, nose, and ears. Add two small ovals for the eyes and shade in the pupils. Teacher's Tip: Keep your pencil pressure light here so you can easily adjust the facial expression if needed.
Step 2: Adding the Hat and Hair
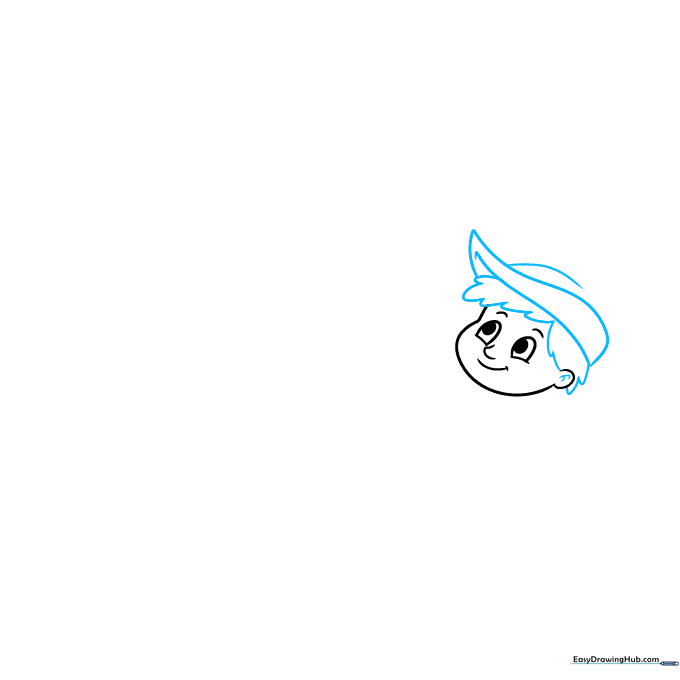
Draw Jack’s Robin Hood-style hat using long, sweeping curved lines that meet at a point. Use short, choppy strokes beneath the hat to create the look of hair. Tip: Vary the length of your hair strokes to make it look more natural and less like a solid block.
Step 3: Detailing the Hat and Shoulders
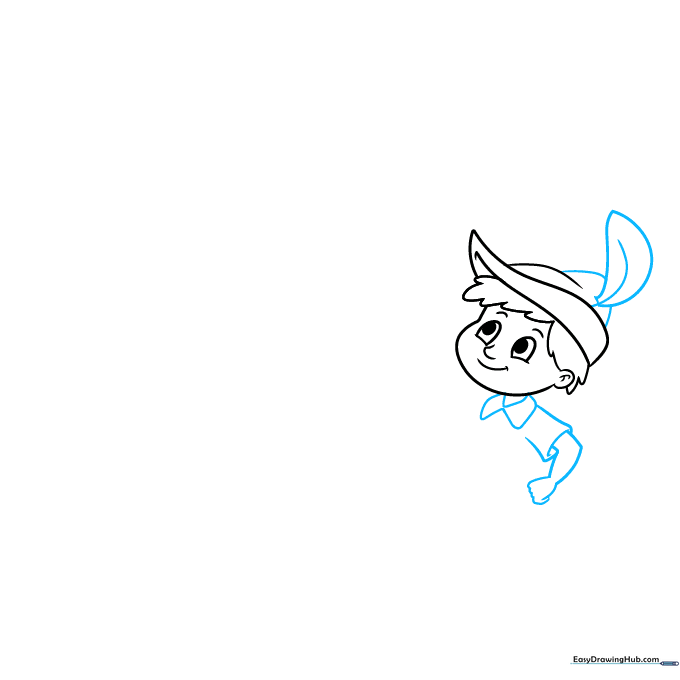
Add a feather to the hat by drawing a central line with two curved edges. Then, sketch the neck and the collar of his tunic. Tip: When drawing the collar, make sure the lines curve around the neck to give it a 3D appearance.
Step 4: Sketching the Tunic and Belt
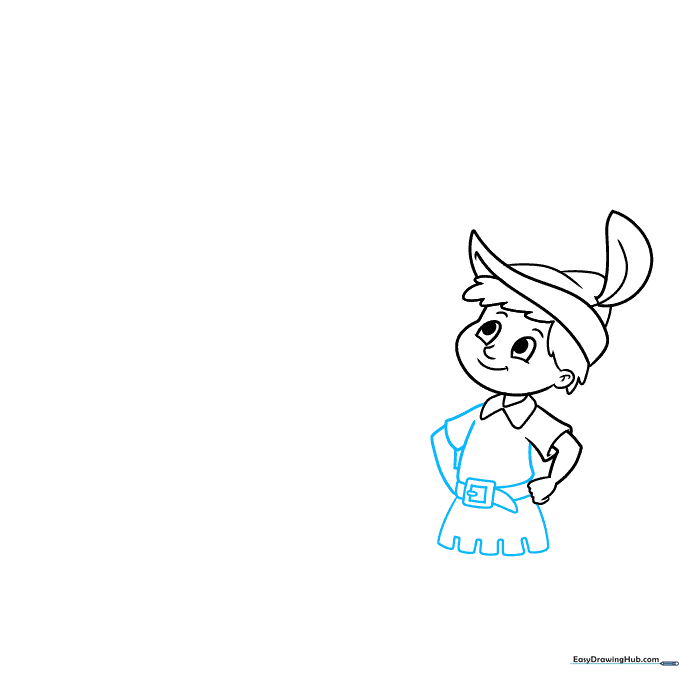
Draw the arms with hands resting on his hips to give him a confident pose. Add a belt with a square buckle and a scalloped hem at the bottom of his tunic. Tip: Use 'C' shapes for the hands—keep them simple to avoid frustration!
Step 5: Adding Buttons and Boots
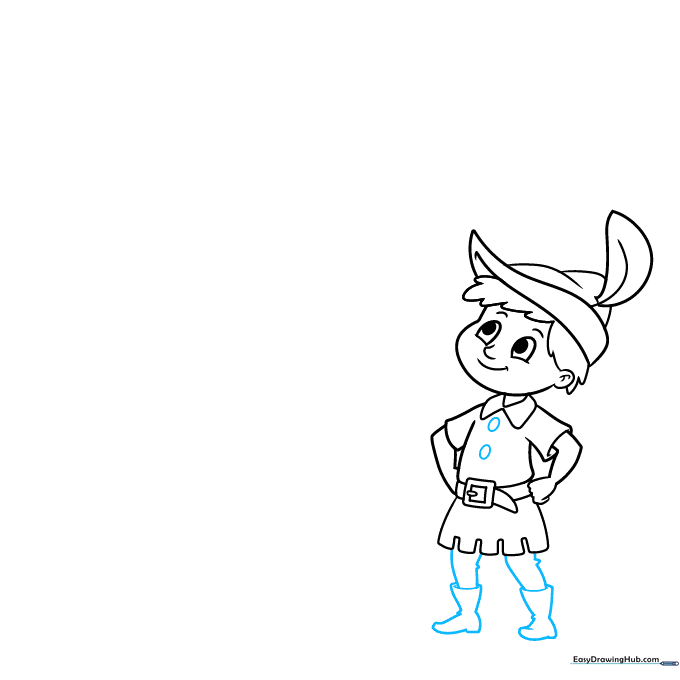
Add two oval buttons to the tunic. For the boots, draw irregular shapes at the bottom of the legs, adding small squiggly lines to represent fabric folds. Tip: The wrinkles in the boots help show where the fabric bends, adding realism to your drawing.
Step 6: Starting the Beanstalk
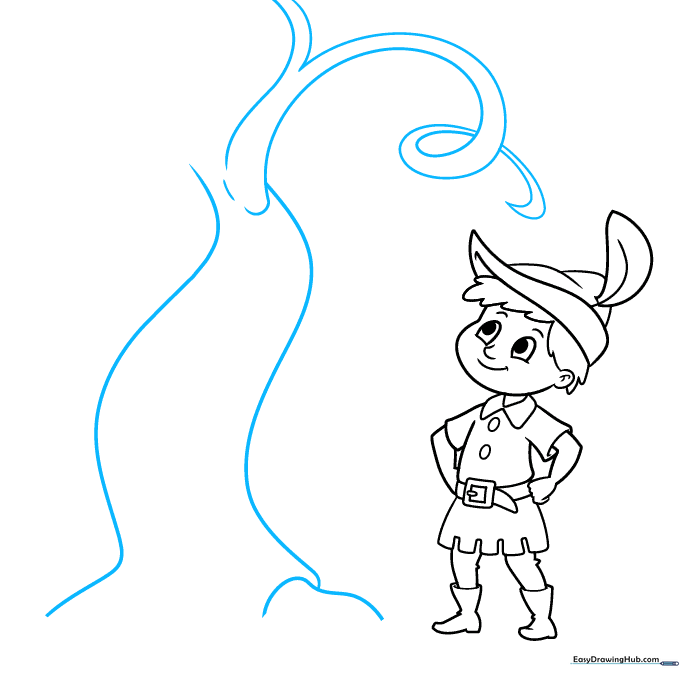
Draw the main trunk of the beanstalk using two long, parallel curved lines. Add branching tendrils that curl at the ends like spirals. Tip: Think of the beanstalk as a winding staircase; let it twist across the page to create movement.
Step 7: Adding Leaves
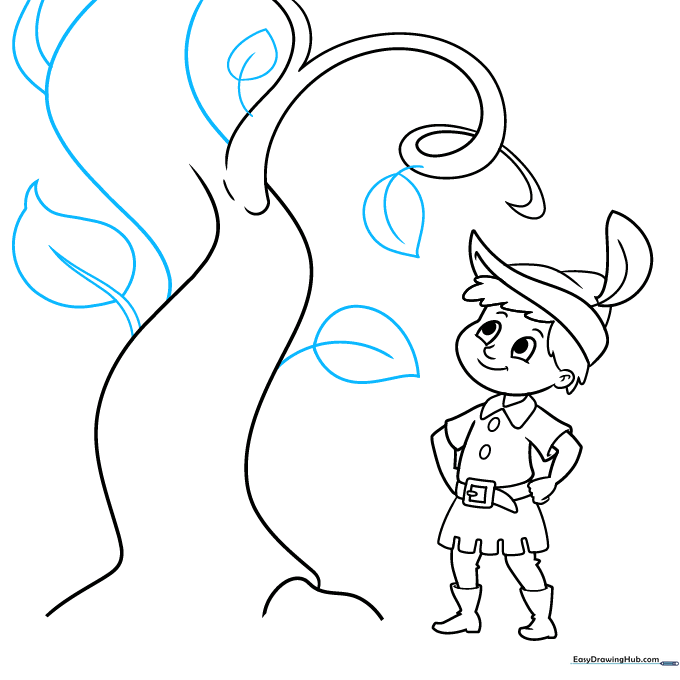
Fill the beanstalk with leaves of different sizes. Use two lines for large leaves and a single curved line for smaller ones. Tip: Don't make the leaves perfectly symmetrical; nature is organic and a bit messy!
Step 8: Ground and Grass
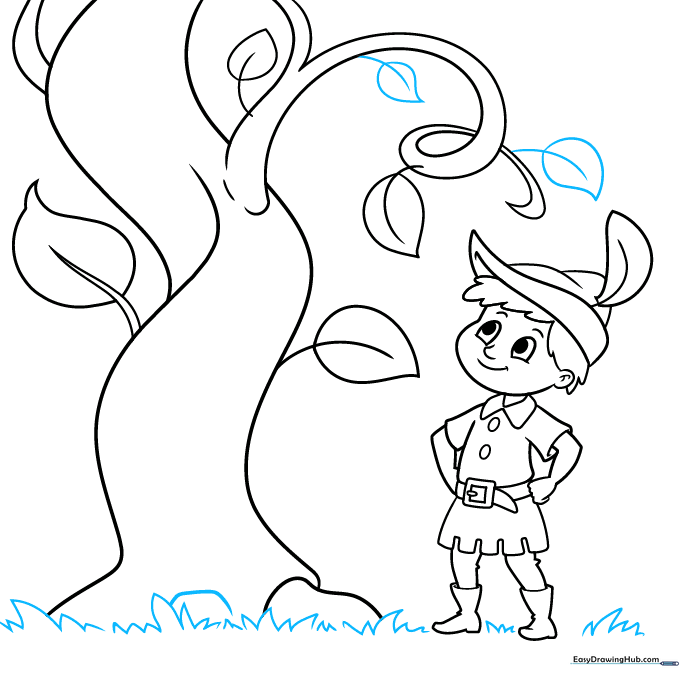
Add more leaves to fill out the plant, then draw jagged, triangular shapes at the bottom to represent grass. Tip: Use quick, flicking motions with your pencil to make the grass look sharp and realistic.
Step 9: Final Details and Horizon
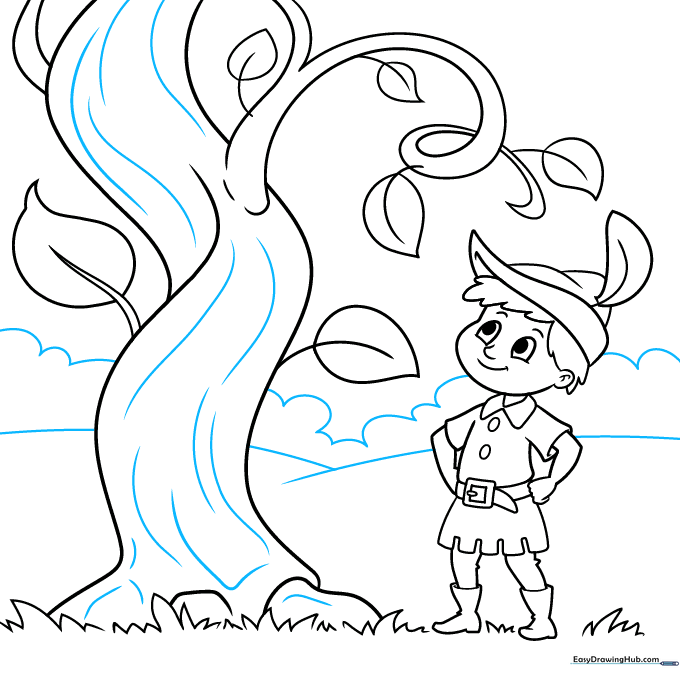
Add texture to the beanstalk trunk with curved lines. Draw a horizon line with rolling hills in the background to complete your scene. Tip: Keep the background lines lighter than the character to create a sense of depth.
Step 10: Bring It to Life with Color
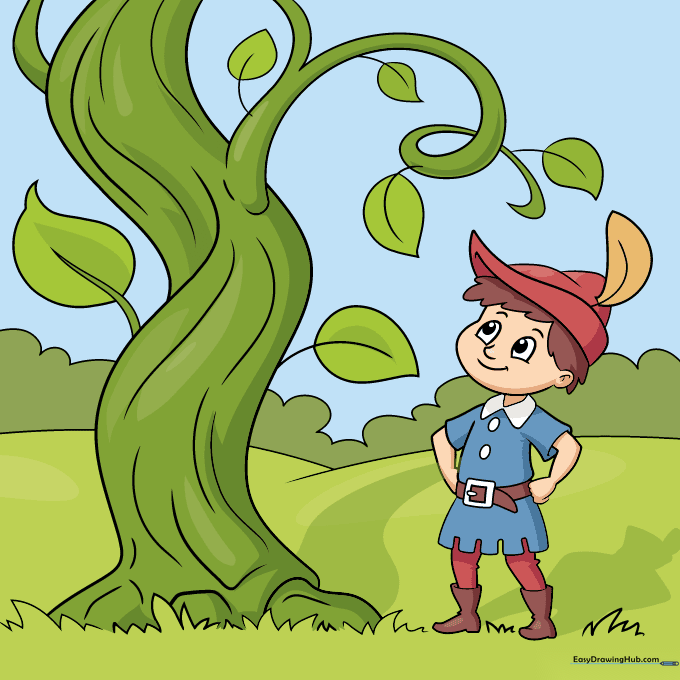
Your outline is complete! Use vibrant greens for the beanstalk and earthy tones for Jack's clothes to make your drawing pop. Tip: Try using colored pencils to add light and shadow to the leaves for a professional finish.
More Tutorials


