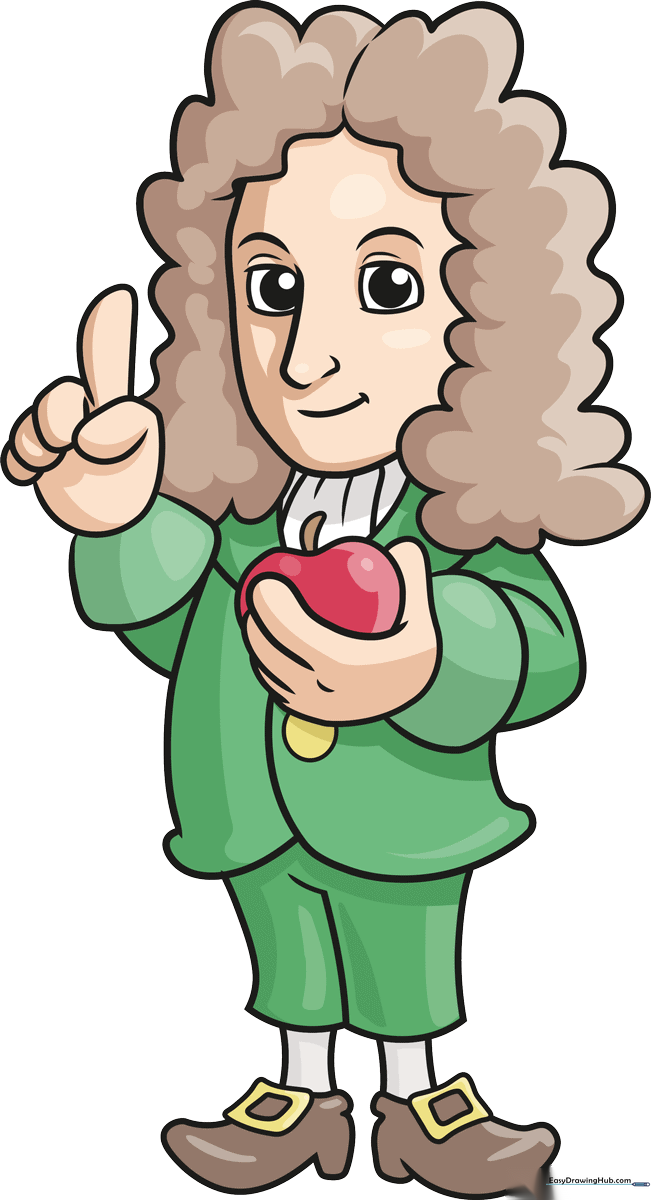
How to Draw Isaac Newton: Easy 10-Step Guide for Kids
Bring history to life with this fun, cartoon-style Isaac Newton drawing guide. Designed for ages 7 and up, this project requires only a pencil, paper, and an eraser. Follow along to master character proportions while learning about the famous scientist who discovered gravity.
🎯 Final Result
Step-by-Step Instructions
Step 1: Sketching the Facial Features

Start by sketching the eyes, eyebrows, and nose using soft, curved lines. Tip: Keep your pencil pressure light so you can easily adjust the symmetry of the eyes before moving on to the pupils.
Step 2: Defining the Face and Wig

Draw a gentle curve for the mouth and outline the jawline. Add the iconic 17th-century powdered wig using short, scalloped lines to create a fluffy texture. Tip: Use quick, flicking motions with your pencil to make the wig look voluminous.
Step 3: Detailing the Hair

Add more volume to the wig by layering connected curved lines. Draw a vertical line down the center to show where the hair is parted. Tip: Vary the size of your curves to make the hair look more natural and less like a solid block.
Step 4: Sketching the Garments
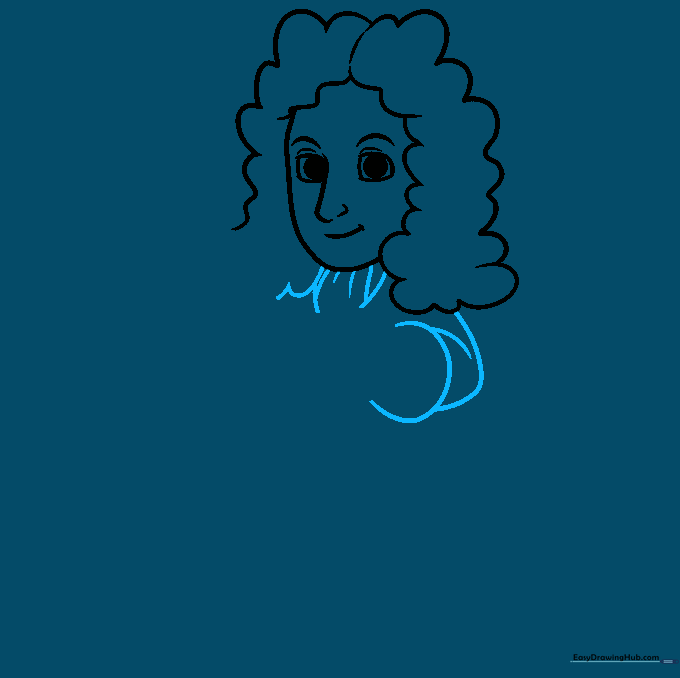
Begin the torso by drawing the collar of his coat and the scarf. Add the sleeves with large, rounded cuffs. Tip: Keep your lines smooth to represent the fabric of his historical clothing.
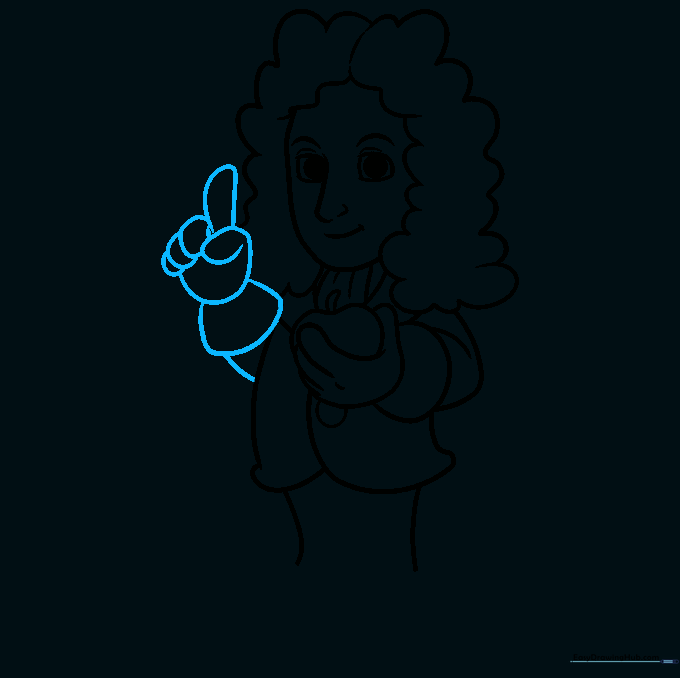
Step 5: Adding the Hands and Apple
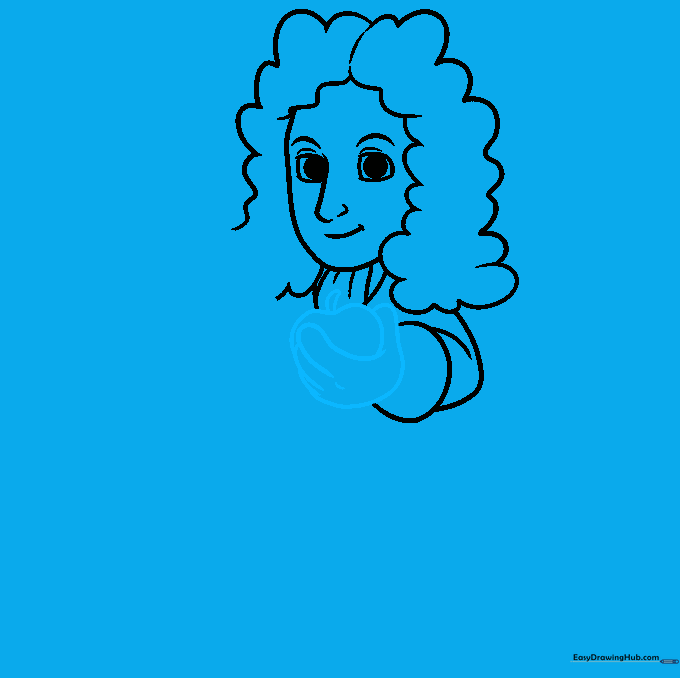
Draw the hand holding the famous apple. Use overlapping curves for the fingers and a simple circle for the fruit. Tip: Draw the apple stem as a small 'T' shape to give it a realistic touch.
Step 6: Drawing the Coat and Legs
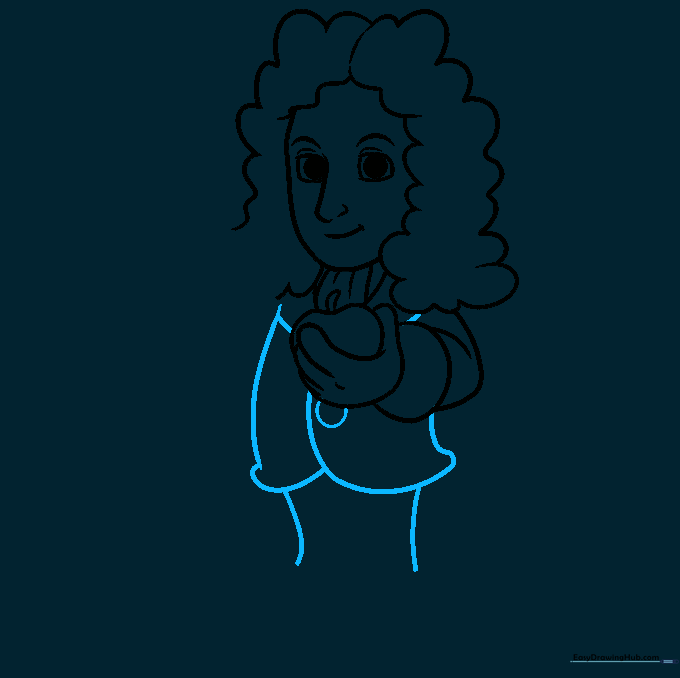
Outline the front of the coat and the sides of the trousers. Add a small circle to represent a button on the coat. Tip: Ensure the coat lines are parallel to the body to keep the character looking balanced.
Step 7: Completing the Arms
Draw the second sleeve and hand to match the first. Tip: If you struggle with symmetry, look at your first hand and try to mirror the curves on the opposite side.
Step 8: Adding Shoes and Buckles
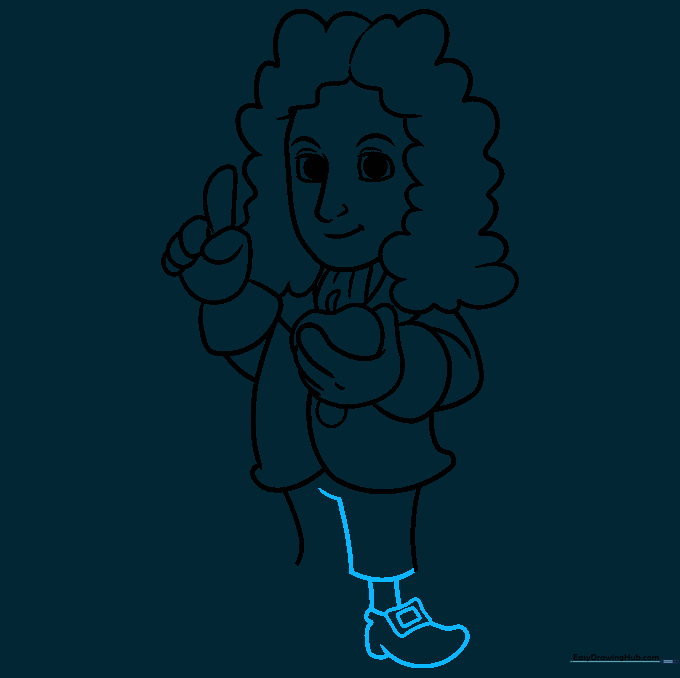
Finish the pant legs and draw the shoes. Add a rounded rectangle on top of each shoe to represent the historical buckles. Tip: Keep the shoe shapes slightly chunky to match the cartoon style.
Step 9: Finalizing the Outline
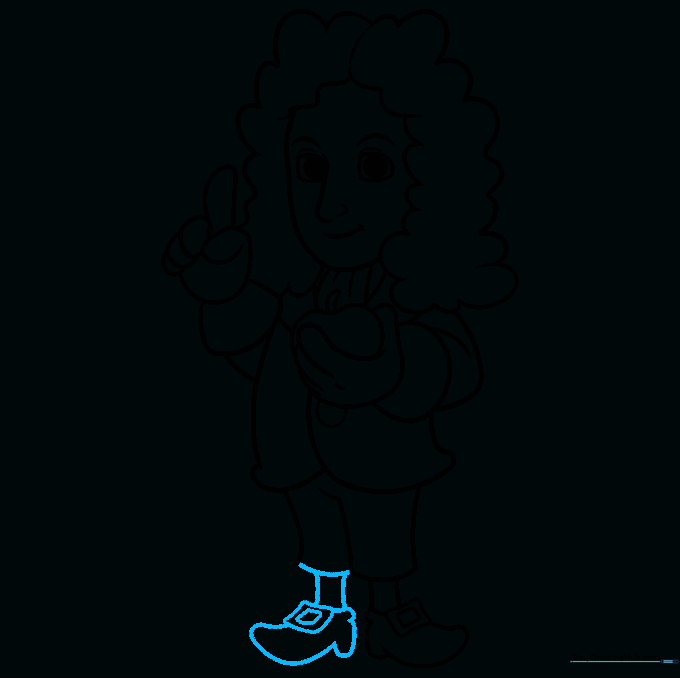
Check your drawing for any missing lines on the legs or shoes. Darken your final lines with a pen or a sharp pencil. Tip: Erase any stray guidelines inside the body to make your drawing look clean and professional.
Step 10: Adding Color
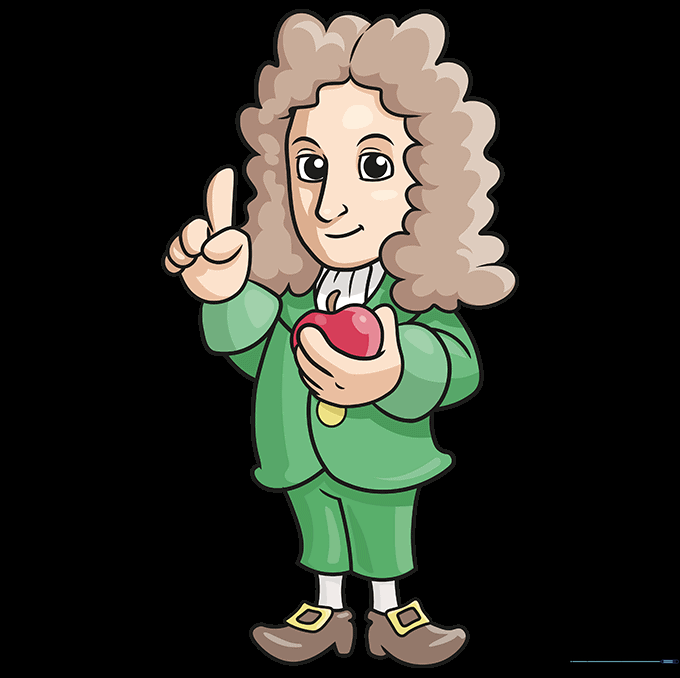
Bring your drawing to life with color! Use muted tones for the coat and a bright red for the apple. Tip: Use a light grey for the wig to give it that classic powdered look.
More Tutorials


