How to Draw Iron Man’s Mask: Easy 20-Step Guide
Ready to bring your favorite Avenger to life? This step-by-step tutorial is designed for young artists and beginners to build confidence with geometric shapes. Grab your pencil, eraser, and paper, and let’s construct the legendary armor piece together.
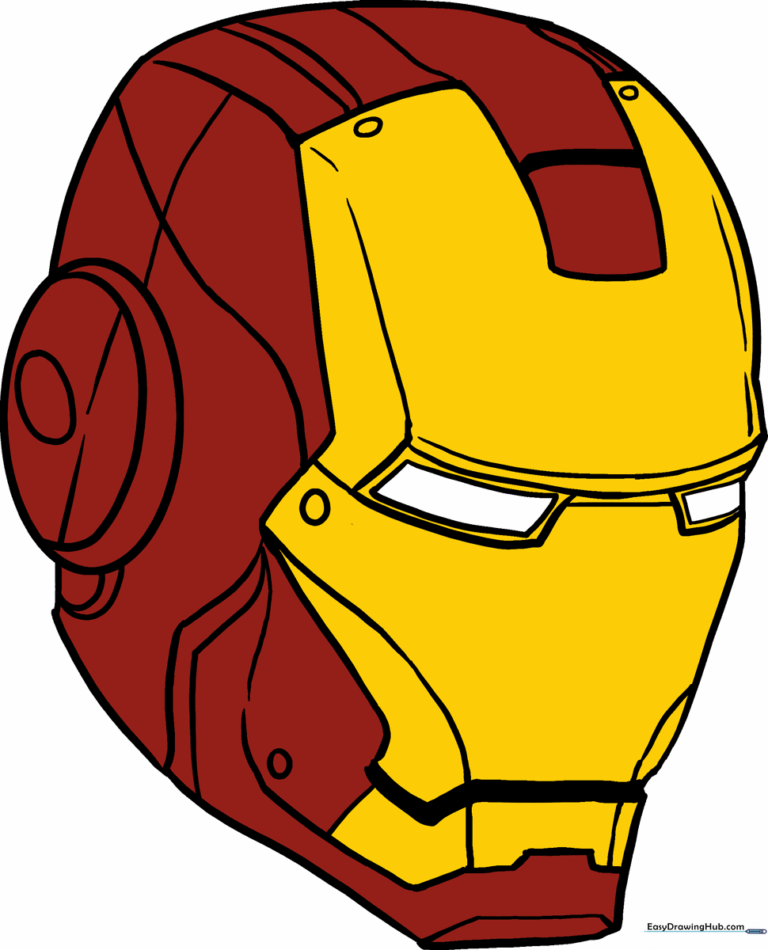
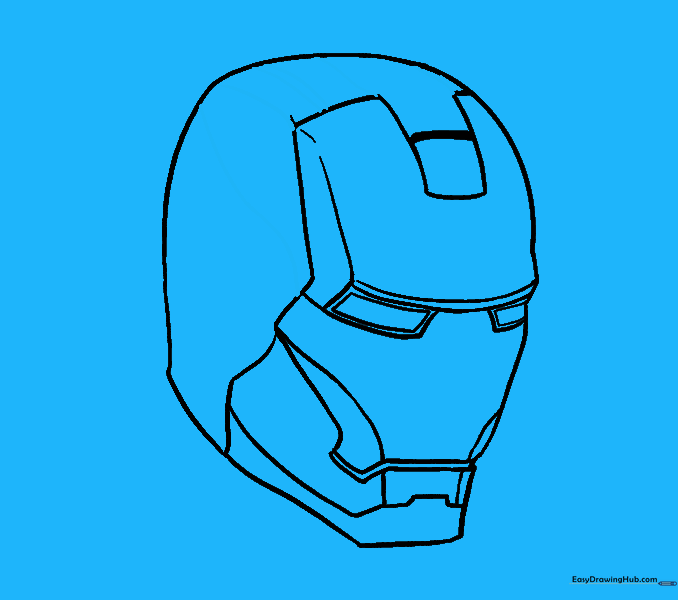
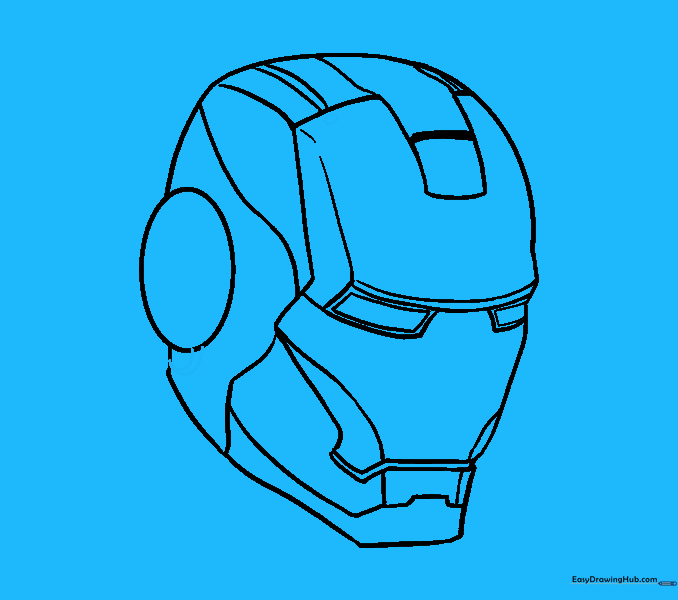
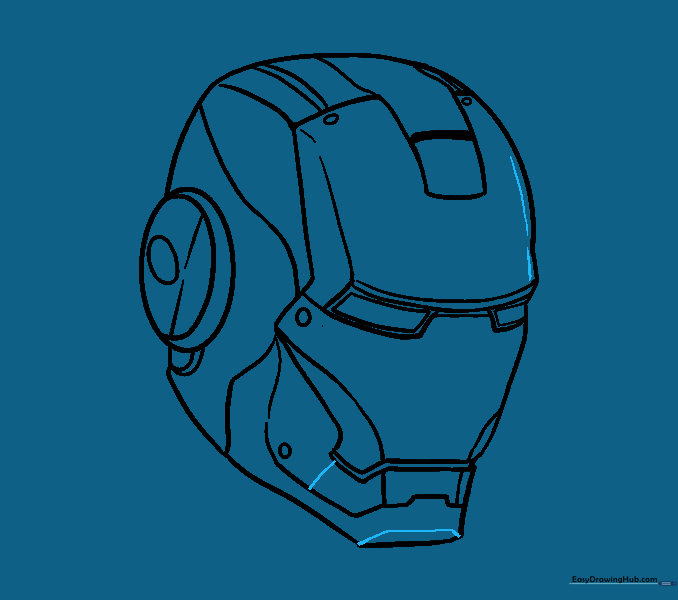
🎯 Final Result
Step-by-Step Instructions
Step 1: Sketching the Base Oval

Draw a large, light oval to serve as the foundation for the mask. Teacher's Tip: Keep your pencil pressure very light so you can easily erase these guide lines later.
Step 2: Defining the Side Contours
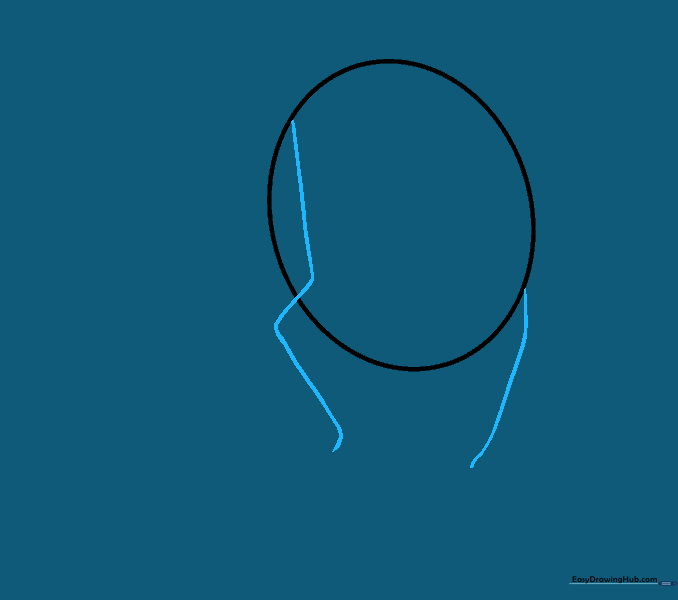
Draw a smooth curved line on one side of the oval, and a series of short, connected straight lines on the other. This creates the asymmetrical structure of the armor.
Step 3: Creating Parallel Structure
Connect your previous lines with a parallel series of straight segments. Tip: Focus on keeping the lines clean and sharp to mimic the metallic look of the suit.
Step 4: Shaping the Forehead
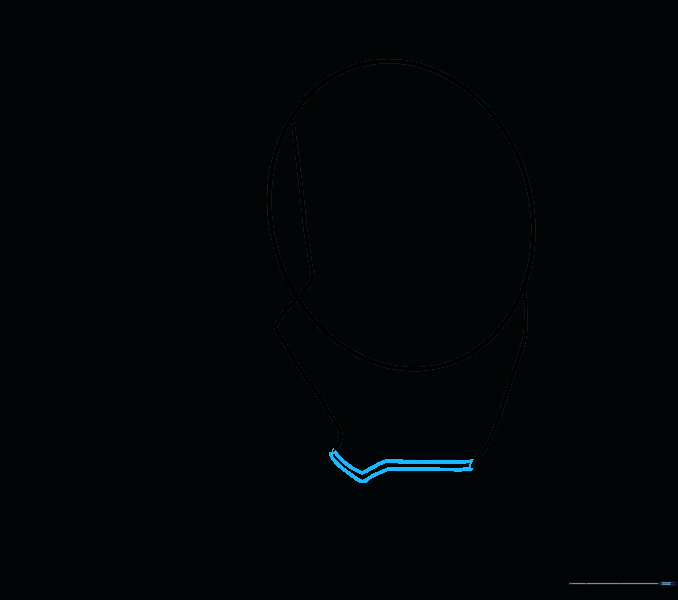
Draw a long, sweeping curved line from the top of the mask, followed by a short straight line. Connect this back to the main body with a smooth curve.
Step 5: Forming the Chin
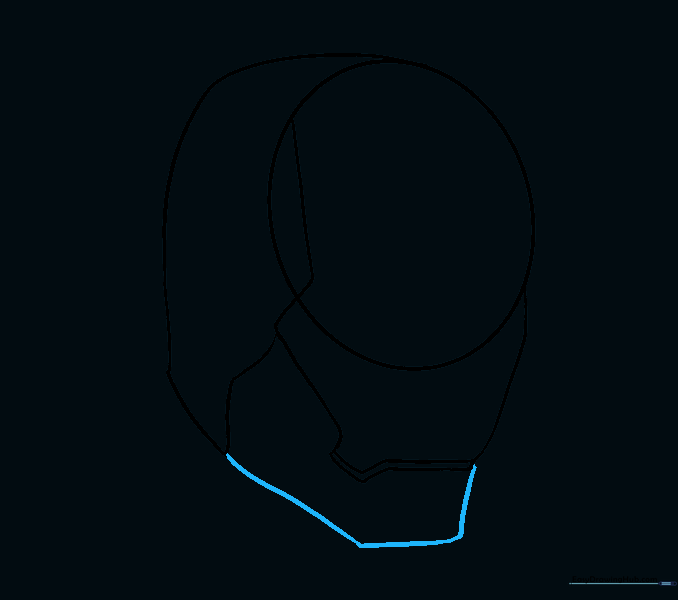
Extend a straight line downward from the mask's base, then add a horizontal line to create the chin. Connect it back to the sides with a slight curve.
Step 6: Adding Jaw Detail
Inside the chin area, draw a long curved line. Then, add a series of short, connected straight lines across the chin to define the jawline.
Step 7: Defining the Cheekbones
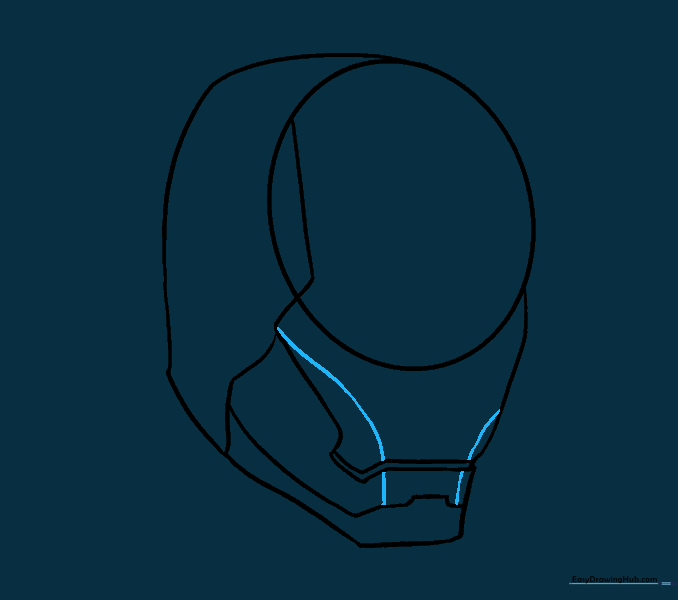
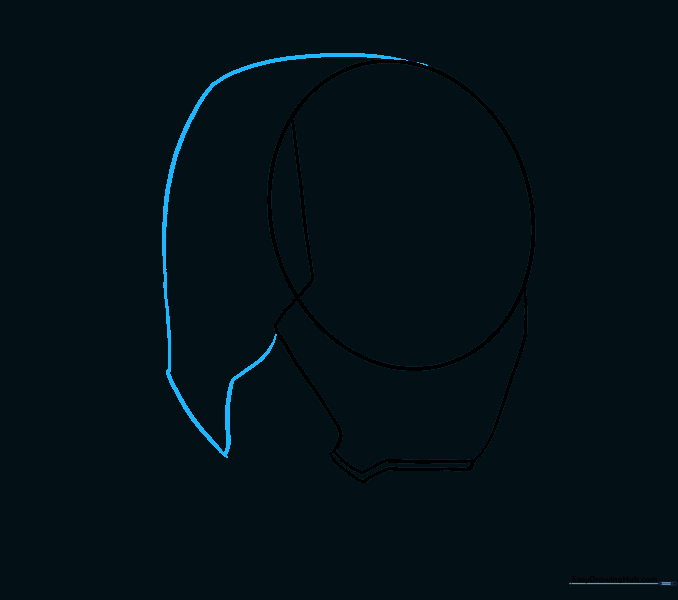
Draw a pair of curved lines extending from the chin up toward the sides of the face to give the mask its signature shape.
Step 8: Cleaning Up

Carefully erase the original oval guide lines. Tip: Use a kneaded eraser if you have one; it’s gentler on the paper and won't smudge your work.
Step 9: Forehead Detailing
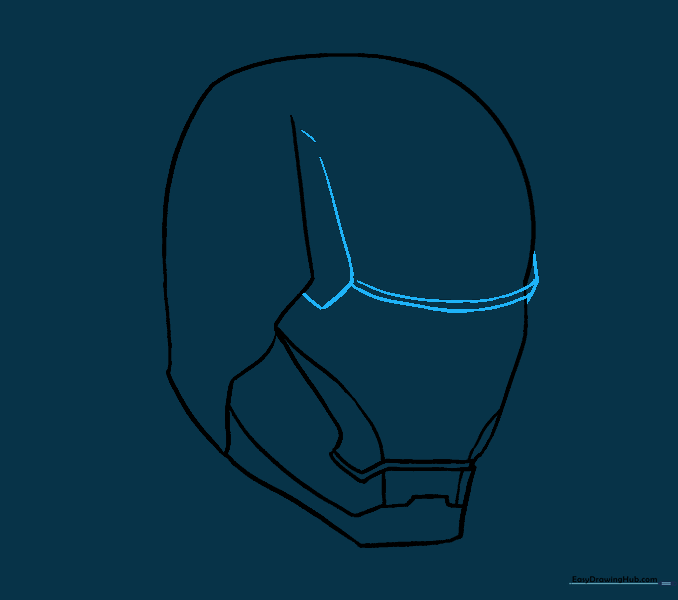
Enclose an irregular shape on the forehead with a curved line, then add parallel curved lines across the face to create depth.
Step 10: Drawing the Eyes
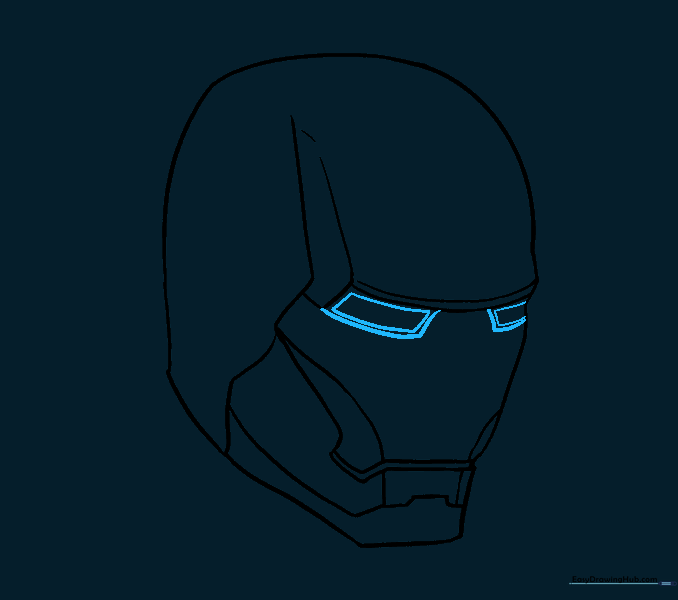
Draw two rectangular shapes below the brow, then add a smaller, slanted rectangle inside each one to create the iconic Iron Man eye slits.
Step 11: Top Plate Detail
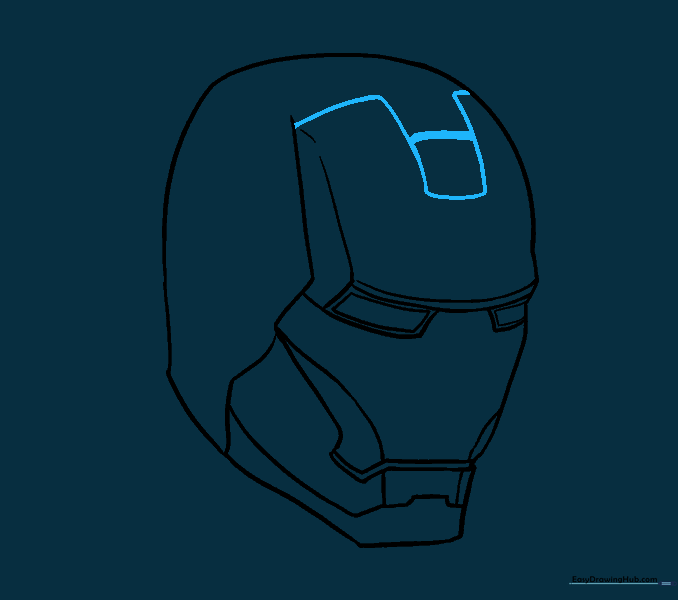
Draw a square in the center of the forehead, extending lines upward to connect to the top edge of the mask.
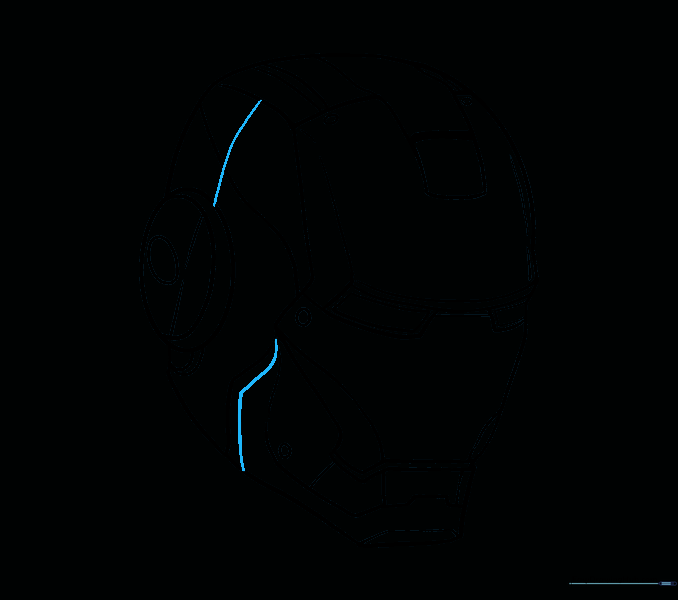
Step 12: Adding Side Panels
Add curved lines connecting the top to the back of the head, and an 'S' shaped curve on the side for extra mechanical detail.
Step 13: Drawing the Ear Piece
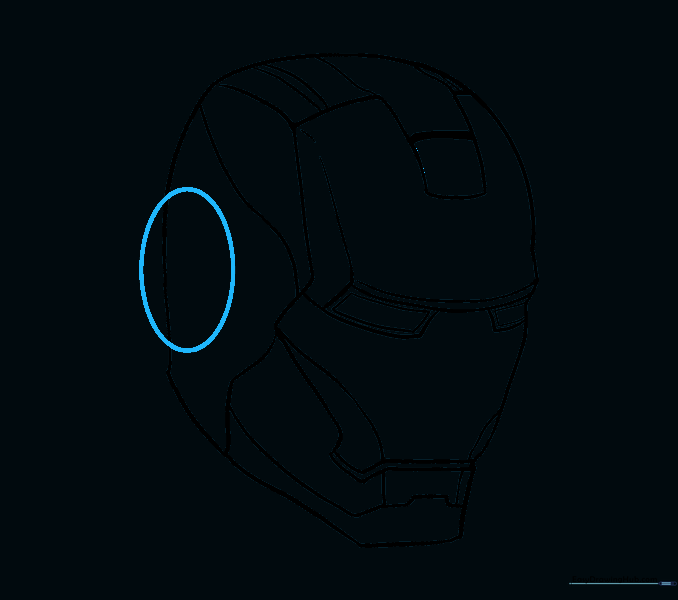
Draw an oval shape on the side of the mask to represent the ear section.
Step 14: Refining the Ear
Erase the guide line inside the ear oval to make it look like a solid piece of armor.
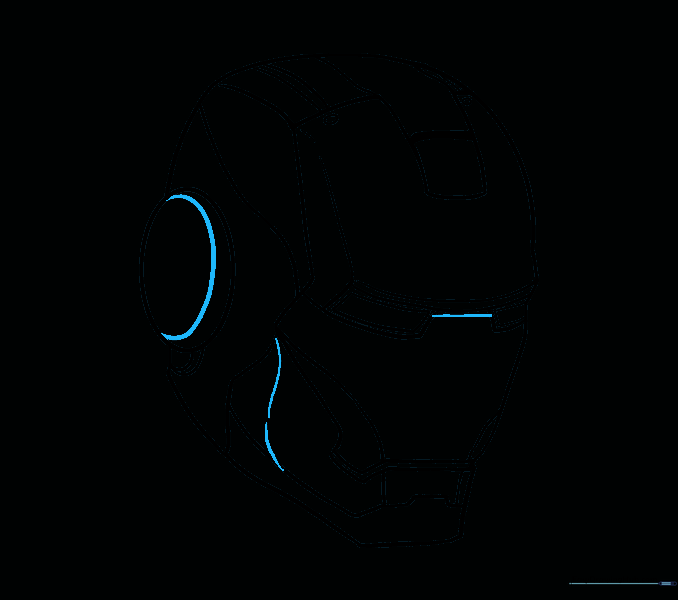
Step 15: Adding More Armor Detail
Add two curved lines beneath the ear piece and small ovals on the forehead for extra mechanical texture.
Step 16: Face Plate Lines
Draw a curved line inside the face area and add lines across the cheeks to define the mask's segments.
Step 17: Ear Piece Detail
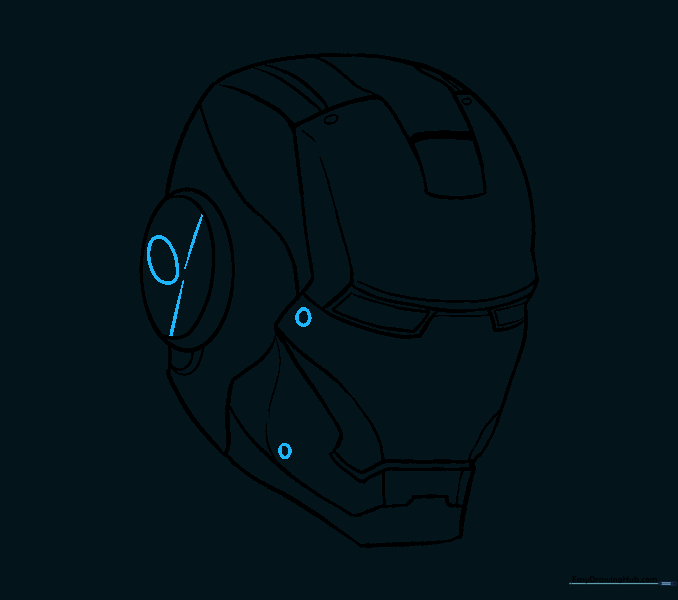
Add a smaller oval and vertical lines inside the ear piece to give it a technical look.
Step 18: Chin Plating
Draw a trapezoid shape at the bottom of the chin and add curved lines on the forehead to suggest depth.
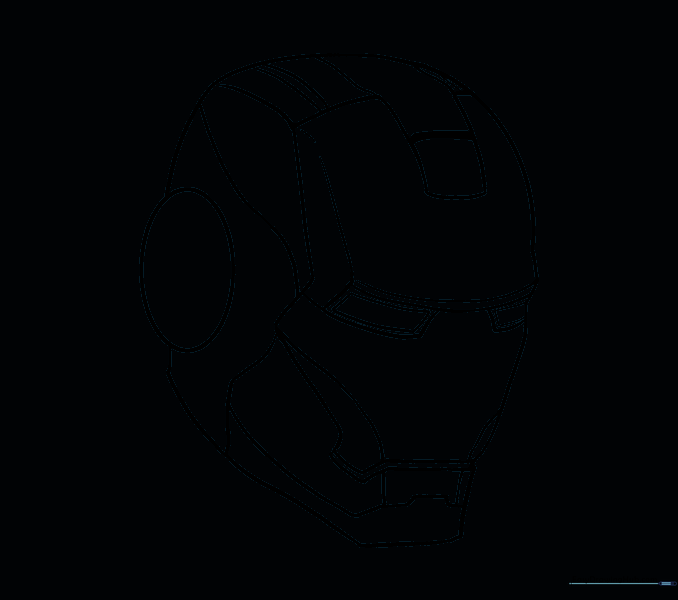
Step 19: Final Outline
Connect the ear piece to the top of the head and add a final curved line along the jaw. Your line art is now complete!
Step 20: Adding Color
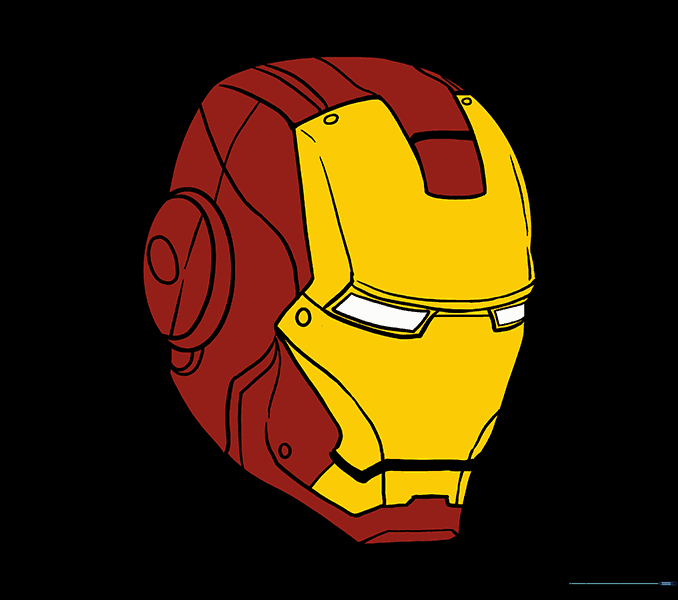
Bring your drawing to life with red and gold! Tip: Use light, even strokes for the gold and bold, vibrant red for the main plating to make it pop.
More Tutorials


