How to Draw Indiana Jones: Easy 10-Step Guide
Ready to sketch the world's most famous archaeologist? This tutorial is designed for young artists ages 8+ who want to practice capturing character expressions and iconic accessories. Grab a pencil, an eraser, and a piece of paper to start building your own adventure hero.
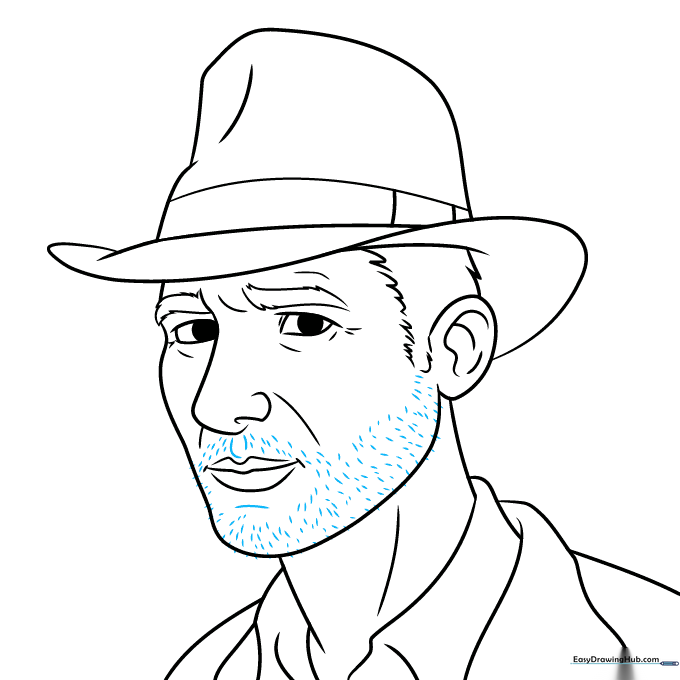
🎯 Final Result

Step-by-Step Instructions
Step 1: Sketching the Nose and Eye
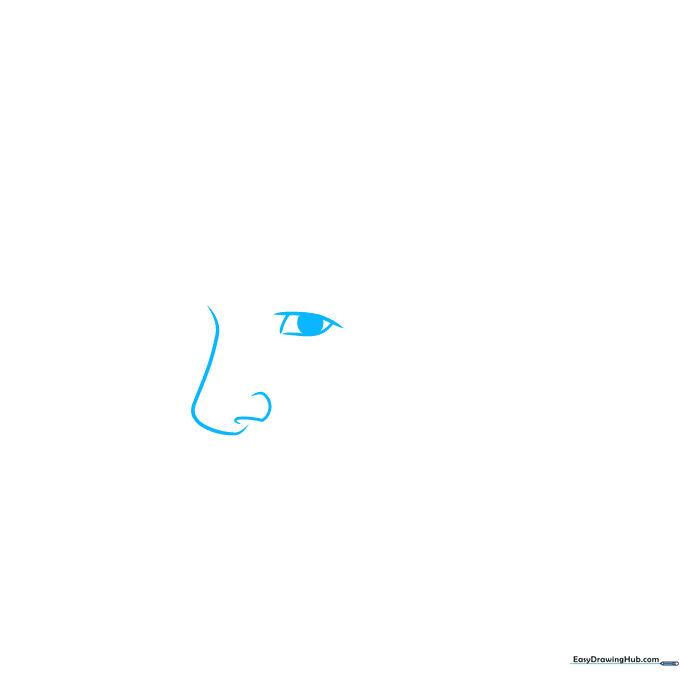
Start by drawing the profile of the nose using a gentle curve. Add the nostril with a small hook. Then, outline the eye with three curved lines and shade a small circle inside for the pupil. Teacher's Tip: Keep the eye placement slightly higher than the center of the face to leave room for the jaw.
Step 2: Defining the Mouth
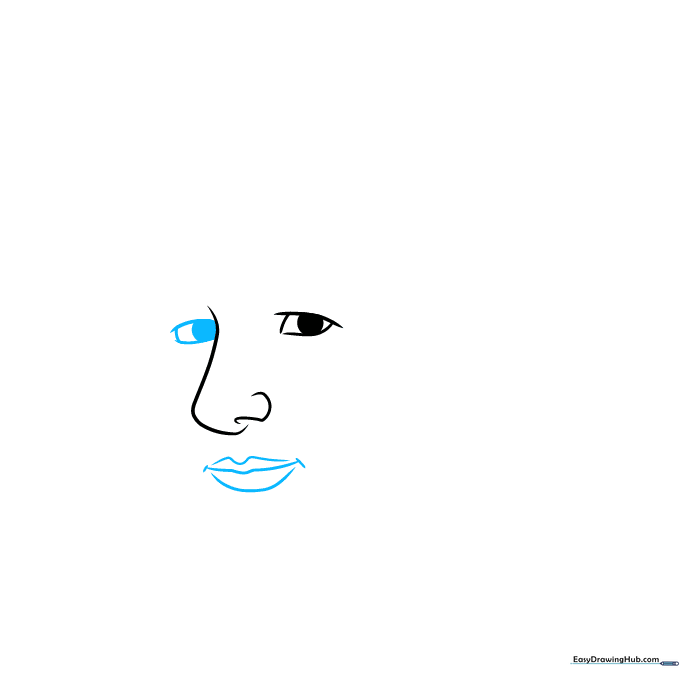
Draw the second eye and the mouth using three lines for the lips and two small marks at the corners. Teacher's Tip: Use a light touch for the mouth; Indy has a serious expression, so keep the lines horizontal rather than curved upward into a smile.
Step 3: Adding Facial Contours
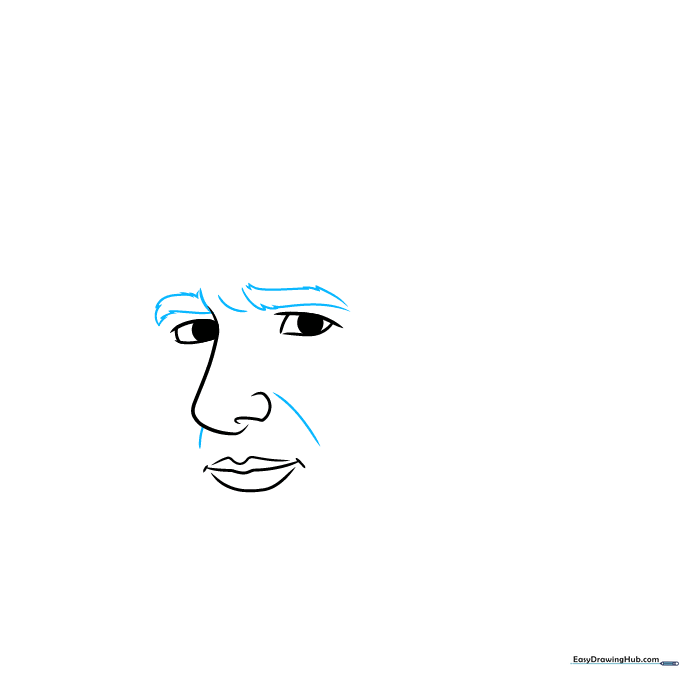
Add curved lines around the nose and mouth to show muscle structure. Sketch the rectangular eyebrows with jagged, short strokes to give them a textured, rugged look. Teacher's Tip: Don't make the eyebrows too smooth; a slightly messy look fits his adventurous personality.
Step 4: Shaping the Face and Fedora Brim
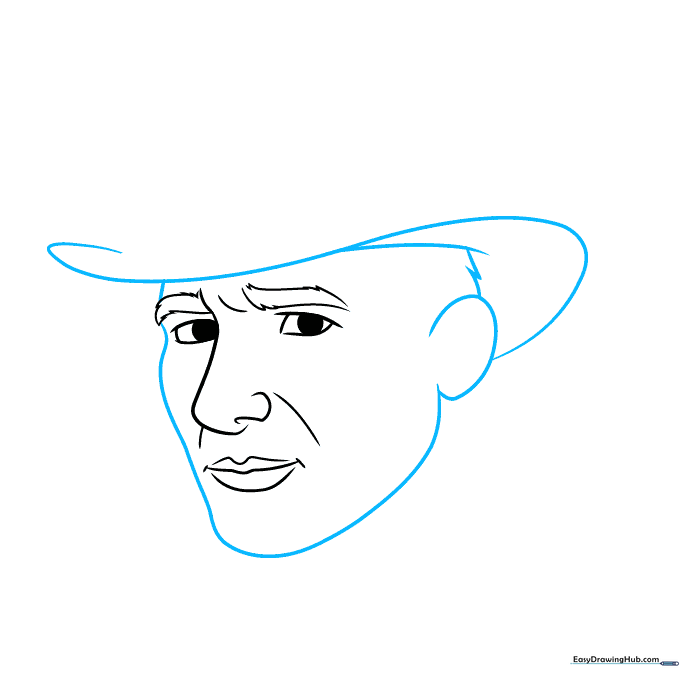
Outline the cheek, chin, and jaw with one continuous curved line, connecting it to a 'C' shape for the ear. Add an 'S' shaped line above the face for the hat brim. Teacher's Tip: The brim should look like it's resting just above the eyebrows to create that iconic shadow.
Step 5: Ear Detail and Hat Crown
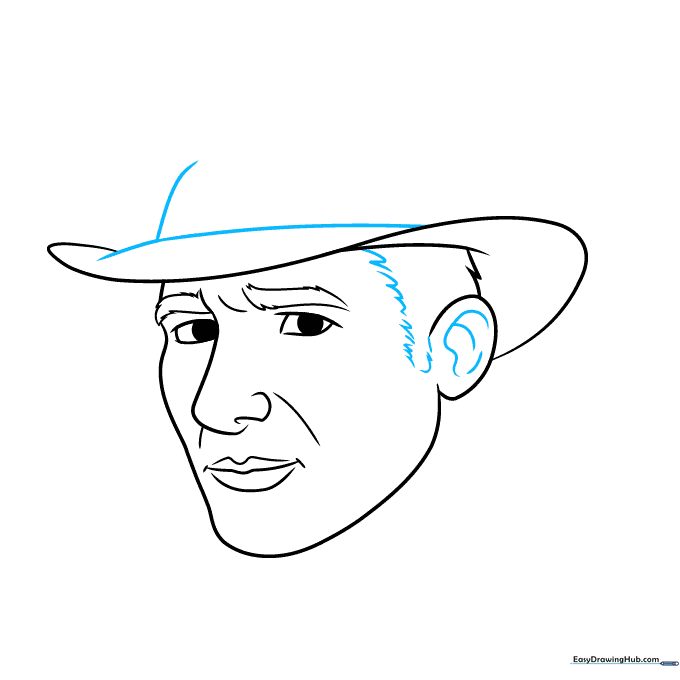
Add small curved lines inside the ear and near the hairline. Draw a long line across the top of the hat to mark where the crown begins. Teacher's Tip: Keep your pencil strokes short and rhythmic when drawing the hair to suggest texture.
Step 6: Completing the Fedora
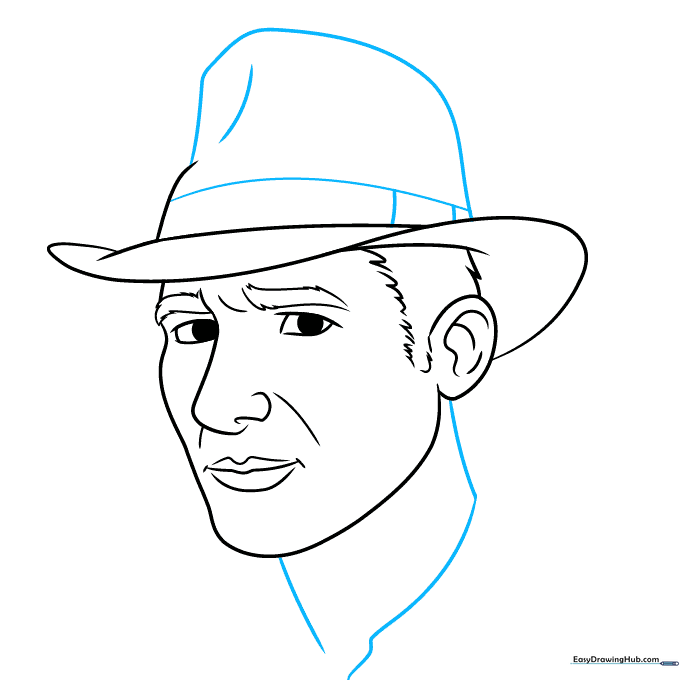
Enclose the crown of the hat and add the hat band with two short vertical lines. Contour the front of the hat and draw the neck lines. Teacher's Tip: The hat band is a key detail—make sure it's parallel to the brim for a realistic look.
Step 7: Adding the Jacket and Collar
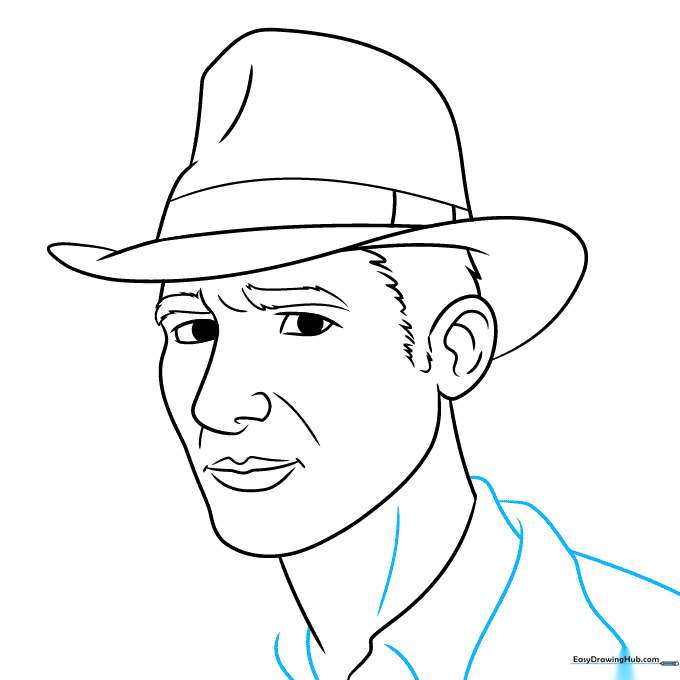
Sketch the shirt collar and the triangular jacket collar. Add lines for the shoulder. Teacher's Tip: Use angular lines for the jacket to show that it's made of thick, sturdy leather.
Step 8: Refining the Shoulders and Eyes
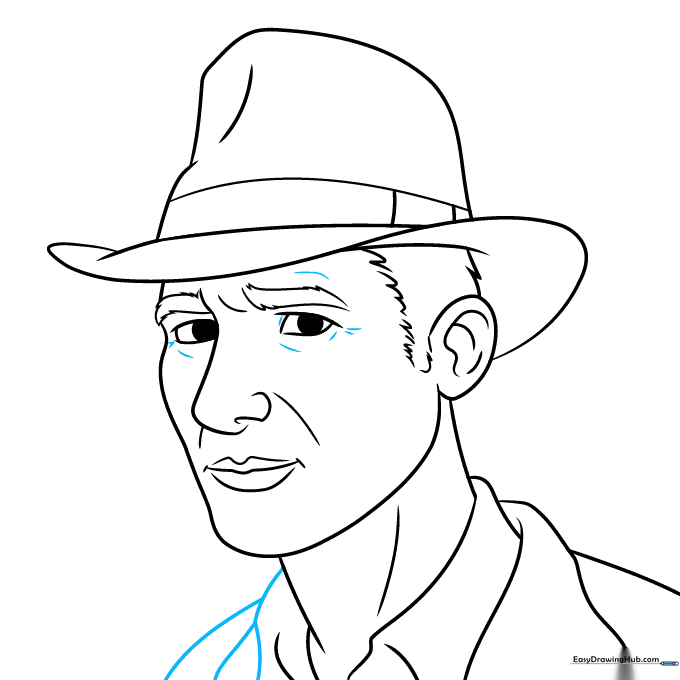
Mirror the collar and shoulder on the other side. Add subtle contour lines around the eyes to suggest depth. Teacher's Tip: A few light lines under the eyes can help show the character's age and experience.
Step 9: Final Textures and Stubble
Use short, light marks to indicate stubble on the chin and mustache area. Teacher's Tip: Don't overdo the stubble—just a few scattered dots and dashes will create the right effect without making the face look dirty.
Step 10: Bringing Indy to Life with Color

Your outline is complete! Use warm browns for the fedora and jacket, and a soft beige or light brown for the skin. Teacher's Tip: Use a darker brown to shade the underside of the hat brim to create a dramatic, cinematic look.
More Tutorials


