How to Draw an Ice Skater: Easy 10-Step Guide
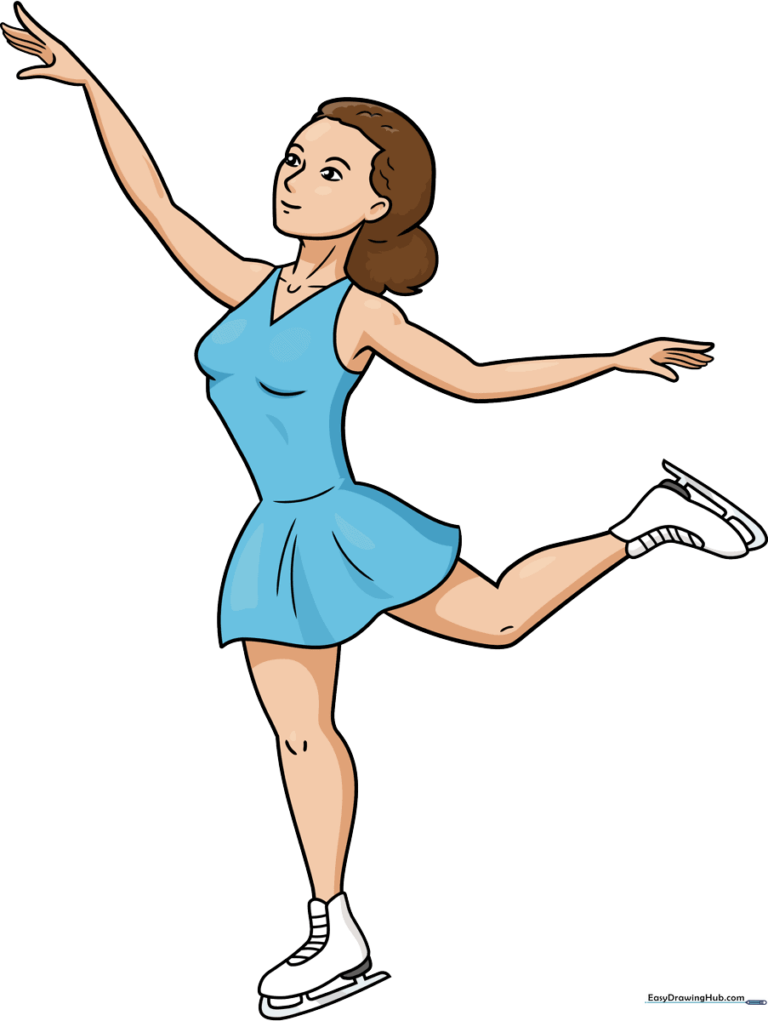
Capture the grace of winter sports with this fun, beginner-friendly ice skater drawing tutorial. Designed for ages 5 and up, this activity requires only a pencil, paper, and an eraser to help young artists master character proportions. Follow along to bring your own skating star to life on the page.
🎯 Final Result
Step-by-Step Instructions
Step 1: Sketching the Face and Features
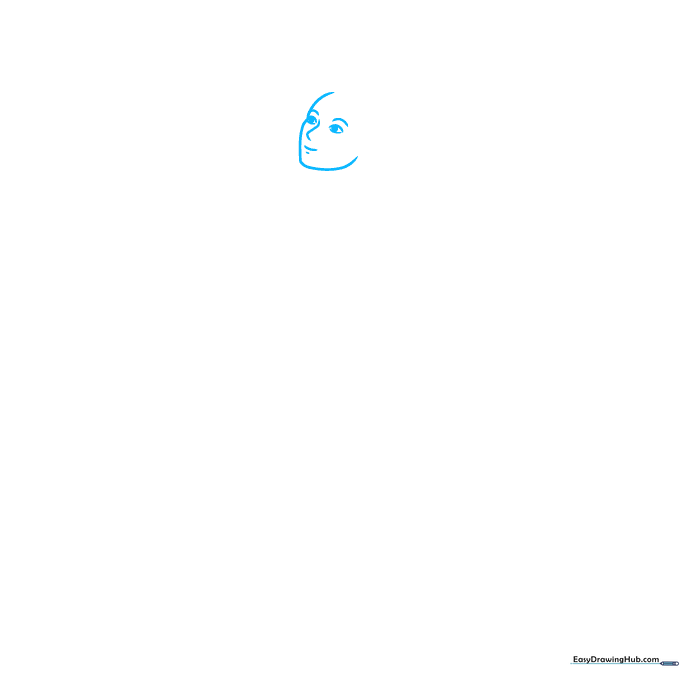
Lightly sketch two small lemon shapes for the eyes with circles inside. Add small dashes above for brows and a hook near the left eye for the nose. Teacher's Tip: Keep your pencil pressure very light here so you can easily adjust the expression later.
Step 2: Defining the Head and Shoulders
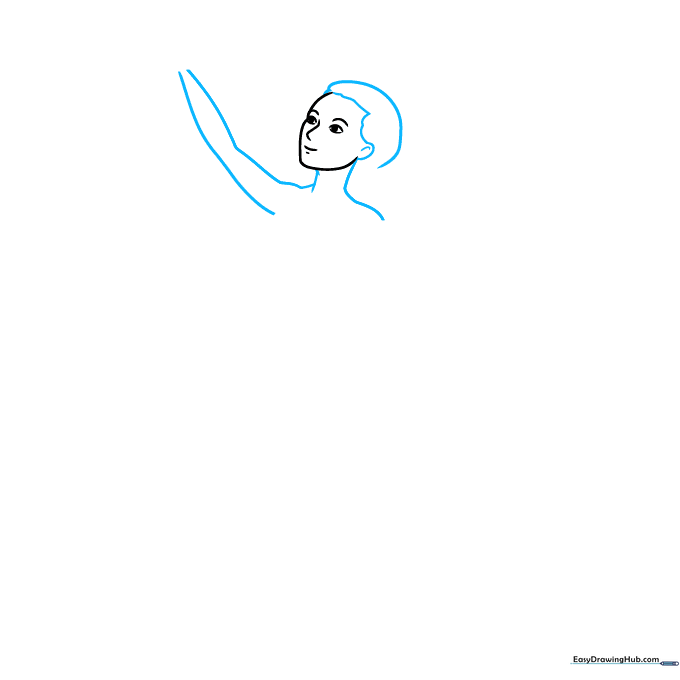
Draw an oval for the ear and a wavy line for the hairline. Sketch the neck using two vertical lines, then curve out the shoulders. Teacher's Tip: Use smooth, continuous strokes for the shoulders to give your skater a graceful posture.
Step 3: Drawing the Arms
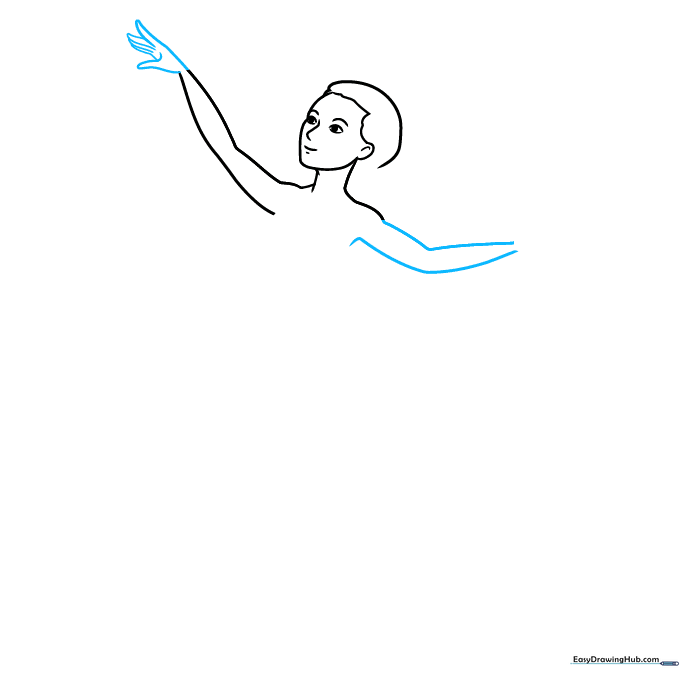
Extend the arms using long, flowing curves. Draw the fingers as small, overlapping narrow shapes. Teacher's Tip: Think of the arms as gentle ribbons to capture the fluid motion of skating.
Step 4: Outlining the Torso
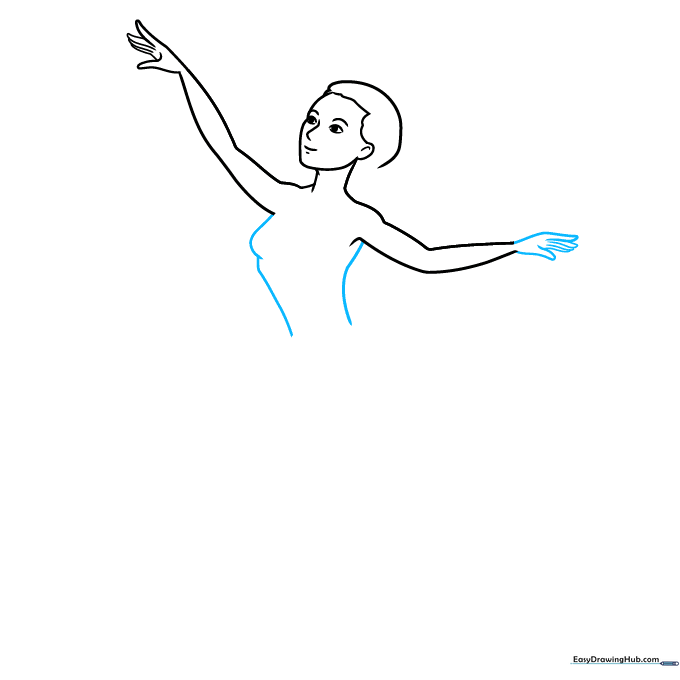
Complete the second arm and connect the torso with one short curve and two long, sweeping lines. Teacher's Tip: Keep the torso slim to emphasize the skater's athletic build.
Step 5: Adding Costume Details
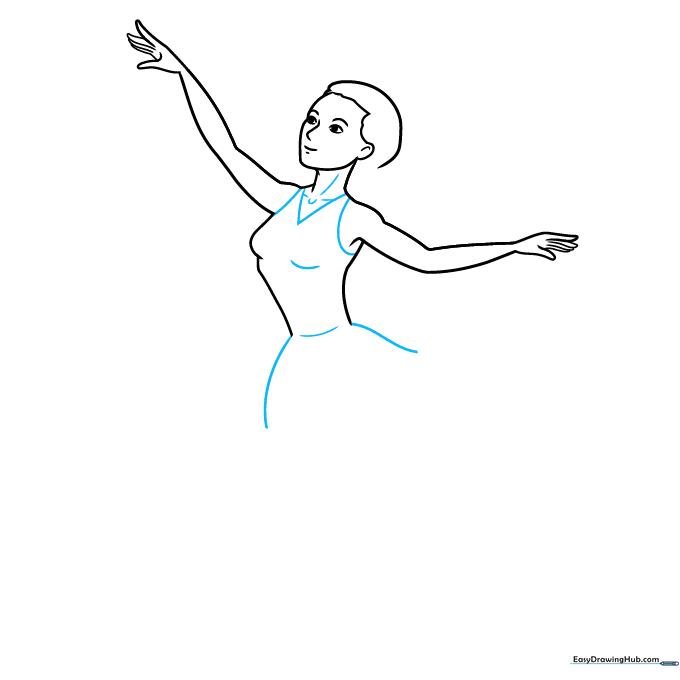
Add two triangles on the chest and a U-shape at the neck for the collar. Begin the skirt with two soft curves. Teacher's Tip: These small details add character—don't worry if they aren't perfect, just keep them symmetrical!
Step 6: Drawing the Skirt and First Leg
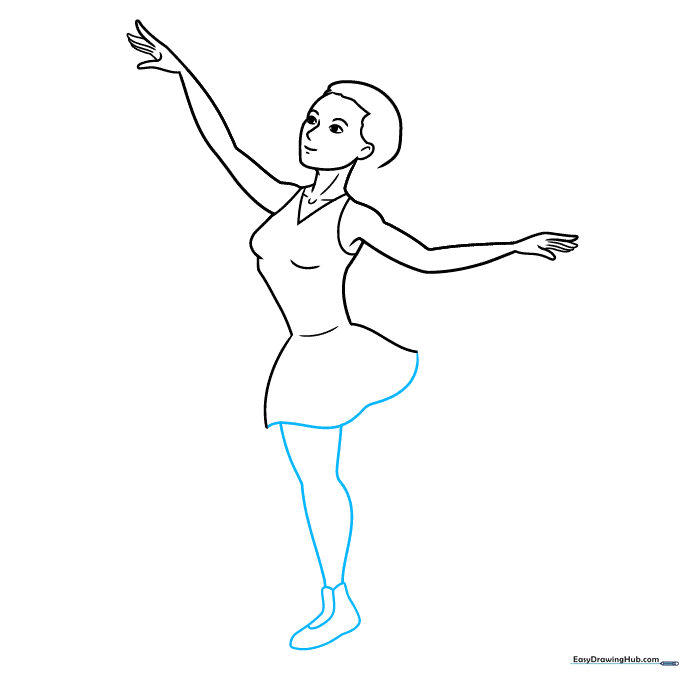
Finish the skirt with a wavy, curtain-like edge. Draw the leg with four curves and add the shoe using an oval and rectangle. Teacher's Tip: The banana shape inside the shoe helps define the heel of the skate.
Step 7: Adding the Second Leg and Blade
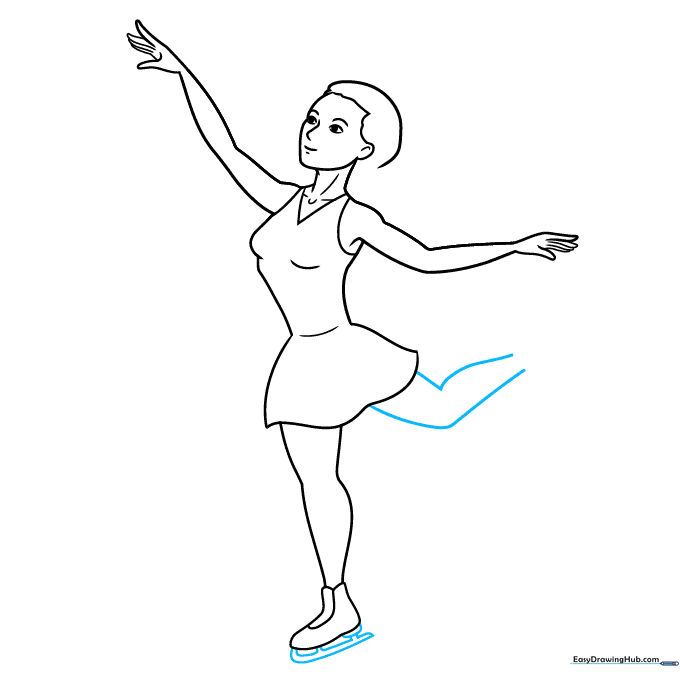
Sketch the second leg with two curvy V-shapes. For the skate blade, draw a thin rectangle attached to the shoe with tiny support bars. Teacher's Tip: Keep the blade thin to make it look sharp and realistic.
Step 8: Finalizing the Skates
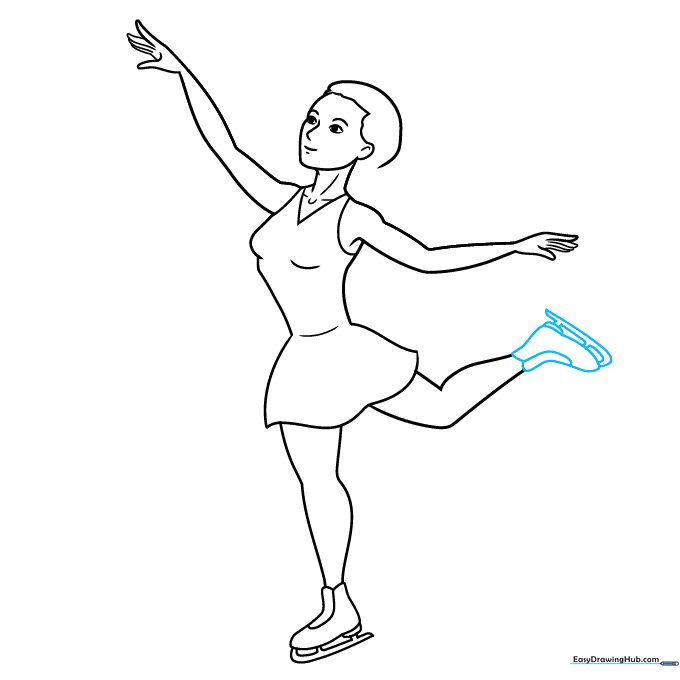
Mirror the details from the first skate to the second one to ensure they match. Teacher's Tip: Consistency is key here—take your time to make sure both skates look like a matching pair.
Step 9: Adding Texture and Final Outlines
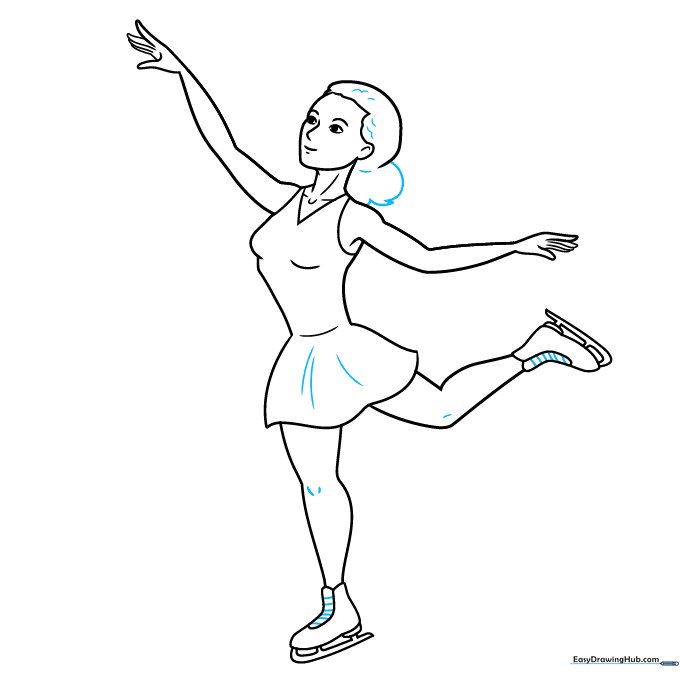
Add detail lines to the hair, skirt, and shoes. Go over your final lines with a black pen or marker. Teacher's Tip: Use a steady hand for the final outline to give your drawing a professional, clean look.
Step 10: Bringing Your Skater to Life with Color
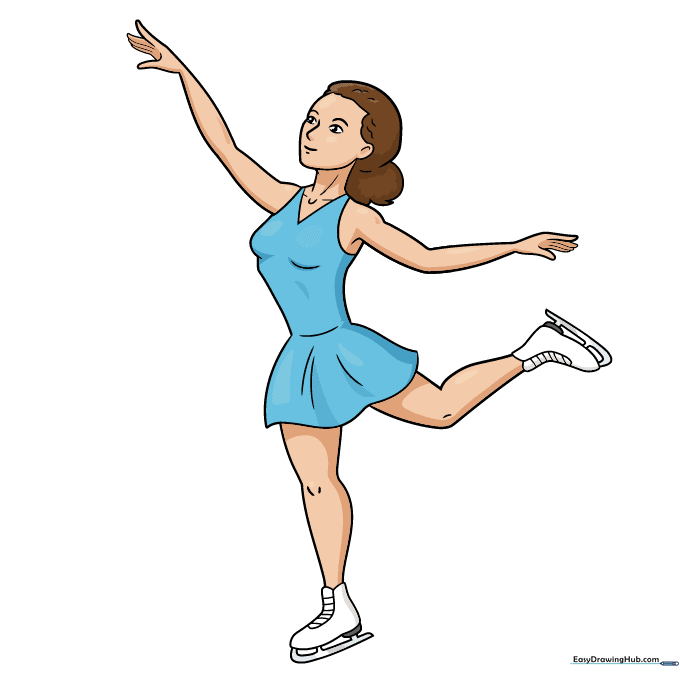
Add your favorite colors! Use vibrant shades for the dress and cool, metallic greys for the skate blades. Teacher's Tip: Try using light blue shading around the skates to represent the ice surface.
More Tutorials


