How to Draw Ice Cream: Easy 10-Step Guide for Kids
Ready for a sweet art project? This tutorial is perfect for young artists ages 5 and up. All you need is a pencil, an eraser, and your favorite markers or crayons to bring this tasty treat to life.
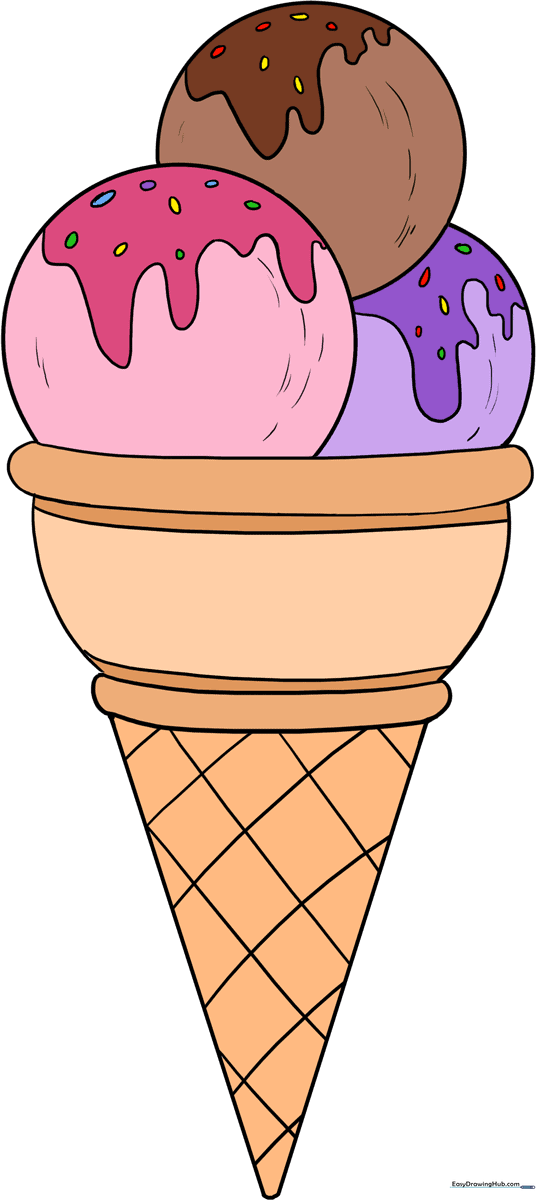
🎯 Final Result
Step-by-Step Instructions
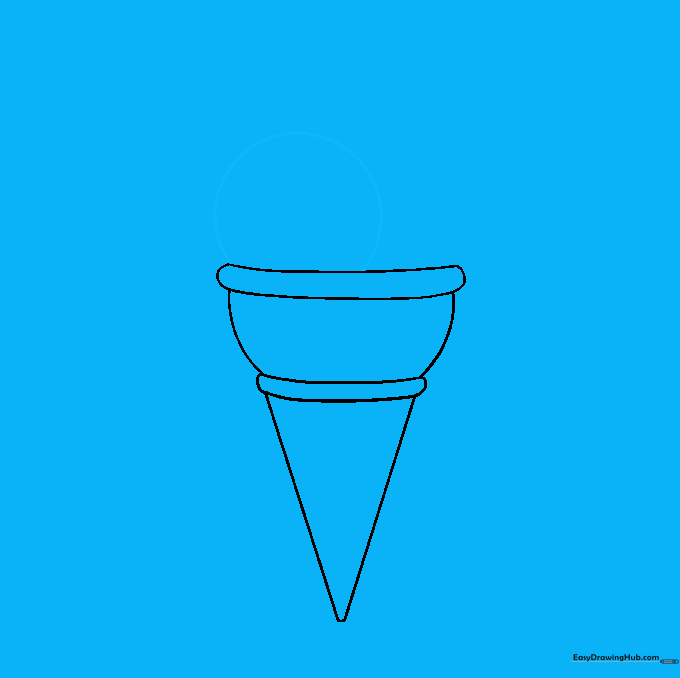
Step 1: Sketching the Cone Base

Draw a sharp 'V' shape to form the bottom of your cone. Teacher's Tip: Keep your pencil pressure light so you can easily adjust the shape if it looks a bit wobbly.
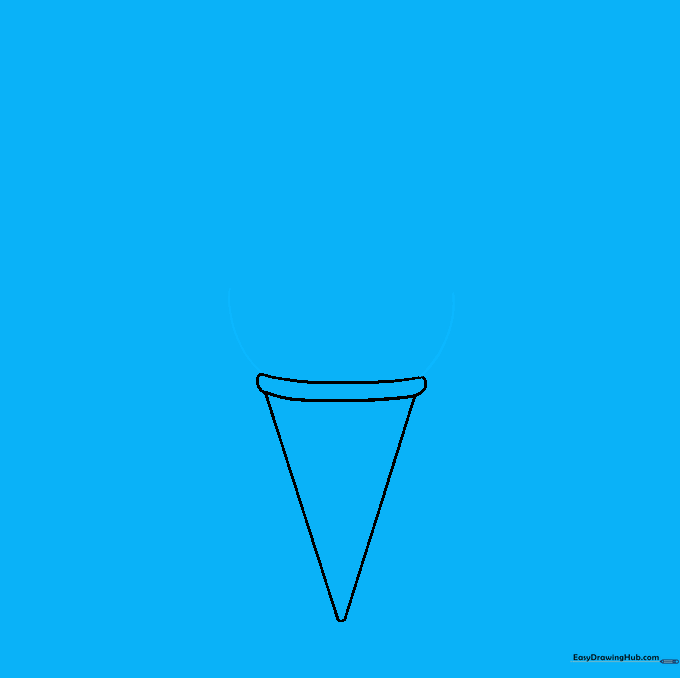
Step 2: Adding the Cone Rim
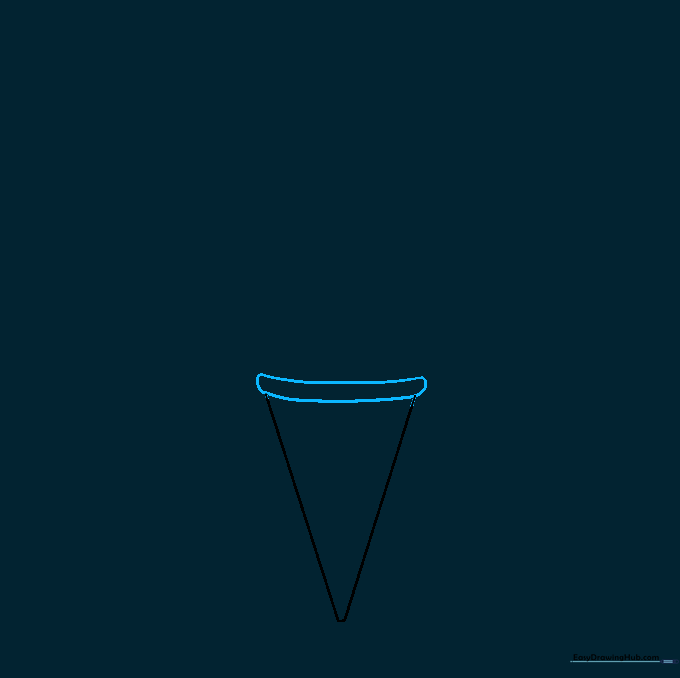
Connect the top of the 'V' with a curved line, then add a second parallel curve above it. Connect the ends with tiny curves to create a thick rim. This gives your cone a 3D look!
Step 3: Extending the Cone
Draw two long, slightly curved lines reaching upward from the rim. Teacher's Tip: Try to keep these lines symmetrical so your cone doesn't look like it's tipping over!
Step 4: Finishing the Upper Rim
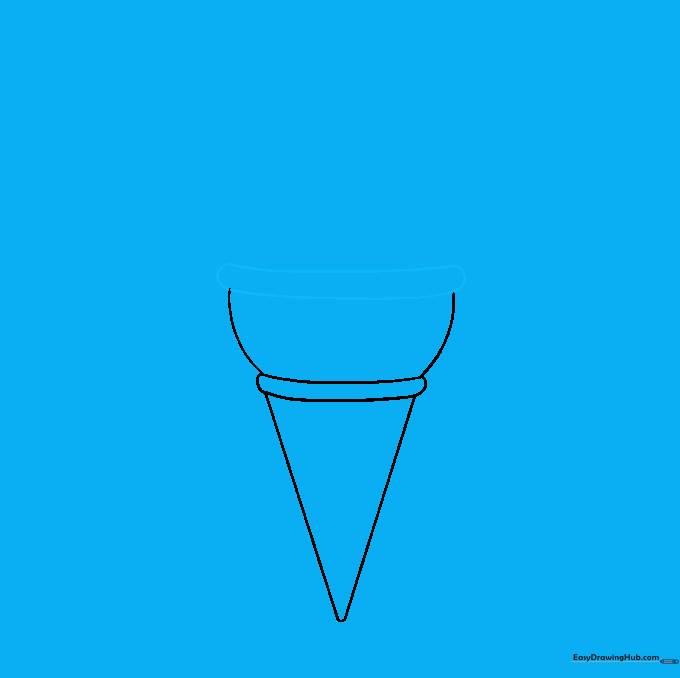
Repeat the process from Step 2 by adding another curved rim at the top of these new lines. This creates the 'opening' where your scoops will sit.
Step 5: The First Scoop
Draw a large circle sitting right on top of the cone. Don't worry if it's not perfectly round—ice cream is soft and melty!
Step 6: Adding More Scoops
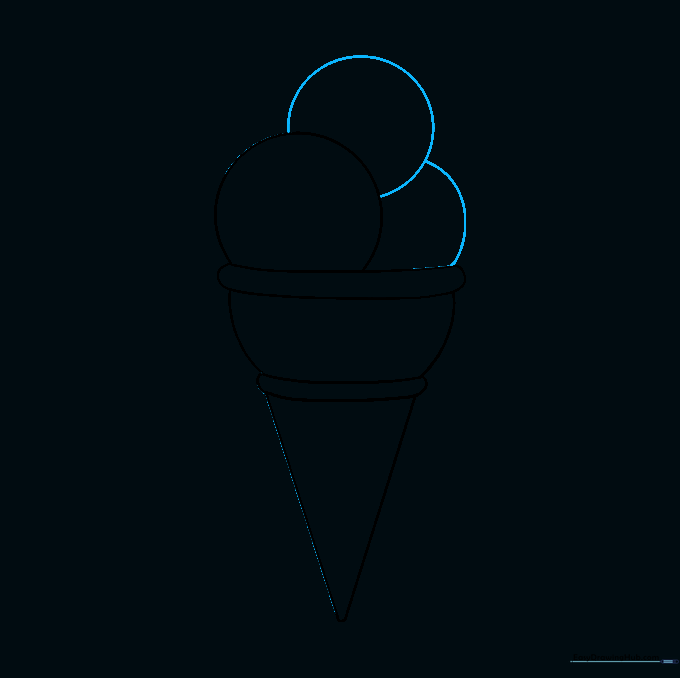
Add two more overlapping circles to build a tall, delicious stack. Overlapping makes your drawing look much more realistic.
Step 7: Texture the Cone
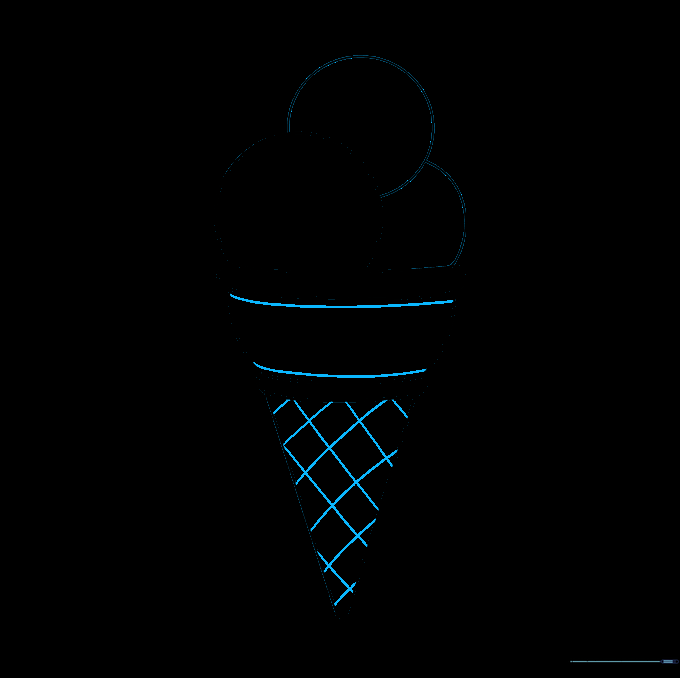
Draw horizontal lines across the middle and a diagonal checkerboard pattern on the bottom. This creates the classic waffle cone texture.
Step 8: Drizzling Syrup
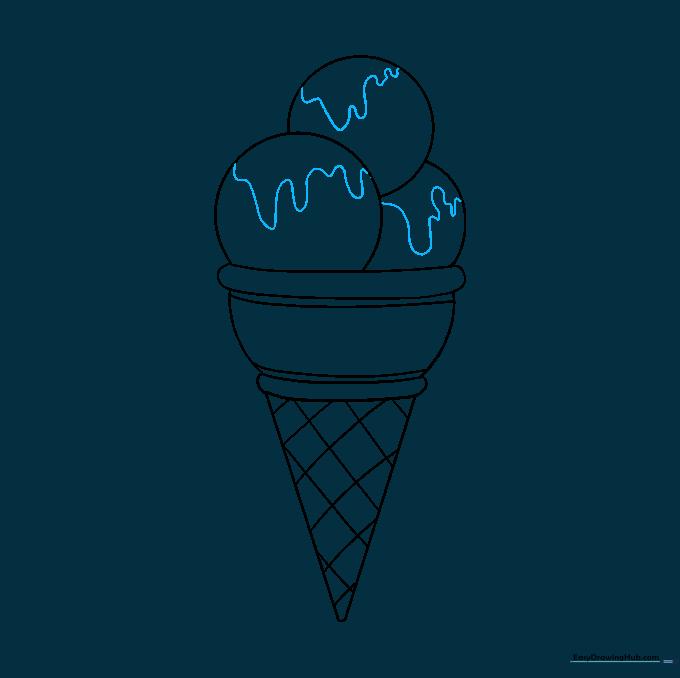
Add wavy lines at the top of each scoop to represent delicious syrup. Teacher's Tip: Make the lines irregular so it looks like it's naturally dripping down the sides.
Step 9: Adding Sprinkles

Draw tiny ovals and circles scattered over the scoops. Add a few light, curved lines on the scoops to show texture and volume.
Step 10: Bring It to Life with Color
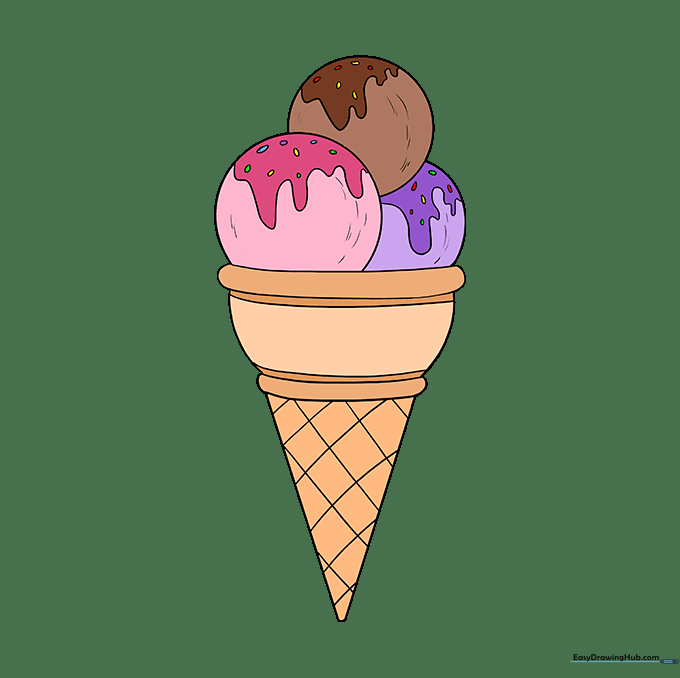
Time to color! Use brown for chocolate, pink for strawberry, or bright colors for your own unique flavor creation. Don't forget to color the cone a warm, golden tan.
More Tutorials


